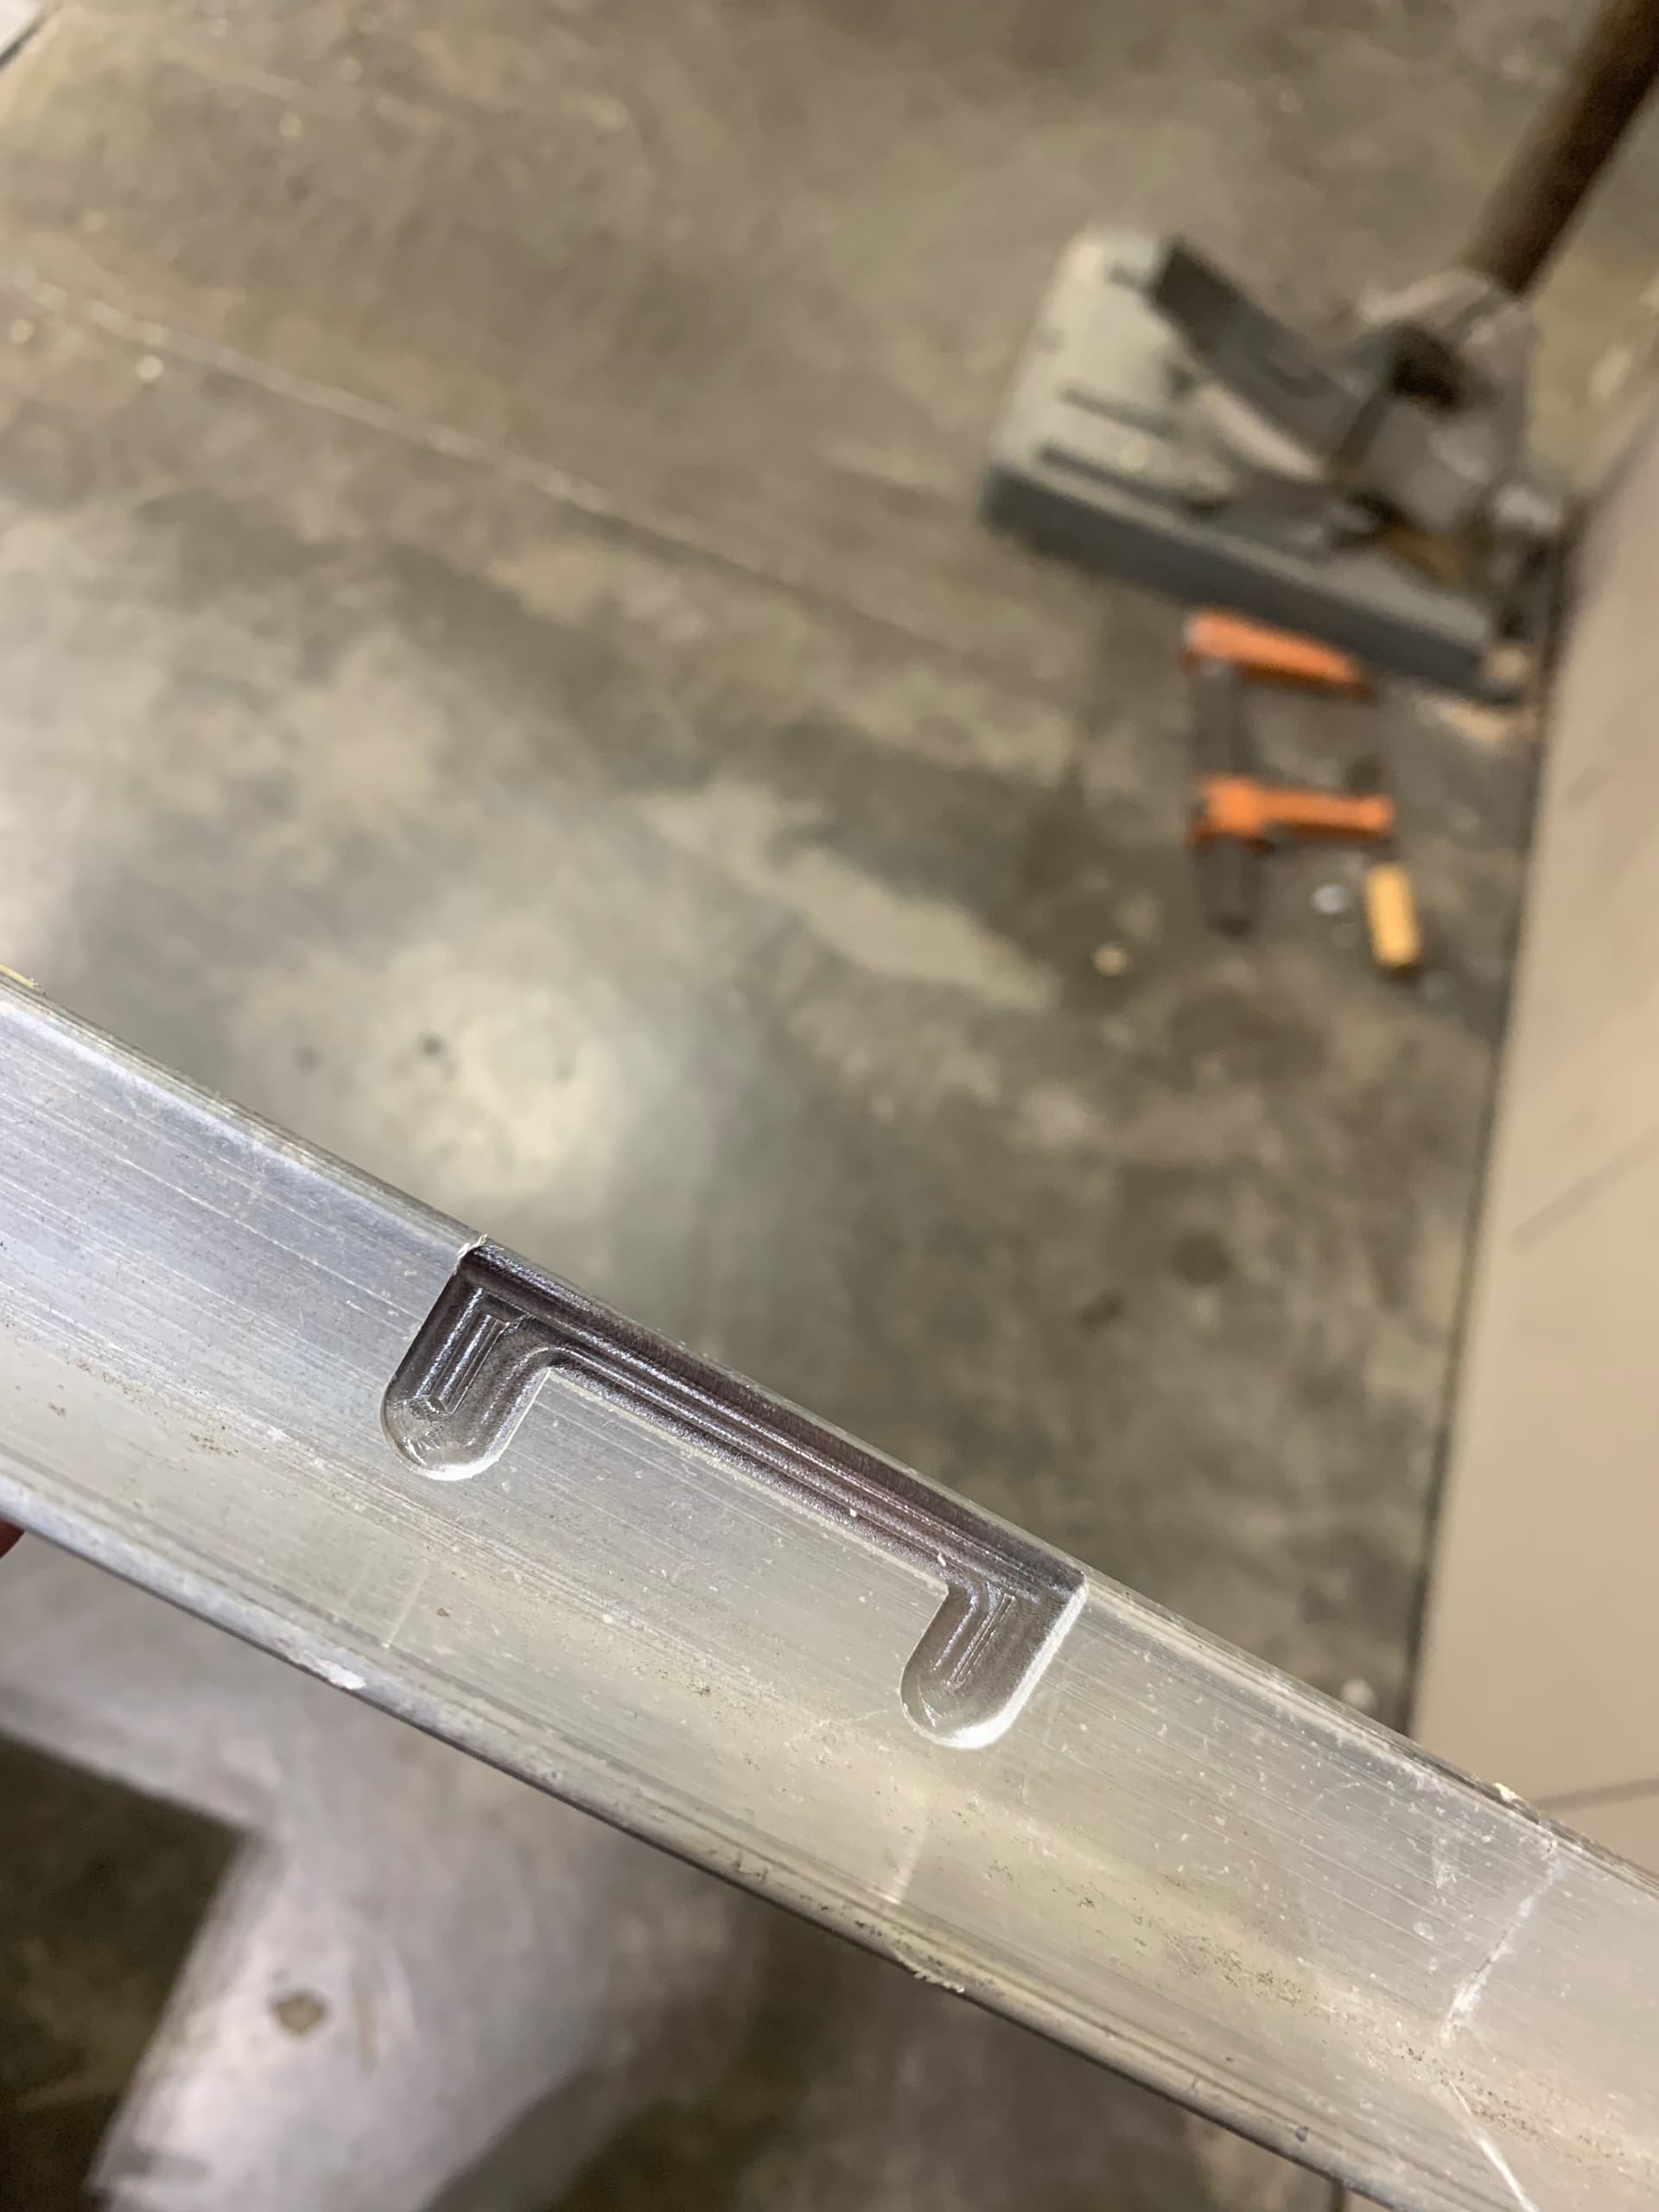
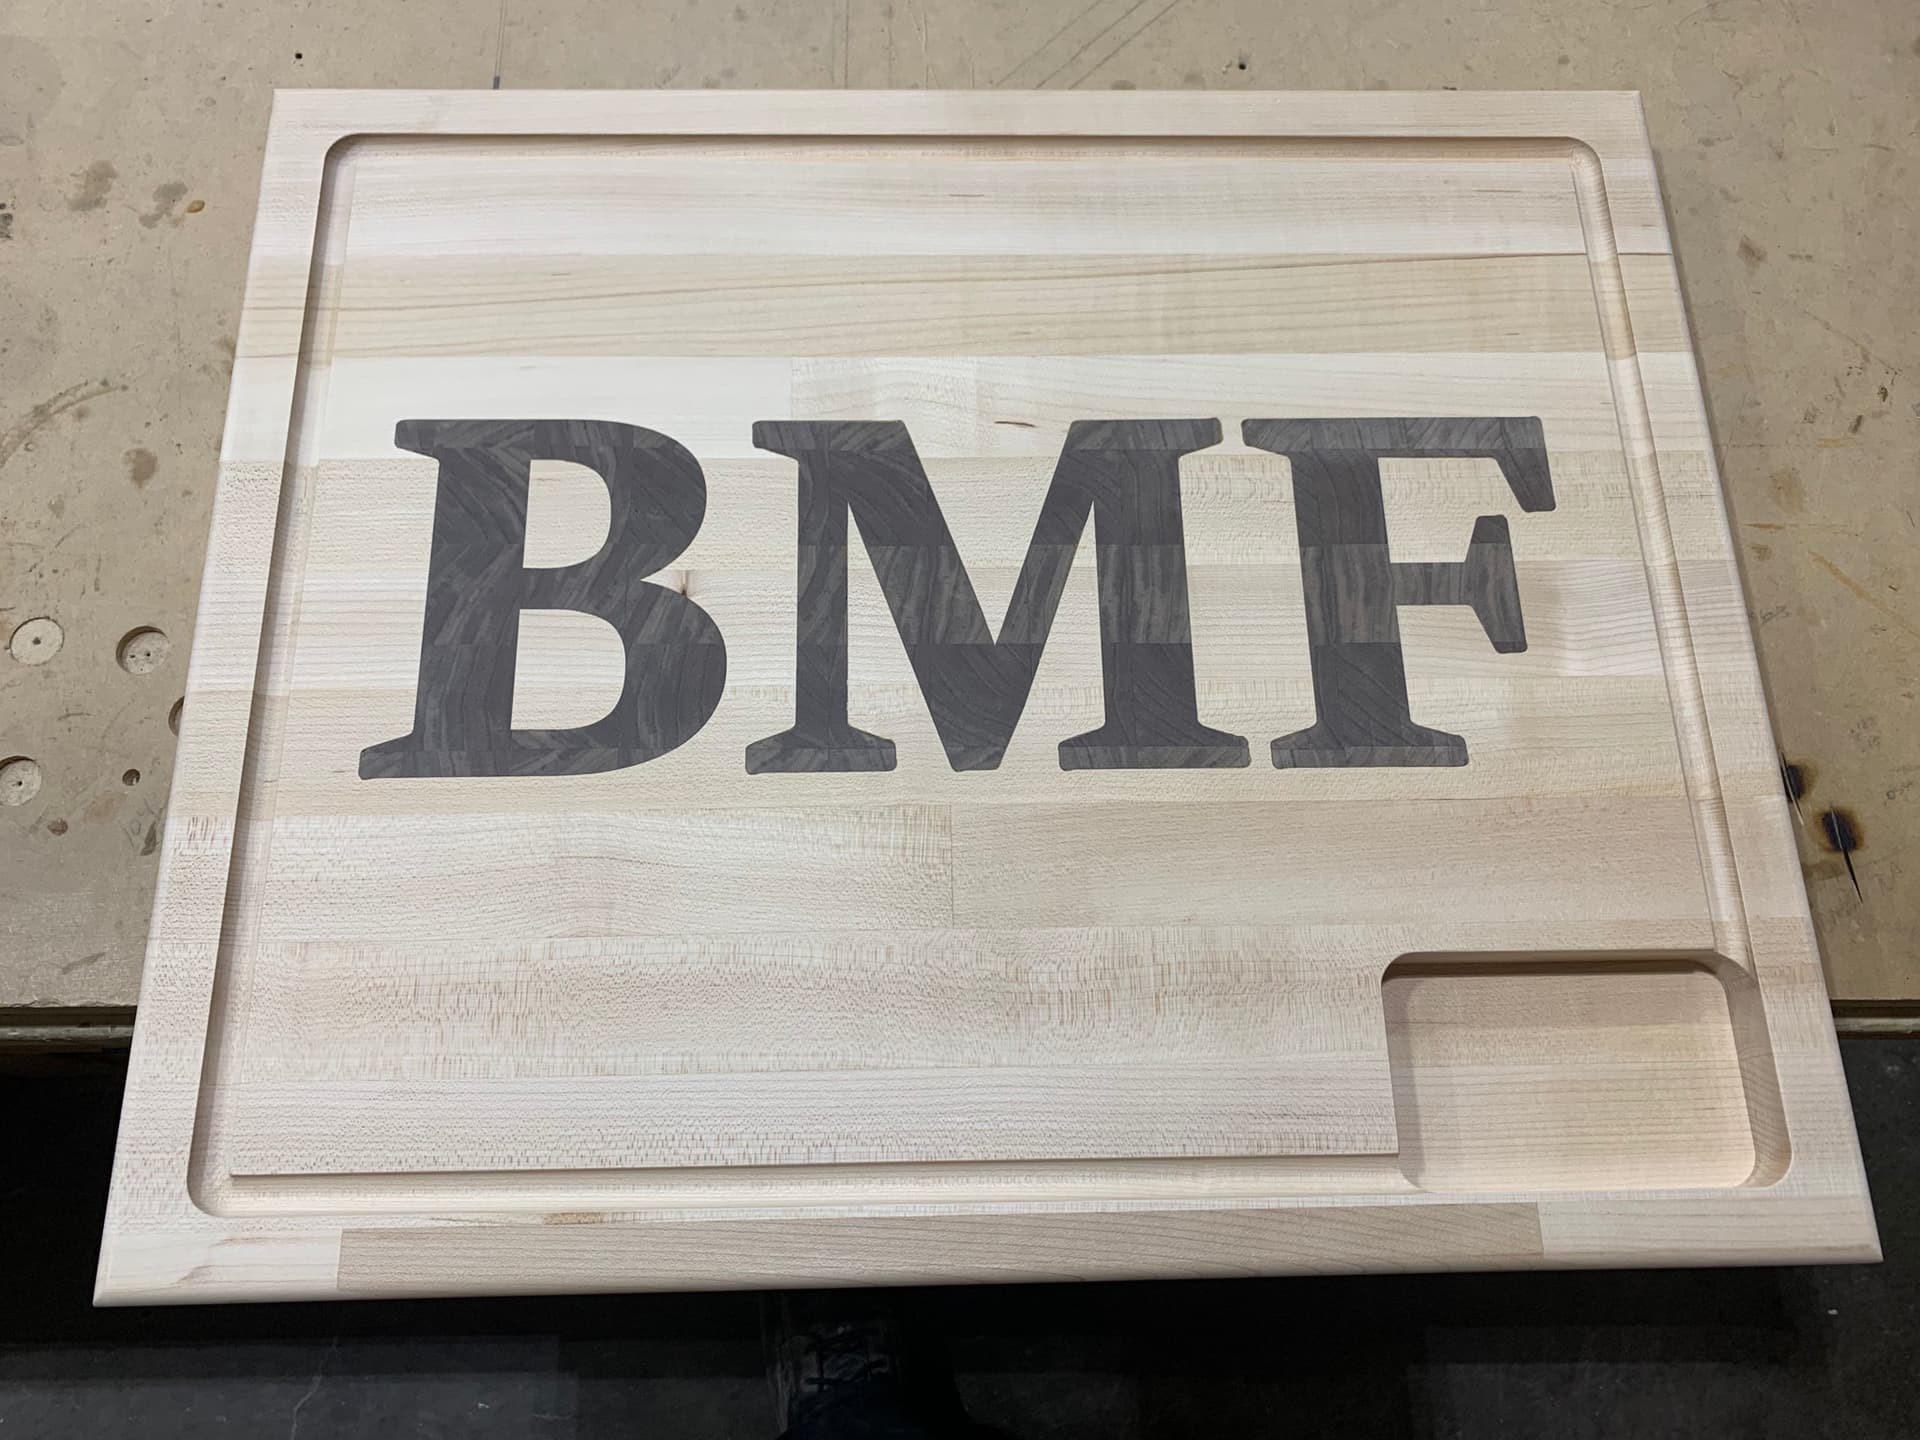
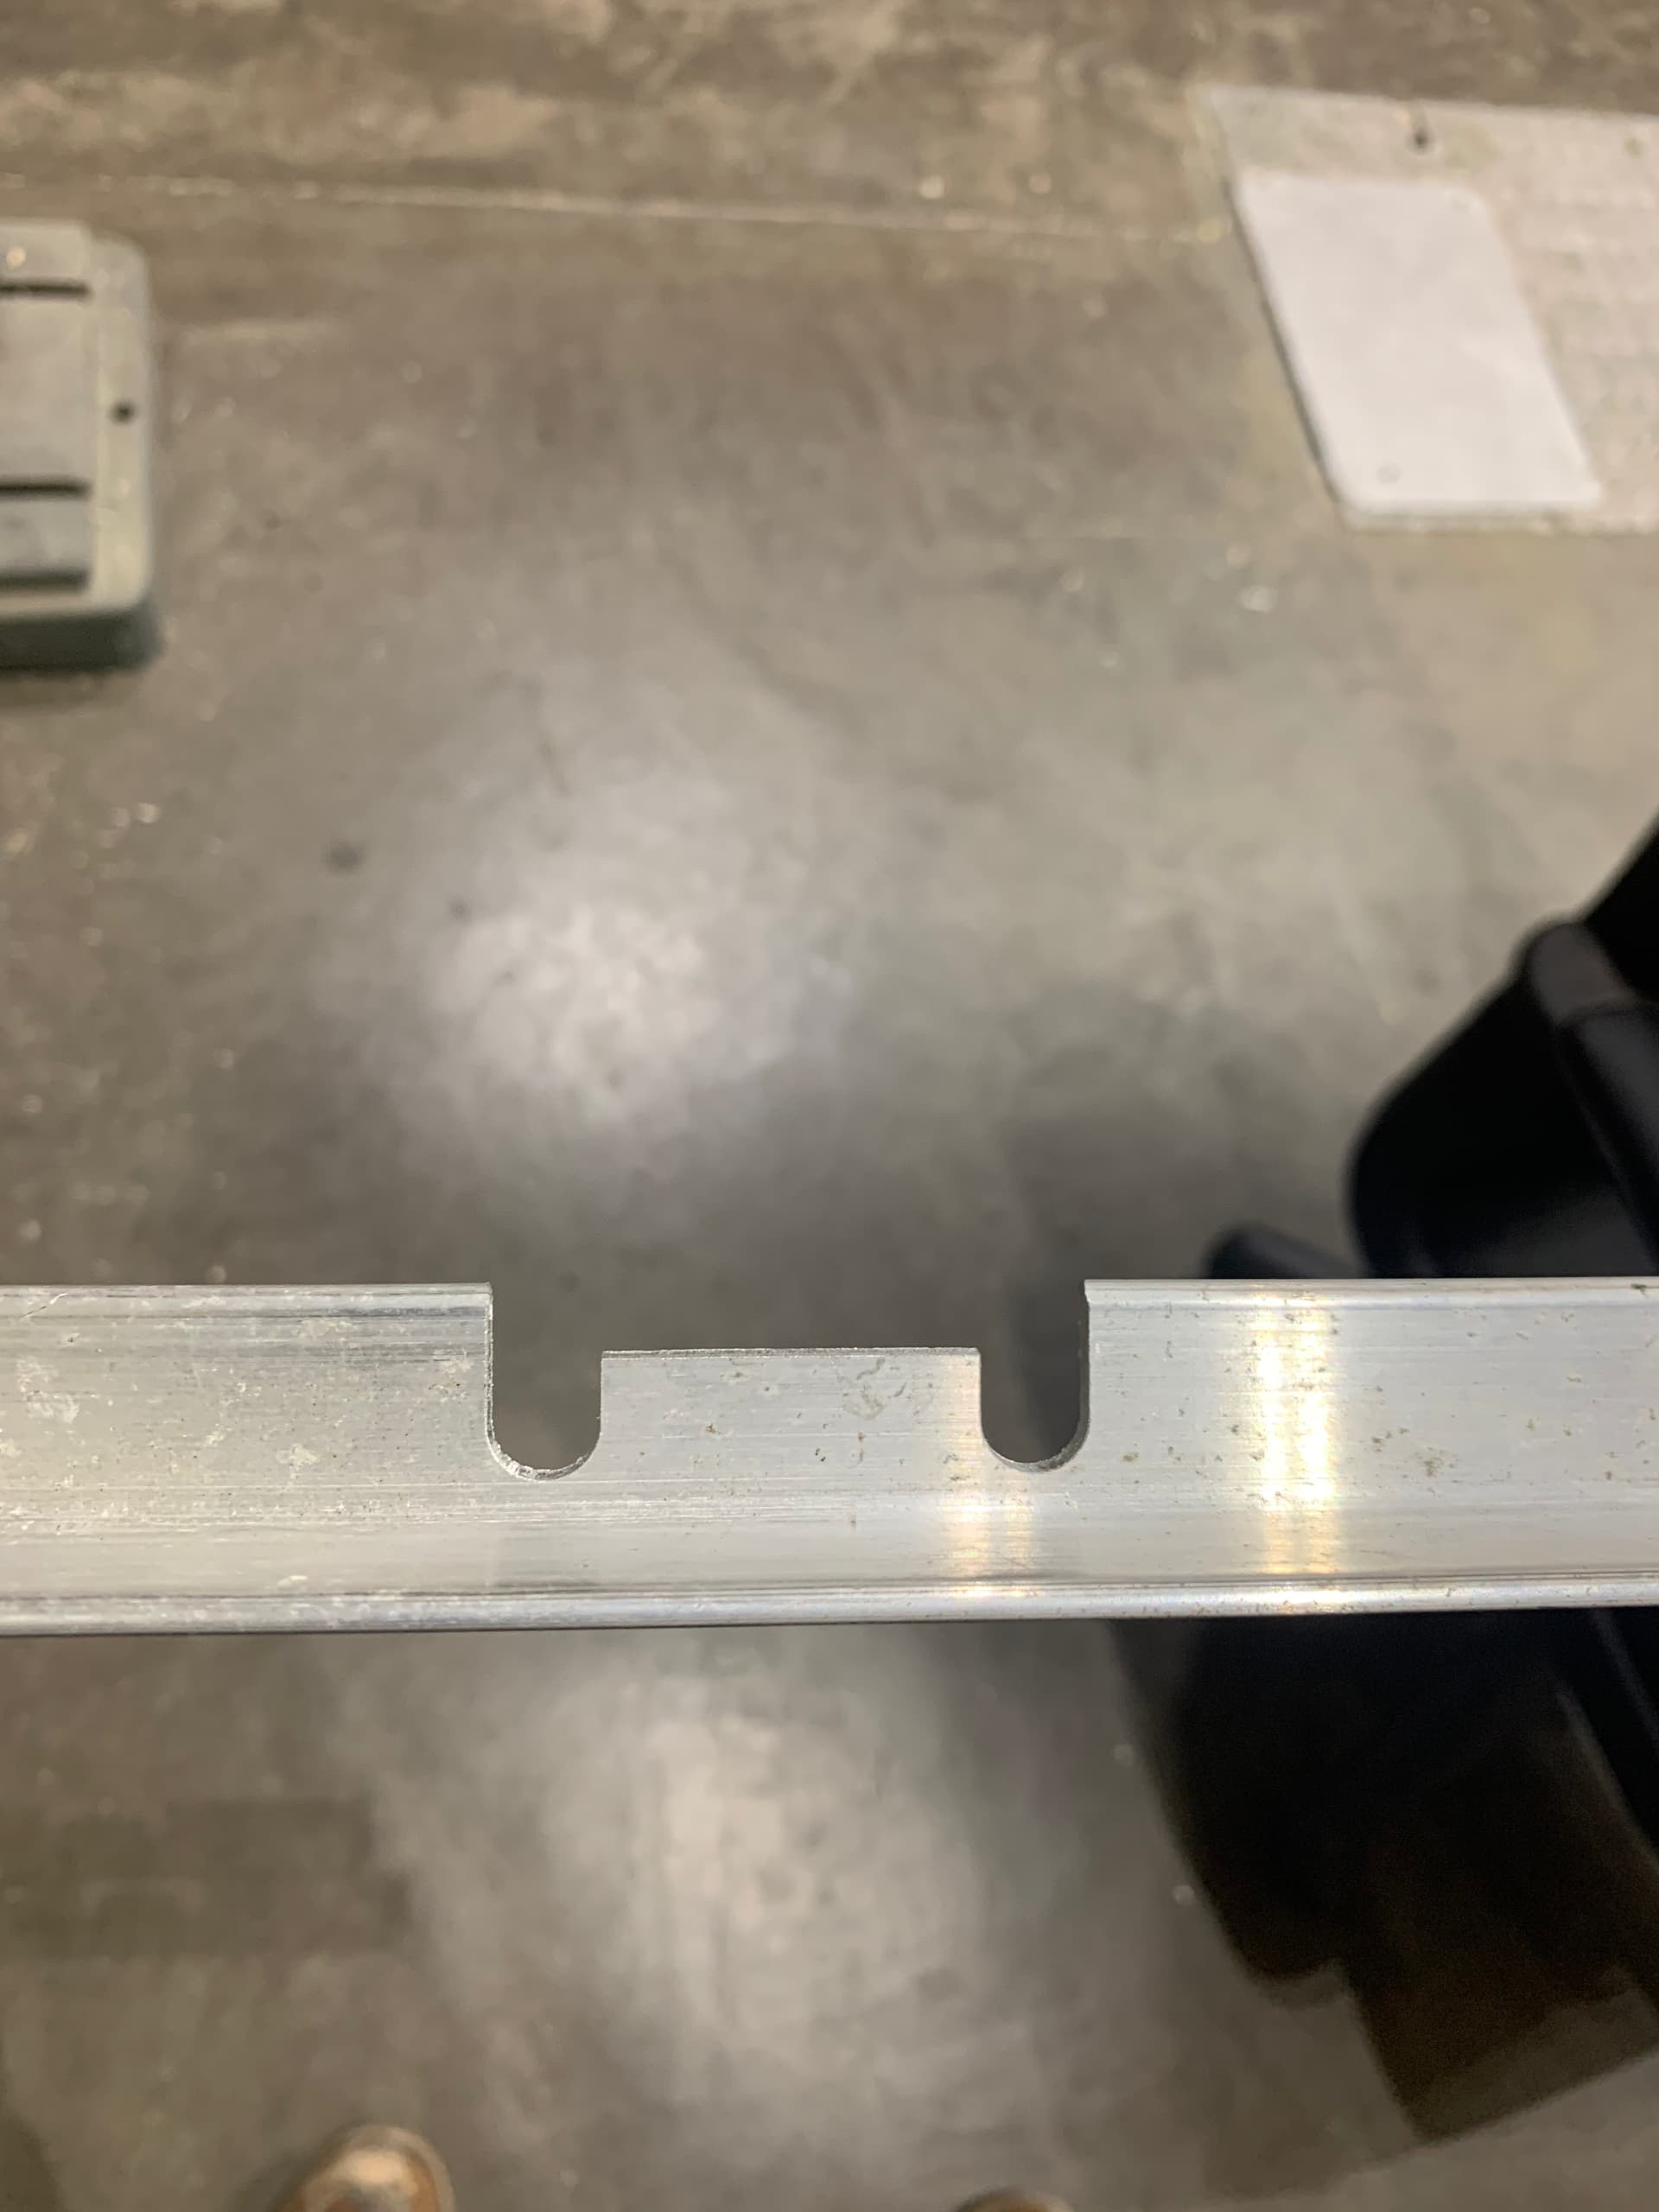
Since I’m new here I figured I’d drop a picture of a couple things I’ve done on my machine at work that got me started down the cnc path. I’m currently waiting to order my Longmill until I get some ducks in a row financially but hoping to get that done in a few months. Anyway. One is a simple aluminum bracket I made for some R&D at work. It was my first time milling aluminum and took some work figuring out feeds and speeds but it came out better than expected. The next is a cutting board I made as a going away present for a good friend. It had an end grain inlay on the cutting surface and an epoxy fill on the bottom for display. The Raider logo was a 6 cut and fill process. It was a ton of fun to do!

3 Likes
They look great! Are you sure you’re not a 20-year Longmill Pro? 


What did you end up using for feed & speed for the aluminum? I’m probably going to try aluminum soon and your success could be a good starting point for me 
1 Like
Thanks! I appreciate the compliment. As far as milling the aluminum, I’m using a Shapeoko3 at work with a dewalt router. Shhh… don’t tell anyone. It’s a decent machine but I still can’t wait to make the switch to the Longmill for my own business. Speed of the router is as close to 10k rpm (the dewalt is a little faster than that at lowest setting from what I’ve read), feed rate was set at 20ipm. This was all using an 1/8” square nose mill. Step over was .063in, depth per pass was .008in (could’ve been more I think but I was originally getting a bit of chatter so this eliminated that). When it was all said and done, at my final cut depth it left an extremely thin layer that I could pull out of the cut area with no effort and left a clean burr free cut. This was all after breaking one bit and welding another bit to the material. Definitely nerve wracking but I’m the end it was worth it and now I know how to go about it. I hope this all helps. Oh. Don’t be afraid to push the feed rate a bit. Since this was a small job I didn’t mind spending a little time with the cut. Watch the chips that come off. It’s way different than wood.
1 Like
How is your inlay so tight. What program are you using. I have put about 20 hours into a good inlay and haven’t had great results with Easel. I’ve since moved to Carvco but haven’t tried the inlay. I have a couple of boards made to inlay but an terrified of not having a clean mating of the wood. Please explain to me how you can be so awesome if you can, what you are doing to make it so.
1 Like
Good job on both, but most especially the cutting board project.
I hope you’ll be able to swing things to get your own Longmill, as they’re great machines. I’ve had mine for but a few months and have found it to be a heap of a lot of fun. But as you’re aware from your experiences at work, it can sure eat up the hours! (Don’t say I didn’t warn you).
Marty from Kingston, ON, Canada
2 Likes
Thanks! I used carbide create free version. It took a bit to get it to work out. Honestly I watched a lot of videos and tried to implement as much of what they said as I could. The depths are what you really have to work with in the settings. I’d be lying if I said I didn’t mess one up trying to get it right. Which was horrible. Keep after it and it’ll come around. I wish I had better info on how to make them work. It really is just playing around with the settings and adjusting the numbers until you find what works.
Thanks! That one was a lot of fun! I’ve made a few others since then with different things in them. And boy I can’t wait till I can get the Longmill! You’re definitely not wrong about them eating up time but it’s so worth it in the long run.