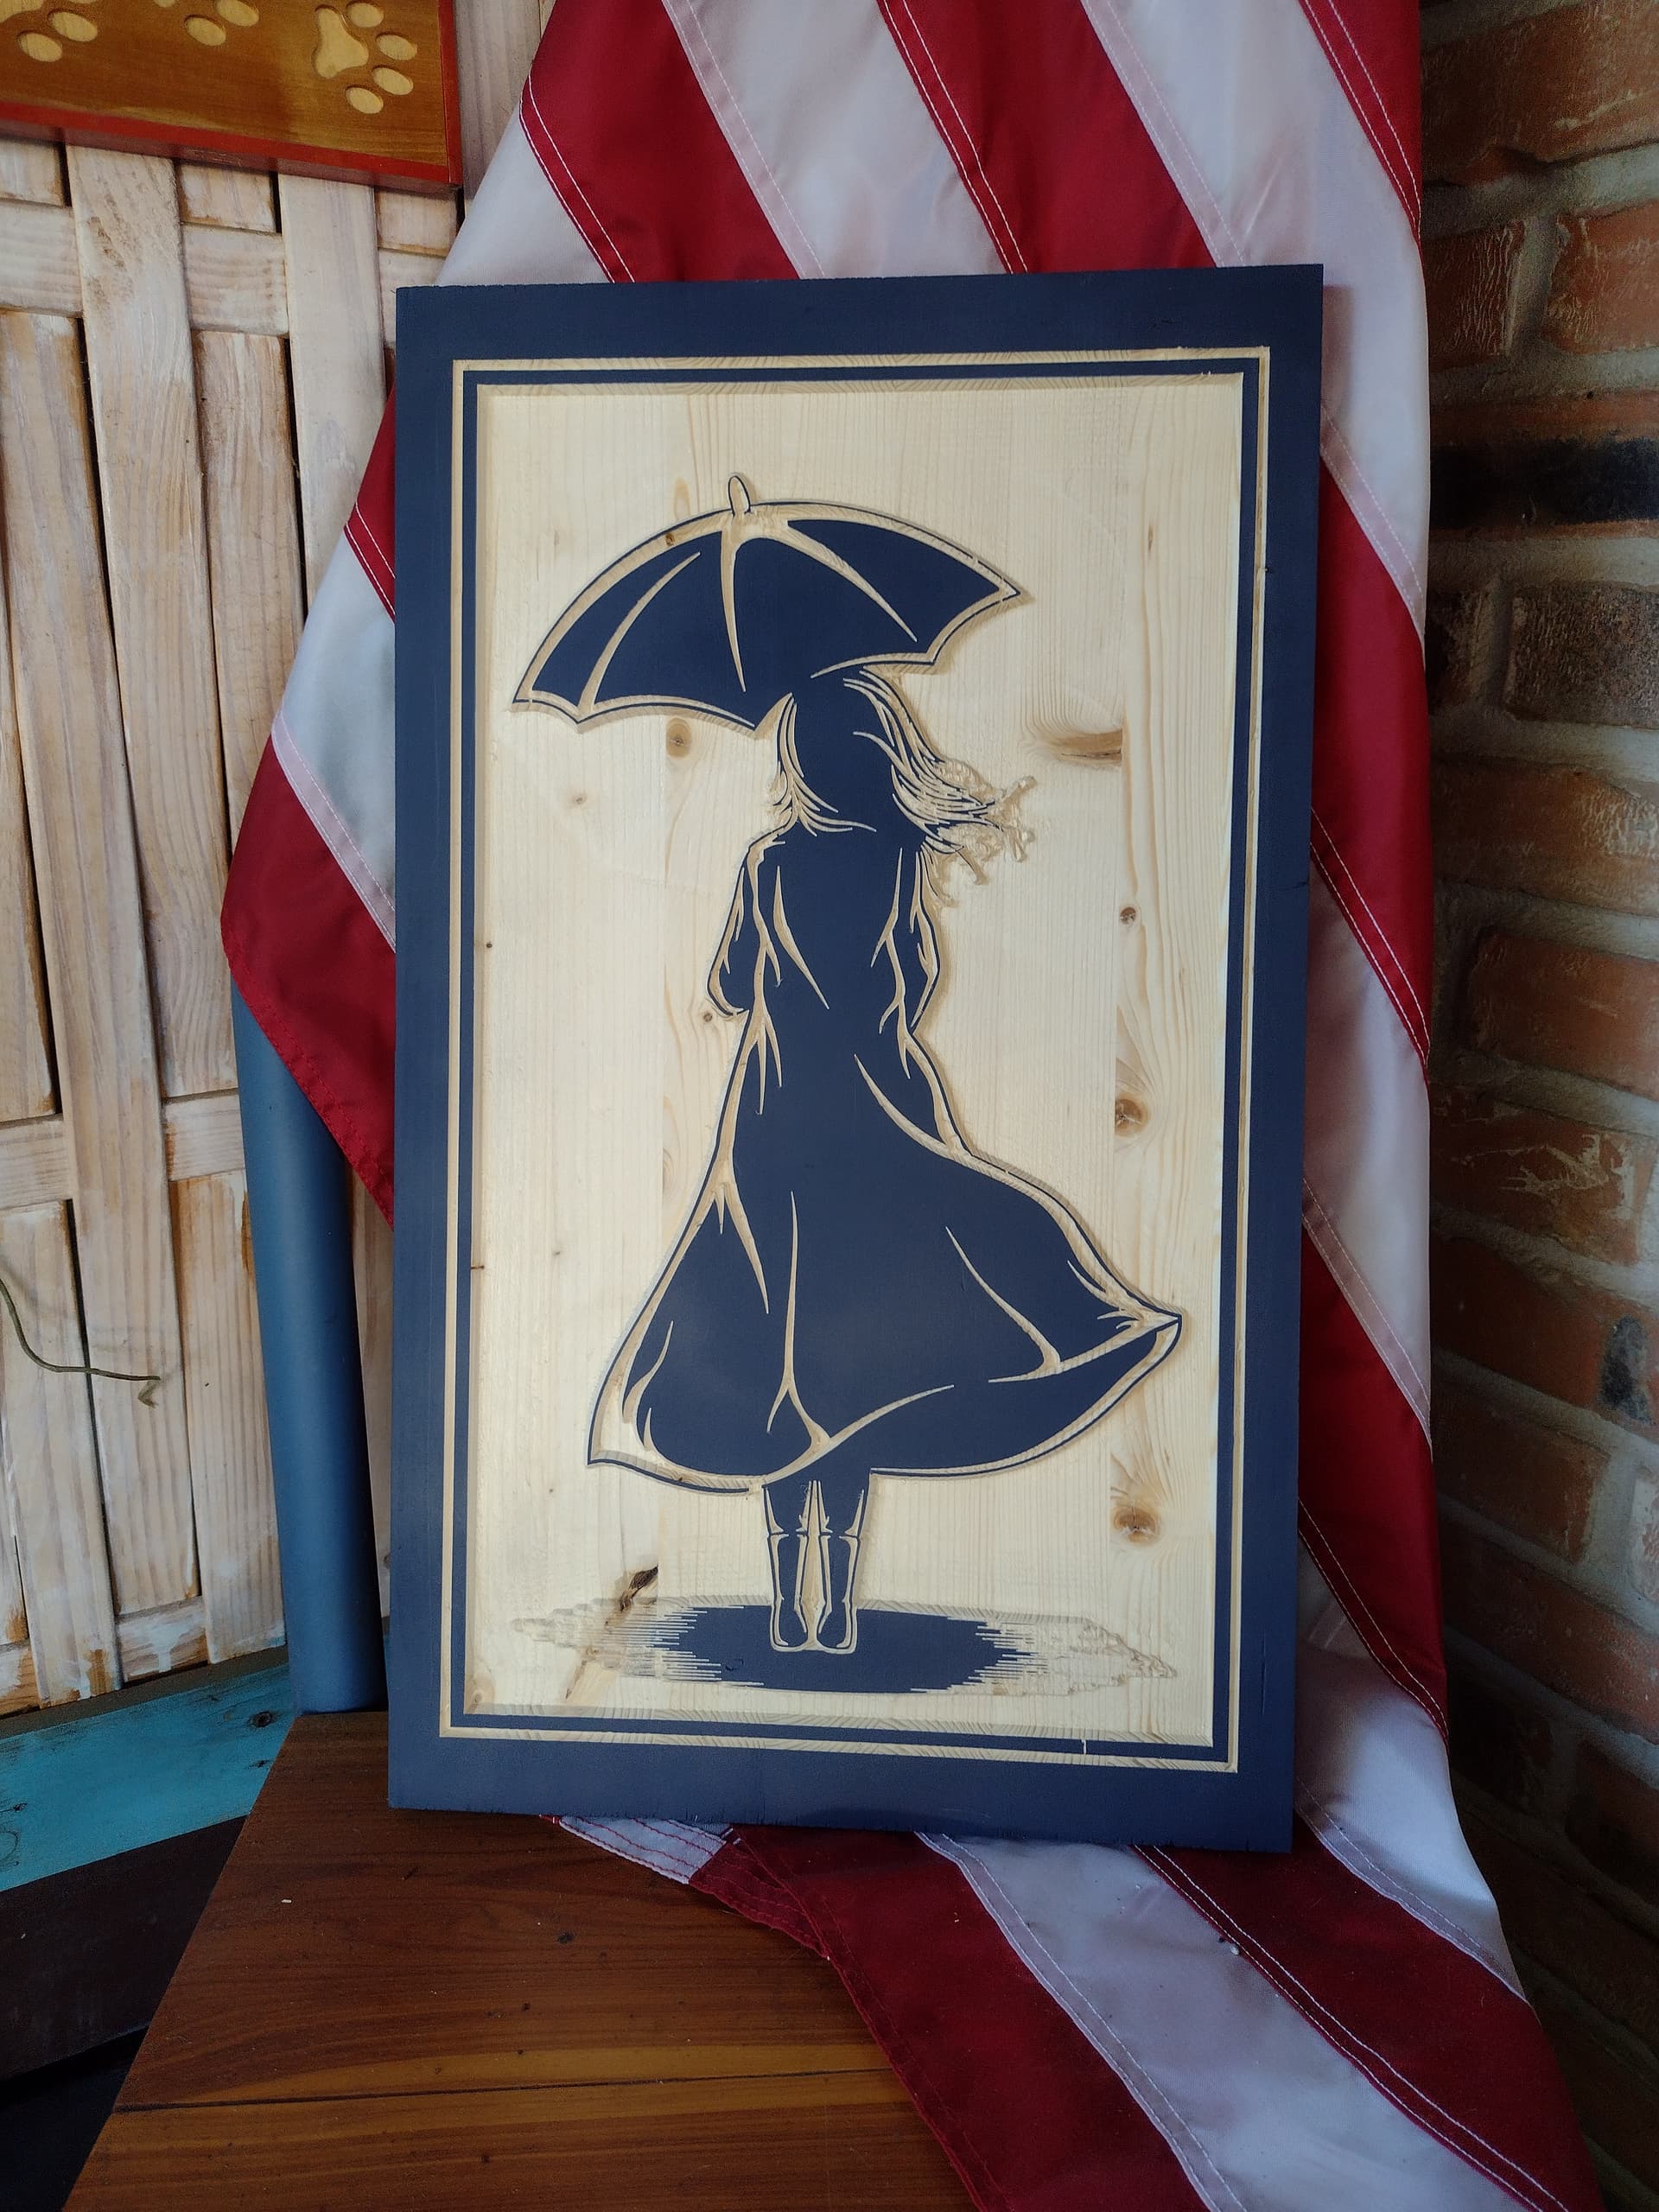
I finished this today. Some pine scraps I glued up, surfaced on the LongMill, and cut down to 13x22 inches on the table saw. After sanding, I painted it, let it dry for around 24 hours, and sanded it again. Repeated the painting steps one more time and applied a coat of lacquer. After that dried for a day, I finally took it back to the Longmill for a quick carve.
A v-carve with two roughing passes, the first one is 1/8in endmill and the second is a 1/4in endmill. Then the v-carving toolpath with a 60* 1/2in v-bit. I had the v-carve set to a max 0.2in depth and ran the toolpath twice.
I might put a 1/4in frame or trim around it…?..And then find a place to hang it. Oh and I still need to put on a final coat or two of lacquer.
Edit: if you blow the pic up, don’t look at the hair too much it got a little messy…Do you think I should have tried to use a separate toolpath for the hair and used something like those little 30* engraving v-bits? Or some other steeper smaller v-bit?
@Swinly It looks a damn sight better than “alright”, Lonnie.
Not a criticism, just a question. I did blow it up. What is the “brown shadow” around the skirt, outside the thin blue line? Whatever it is, it would seem that it is present in the hair - again outside of the blue. And, again outside the blue line in the umbrella.
Hi Lonnie. Yes it does look much more than alright. I understand what you said about the hair but I would like to disagree with you. I love the techniques you have used. With the right image you would have a stunning piece of work. What this image reminded me of was two specific things. One is the feel of an art deco piece, helped by the restricted colour palette and the angular lines of the frame and mount.
The second specific was that the light brown edging of the image strongly suggested a 3D image in the same sort of way that a decoupage image would. These are 3D images where the subject matter is cut out and applied to the image at several different levels.
Four layers is usually very effective. Your technique would be amenable to the layer nearest the background (the light brown) being an ivory colour, then insert a light brown colour then a mid or dark brown colour and the layer nearest to the top would be black. (just a thought)
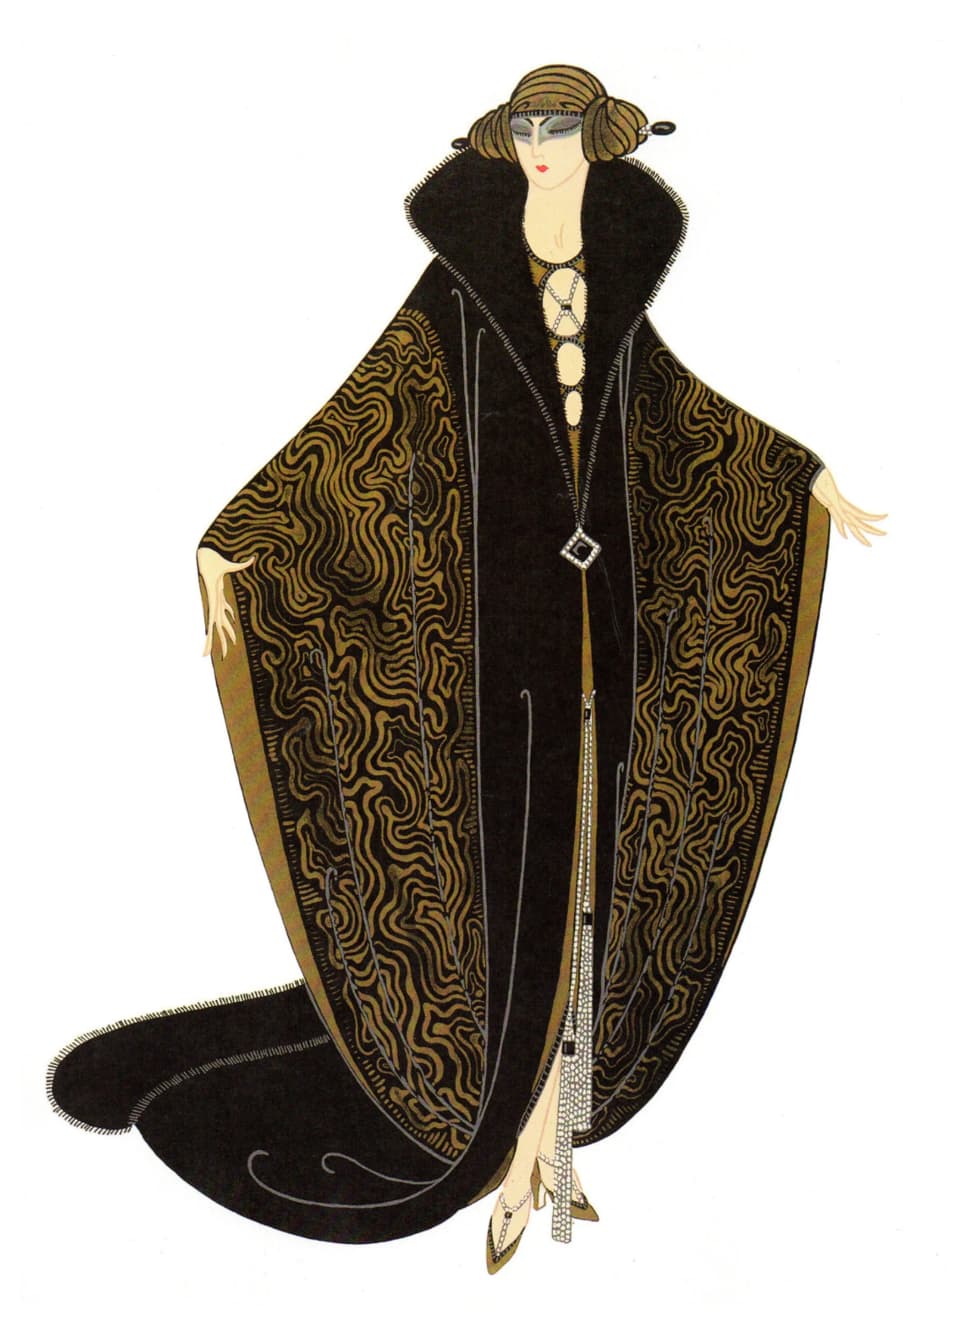
an example art deco image that would love this treatment of yours…
@Swinly very cool! Fun what you can find inside a board from a box store. Those little 1/8" v-bits are great for fine details and maybe try a flat depth of a lot less for the hair if you want to do a separate tool path. Looks great as is though!
Excellent. I agree that the hair may have come out better had you used a smaller sized V-bit, but as the saying goes, “beauty is in the eye of the beholder”, it’s lovely just as it is.