Setup my LM, using UGS Platform. Both of these were machined upside down. The visual shows the datum position in lower left and the text correct. The router runs it upside down as if the datum in in the upper left. Major rookie here. Help?
OK, the issue is in the Y axis. When I jog toward the front of the machine the router goes toward the back and visa versa. The UGS display shows the move toward the front. My guess is wiring, controller, or firmware issue. Can’t find a solution on the forum.
@Spiritrunner Welcome, Carl. Start here
https://sienci.com/dmx-longmill/troubleshooting/#My_machine_isn8217t_moving_in_the_correct_direction
Post again after looking at this.
Hi Grant. Thanks for the response. That was the first thing I checked as it would be the easiest fix. Both ends of the cables are correct.
Thanks, Grant
I tried that and I ended up changing the setting in $3 to 1 which now runs the probe in the right direction but it only allows the probe to probe Z and not the X and Y although the settings for the probe are set to do so
Hi Grant,
No, I have been trying the gSender software and have also tried the Openbuilds software both of which do the same. The Laptop that I use on the CNC is an older Hp Notebook and is not compatible with the UGS for some reason.
@Neville Since you are using gSender, you may want to flash the firmware on your controller. I must admit to be somewhat lost doing that using the arduino ide, but using gSender, it just a couple of clicks and your controller is set to the Sienci defaults.
Hi Grant
I have tried flashing the firmware but it comes up with , “Error flashing grbl” and locks me out. At which I reflashed the original Gbl 1.1 h, with Xloader and got back to where I was. Is there anywhere I can download the sienci firmware, and flash it to my Arduino.
I think you are on the right track and it is definitely worth trying. 
Yes, I am going to try re-solder all the connections on the pins going to the Arduino. And all the probe connections  in the hope that I uncover to rather cover/repair the one that Niel Ferreri thinks is giving the probe a false signal I also have A new Arduino arriving on Monday which I will try too.
@Neville Before going to the effort of re-soldering all those connections, take a look at the connections in the green plugs. If the wires in them are tinned, cut off the tinned part, strip a fresh length, and put everything back together. There were discussions on here early on about erratic Mill actions and some of them came down to this problem. I believe on later models. Sienci removed the tinned ends.
Thanks Grant,
I will do this asap and let you know the outcome 
Hi Grant,
Managed to Flash the Arduino to the firmware from Sienci as you suggested.
I stripped the tinned ends of the wires in the banana Plugs and reinserted them as bare copper, still no luck. 
Now when I run the probe cycle I get asked to touch the ground to the touch plate and I get the confirmation on the screen but the  indicator stays red flashing
  every so often. When I click on the
  The probe goes up and the DRO gives me a value of -11 in Blue and below that in Grey 7.82 but no error messages
I wonder if the problem is not a setting in the firmware
@Neville When you say “touch the ground to the touch plate”, you are touching the plate to the bit, yes?
Yes then the Red indicator goes Green for a split second while it makes contact but the red indicator comes back on and pulses Green every now and then
@Neville If you try with nothing connected, you may get a clearer indication of whether the Arduino is the problem or not.
You could also try with the motors disconnected (make sure power is off when you connect it disconnect a motor). This will eliminate possible EMI from the motor.
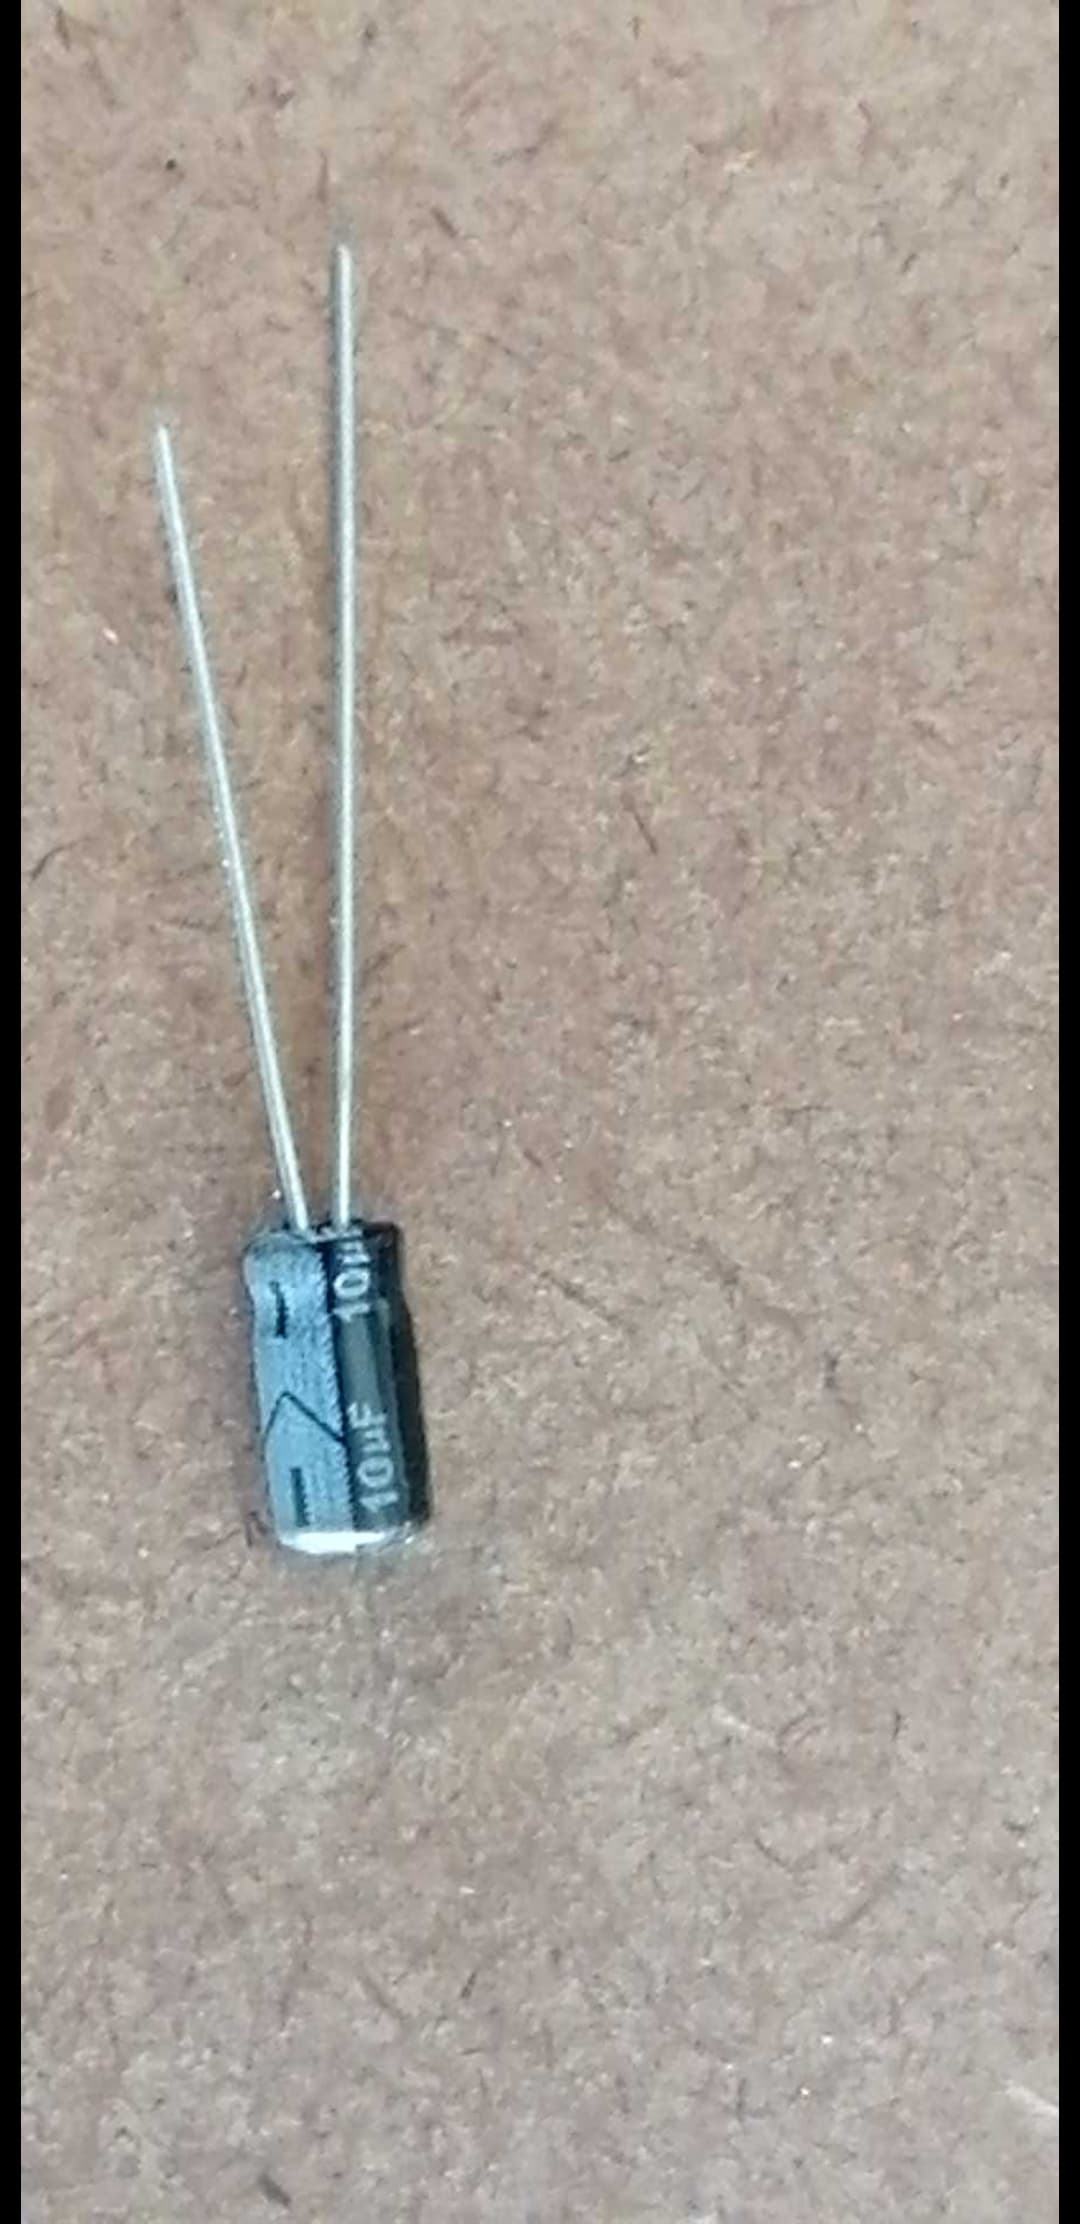
Lastly, in the other thread you said you used a 10mF capacitor? Did you mean microFarad (uF) or nanoFarad(nF)? I’d also recommend a small resistor (100ohm) between A5 and your probe block.
Hi Neil,
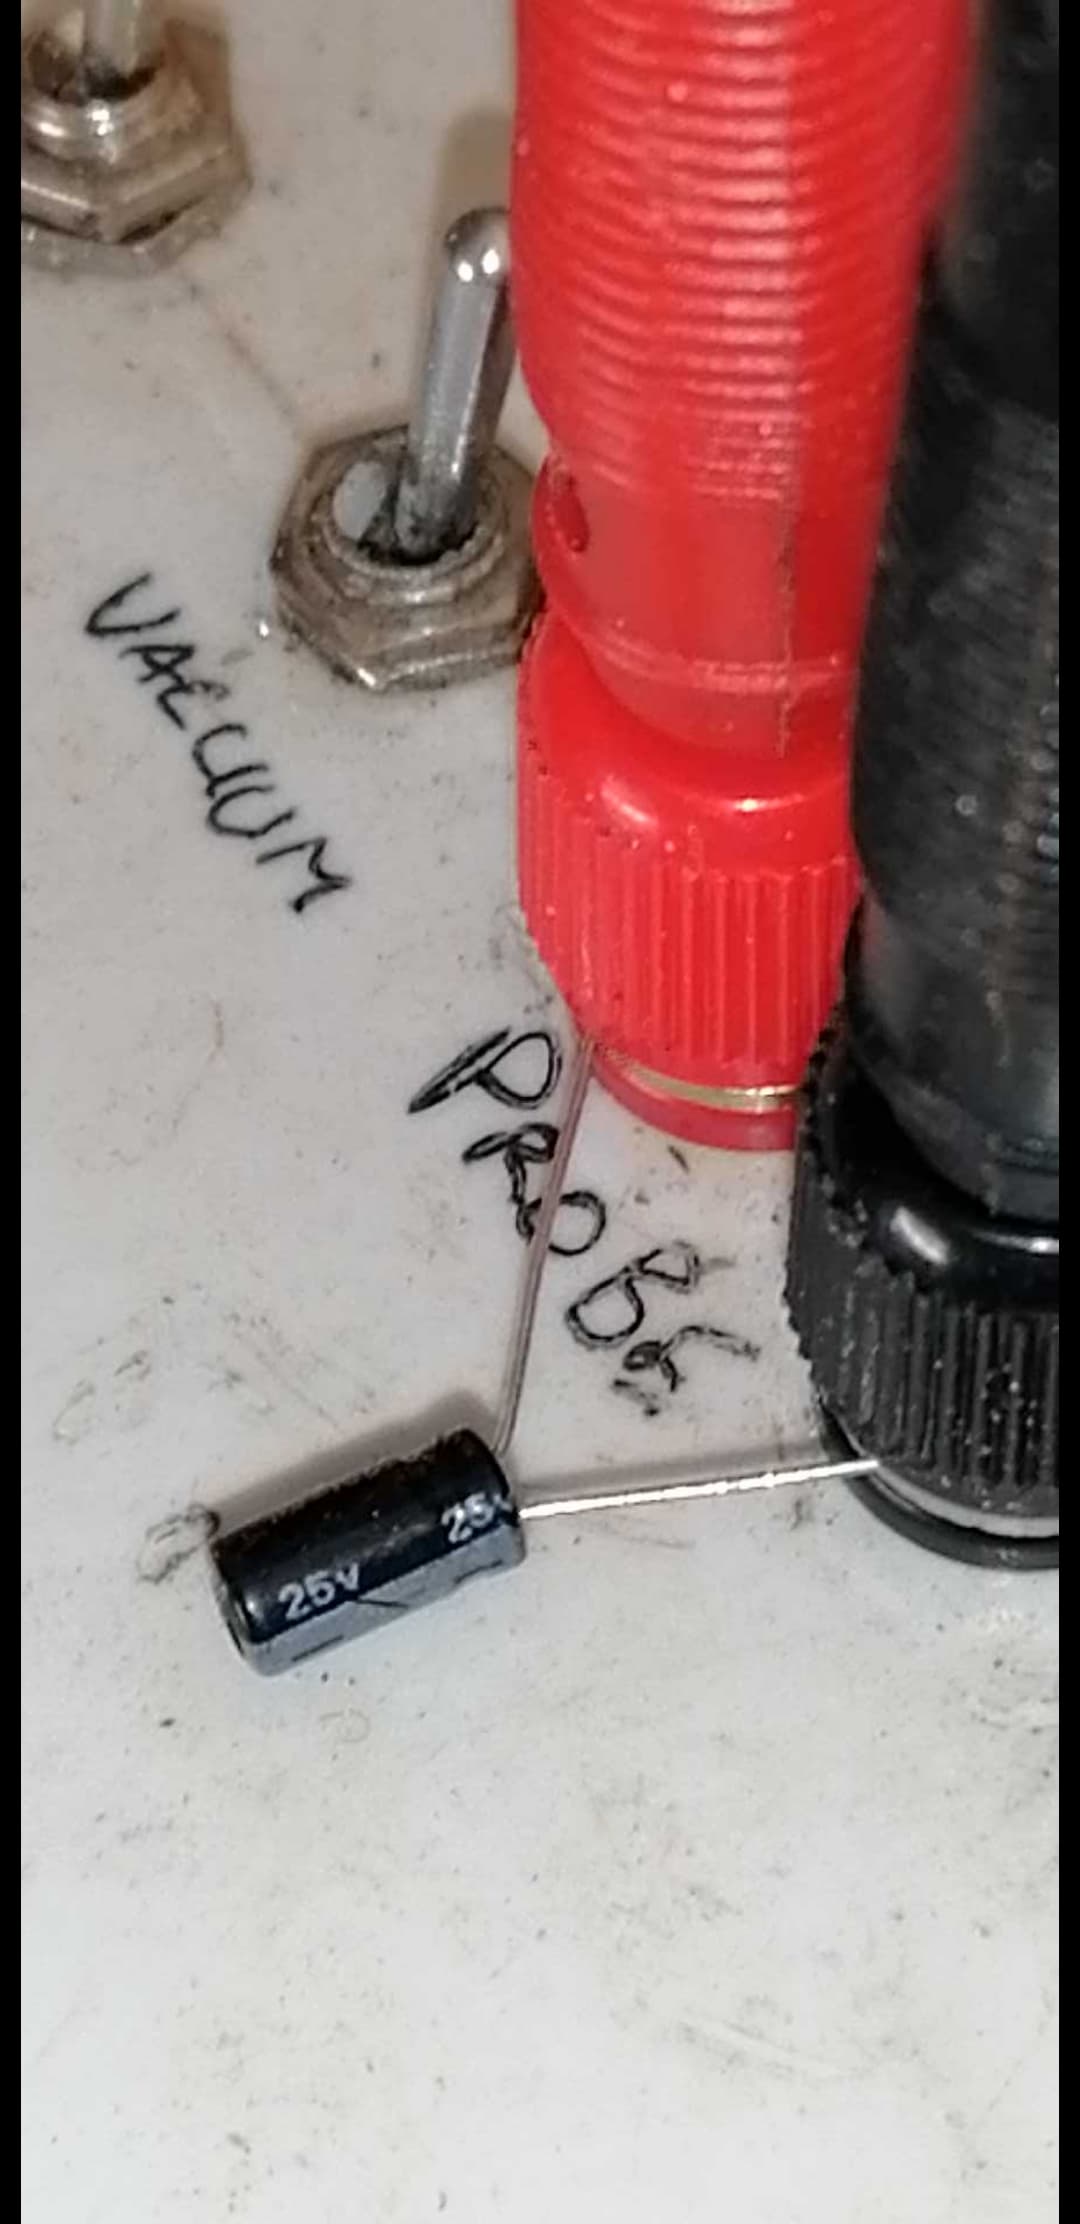
I added a 10mF capacitor between the two terminals going to the probe and touch Plate and It seems that all is working perfectly now.
Adding the resistor only gave me a positive green and the moment I probed it went into the error 4 alarm so I took the resistor out and it worked as it should.
I hope that anybody else who has a similar problem finds this all helpful
Thank you guys for all your help 
Now I can get on with using the machine and build a bigger one based on the similar design that of the long mill which looks very sturdy