Hey all,
My laser arrived today and I’ll be working on getting it installed over the next few
days as I find time. This will be a neat add-on and hopefully help relieve some
workload from my K40 CO2 laser and improve my workflow.
If you haven’t already, check out Andy’s video. It has great info.
Linky → Andy’s - Adding a Laser Onto Your Longmill
See Also Sienci’s Advanced Resource Page → Adding A Laser to Your Longmill
Here is my journey. Follow me along. If you have any questions feel free to ask.
I started off by searching out the Laser that Andy mentions in his vid. There are bigger
more powerful ones out there but figured I’d give this a go to start. I ordered the laser
and it only took about 2 weeks to arrive from Banggood (China).
** Order some laser glasses while you are at it. Not only for safety but they are valuable
for focusing/tuning the laser for use. **
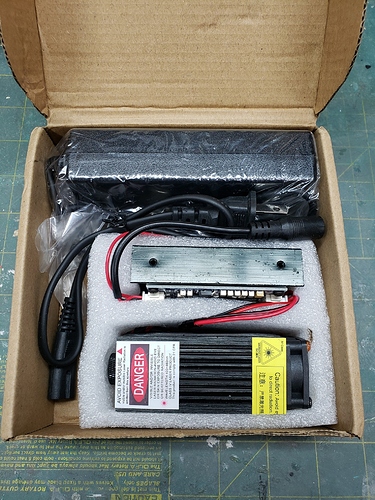
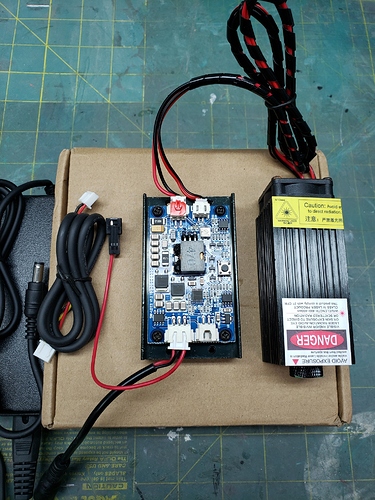
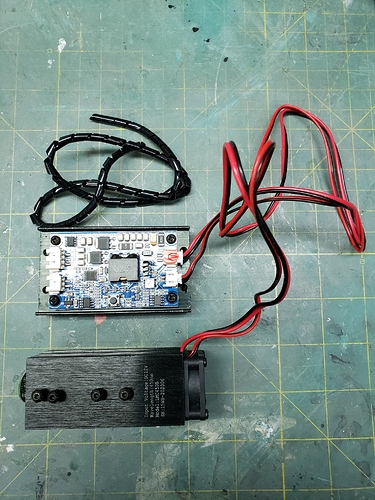
Laser arrived with cables, driver board, power supply, and laser module.
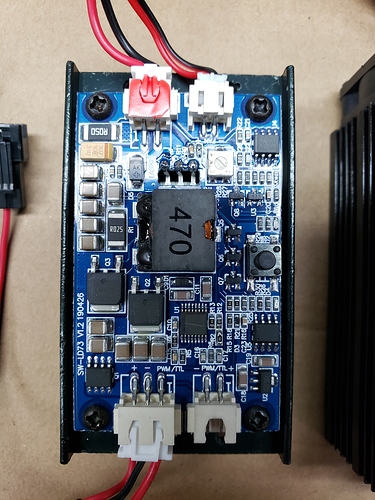
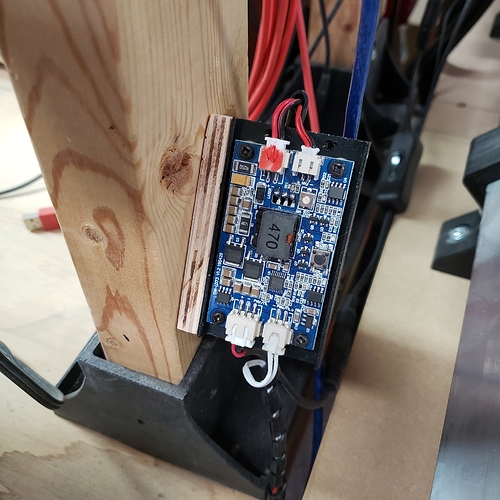
A closeup of the laser driver board.
Top Left - Connection to Laser module (to be extended)
Top Right - Connection to Laser fan (to be extended)
Bottom Left - Power connection
Bottom Right - TTL/PWM connection
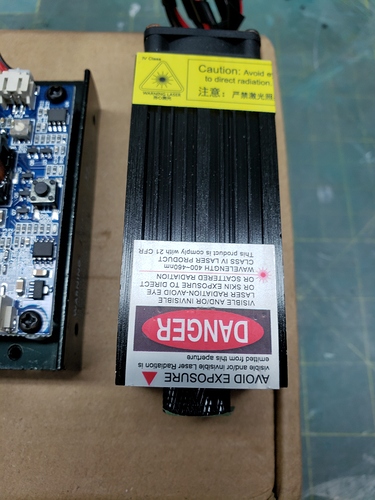
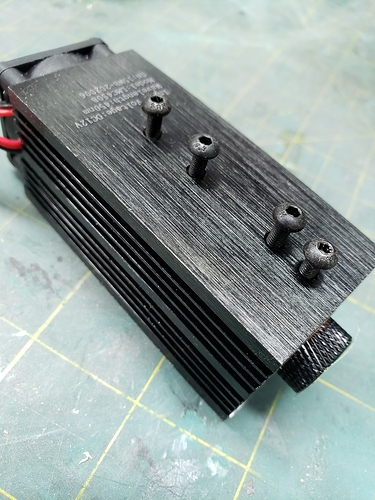
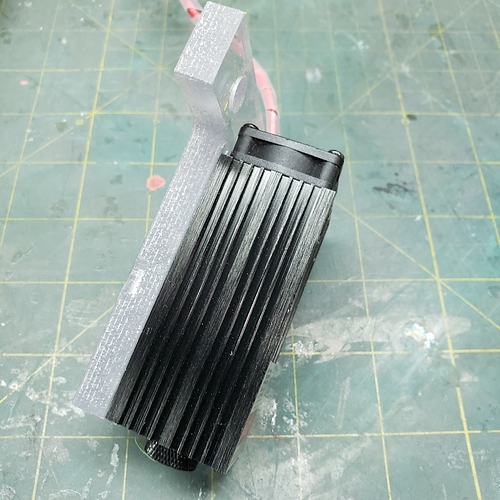
Laser module with fan attached on top.
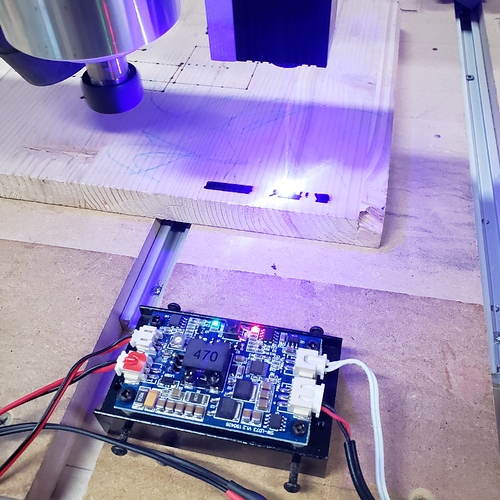
Of course I plugged it in willy nilly to see if it worked. Made some laser art.
** Note - It is llive and firing without PWM control. Attempt at you own risk.
Wear eye protection **
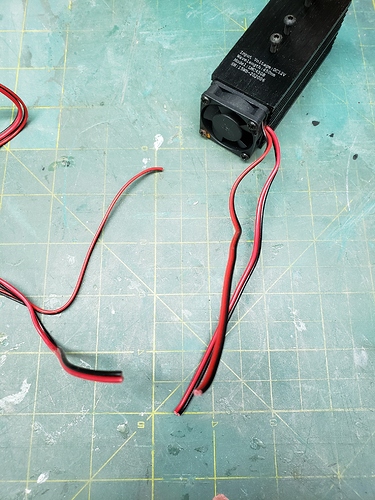
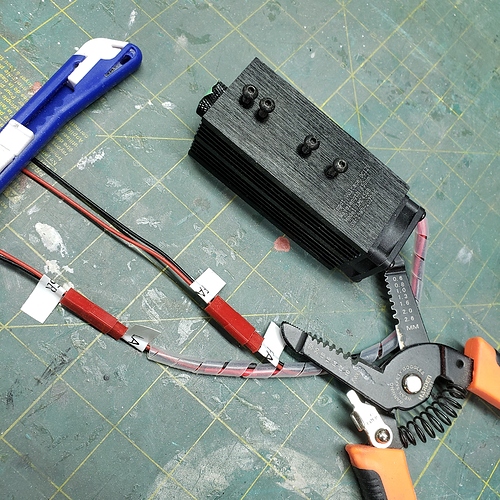
The main mod required is to lengthen the wires from the Laser driver board
to the Laser and fan on the laser module. I started by removing the black
wire loom.
Next I cut the wires to the fan and laser leaving an adequate amount of wire.
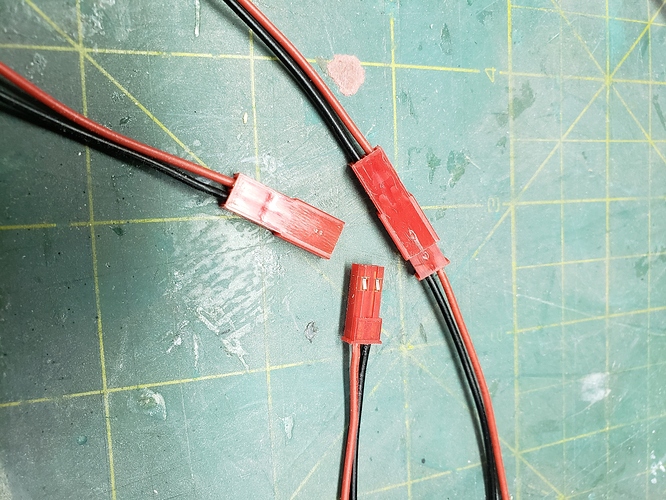
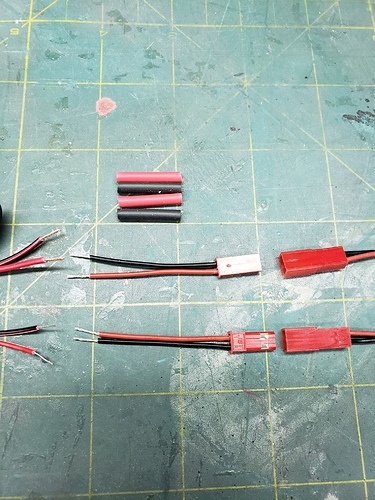
Next I sorted an prepped JST connectors to be added onto the wires. My thought
process is the laser will need to be removed if using the stock dust boot. Also for
future upgrades. Best to do it now then deal with it later. JST connectors are super
cheap off E-Bay. I soldered and heat shrink covered all connections.
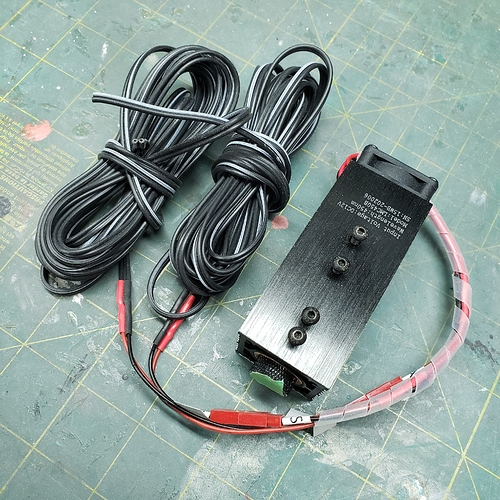
I picked up 22ga wire from the local electronics shop. You don’t need anything to
crazy for gauge. I bought 10m to be safe for length. Added the connectors to each
keeping in mind proper polarity and labeling each (fan / laser). I soldered and heat
shrink covered all connections.
Next I sized up the mounting points on the Laser module.
They are M3 on my laser module.
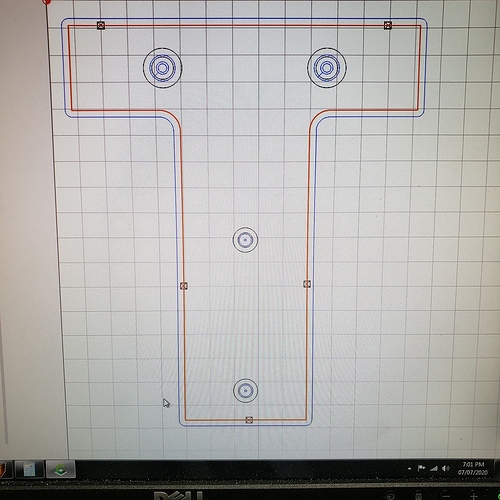
I grabbed the file for the mount from the Sienci’s open resources page. I exported it
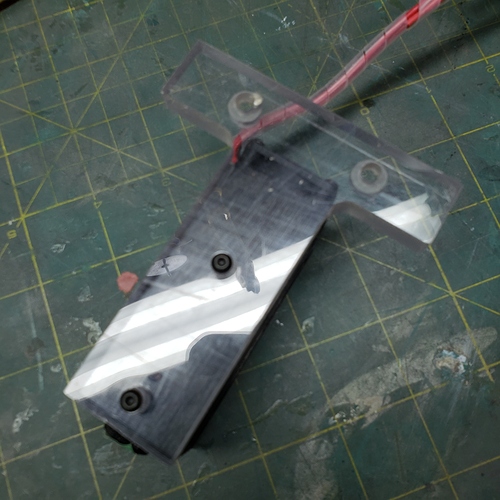
and cut it on my Longmill. I pocketed the mounting holes as I was using some thicker
polycarbonate scrap. Holes and fit were perfect. Mounting holes on Longmill are M5.
V2 Linky - Seinci - Open Source Files (V2)
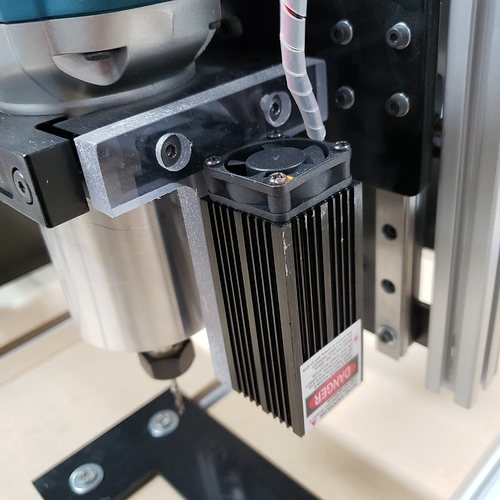
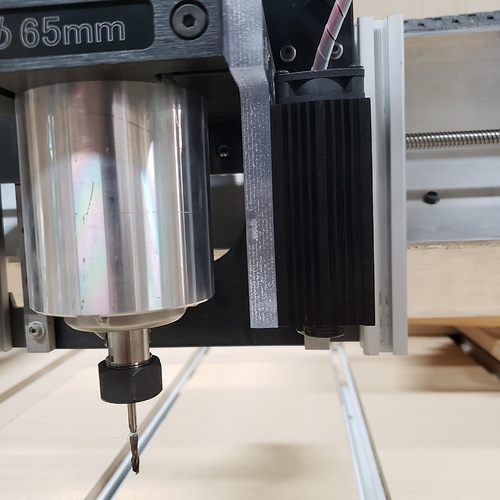
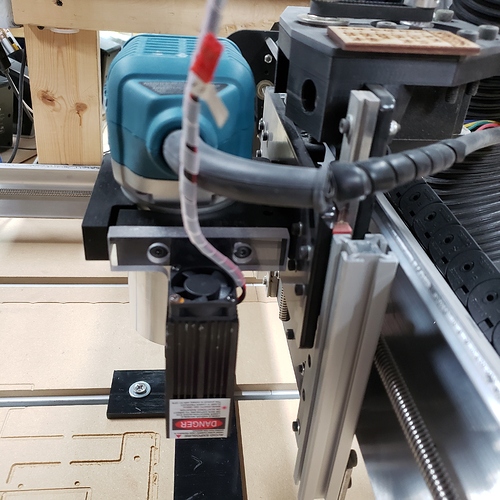
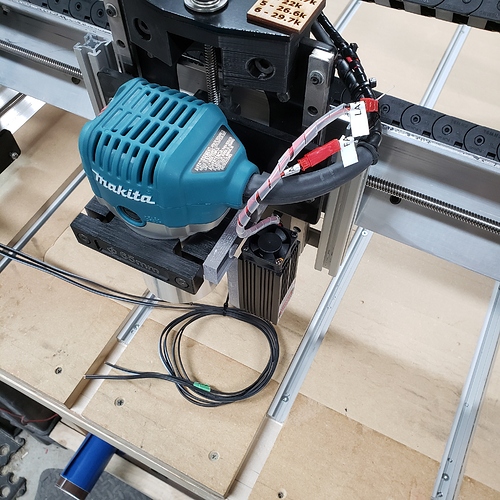
I mounted the Laser module to the Longmill head and everything fits perfectly.
Mounting holes on Longmill are M5. ** Remember to remove your dust boot
if you intend to move the Z Axis as they will crash **
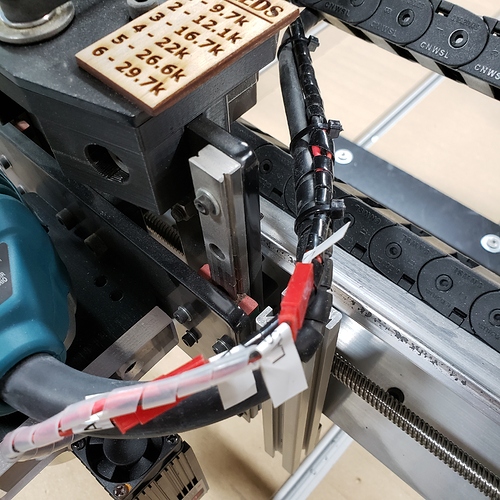
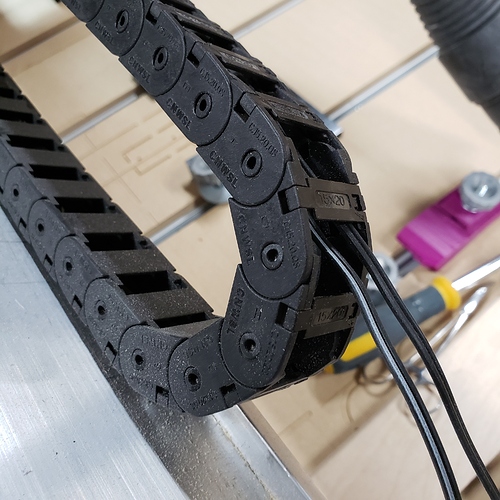
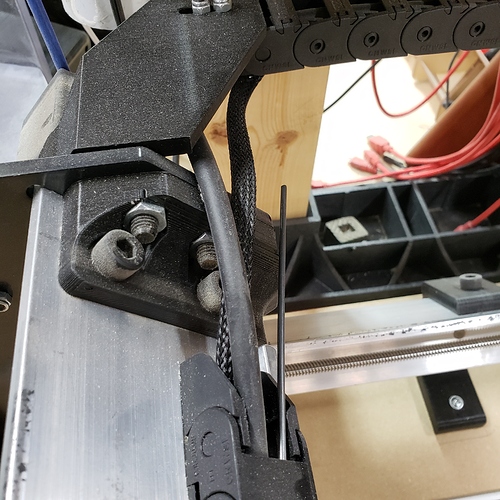
What I thought was going to be the most tedious part was running the extended
wires back through the wire chains. Turns out it was super easy and only took
me about 10-15min. I simply slid a small metal rod (approx. 24") from the curved
end of the X Axis wire chain. Attached the extended wire ends on with electrical
tape and pulled them through. I did this for all runs without the need to take any
clips out.
Wires all pulled and run to out front of machine. I soldered and connected
the fan and laser leads to the Laser driver board and heat shrink covered all.
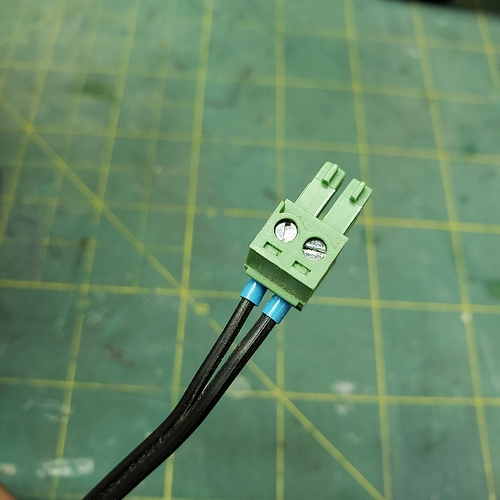
Next I crimped some ferrules onto a length of the 22ga wire and attached
them onto the plug labelled “Spindle PWM” keeping in mind proper polarity.
Now the opposite end is connected to the PWM/TTL control on the Laser driver
board. My laser did not come with a connector. Luckily I had one in my spare
connectors bin. I soldered and heat shrinked the connector on. Double
checking polarity. ** If i figure out size/type connector I’ll post **
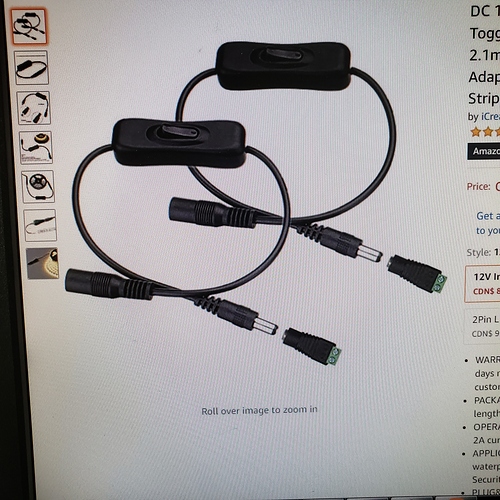
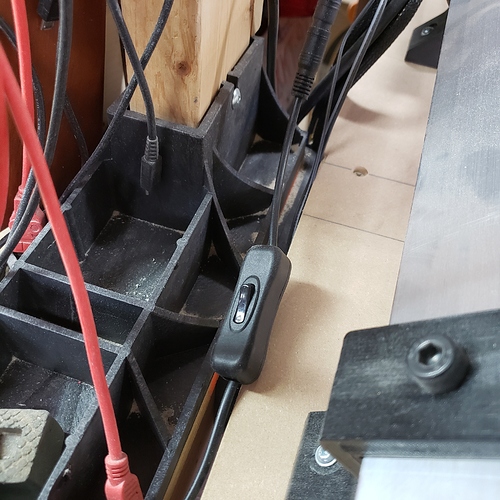
That should be it for physical connections. I did add an optional power switch in
between the power supply and Laser driver board. You can pick these up cheap
off of Amazon.
Power switch mounted in-line.
I mounted the Laser driver board to the side of my bench next to my Longmill. I
put it at a slight angle as I wanted access to the alignment button. Yes this can
also be accomplished via Lightburn software. Remeber to give your driver
board fan room to breath.
Software side. I already had Lightburn software installed as I use it on my
CO2 laser. If you are new/old to laser software this is one of the best pieces
of software out there for the price. $40USD (can install on up to 2 PC’s) and
you only require the GRBL version. Linky → Lightburn Software
Changes are simple to make the laser work. Two things need to be changed.
We need to turn on laser mode and change the spindle speed max.
I use UGS. In the console window type $$ this will output a list of settings.
The ones of interest are $32 and $30. Write down the current settings.
First you need to turn on laser mode. Simply type the following in the
console window.
$32=1
If all goes well it will respond with an “Ok”
If unsure you can now type $$ and check to see if the setting was
accepted/changed.
Next we need to change the spindle speed max setting. This will
now become your max power setting for the laser. Simply type the
following in the console window.
$30=100
Again, If all goes well it will respond with an “Ok”
If unsure you can now type $$ and check to see if the setting was
accepted/changed.
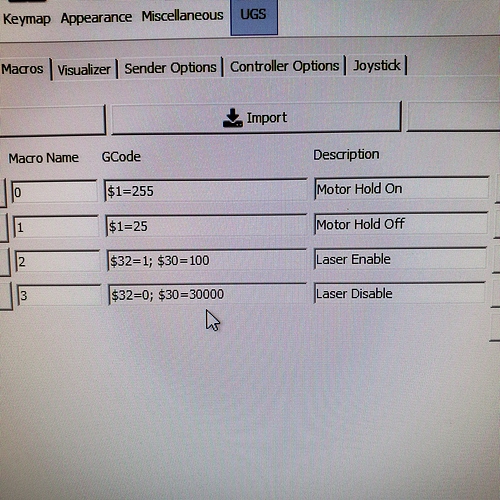
That is all that is required on the software side. I made life simpler by
utilizing UGS’s macro feature and created Laser Enable and Disable macros.
Your set to go! I won’t be covering Lightburn usage but they have some great
tutorial vids to get you started. Linky → Tutorials – LightBurn Software
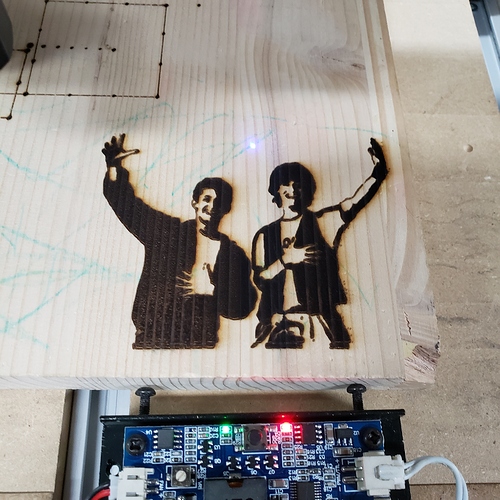
Here the laser is under PWM control and engraving my test pic.
Test pic complete. I still have to work on focal height and tune it in better.
Optional
As much as I liked the Sienci Dust Boot it was simply in the way of the
laser. I didn’t want to be taking the laser on/off or the dust boot on/off.
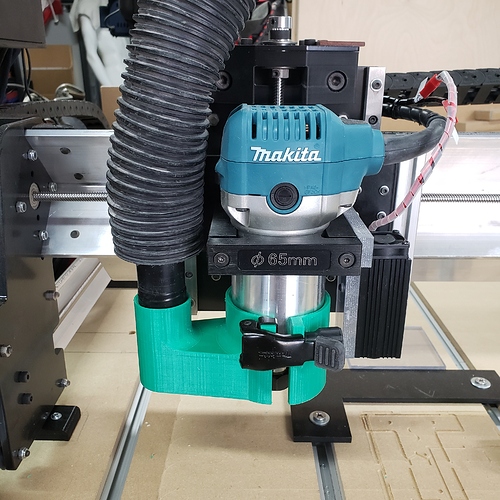
I downloaded @dedmonston dust boot design from Thingiverse.
Linky - > Dedmonston’s - Dust Shoe for Longmill
I mirrored it to swap sides for the vacuum hose and 3D printed it up.
Just a personal preference. ** Note for those of you who ordered your
Longmill with the Makita router. The clip is on the mount that came
with it. **
Here it is mounted. I just have to add the skirt to it.
More to come…
Venting
Focusing (Focal Height)
I hope this helps someone out who may be wanting to add a laser onto
their Longmill. Basically all you need is a little soldering skill and you can
do it. I will be updating an adding to this as time goes on.
Cheers,
Kris
