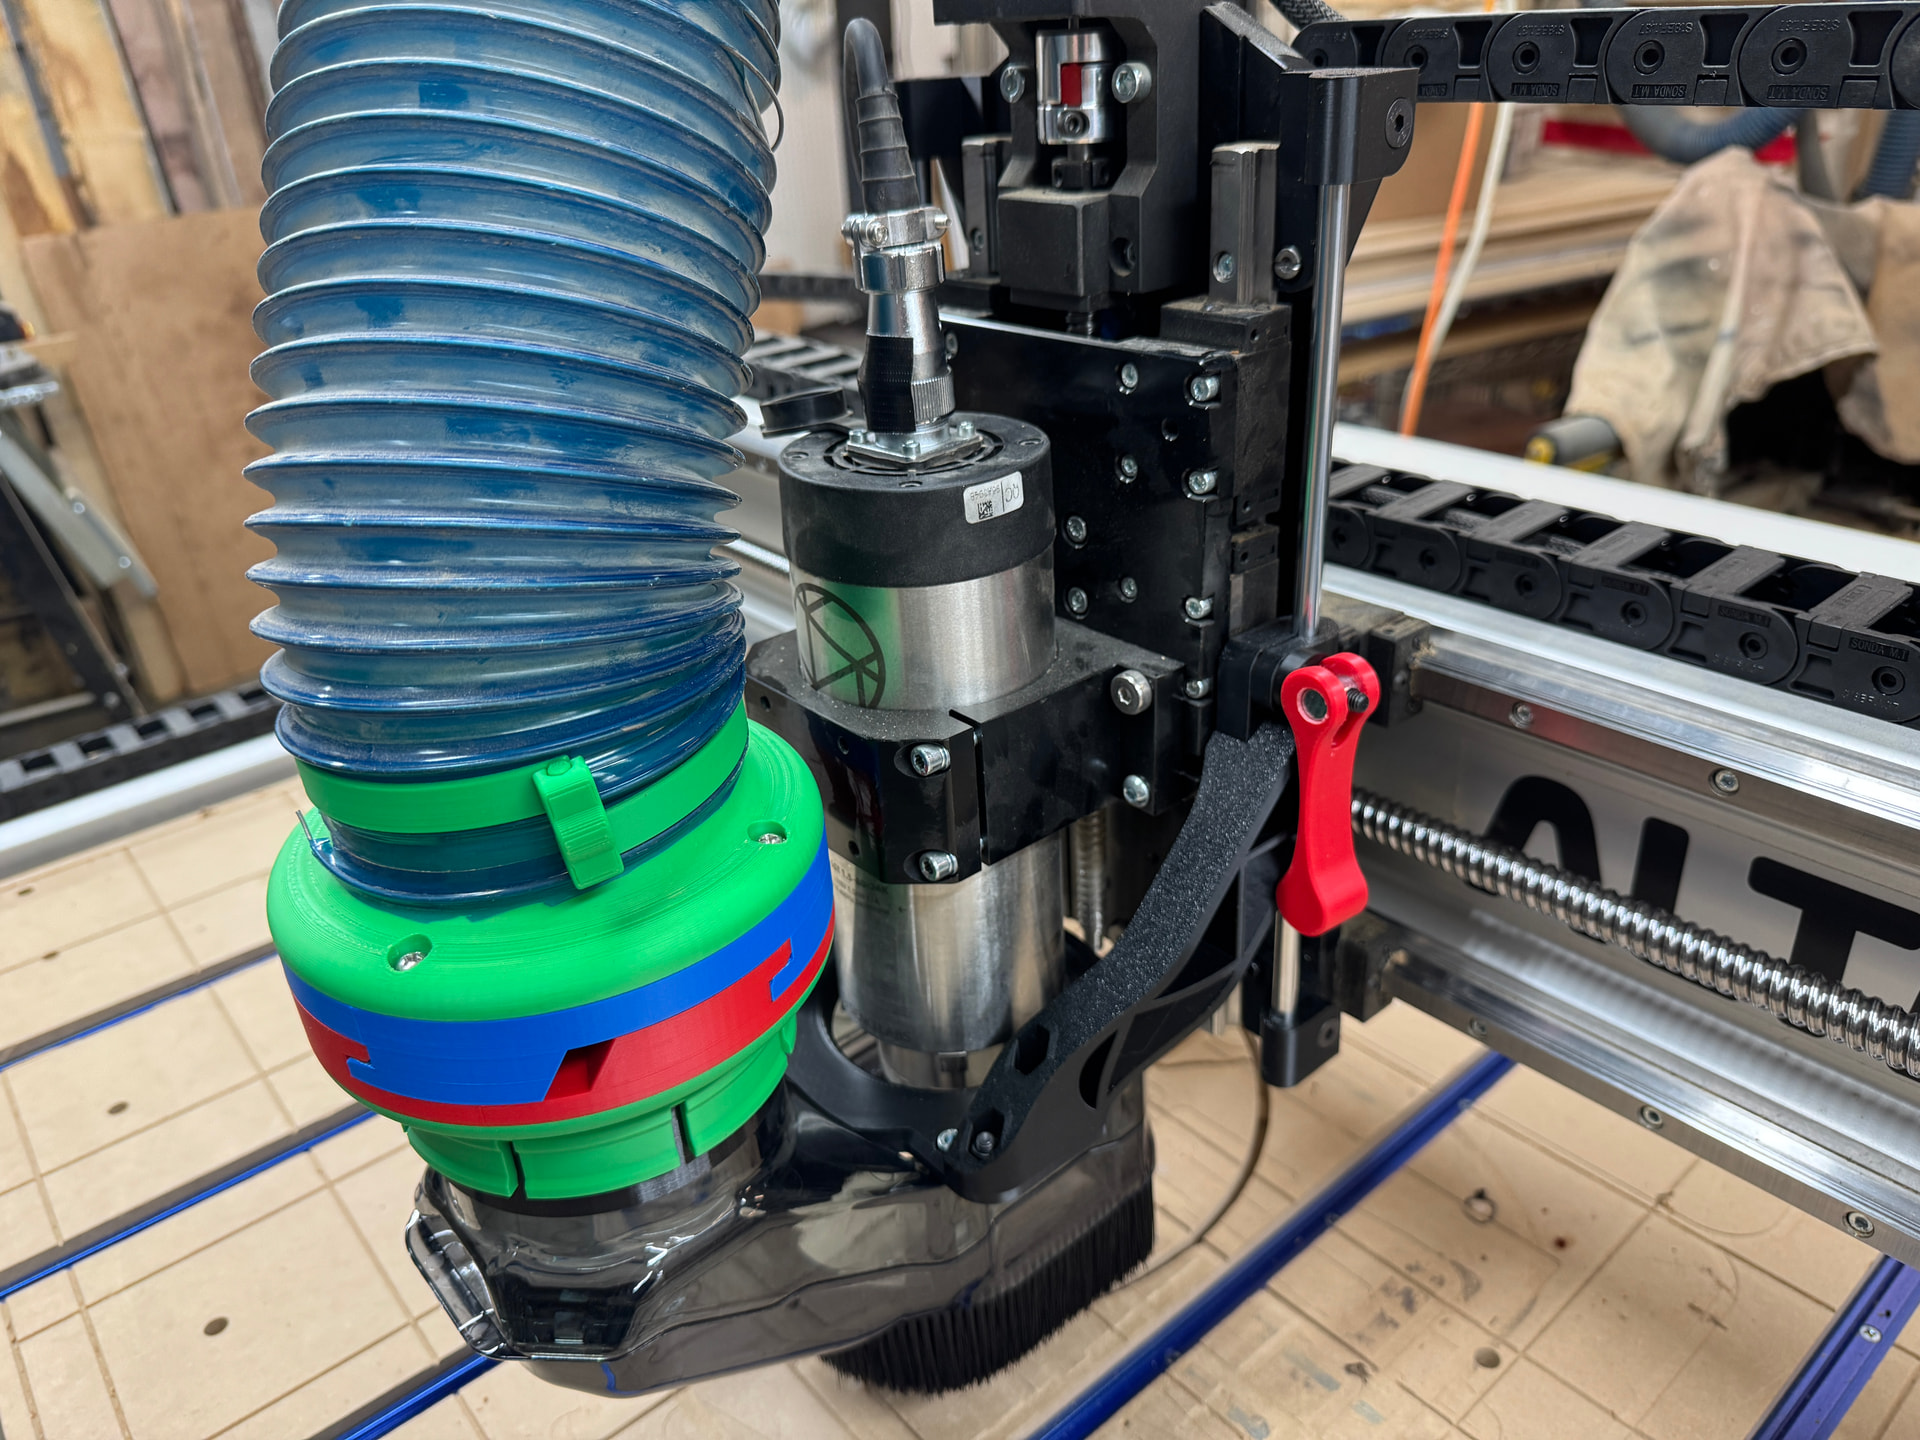
I agree on the usefulness of a 3D Printer. I got a Bambu X1C last November and have almost 1,500 hours on it. Here is my AltMill with a ZeeSlide independent Z-axis bracket along with a Modular Dust Collection 4” Magnetic Locking Hose Connection and Sienci Lab’s 80mm Clear Cut Dust Shoe.
1 Like
Yup, the zeeslide is something I need to print. I have the new shoe and having it z-independant would be really useful. And the AZTP holder as well. I currently place it on the floor.
It’s a great time to buy a 3d printer. Bambu Labs just released X2D.. for like $800ish you get a super easy to use printer w/ ANS2
Feel like sharing your .stl file and wiring diagram/parts list? I love this setup and have a P2S ready and waiting. Also - what filament did you use and settings to get the carbon fiber type look?
Here’s the box and cover plate. Both print “biggest surface down” and without supports. The cover is 3 parts if you want to print the transparent ring around the e-Stop; in Bambu/Orca slicer you click “Split → To Parts” and then you can apply a different filament to each.
I used plain black matte PLA. The texture comes from the build plate. Bambu sells them now, but I got one from “Juupine” on AliExpress.
Parts-wise, the e-Stop is Sienci one. The other bits are random AliExpress stuff from my parts bins. I’ll see if my order history goes back far enough to find links.
gControl_Box.stl (564.7 KB)
gControl_Cover.stl (2.3 MB)
Some part links:
- https://www.aliexpress.com/item/1005005735852747.html - build plate
- https://www.aliexpress.com/item/1005007408782914.html - machine on/off
- https://www.aliexpress.com/item/10000035029606.html - ‘action’ buttons
- https://www.aliexpress.com/item/1005007955623191.html - 16led RGB pixel ring
I can’t find the other stuff - too old or maybe from eBay/Amazon/etc.. You can find equivalents pretty easy though; e.g. for the USB jack just search “usb extension panel mount waterproof” on Amazon/AliExpress/etc. I’ve had good luck with “Choice” shipping on AliExpress, but I always check Amazon since sometimes they have the same thing for same price with safer/more reliable shipping (assuming you have Prime).
4 Likes
Thanks brother,
I appreciate the info.
Thank you for sharing the designs. I might do the same
You have an awesome setup…did you also print the keyboard holder? Could you post a pic of the back?
thanks
The keyboard is foam taped onto two aluminum angles and there’s no adjustment. I welded a little aluminum frame together that matches the vesa hole spacing and sits behind the control bracket.
1 Like