It’s simple enough to do with vCarve but you do need to think it through to have good reference points or registration marks for when you move your piece.
A few thing I learned:
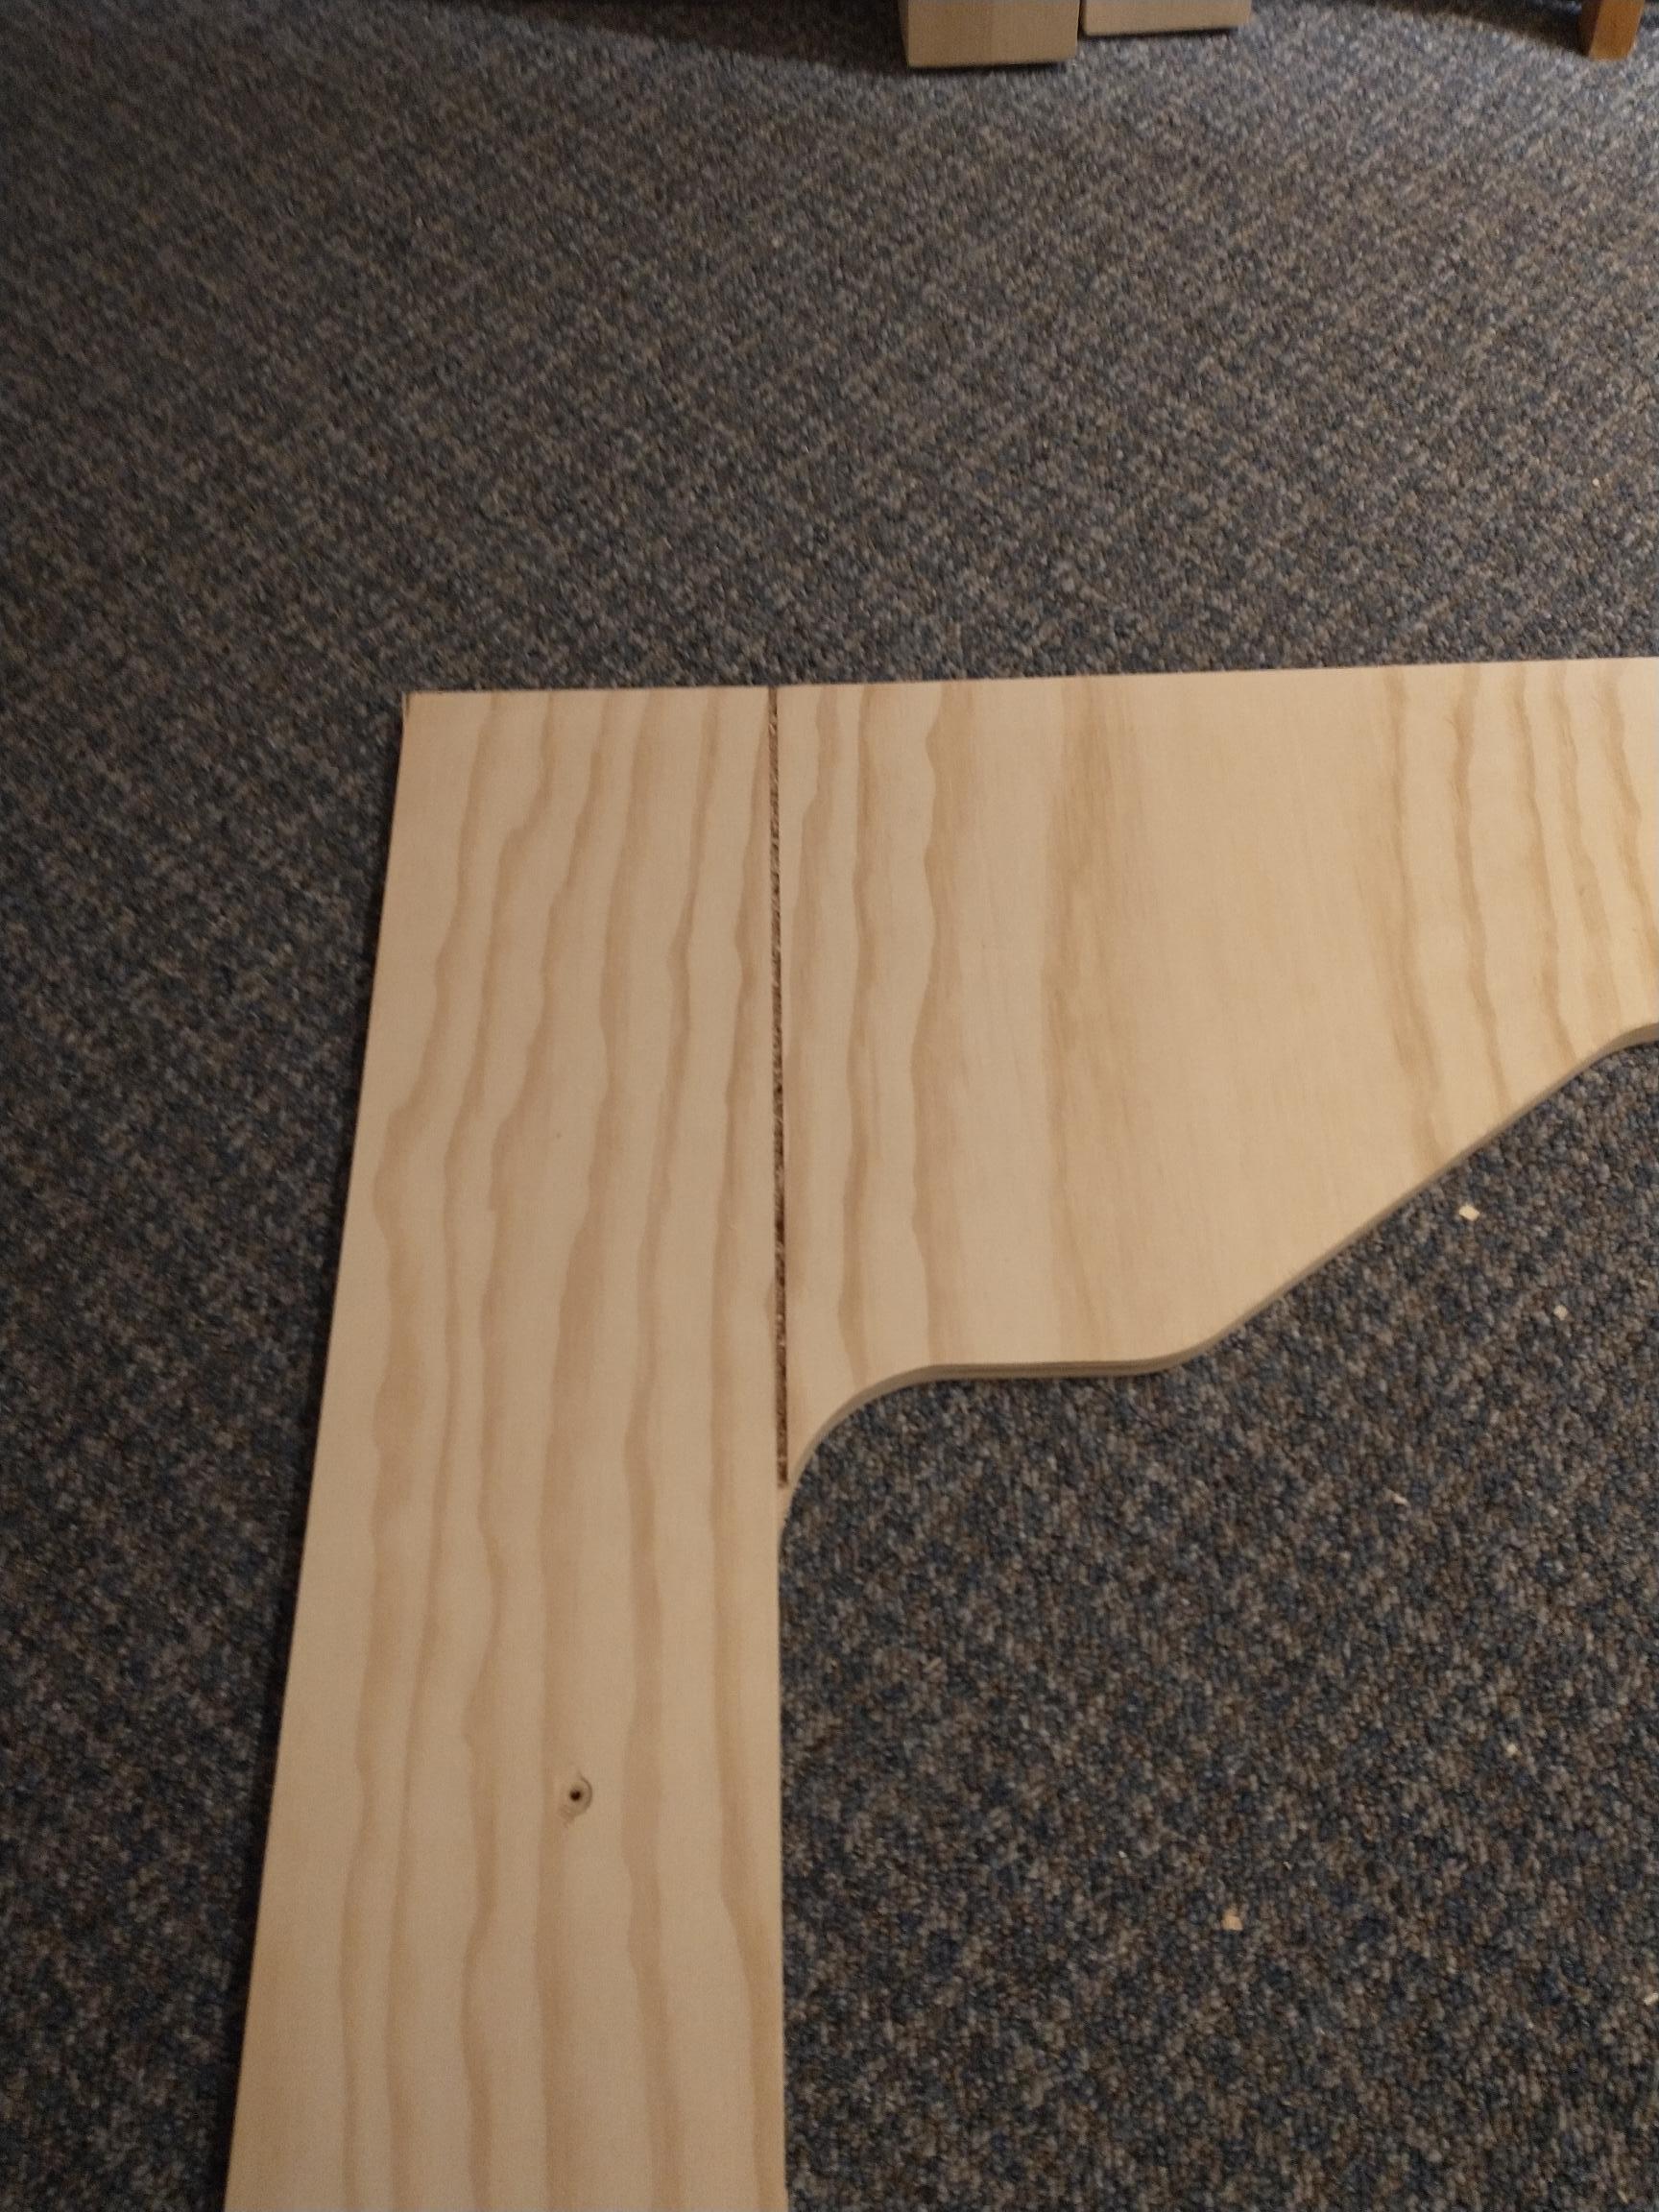
Use more tabs than you think
Plywood is not always flat so you need to find a way to keep it flat
If you use a 1/8" bit, the cut length is not very long. Be careful that your collet doesn’t hit anything. My collet rubbed against one of blocks I used as a reference edge. It left some nice burn marks. I posted here before about the risk of fire. That risk is now real for me. You can never be too careful and you might not think of everything when you do your toolpaths.
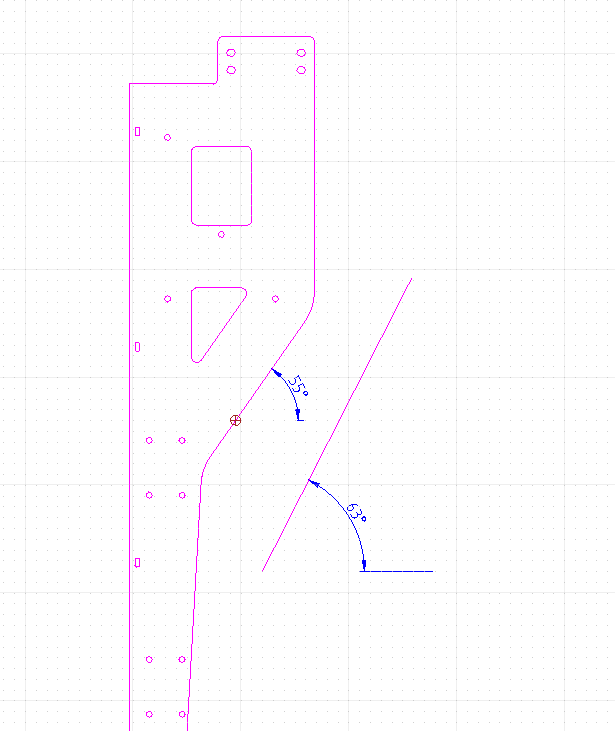
Another thing I learned…the OnShape drawings for the legs are not accurate. The drawings indicate an angle of 55° for the flared part but the actual legs have an angle of 63°.
Doesn’t Sienci know that I’m a bit OCD!! Luckily, the side stiffeners will not be visible. But I’ll have to fix the profile for the front stiffener. There’s no way that I’ll be a able to look at it if the angles don’t match. Ughh!
Well, I must say that i gained a lot of wisdom today. Another thing you shouldn’t forget when you tile is to change files between cuts. Otherwise, you might be asking yourself: “Why is it cutting there? Should it not start where it left off? Oh shoot!”
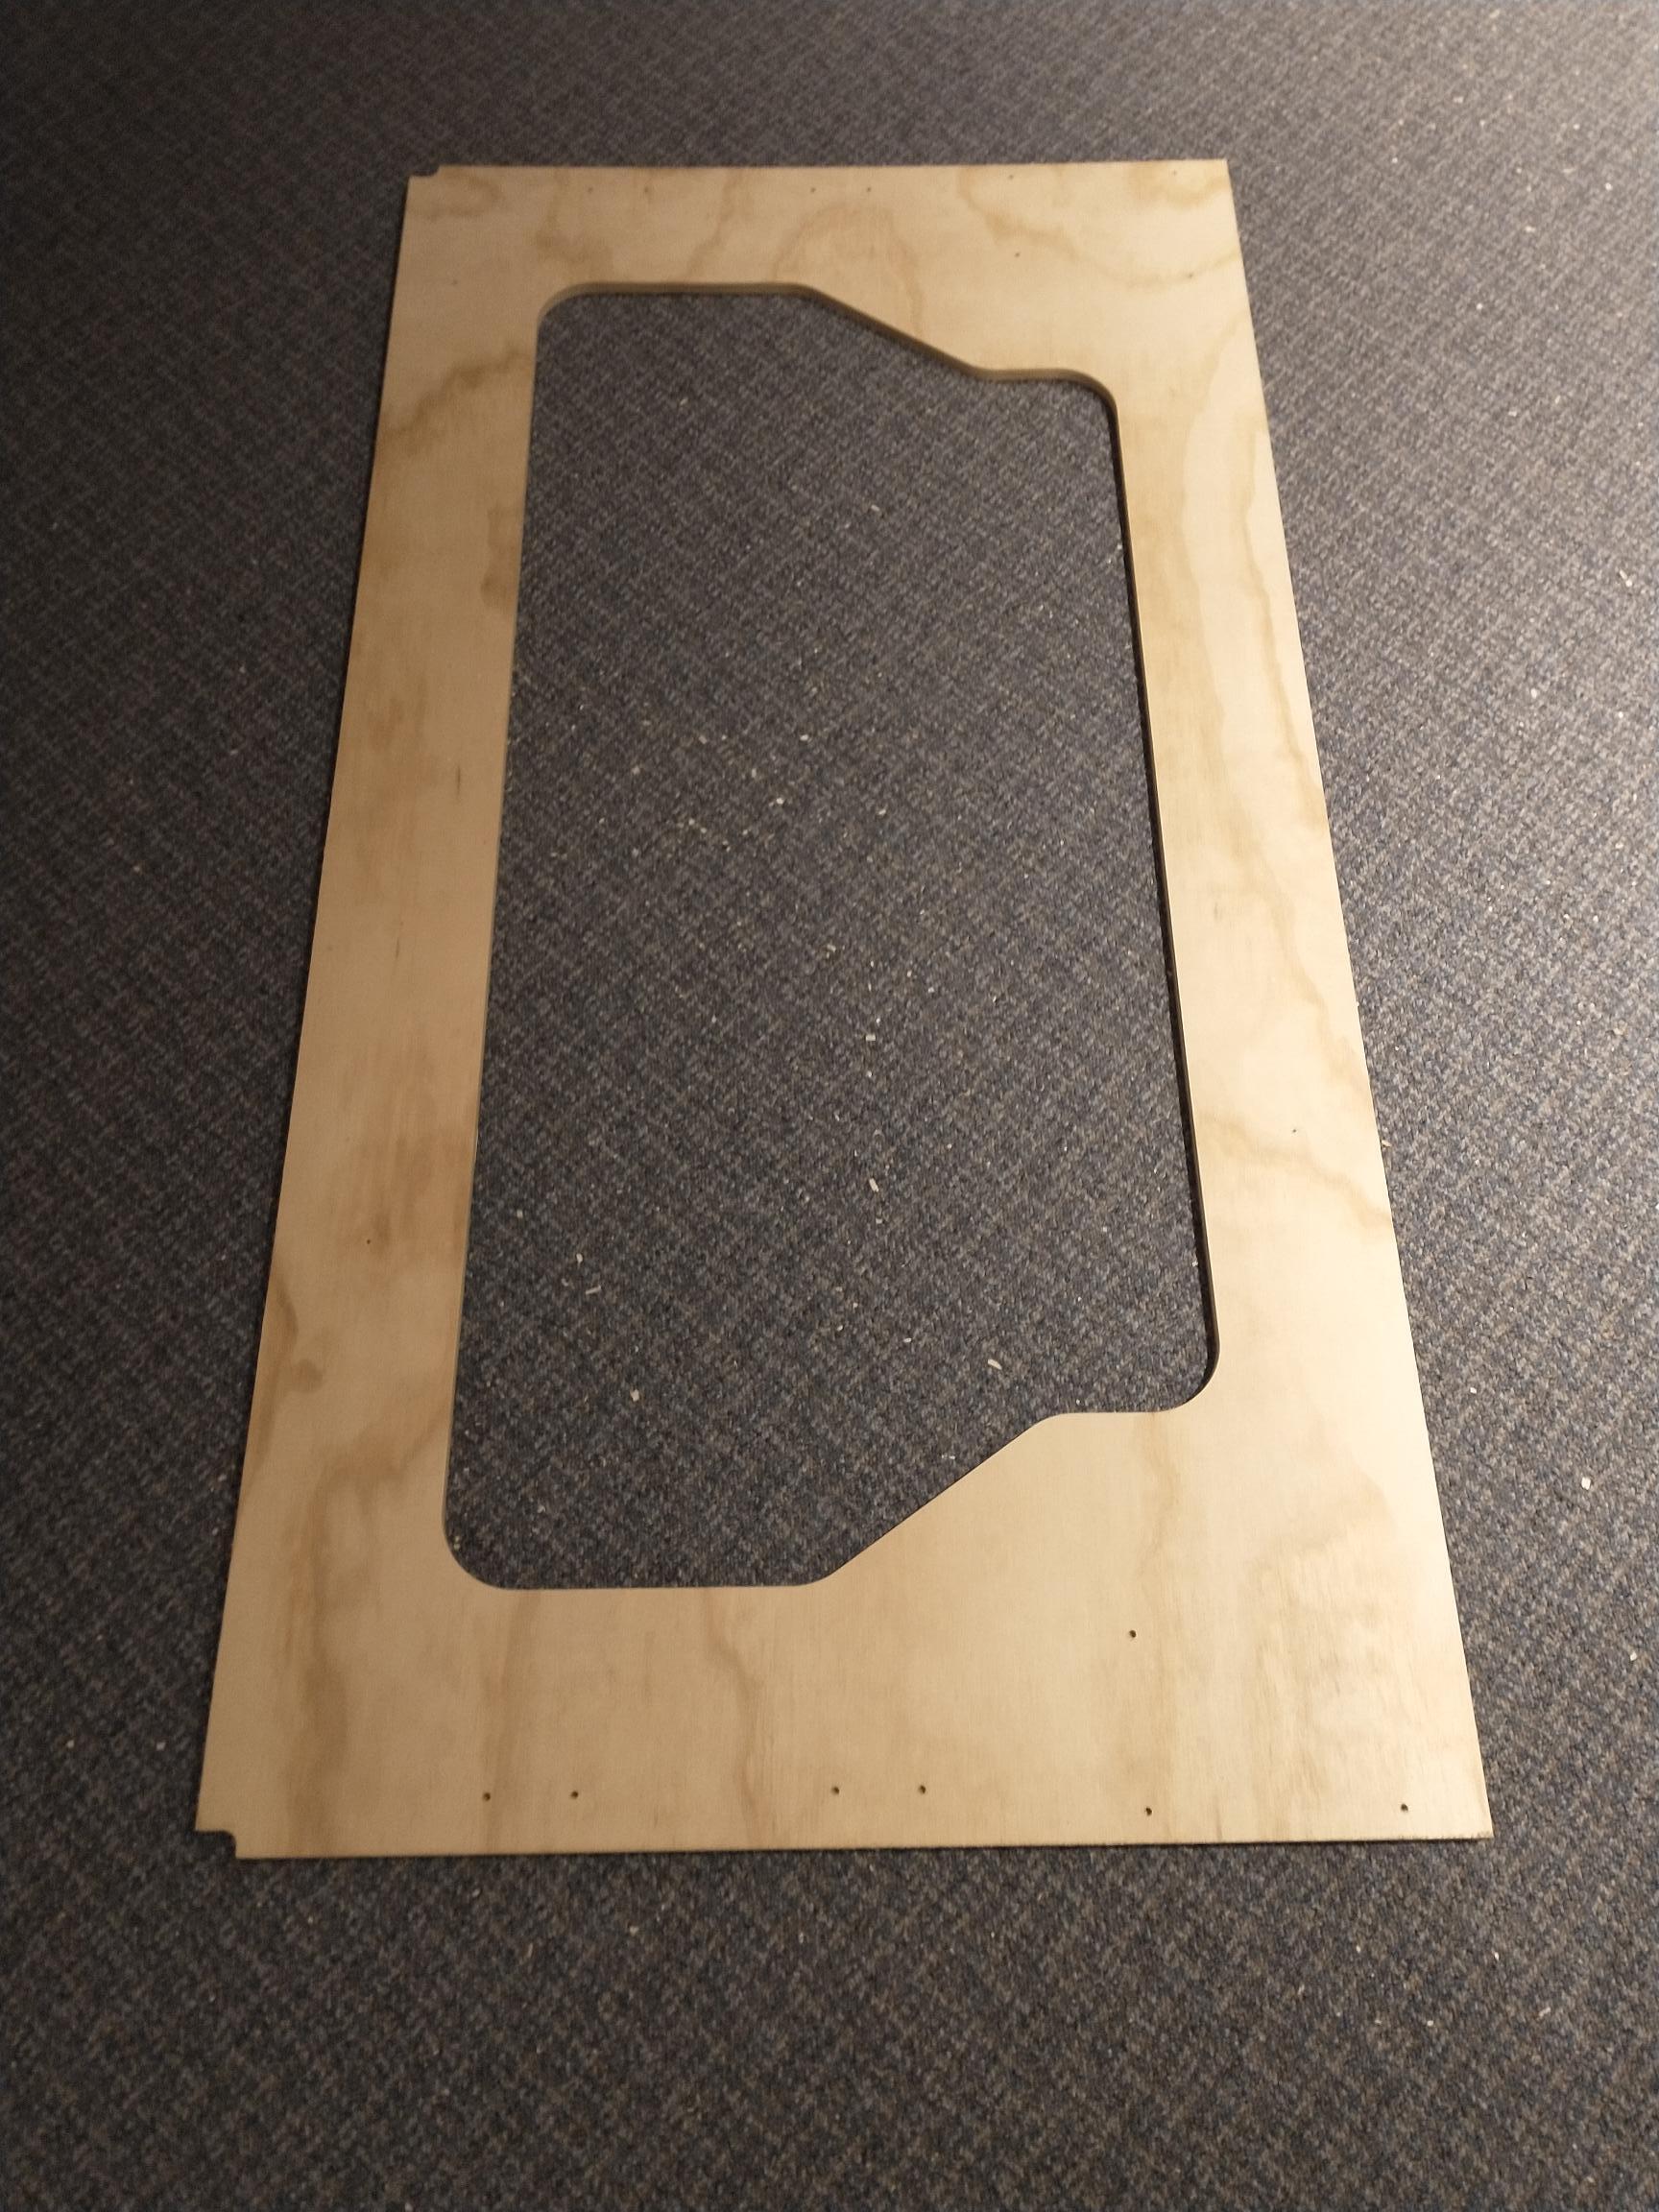
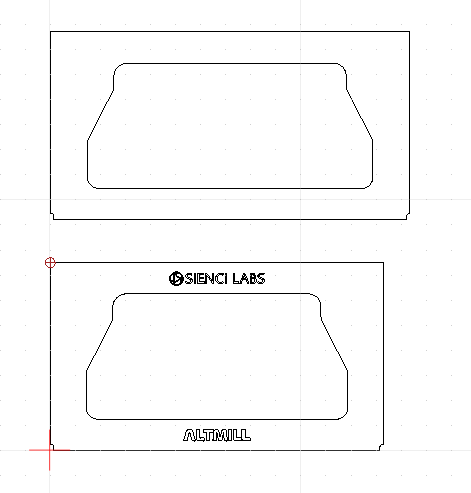
I didn’t bother to vCarve the Sienci logo and I got rid of the bolt holes since the legs don’t have the same holes on both faces.
Here is the DXF file with the front and side stiffeners. They all require tiling unless you just cut out the middle. If you tile, you can cut all the edges as well.
That looks lika a legit airhokey table!! Very nice 80’s arcade fibe. I absolutely fully LOVE i.. wait a minute.. Is that.. a worm in the wood? Is that a dark aura I see?
It’s an Altmill!!1 -hisses something in an ancient foreign tongue, no one understands no more-
I must admit that even though I am a perfectionist, I am a bit of a slob. One of the deals I made with my wife when I told her I’d be buying a $6k CNC and that I would install it on the carpet in our finished basement (which we only use for storage anyways) was that I’d keep the area clean.
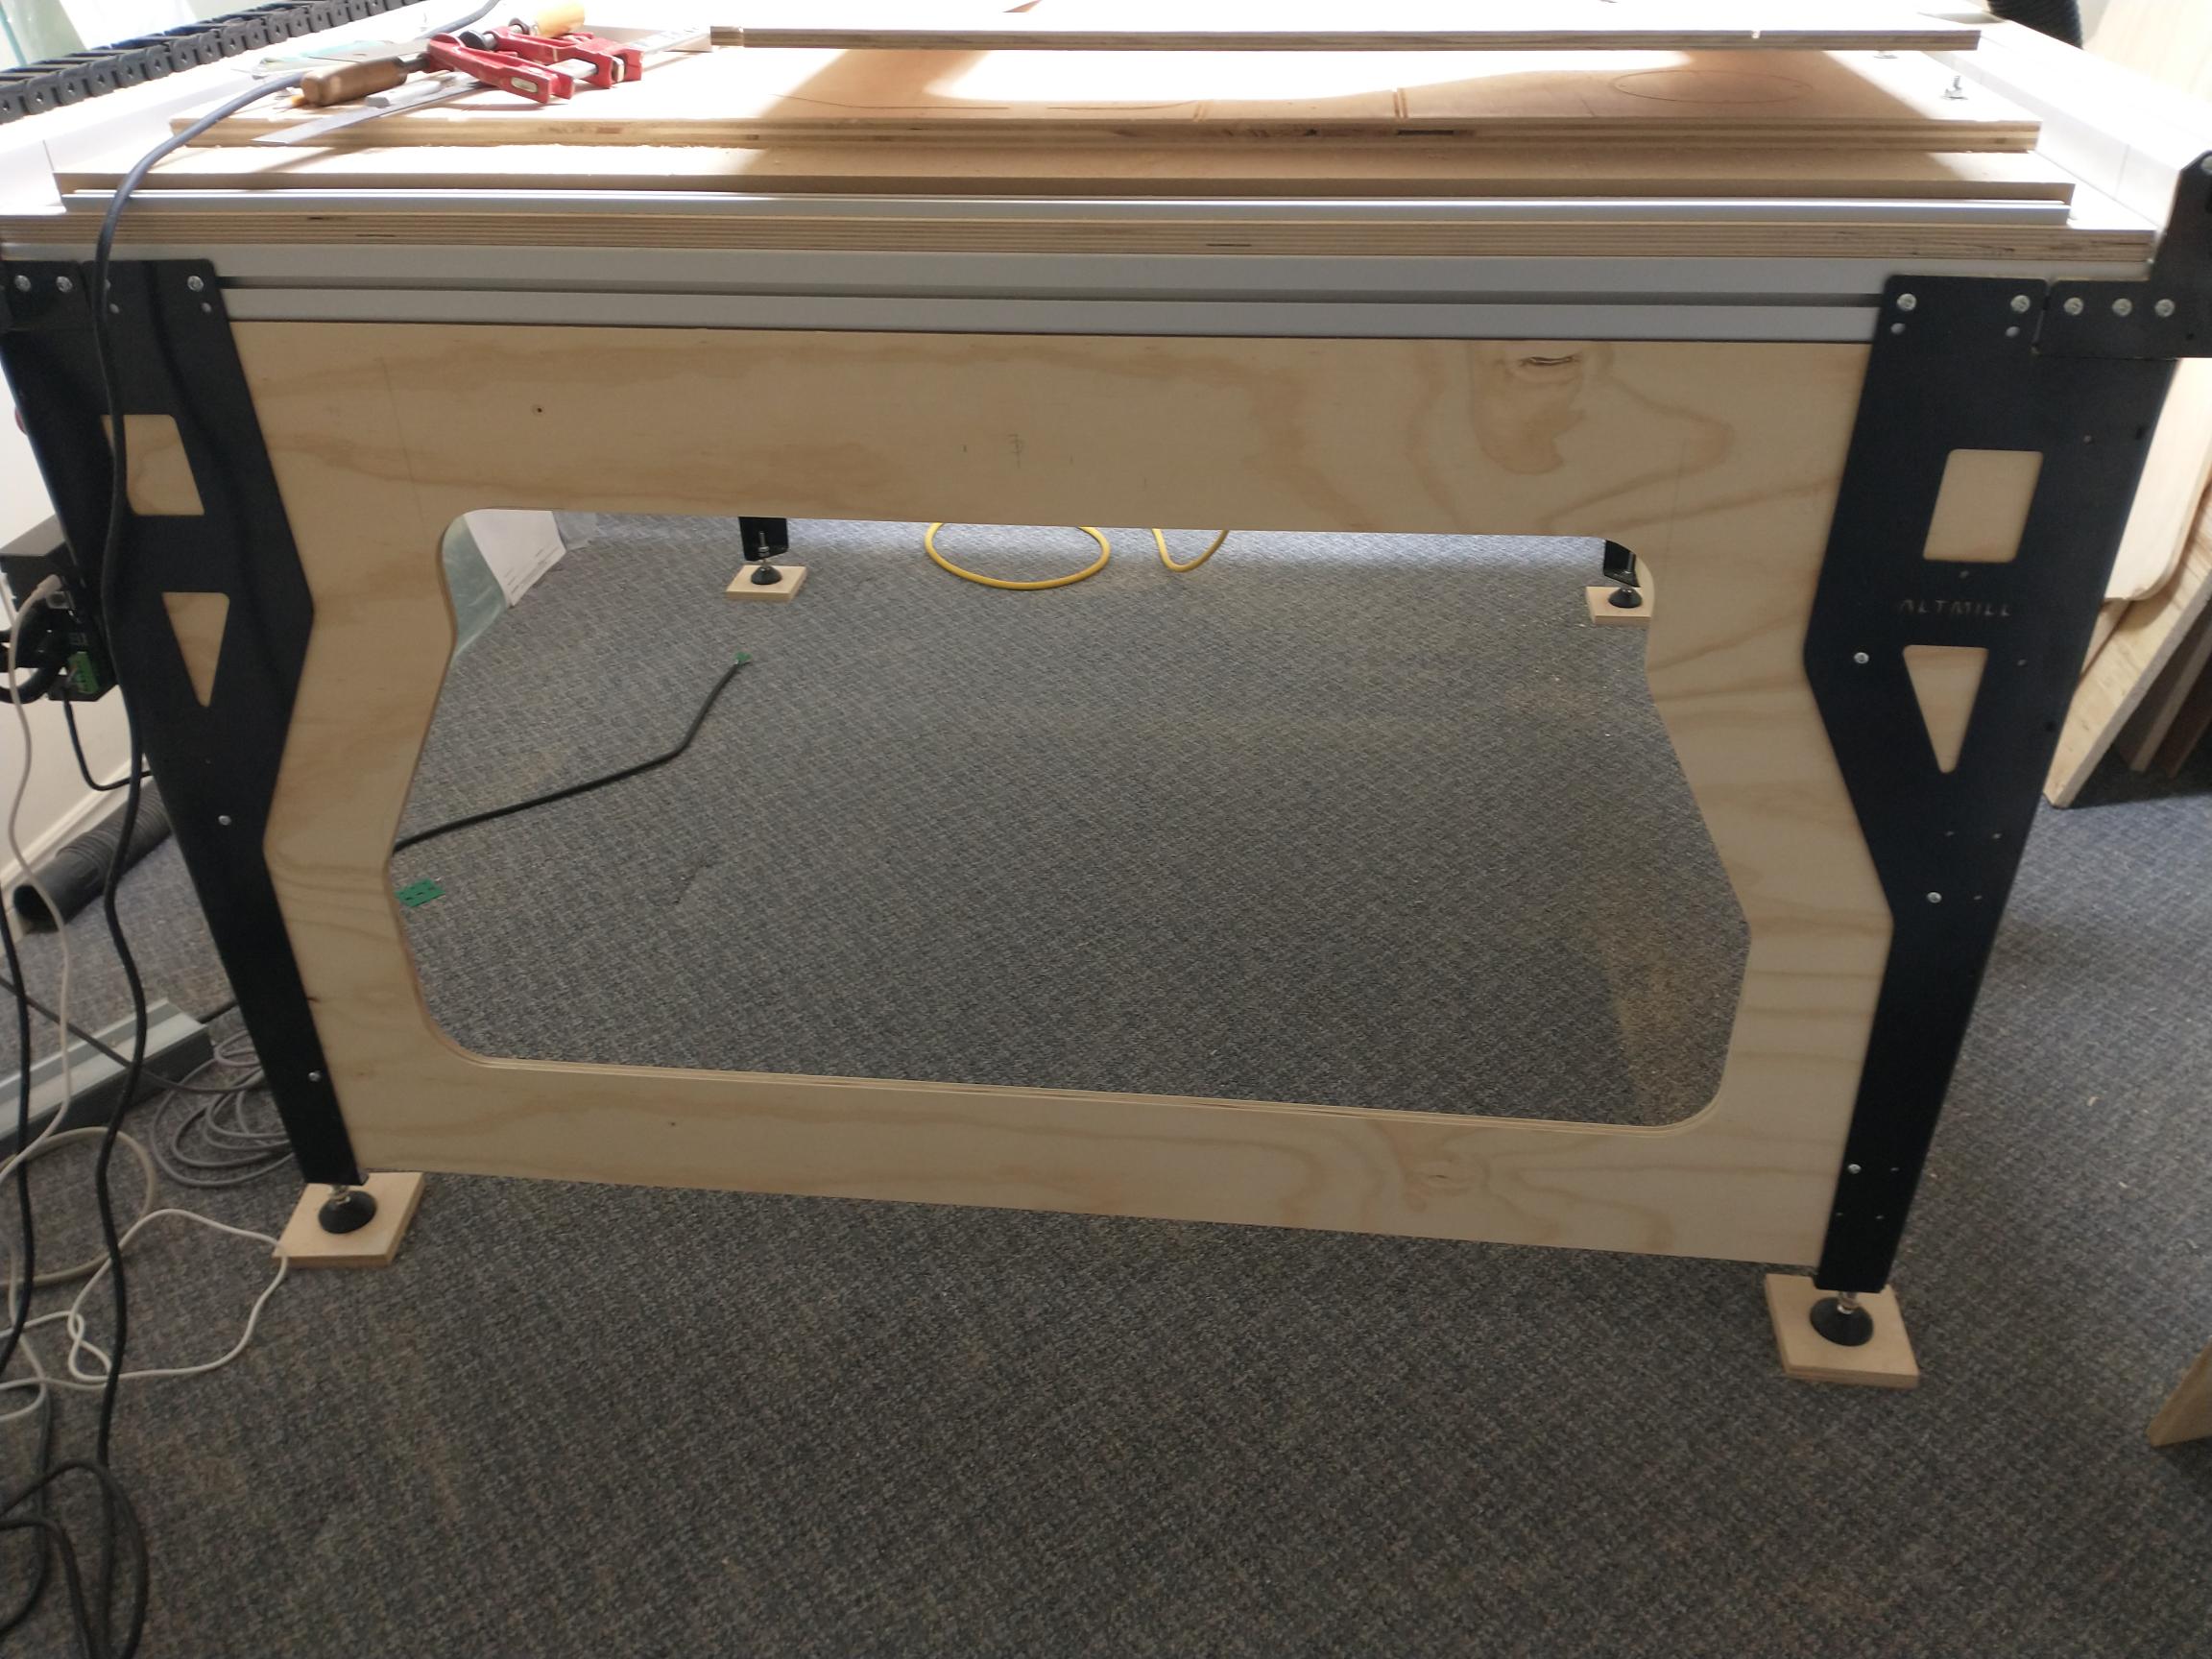
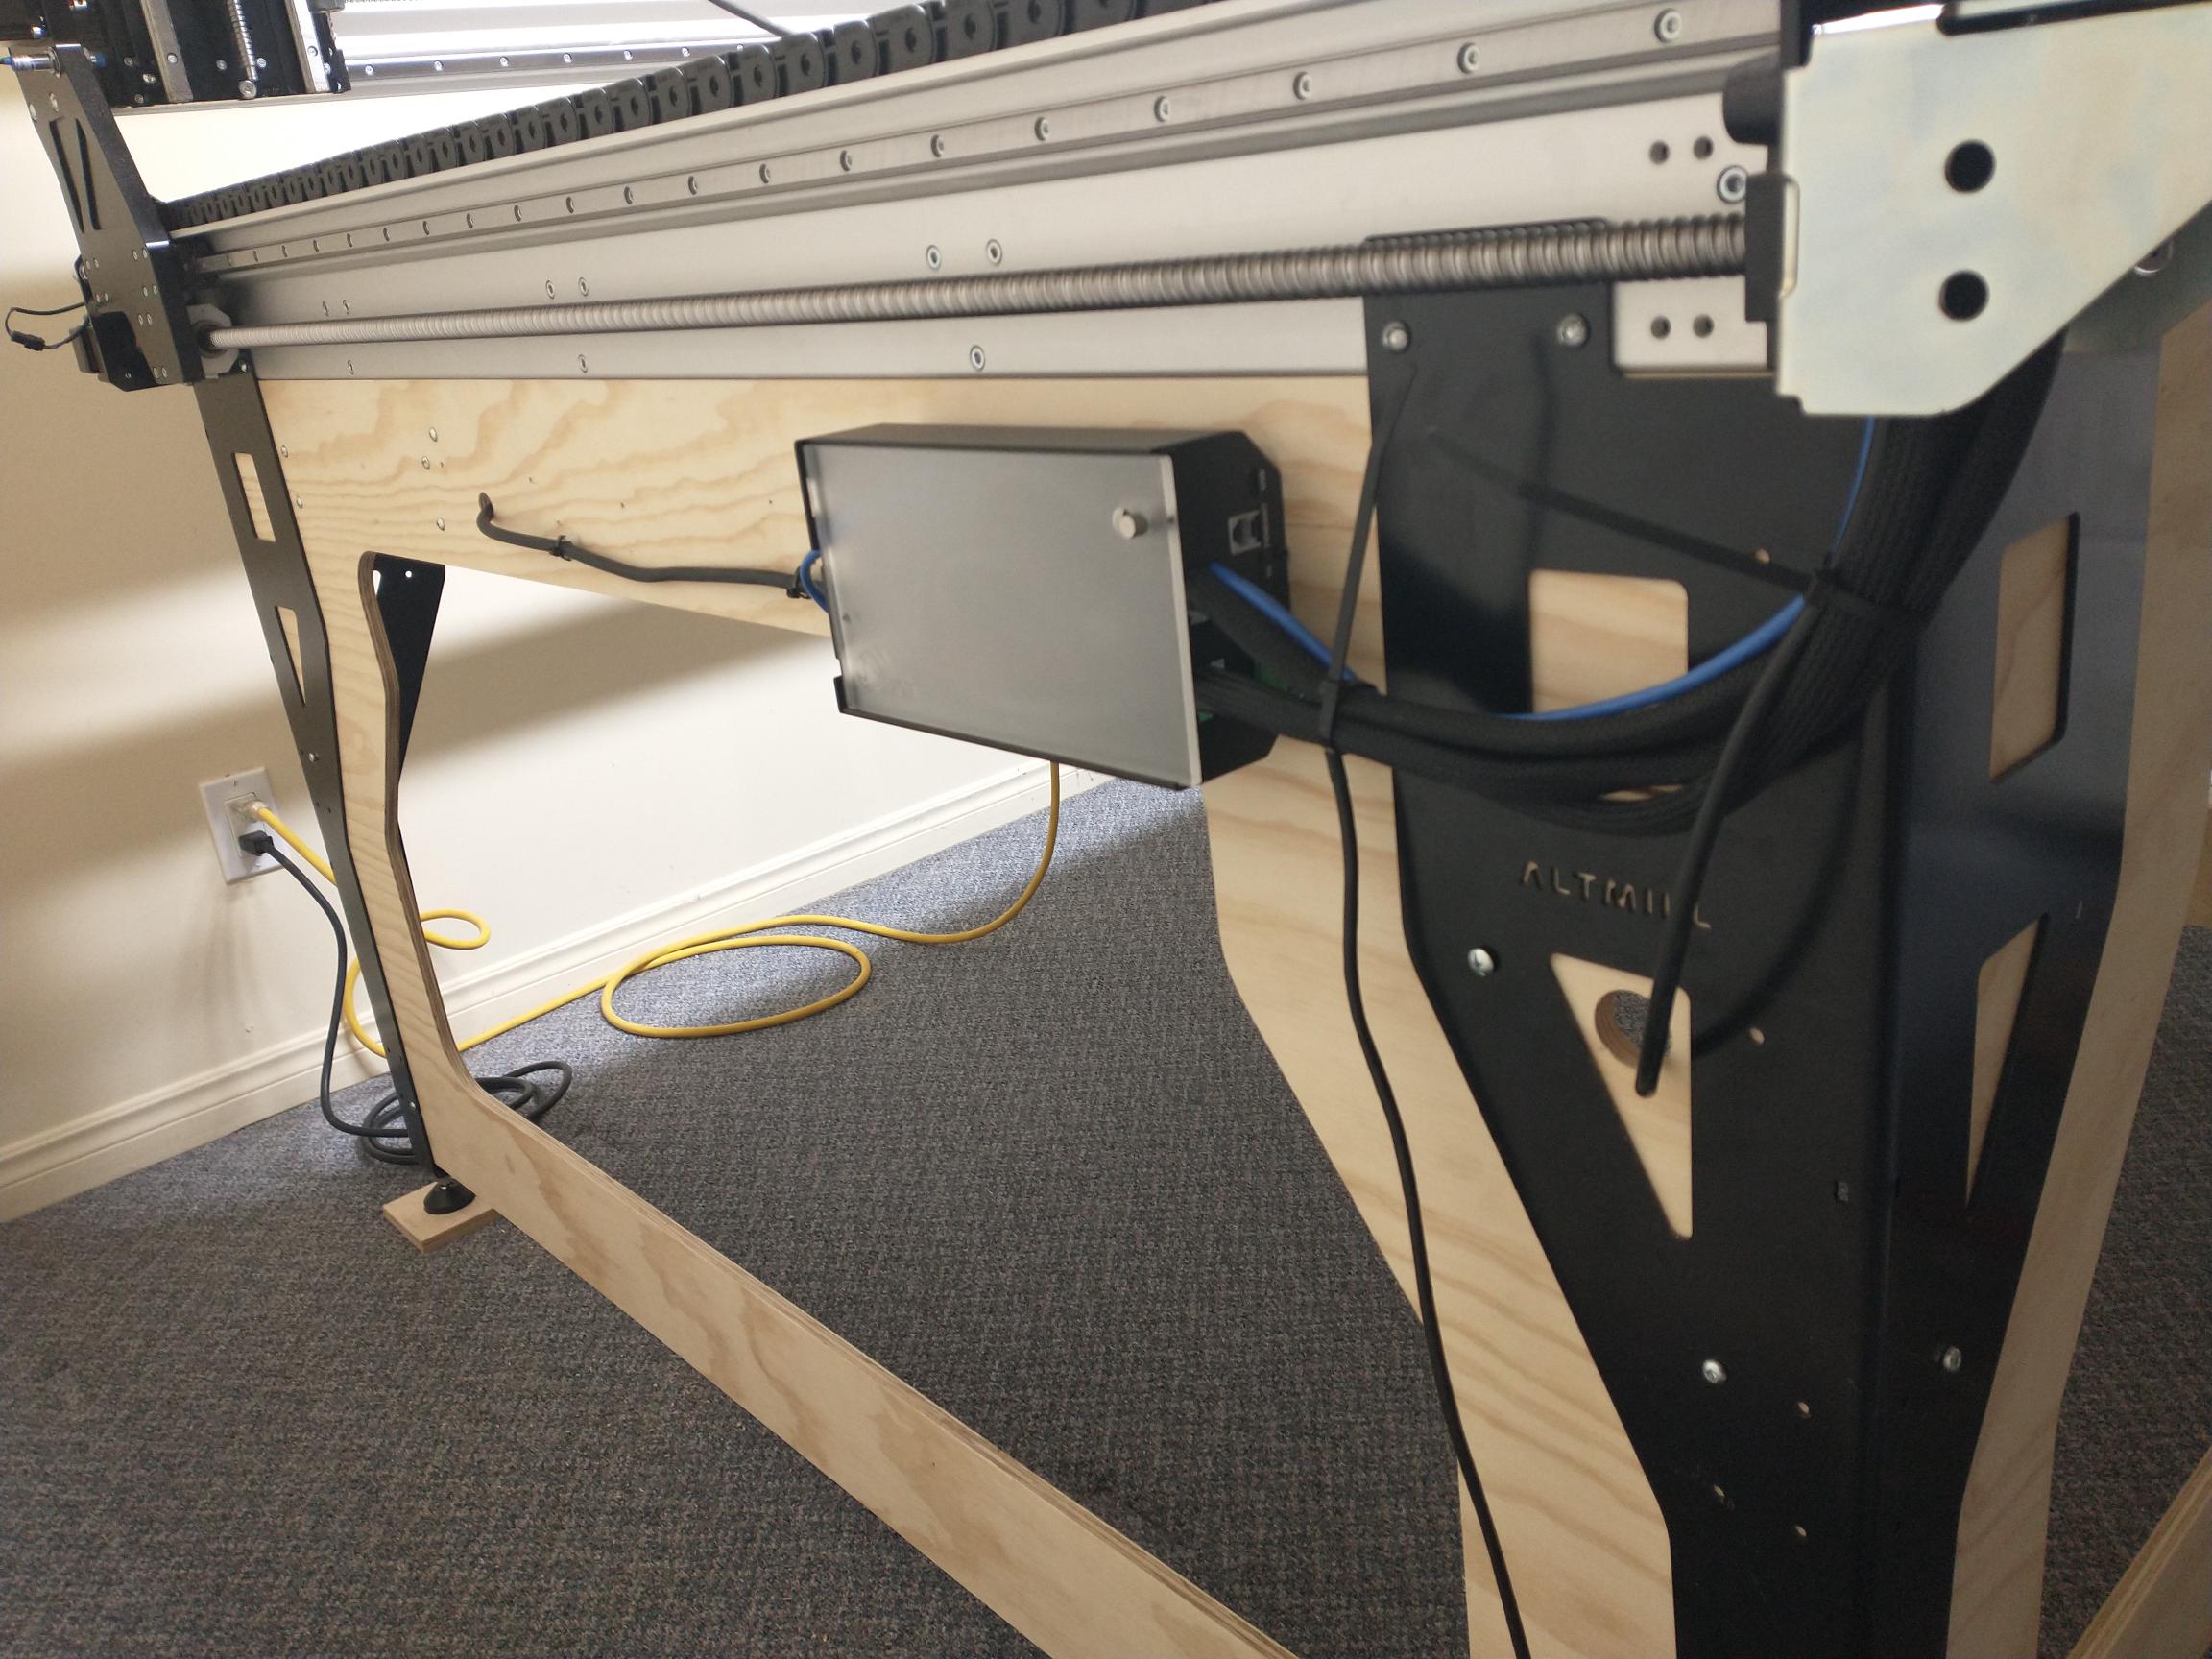
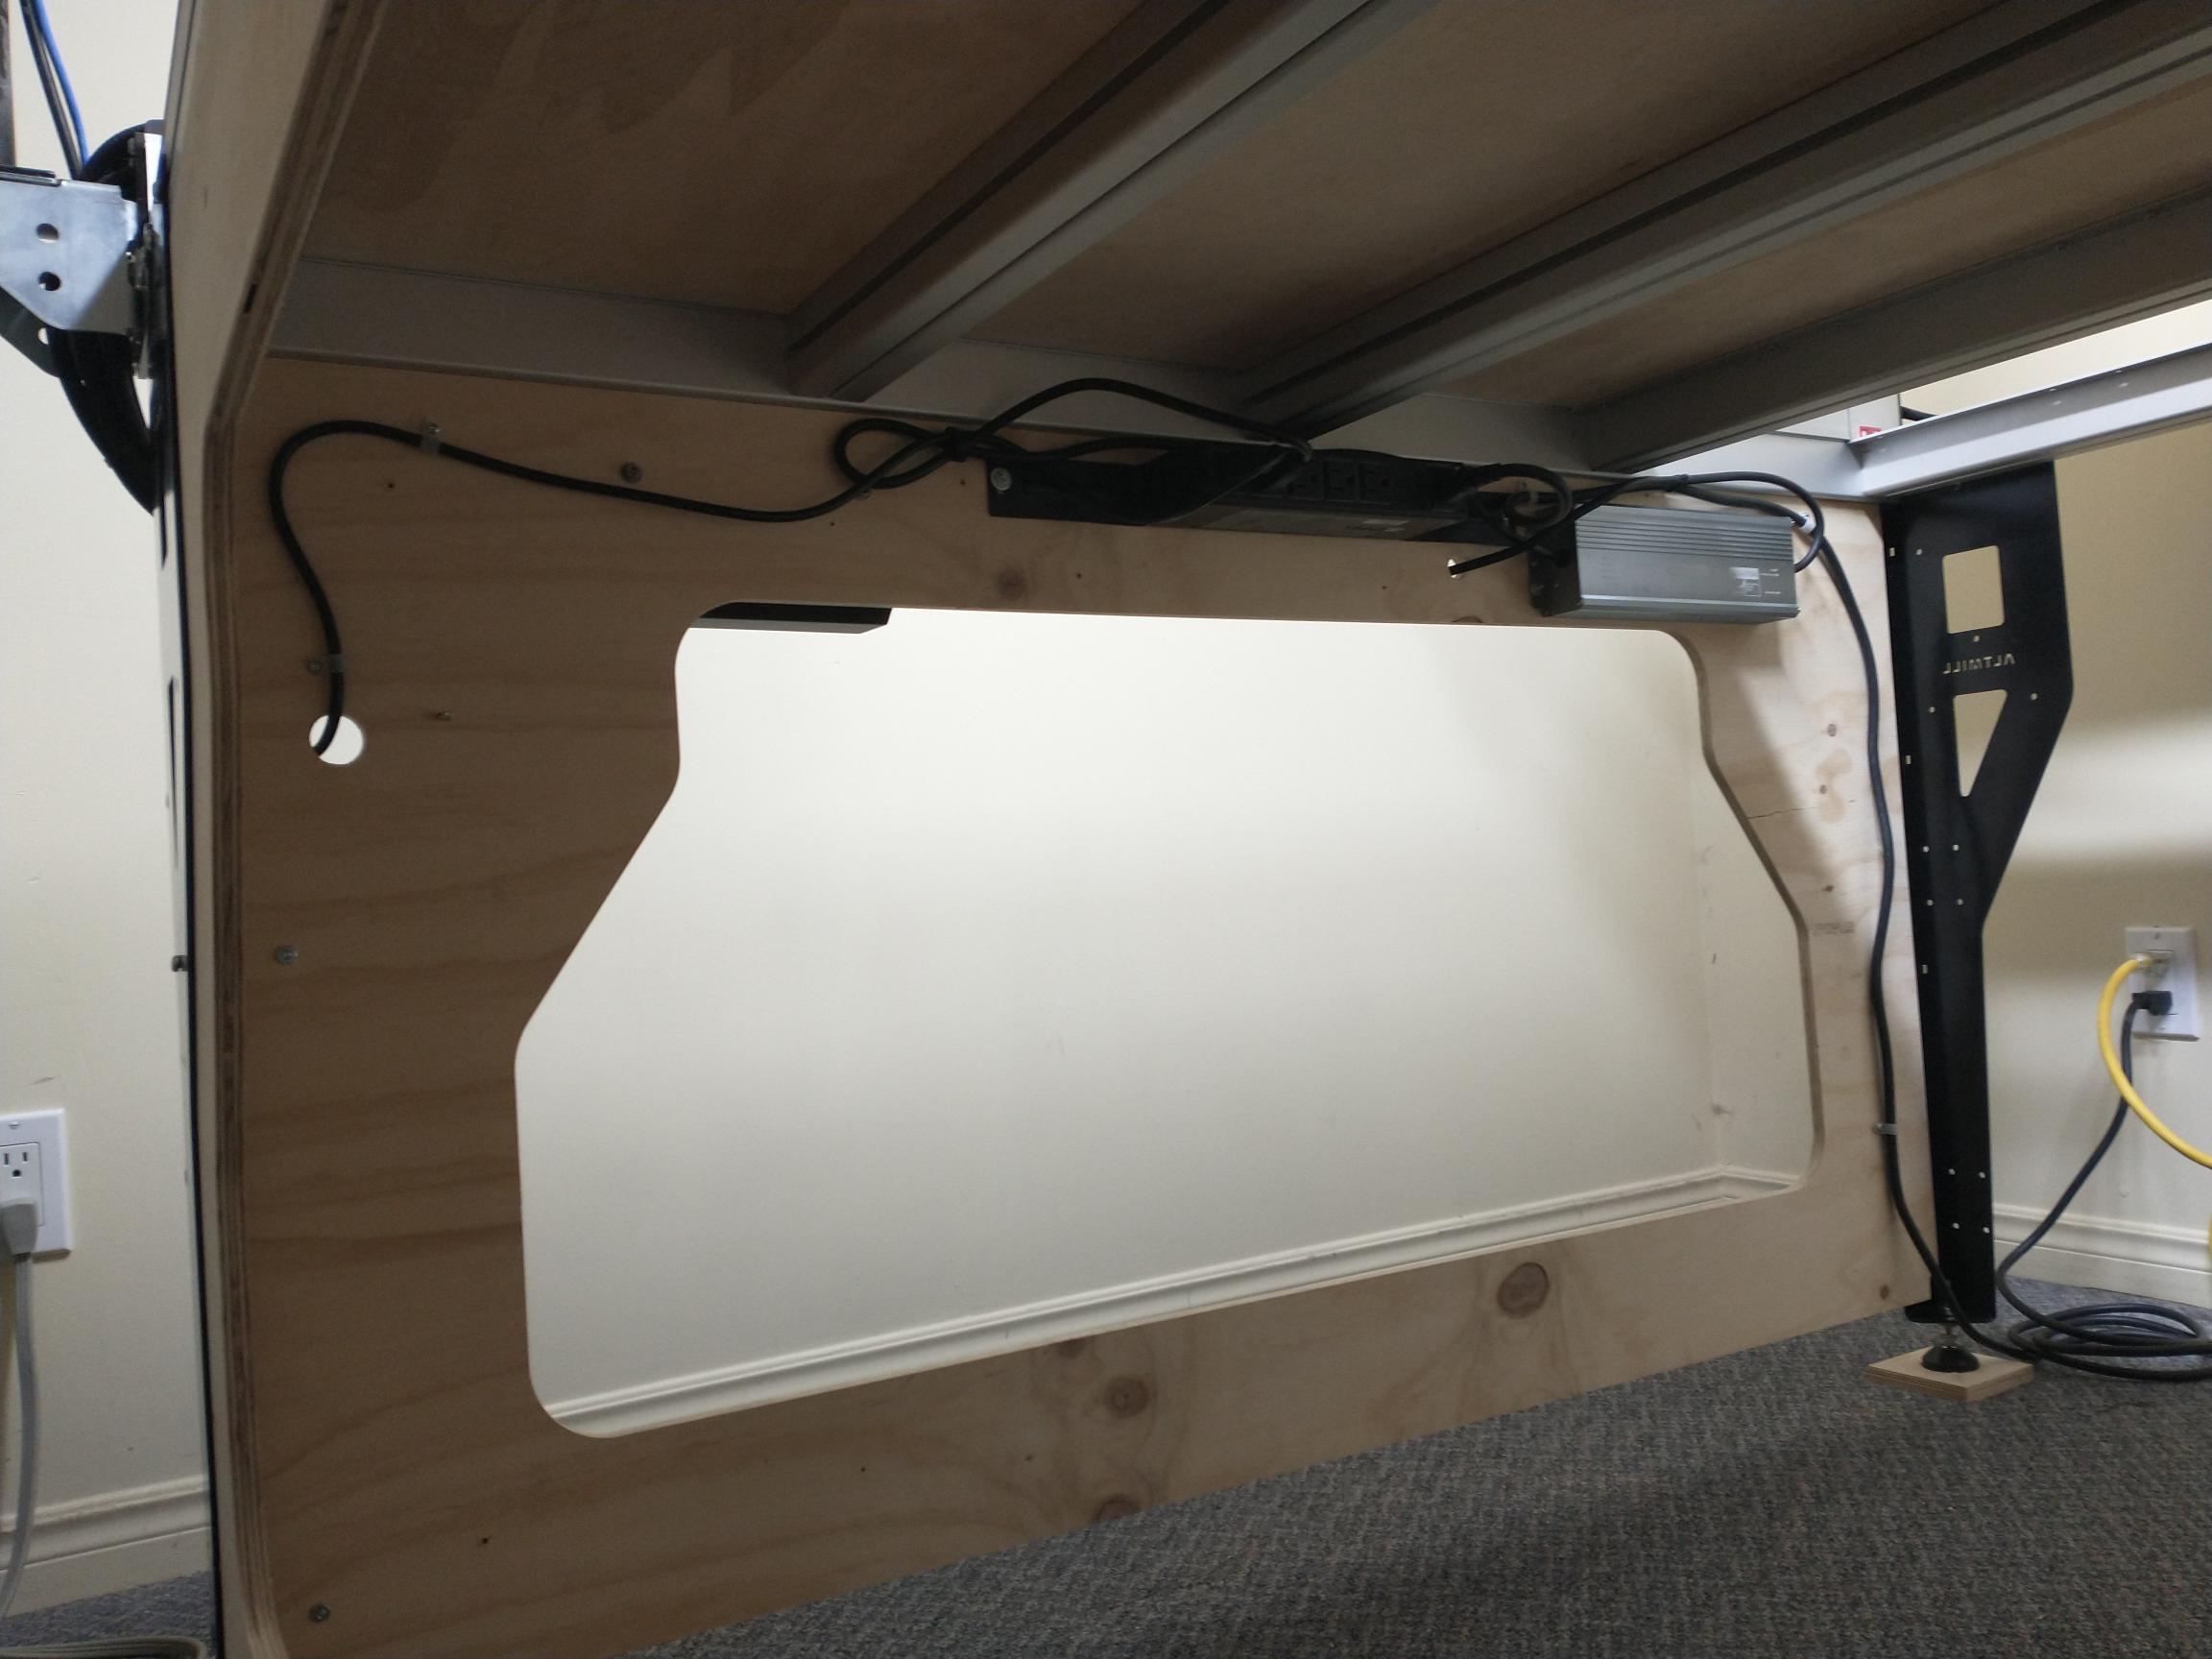
It goes without saying that one of the first steps in doing that is making sure you have good dust management . Where I usually fail is with clutter. I tend to leave stuff lying around, I have a hard time throwing things out, and I end up tripping over myself going from point A to point B. So with the new leg stiffeners, I have plenty of mount points for the various accessories. Nothing on the floor. Let’s see if it will last.
I don’t have my spindle nor VFD yet but it will be mounted somewhere in that corner. The e-stop will also go at the front. I find that having it on the side, with the gControl in the way, makes it difficult to access when you need to do an emergency stop.
Thát is a enormous target you have set yourself there. Keeping that carpet clean is going to be a mindbending task. Maybe you can lay down some linoleum -with a nice wood print- and have it slightly easier mopping the dust. That carpet will suck it all up and only release it when the misses jumps in, vanishing in a thick mist of perfectly fine walnut.
The plan is to see how much dust gets created and adapt accordingly.
I have a LVHP dust extractor that will connect to the dust shoe; a room air cleaner to filter out air-borne particles, and a small shop vac to pick up what’s left.
If there’s still too much dust, I’ll go to plan B. I have a little 3m x 4m corner of the basement with floor-to-ceiling shelving units on one side. So it’s easy to block off the CNC room with a temporary wall or sorts and removal of the carpet.
The missus NEVER comes down in the basement. I purchased a RIKON 14" band saw without telling her a few years ago and it took her at least a year to notice. I thought of doing the same for the CNC.
@Spamming_Eddie Quite good actually. Not much makes it to the floor and it’s usually wood chips when I don’t use my dust extractor. And with our new kittens, I have to keep it relatively clean.
As for the missus, she comes down all the time now. But she’s not looking for me. She’s looking for the kittens. And when she finds them, she gets distracted. Win win.
Kittens are like black holes, no missus can escape their gravity. Just beware not to venture too close to them. You might get stuck, with no way to return to normill space.