Fusion360, Vectrics both have thread milling features which will make this possible. Chip evacuation will be the toughest part
Can you confirm the dimension of the table top ?
Hey MIke3, Which table top dimension are you looking for?
I was actually looking for the outside dimensions of the enclosure assuming it sits on the table surface. Also is this using the legs for the Altmill and building around them? Thanks - Mike
I have the cabinet CAD files somewhere…might be on the computer at home. But the outside dimensions of the enclosure (plywood is 0.75in) is.
X:71.5in
Y 45.75in
The enclosure doesn’t use the Altmill legs as I wanted it at a specific height + I wanted to sound isolate in the cabinet under the machine for the dust collection that I currently have which uses a shopvac as the dust extractor.
1 Like
Thank you very much for the information
1 Like
It’s a great build and very similar to what I’ve been thinking about. I was thinking about sandwiching 1/2” mdf with green glue and doing an accordion fold door. It seems that you’ve made it quite tall - do you feel like you need all that cabinet height and also the relief around the sides? Thanks for sharing!
The accordion folding door is a pretty good choice, just make sure the fold doesn’t block the computer and you are golden.
I think the height of enclosures are very much personal preference thing. I like the ability to manage the inside of the enclosure space with the extra room for things like lighting, vacuum tubes, and etc. Should I ever need to crawl in there to work on something, there is plenty of room to comfortably sit in there as well, for reference I’m 6’3”. Lol ask me how I know.
As for the sides, yes absolutely. Without the extra space, performing service wouldn’t be possible. I would say what I have there is probably the bare minimum, unless I redid a section of the L and R side of the enclosure to be removable/openable.
1 Like
Saunders Machine Works (SMW) makes fixture plates for a lot of different machines, including hobby CNC routers like the Shapeoko, AVID, and even Shariff plus larger mills, and will do a custom job. A full fixture plate either DIY or purchased would be expensive relative to the cost of the AltMill - less so for a Brother or Hass. I’ve seen what looks to be a small custom fixture plate used in Siensci videos when they are milling aluminum - they must have either made that or got it from somewhere. I came across a fellow on YouTube with a similar machine to the AltMill who made (DIY on the machine) a full-bed fixture plate out of Derlin with threadmilled holes into the plastic, plus a full vaccuum setup with a grid cutout on top - didn’t save the link unfortunately. Would be very interested in what you decide to do as I’d like to do something similar when my machine arrives. My current thoughts are a relatively small aluminum plate to supplement the MDF spoilboard. Best of luck with it.
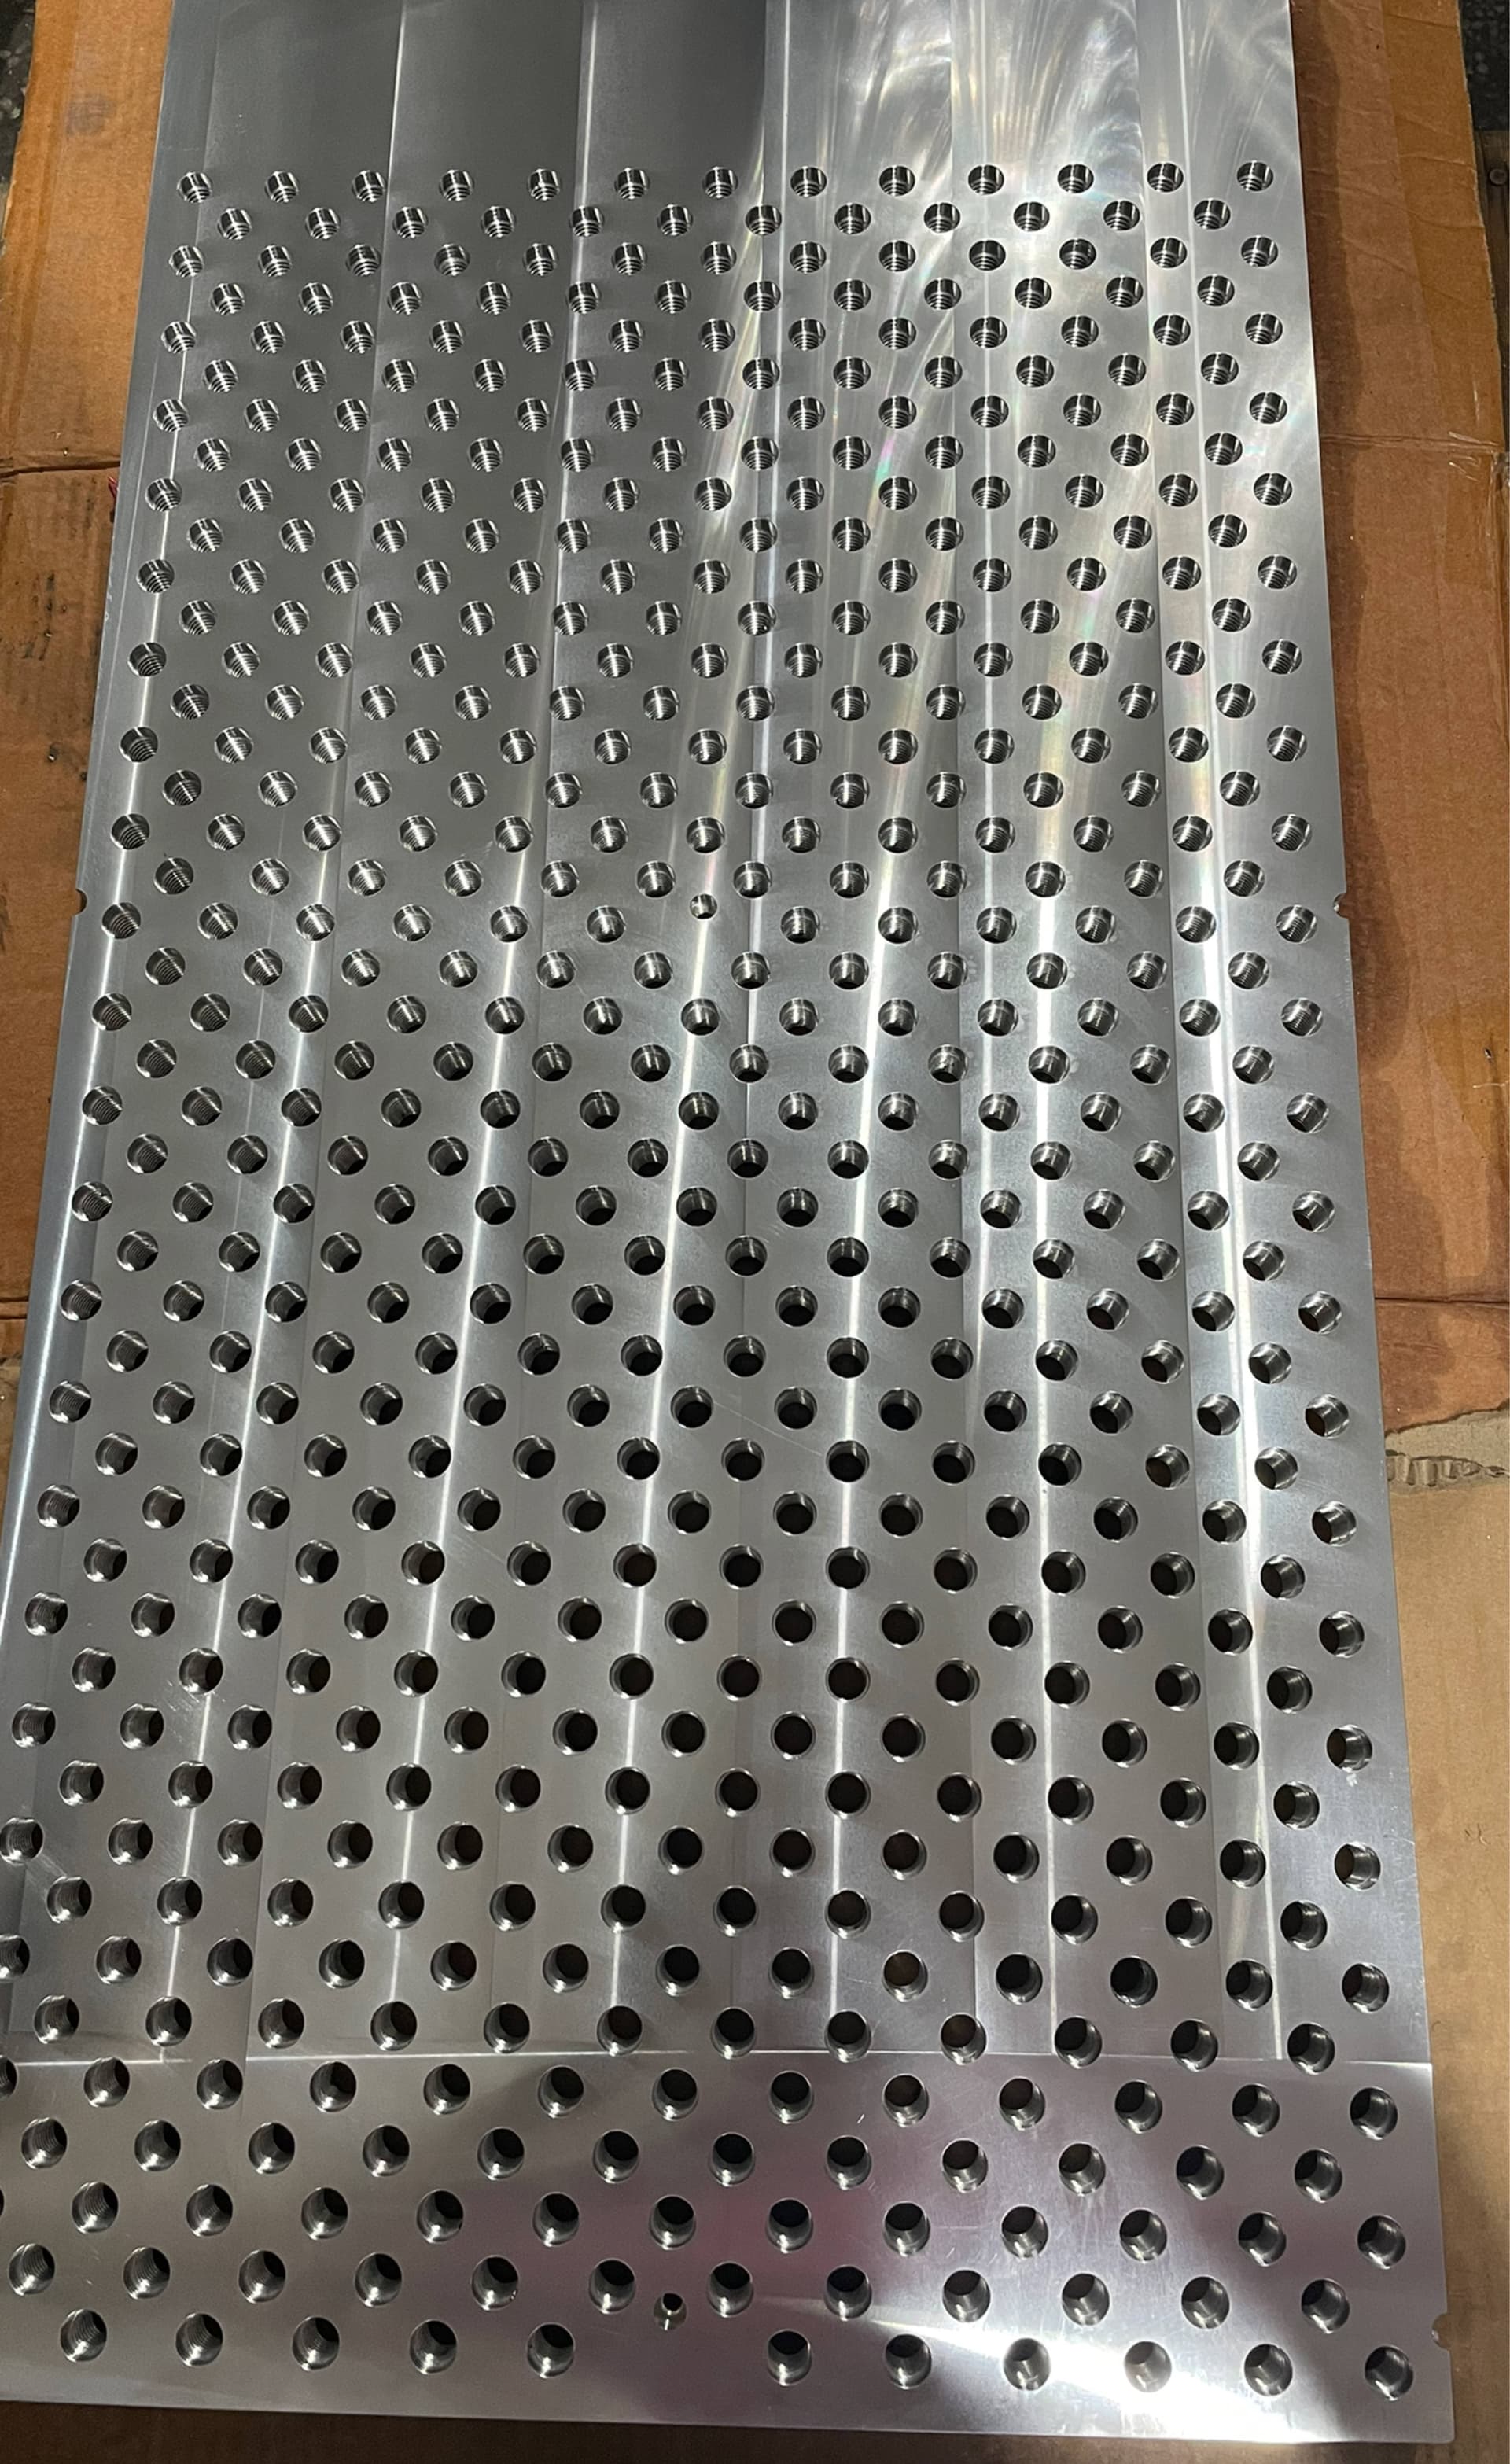
The fixture plate is designed around SMW’s hole spacing, so I can easily use their vices and accessories without reinventing the wheel.
I ended up sending the plate out for fabrication, and it’s nearly finished. A few days ago I received a photo with tolerance checks, and I’m excited to see it all come together.
I originally bought the Altmill as a production tool for my business—not just as a hobby machine. In the short time it’s been running, it has already paid for itself several times over without a single hiccup. Adding a fixture plate, even if it adds additional cost, will only help to speed things up further, making the investment well worth it in the long run.
I’ve also looked at the smaller fixture plates Sienci shows in their videos. Using only two of the cross braces reduces the Y-axis cutting area significantly. While designing the fixture plate, I thought about extending an unsupported cantilever section past the two cross beams… but it just didn’t sit right with me with the amount of deflection from downwards forces that could be applied.
And yes! I’ve seen the Delrin plate video option too. Honestly, it probably would have been “good enough.” Delrin is a slippery material, though, and in the end I don’t think it would have been the right choice for what I’d need.
This looks great; I’m sure it will be useful. I just got my AltMill yesterday - only 6 days between placing the order and picking it up from Waterloo; they have really upped their game for shipping. I’m looking at doing something like this at some point, would certainly like to hear how yours works out. Not sure how accurate the AltMill is, ie is it feasible to make this plate on the Altmill itself. Looking forward to trying it out over the coming weeks. I’ve came across a number of people who make their own mod-vice like things, but it’s being used for revenue I expect it’s better to buy than make. Enjoy your plate when it comes in.
Oh wow, I think I had to wait 6/7 weeks for mine! Sienci Labs is doing great!
I’ll be sure to keep the documentation going as it comes in for anyone interested to venture down this direction.
I’ve actually setup the Altmill to do some Aluminum 6061milling by using the tape + superglue method while I wait for the new plates to come. While not overly aggressive…
Cutting with: 6mm O-flute DLC coated bit.
DOC: 1.4mm
Pocketing Stepdown: 1mm
Slotting: 0.6mm
Feedrate: 1300mm/min
Stepover: 3mm
1.5kw Spindle RPM: 17,000
I was getting tolerances of +/- 0.02mm on the parts. I also just used the vaccum system for chip removal which…worked really well…maybe a bit too well. I think it’s totally feasible to do the plates on the Altmill, the thing to make sure is chip clearance and sharp tools. The machine itself is plenty rigid enough.
1 Like