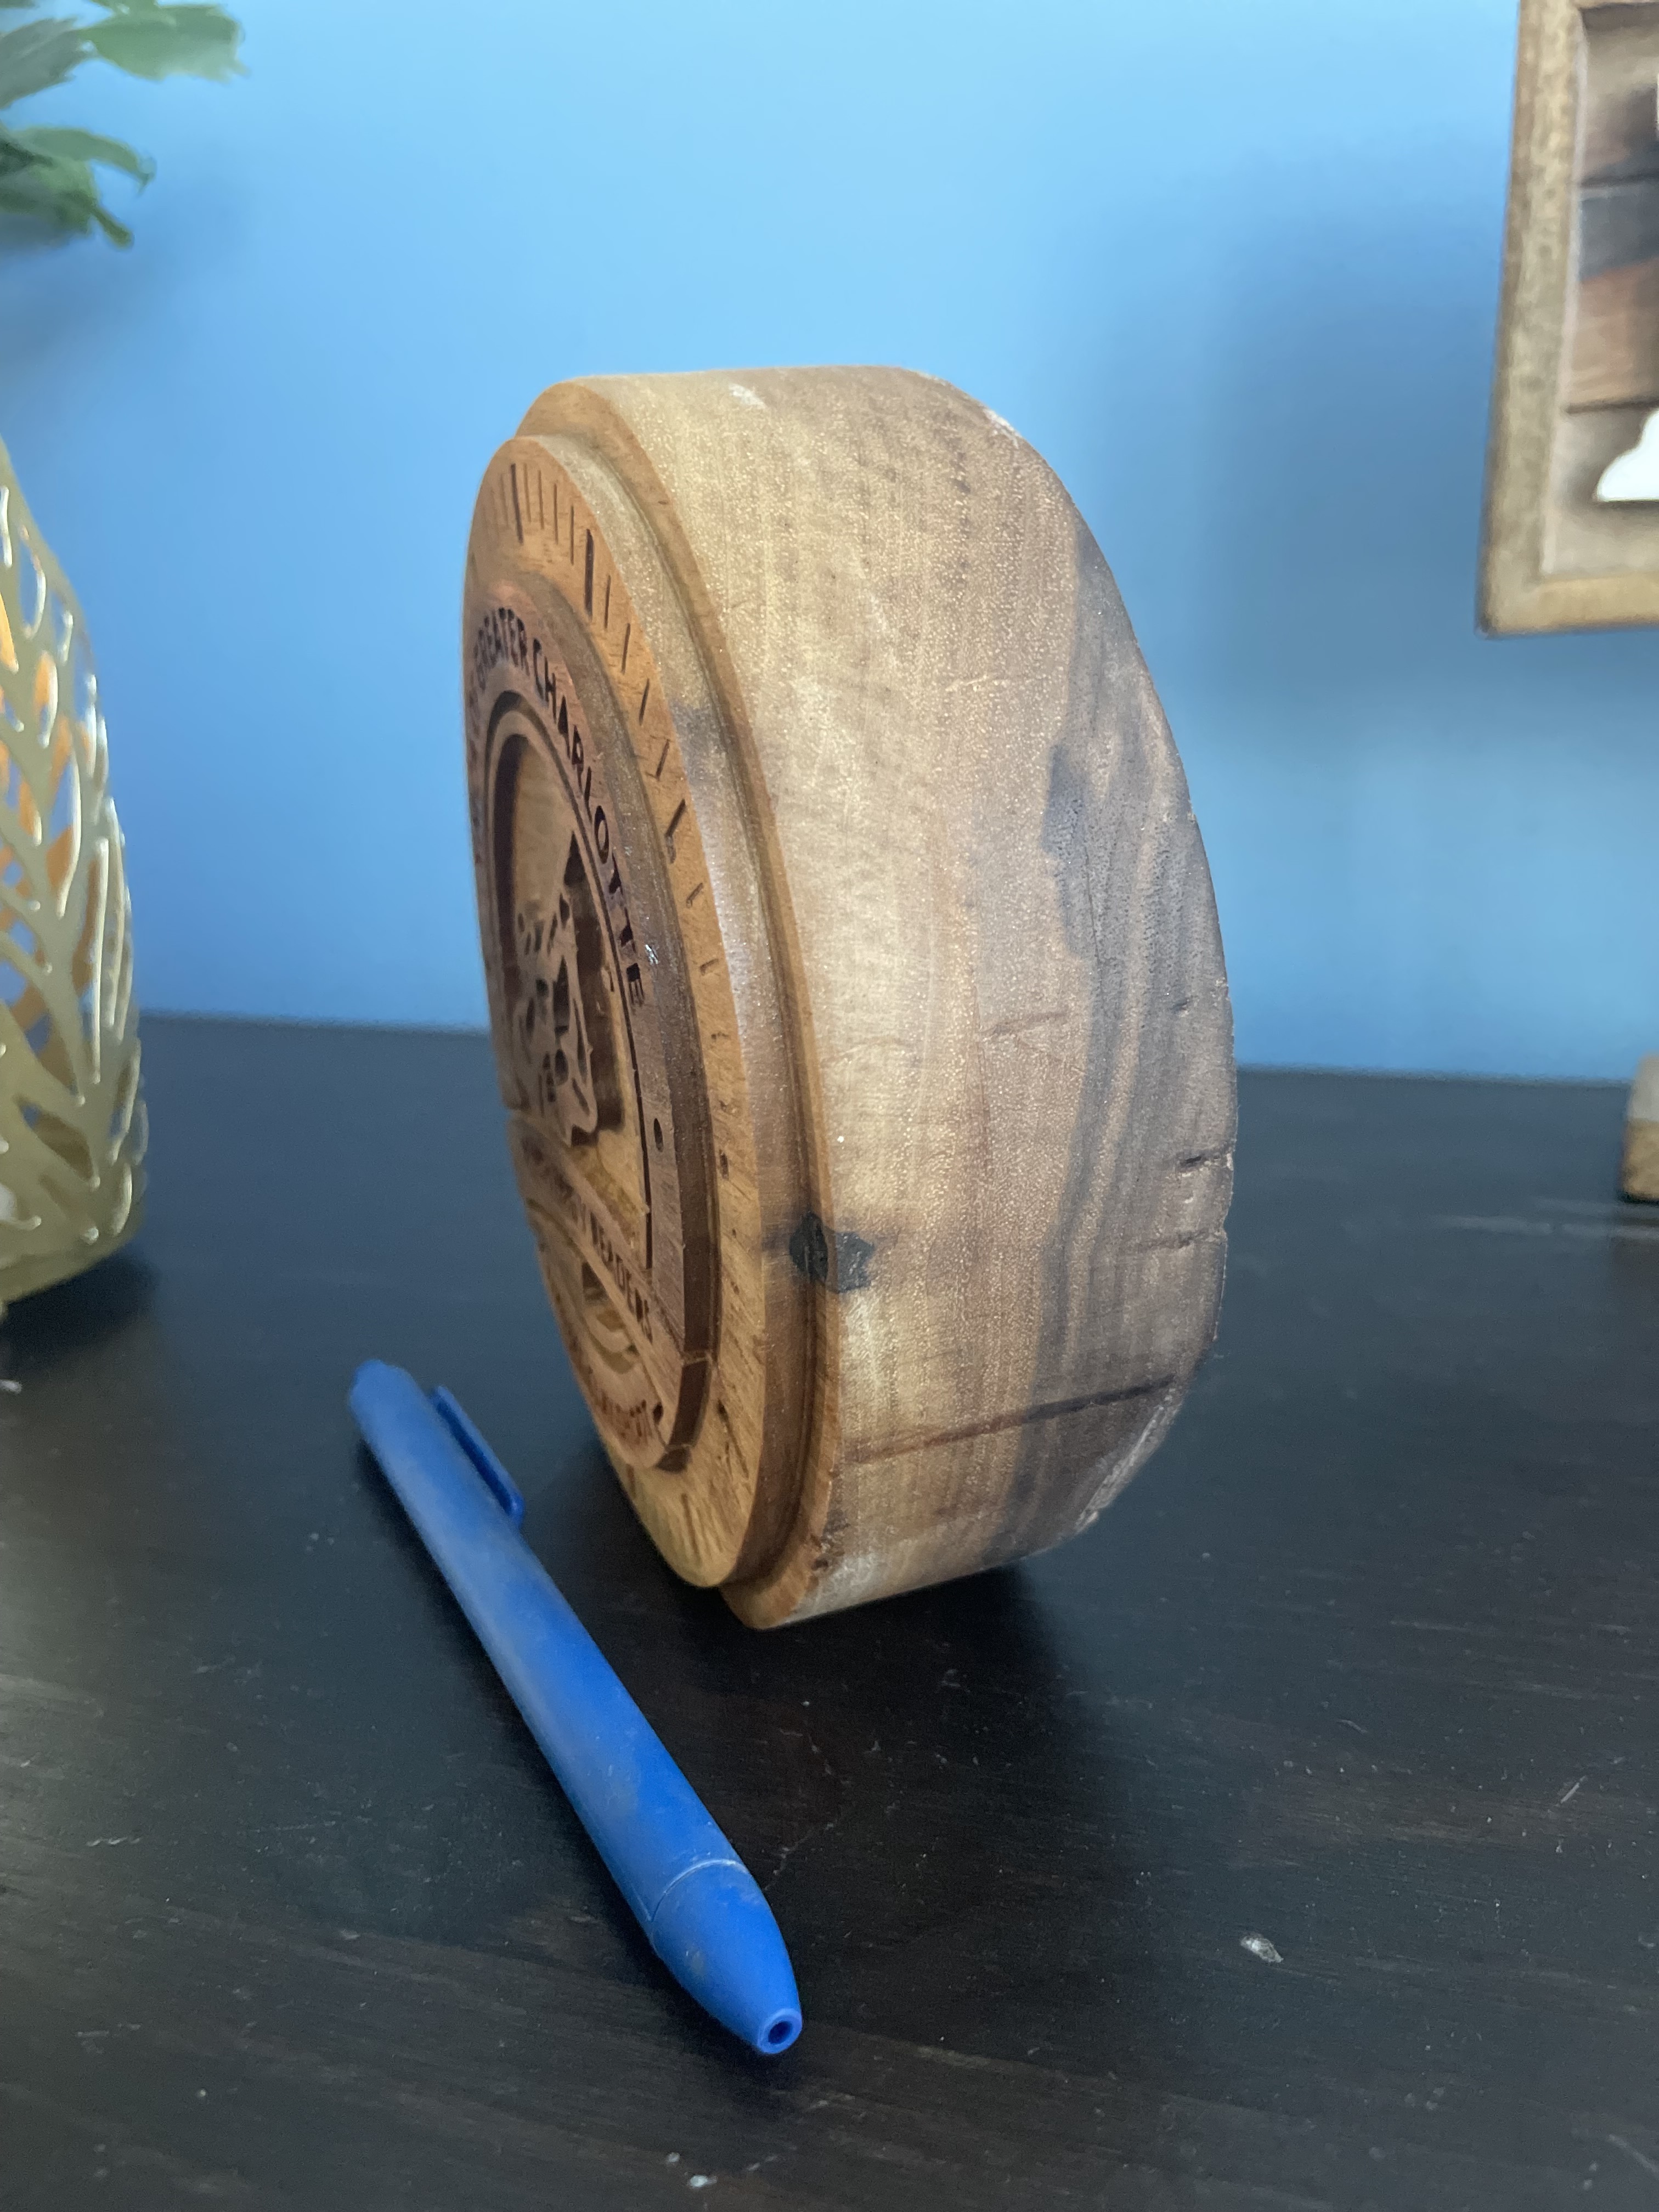
Making 36 clocks that are 6” in diameter on 2” thick walnut.
Broke my first bit. It was .25” endmill and 4” long. It was screaming and bam! Got to figure out feeds n speeds better. Thought I had it right. Think much of the breakage was the length of bit.
Thanks @gwilki. Makes total sense and great solution….
For future, is max depth cut with .25” bit about 1”? I am seeing some sources say only 2-3x diameter width, so .75”. Guess you guys use band saws or scroll saws for a scenario like the above (if not cutting from both topand bottom as suggested) ?
@Clt49er The max for me is 1" since that is the usable length of the bits that I use. There are longer bits, though. You can definitely go longer - many do. Regardless, I use .5" to .75" ramps and leads, too. Our LM will really not move fast enough to get a good chip load with a 2-flute, 1/4" bit. So, I don’t try. I run the Makita at between 1 and 2 and run a 90ipm feed rate for profile passes. If I am pocketing with a small stepover, I start at those values, then speed things up after the first cut.
I’m sure that others here will say that I am much too conservative. That would be fair. However, i don’t break bits, I don’t burn bits and my finish is good.
On thick pieces like this, I like to cut halfway on the CNC and use a flush trim bit on a router table or palm router for the rest. I just jigsaw the pieces close.
Are you just cutting the discs or are you engraving into the face?
Yeah, I’d stick with finishing the circle profile off CNC. Because there’s a hole in the center, you could even do it with a table saw and a jig. If you have a router table, you could get a nice big flush trim bit.
@Clt49er@NeilFerreri Neil’s process is the best way to go, if you have the other tools to complete the cut through. I routinely follow Neil’s process and leave an onion skin on my profile tool paths. I have bandsaw to complete the cuts and a router table that I can use with a flush trim bit to finish the job. I realize that not everyone is so equipped though.
Not being a seasoned woodworker I’ll steal some of this advice!
I cut my router cable 6" back and made a spare cord for it so I have a palm router and a small router table but not much experience with them so it’s good to learn things I could use them for.
I’m trying to figure out why you’re using 8/4 stock (standard woodworking term for 2" thick material) for your clock. Based on the photos you’ve shown I can’t see any need for them to be thicker than 1".
But we each have our spin on what we like, so if you’re wanting your clocks to be that thick, then invest in better quality tooling and reduct your feed rates accordingly.