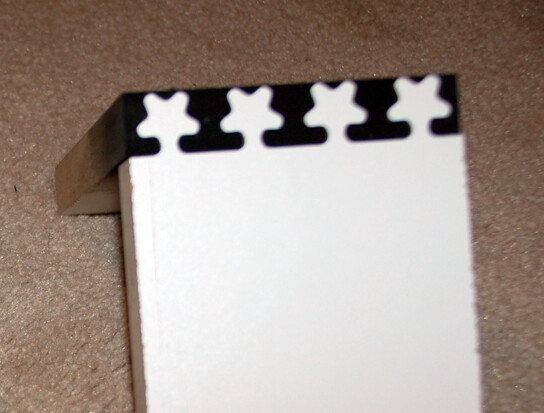
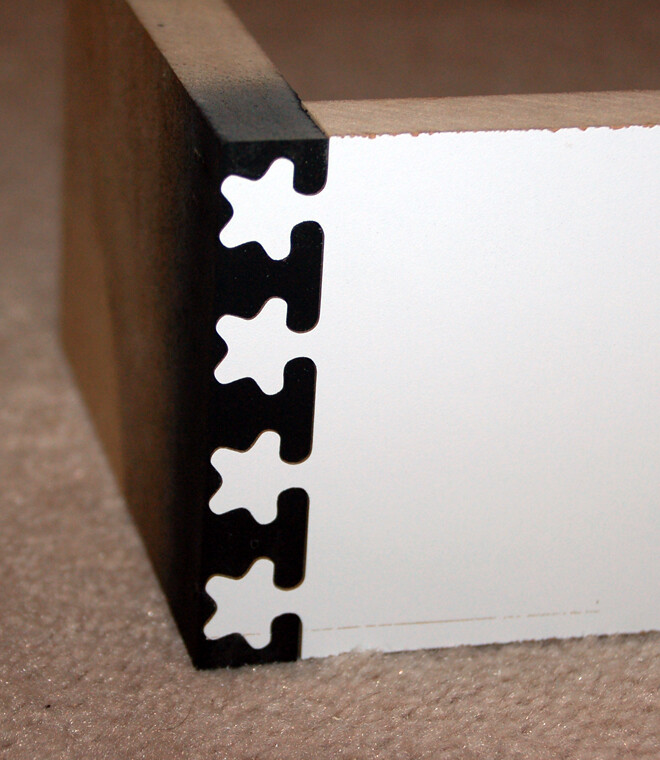
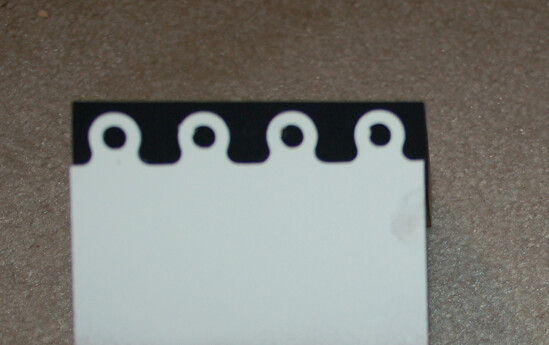
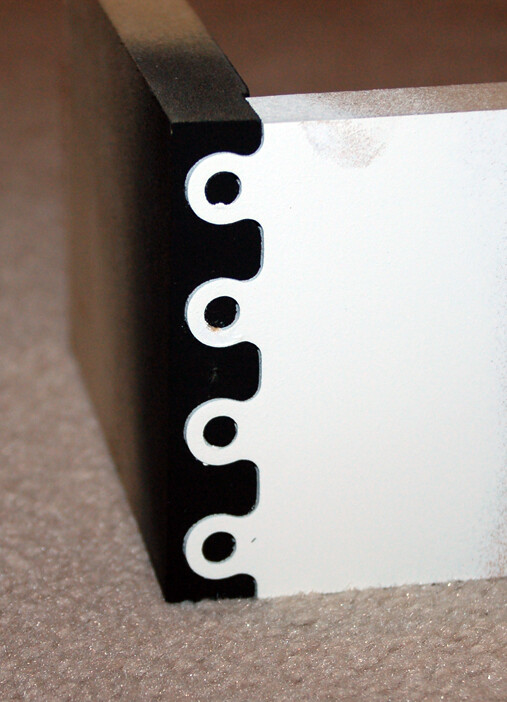
These pics don’t so much show projects as show samples of corner joints that I’ve done on the LM, using Vectrics’ VCarvePro as the design software. As the vectors are quite simple, I’m sure other CAD/CAM applications could be used as well.
I have set up a simple vertical holding fixture on my table. That fixture is used when cutting one side of the joint into the end grain of the piece. The side grain part is cut normally; that is, with the material lying flat on the table.
The design possibilities are endless. I did these samples in 3/4" MDF, but I’ve done playing card boxes in various hardwoods using the same technique.
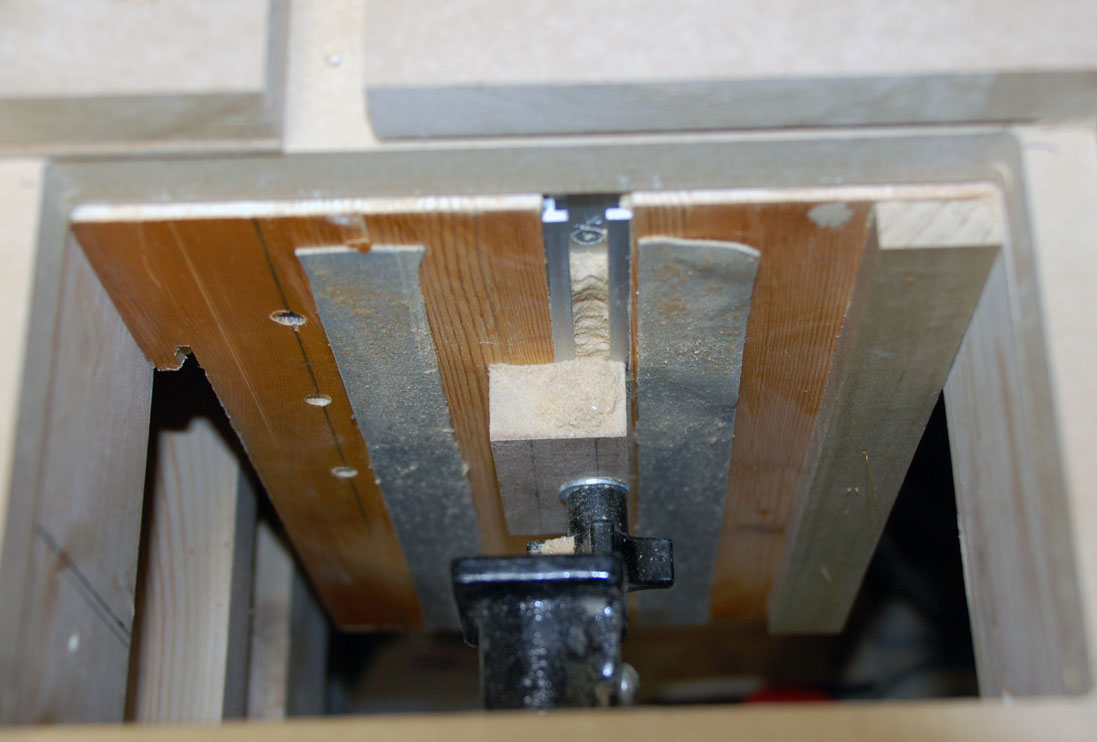
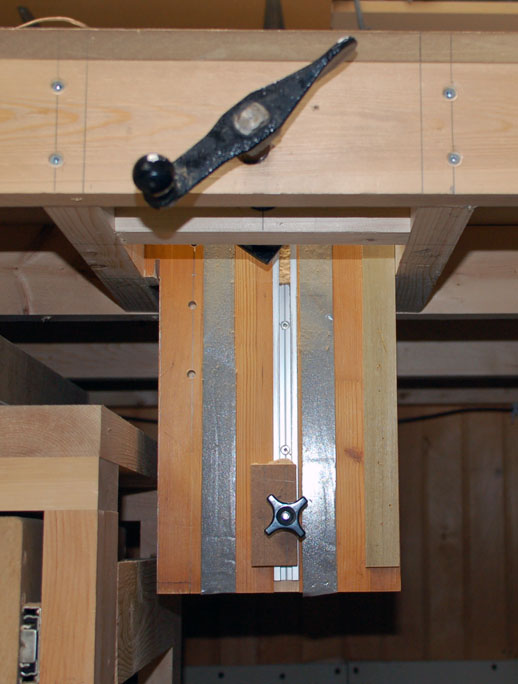
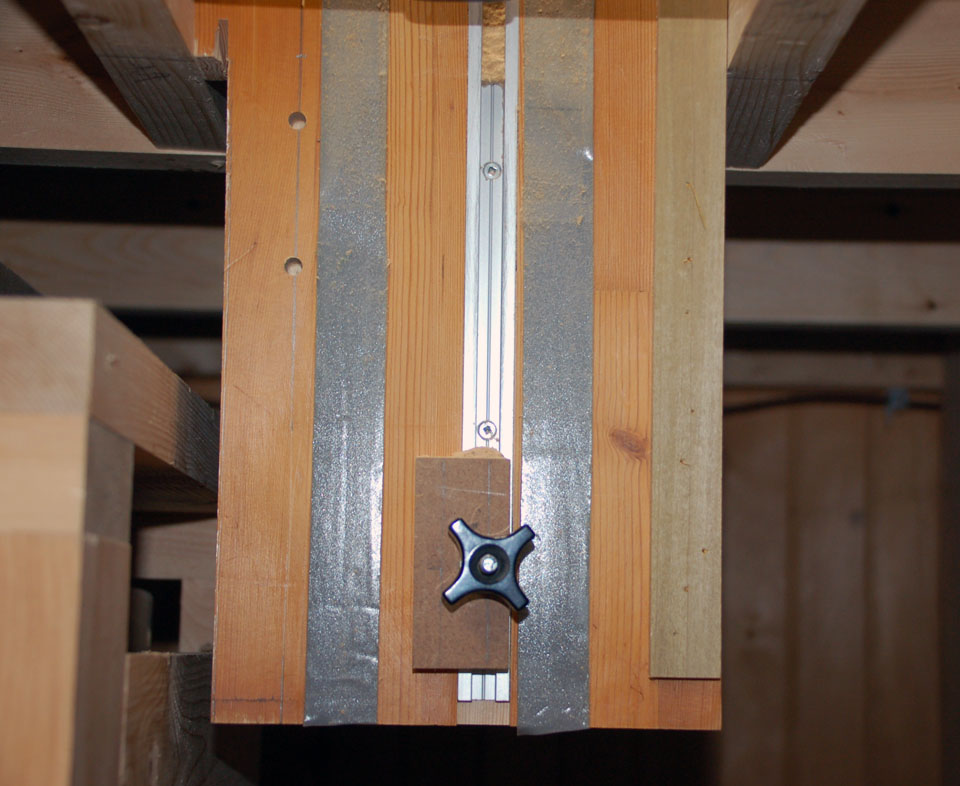
I chose to do this when I was replacing the slats of my spoil board. I first cut an opening in the table top using the Long Mill. That way, I was sure that it was square and parallel to the X and Y axes. Then made a 2 x 4 frame to frame the opening, screwing them to the front table member and the cross member already in place. I added a length of scrap pine that I had from an old table. Into that, I routed a dado and inserted a T track. Finally, I attached a vertical cleat to the right side of the pine. The cleat is perpendicular to the spoil board surface. I already had a small block with a knob on it that slides up and down the T track. Finally, I drilled the front table frame member and the 2 x 4 framing the opening and mounted a screw clamp that I had kicking around.
In use, I lower the sliding block so that the project material stands proud of the spoil board by a bit more than the depth of the cut. Gravity is not your friend so this keeps the project material from dropping while I clamp it in place. I position the project piece against the vertical cleat and tighten the clamp.
That’s it. It’s a pretty crude and simple set up, but it seems to work well. The only limitation is the depth of my table when it comes to the length of the project I can handle. The opening in the table is about 9" wide, so that is the max width that I can fit. That was an arbitrary width. If I ever start projects that are wider, I can simply cut the opening bigger.
One of the pics shows the setup from the top of the spoil board looking down. The other two are just different views of it from the front of the table.
@Neuder I’m using VCarvePro. I pocket out the “mortise” with no pocket allowance. So, it pockets to the line. For the “tenon”, or the part cut into the side grain, I use a profile tool path. I cut inside the line and set an offset allowance. The amount really depends on the thickness of the material and what the material is. Testing is necessary. For the most recent one that I did, I was using a 1/16" down cut mill to get the detail that I wanted, so the tenons could only be 1/4" thick. That is the flute length of the mills that I have. I did the pieces in MDF, and set an offset allowance of -.008"/.20mm. The fit was good.
@gwilki Grant, excellent work my friend! When I am ready to change the slats on my spoiler boards, I’m going to integrate that clamping mechanism into my LongMill. Very nice!
Jake
I have been making simple box joints on my Cnc. Not nearly as wonderful as these! Great job. I also used my spindle to cut a whole in bottom of my Cnc mount board/base at the front, then I just slide it a few inches forward off the table. I also use a “jig” idea I got from you tube John Clark that clamps on and off. May give others some ideas. This is the video, and there are free files in the description. Finger Joints - YouTube
When I built my table I had an old Black and Decker Workmate that I cut up and attached to the underside of my table. I also attached a spoilboard and flattened everything together. Although I haven’t used it yet it seems like it will work ok. I would enclose some pictures but I am away from my machine until the fall.