Most of the joint can be cut from one side but there is an outside rounded corner and I have a hard time believing that I should do a tool change to just do the roundover. Is there something I am missing here? Can this be cut with one tool from one side?
I have no experience doing 3 axis work but is it possible to use the same flat endmill that is used to cut the vast majority of this joint and somehow do the round-over as a 3D (rather than 2.5D) operation? If it can be done that way, wouldn’t it take forever to cut this with tiny tiny step-overs to get a reasonably shaped rounded edge?
I took a look at the download link to see more pictures. I think it can be cut flat from just one side but would be best done with a flat end mill and then a ball nose to do the rounds. I would think the rounds would go pretty fast with a 1/4" ball nose, depending on the size of the project, if everything else was already done.
I have only used Fusion to make models that I sliced and printed in other software so I can’t offer any help with the CAM part of fusion.
If I read this picture correct, the rounded over edges are not going to be in sight, so it wont matter much if the rond-over is kinda sortha roundover close enough.
I have used .25Inch flat endmills to do shallow oval bowls with rounded bottom and you can get pretty nice results if you indeed reduce your stepover a wee.
In my case, a quick sanding job took care of the visible steps, but if they are not going to be visible anyway… meh.
I have planned to do a test run to see what kind of result I can get. I was thinking of wooden dowels having ribs for glue so this actually might be a good thing
I don’t know but I am sure that there is a reason (some sort of interference) since all of the details are produced by the finger joint add-in. I did not add or change anything.
I am not likely to figure it out until I have two mating pieces in my hand to try things.
So far I am not making much progress with a tool path for the rounded edges.
I have done a sample joint. The machining of the round over was reasonably fast once I figured out what I was doing in Fusion (several hours). There is a major problem with this add-in … there is no way of specifying clearances. My joint did go together but required some substantial BFH application. I was actually concerned that it would disintegrate with it being particle board (scrap wood I had on hand). @NeilFerreri - the cutouts are there to prevent interference between the two halves of the joint as suspected. The cutout forced me to use a 1/8 endmill for the entire test cut since I detest changing bits.
I did find it very interesting how I managed to do the round-over - that was something new to me (and kinda cool).
Edit: There is an entry called ‘Margin’ in the data entry screen for the add-in. I have not been able to figure out what it does. It might somehow relate to clearance or gap between the fingers but I couldn’t see any change when I entered a ridiculously large margin (1 mm). Nothing changed.
@NeilFerreri I think that cut serves the same purpose as dog bones. The curve that is cut with the end mill is straight in the Z dimension. The curve cut with a ball nose would be a compound curve in that area. I think that creates a problem but I could be wrong. It’s kinda hard for me to visualize it. I’d need to model it to be sure.
EDIT: I should have read deeper as @Jens already confirmed my suspicion.
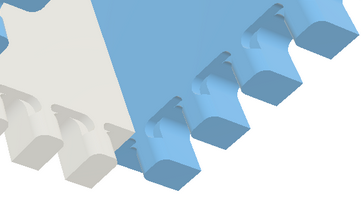
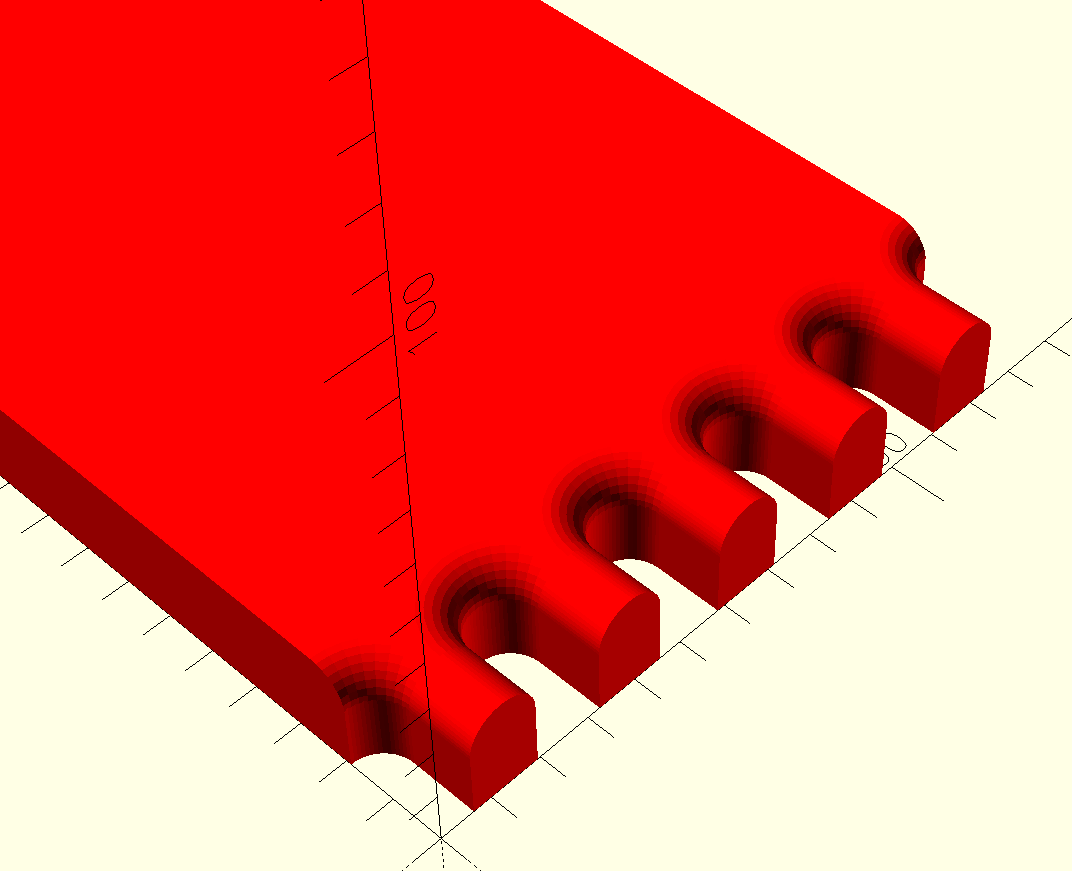
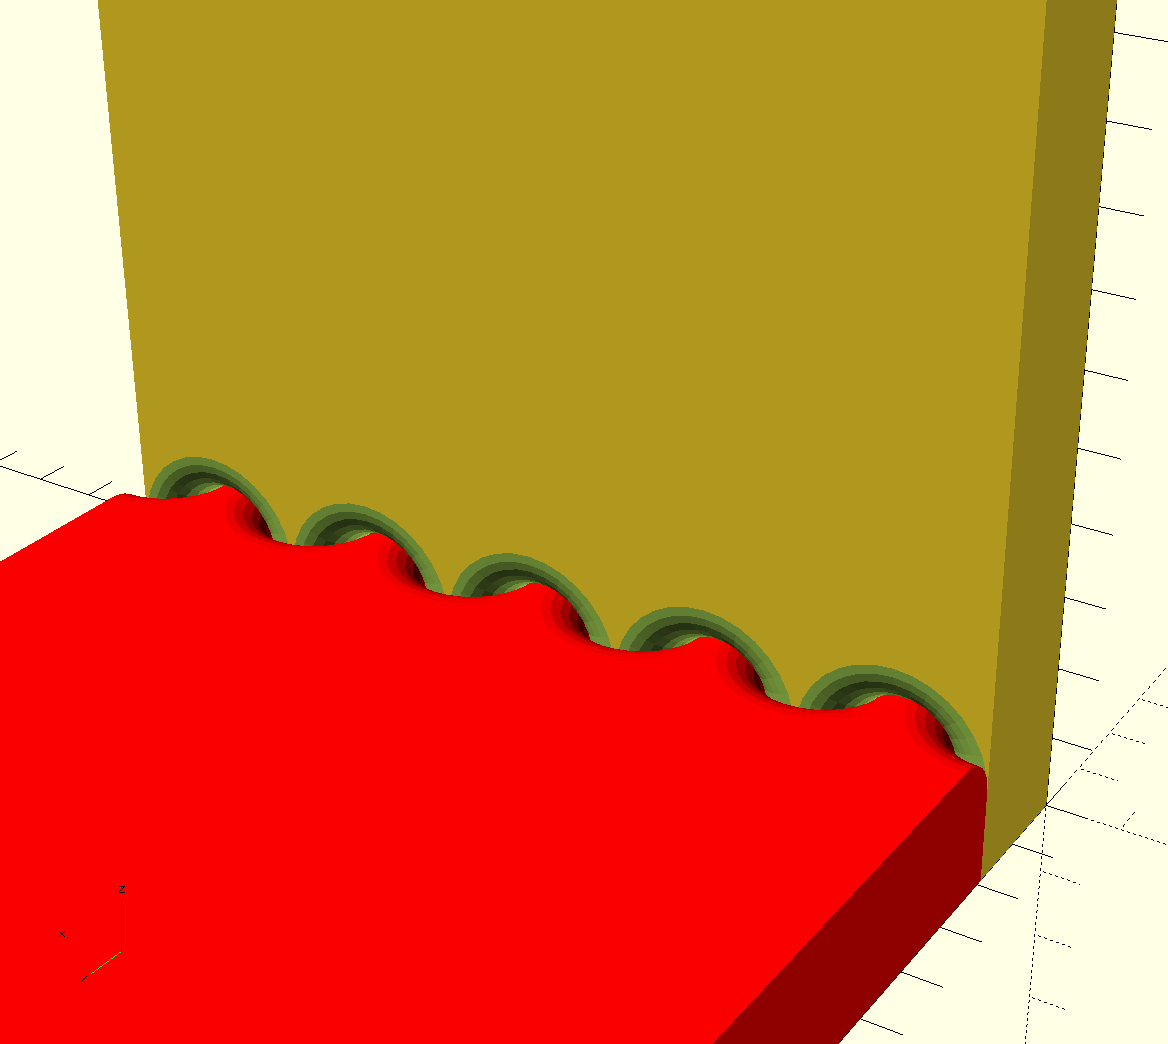
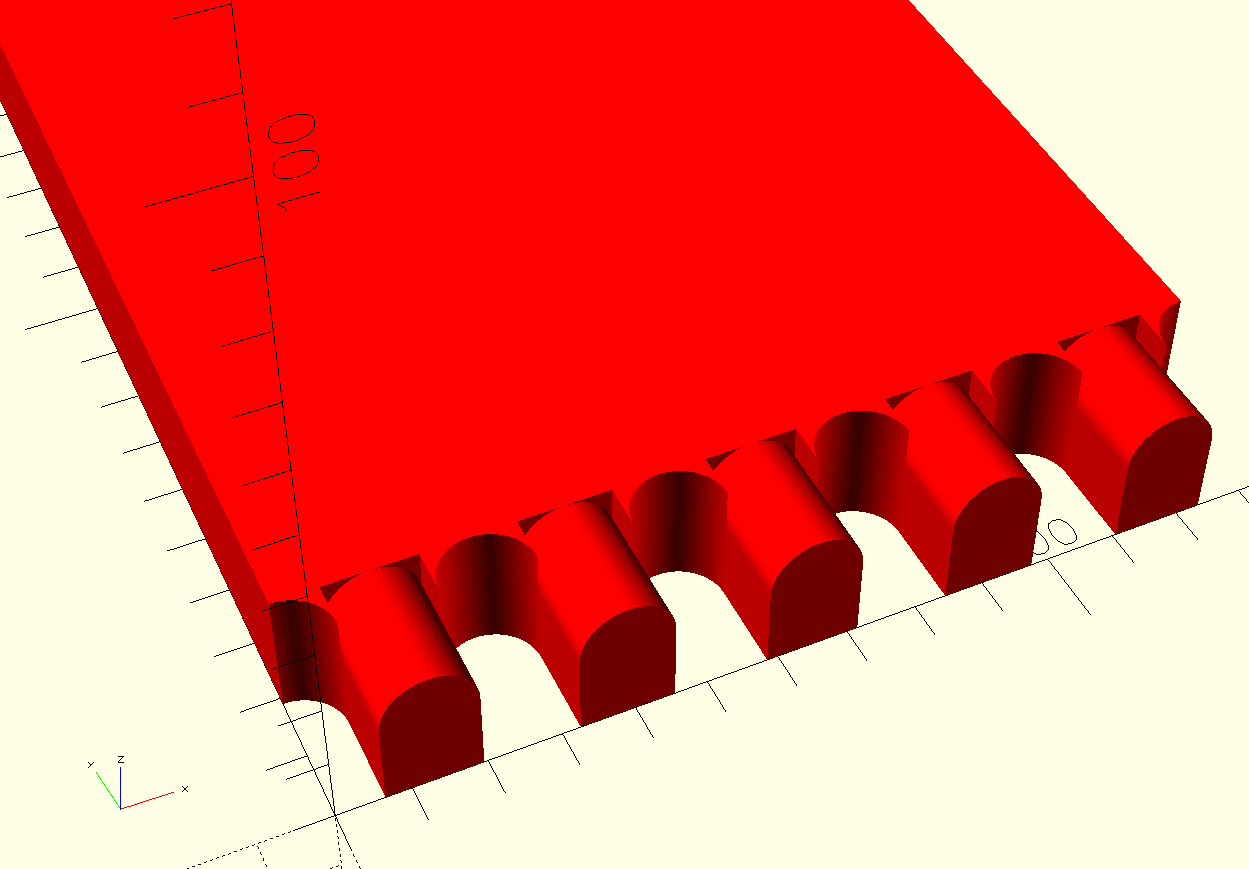
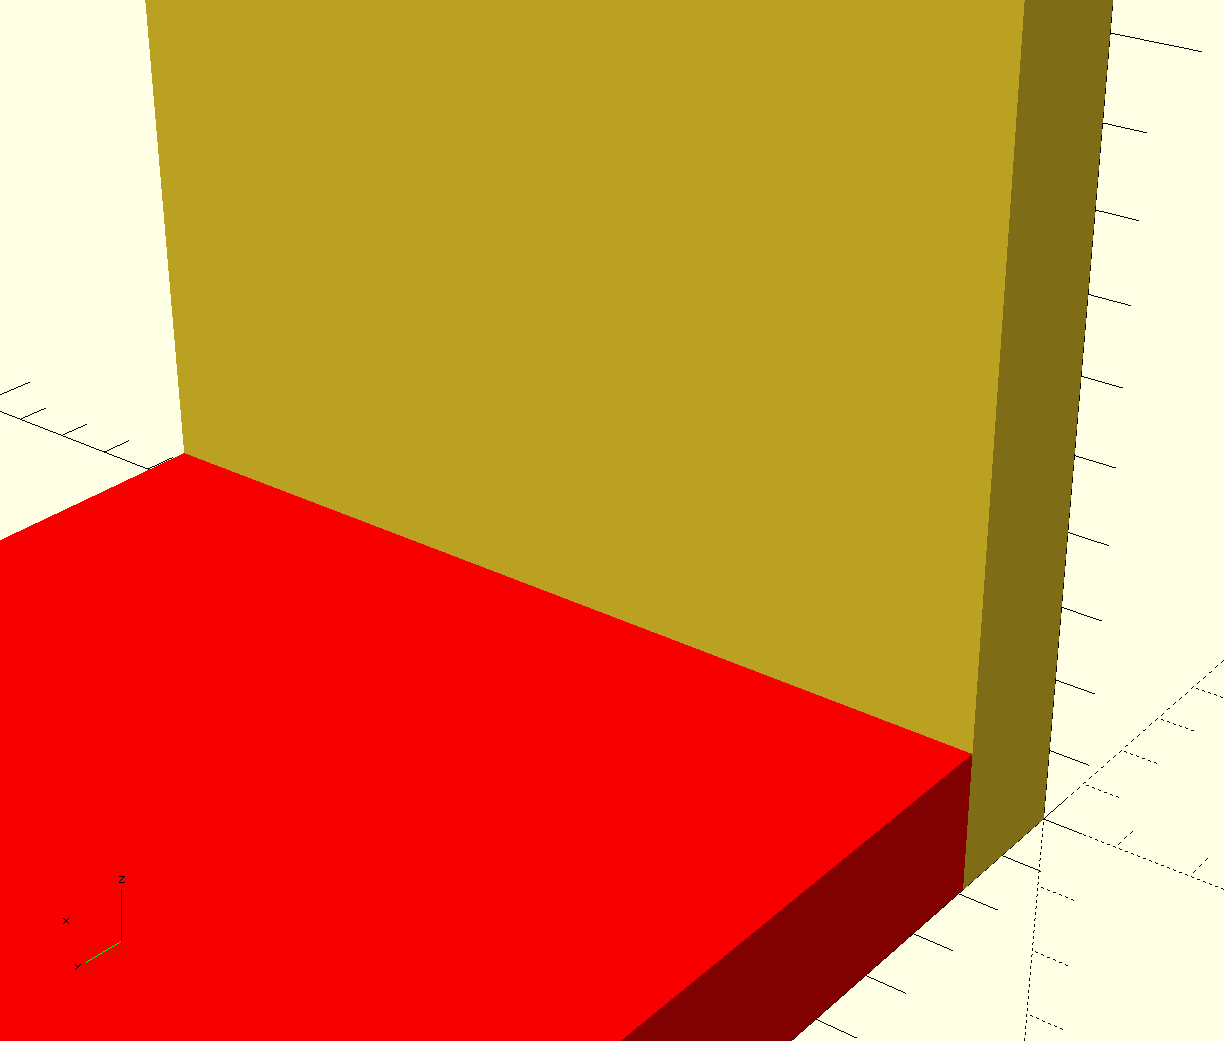
I did some testing with these types of joints because I’m like a dog with a bone sometimes. So I fired up OpenSCAD to see if I could figure it out. Here are my results in case anyone is interested.
The obvious problem is that my second attempt cant be cut with a CNC router. The solution used in the add-in seems like a nice fast way to wipe out the problem areas and it still hides.
Turns out that ‘margin’ is how much the fingers should be offset from the edge (width) of the joint.
The situation where the joints are too tight can be alleviated by simply using ‘stock to leave’ and using a negative number. In my case -0.05 mm. Instead of leaving stock for the final pass, this cuts further into the stock. I used it on the tool paths that form the sides of the fingers.