Hi folks,
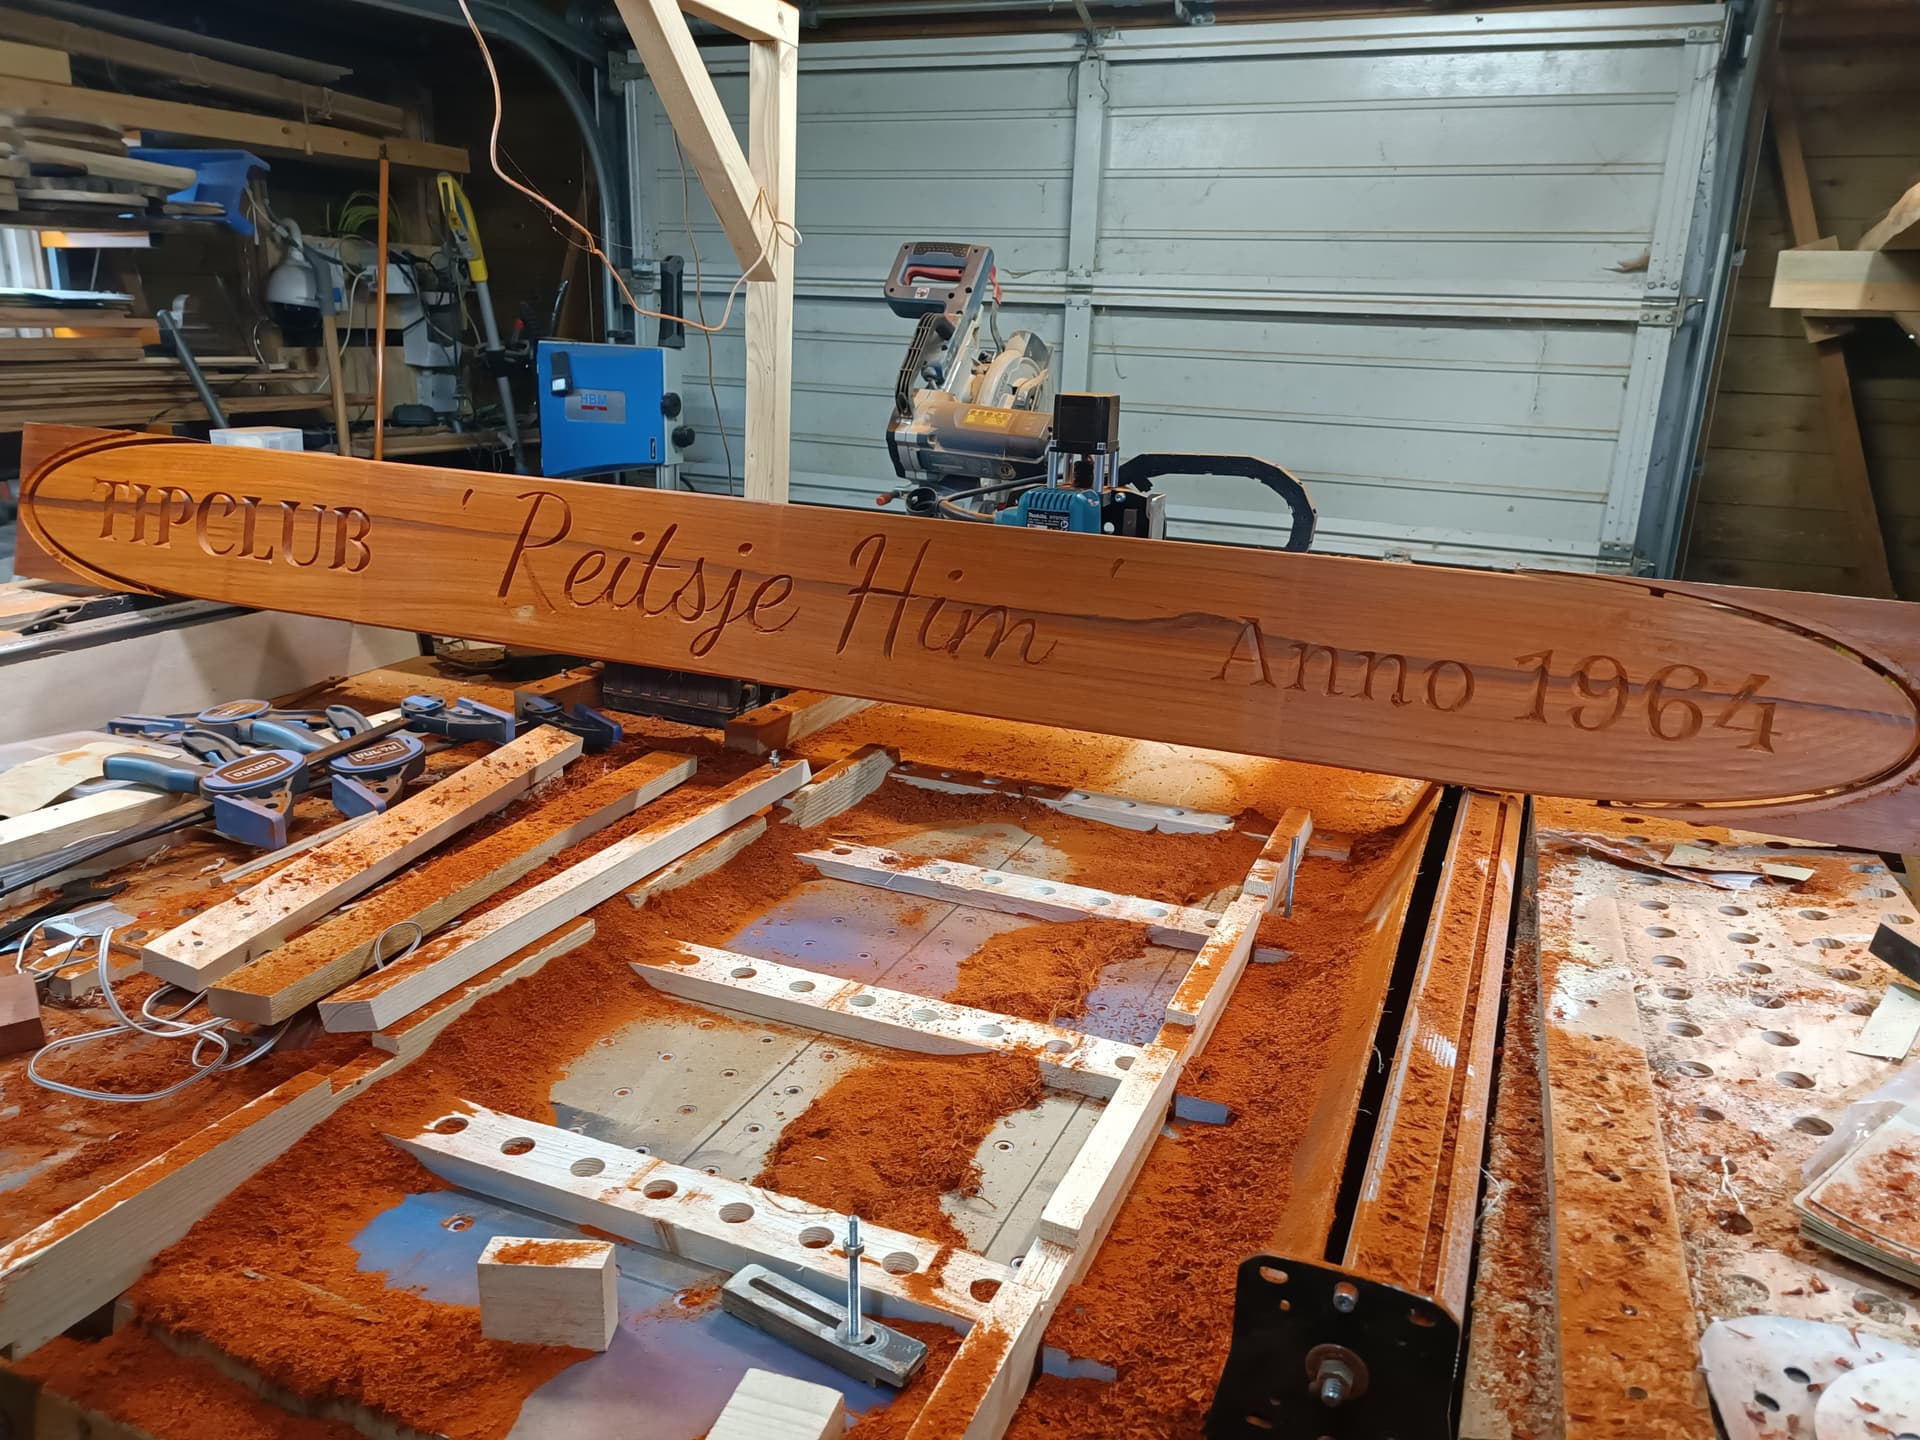
A week or so ago, someone requested a sign that needed to be around 70 inch long (7,5inch wide). When I constructed my mill table, I figured I would need to be able to slide through longer material so I kept the back and front of my mill open and threw a few casters onder the legs of the table to be able to create distancve between the walls and the table if needed.
I made a design the client approved wich included a dedicated cutout to custom shape the sign. Nothing fancy, just a kinda square with rounded ends. It however demanded a jig that would allow me to allign every tile with enough precision to at least be quick glance proof.
So.. I put up my thinking hat and went on to device a way to be able to make big ass signs without breaking the bank. I have looked a bit into youtube and this forum for inspiration, but could not find much to go with.
So I guess I’d share my solution, to maybe inspire others who need to make larger signs than their machine can do in one go.
First: I use V-carve pro 12 to make me a test design. Designing the sign does not deviate much from a normal design.
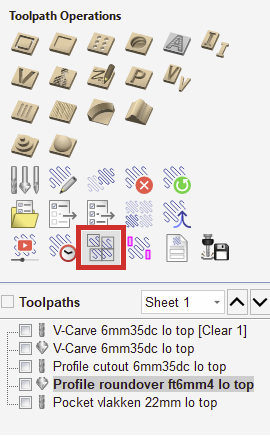
I did mine horizontal, to keep my neck muscles from cramping, flipped the design vertical and made my toolpaths like you’d normaly do. After that I opened the tiling toolpath manager.
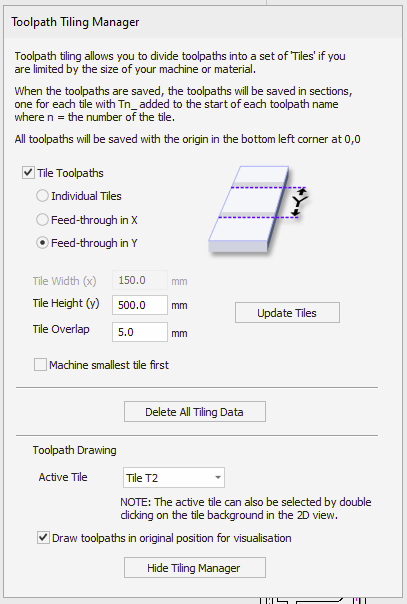
My jig is able to do tiles with a minimum hight of 250mm.
I choose to do 500mm tiles, leaving me with 4 tiles to carve.
I didn’t care if the tiles landed halfway letters because if you test things, test it in it’s extremes.
When saving a toolpath, it will split them into the tiles and save them numbered bottum up. (in my case)
The jig.
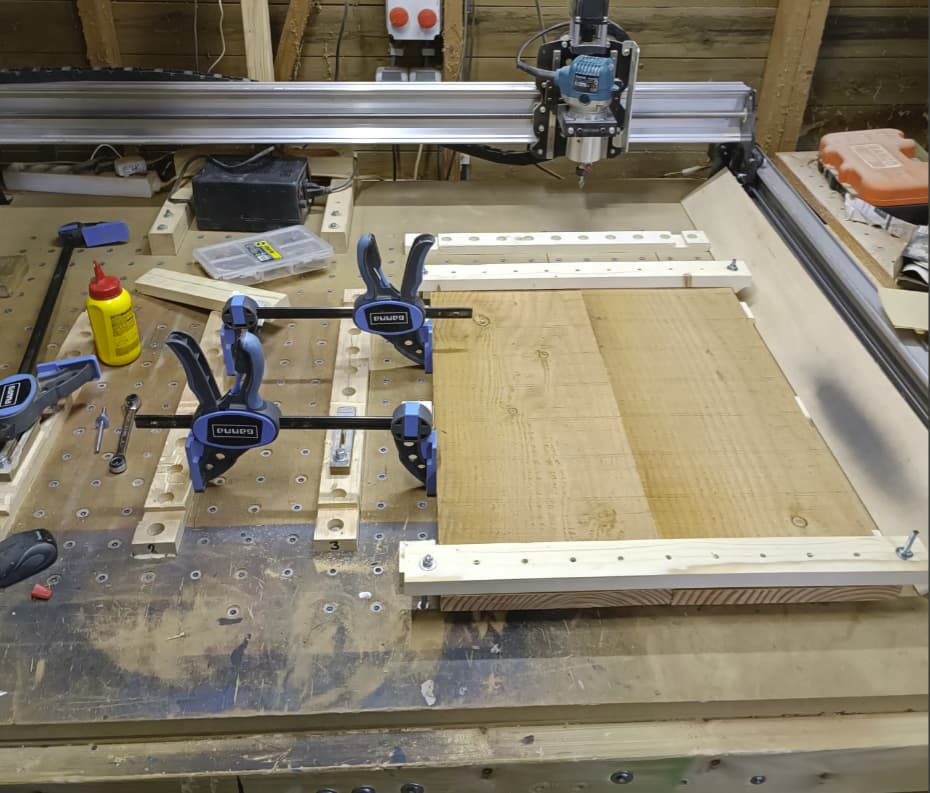
I choose to use -waste- strips again (2100mmx50mmx22mm). These are simple trips of pine, spaced 250mm on the bed that get flattened to the machine axis using a simple pocket toolpath and a 22mm mill. After flattening the 4 strips, I pocketed out a sloth on the ends of every strip, as wide as the strip. This to insert a strip that can be used as a fence.
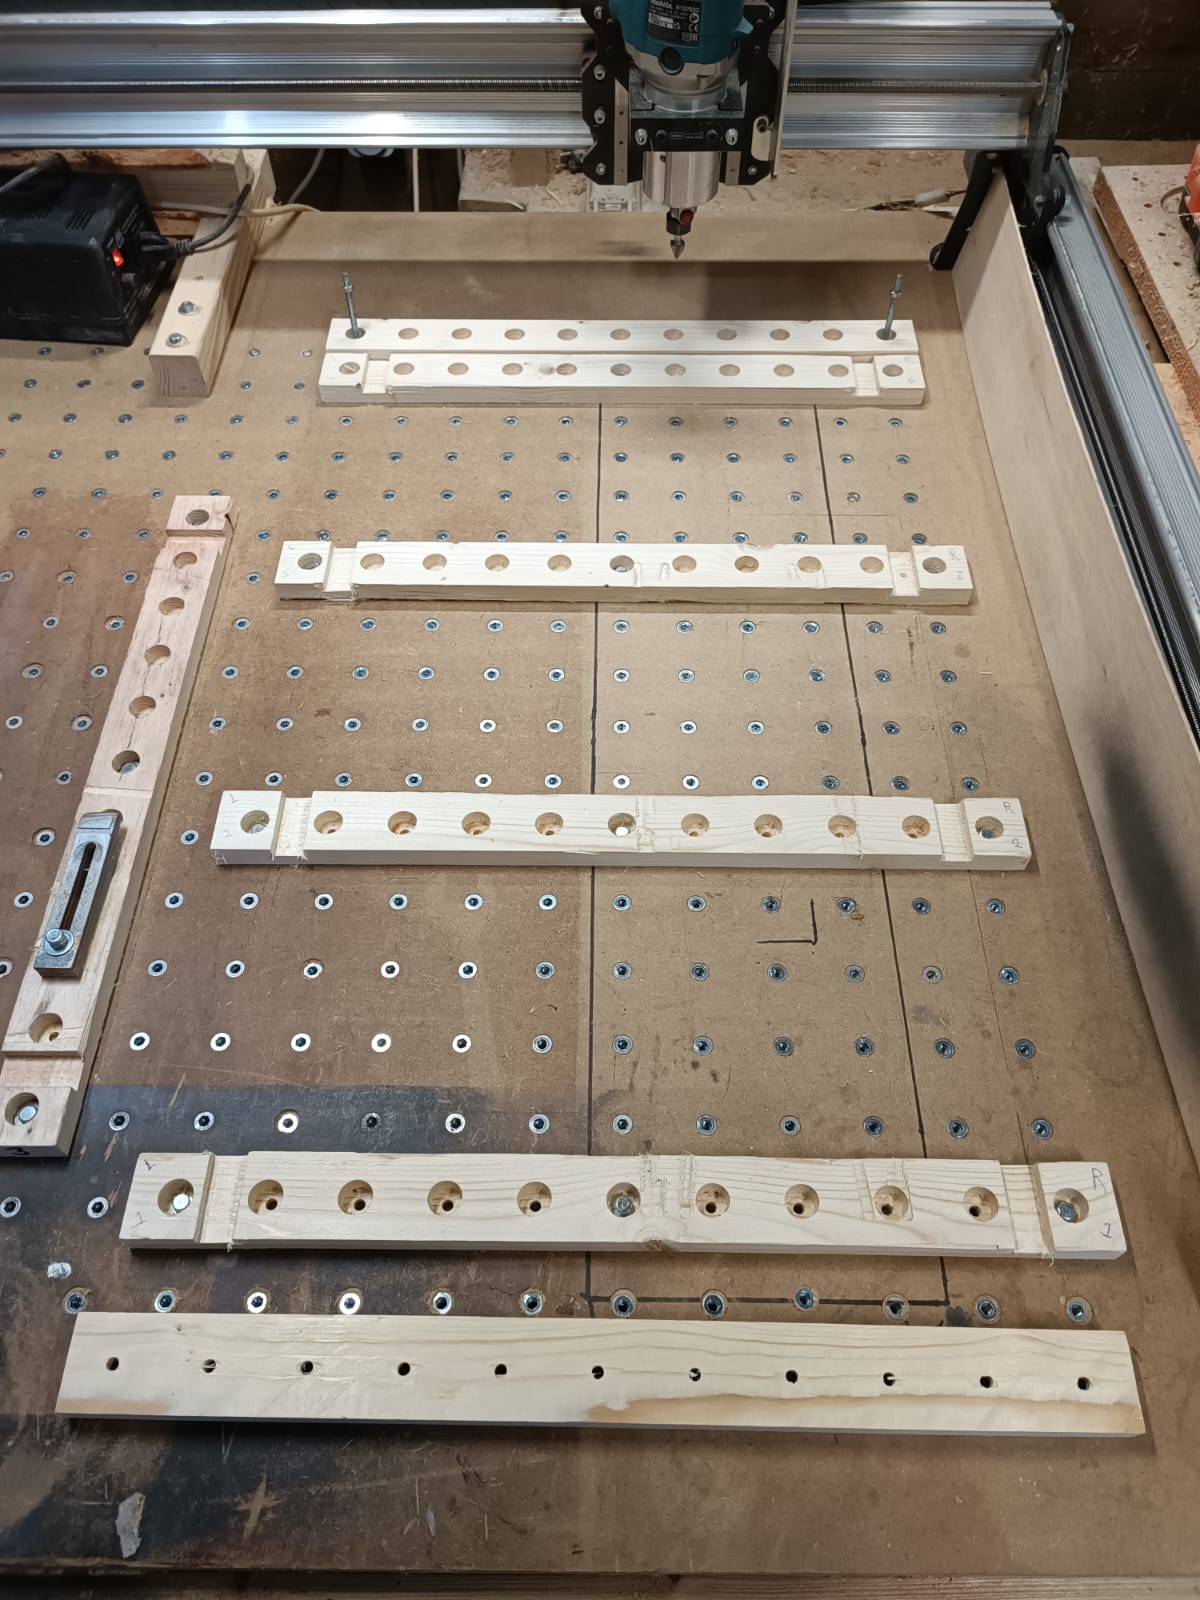
The fence strips get pockets on both sides as wide as a strip and as deep as a strip (minus the fence pocked) at every 250mm along its length, to fit over the flattened strips at any position along its total lenght (2100mm)
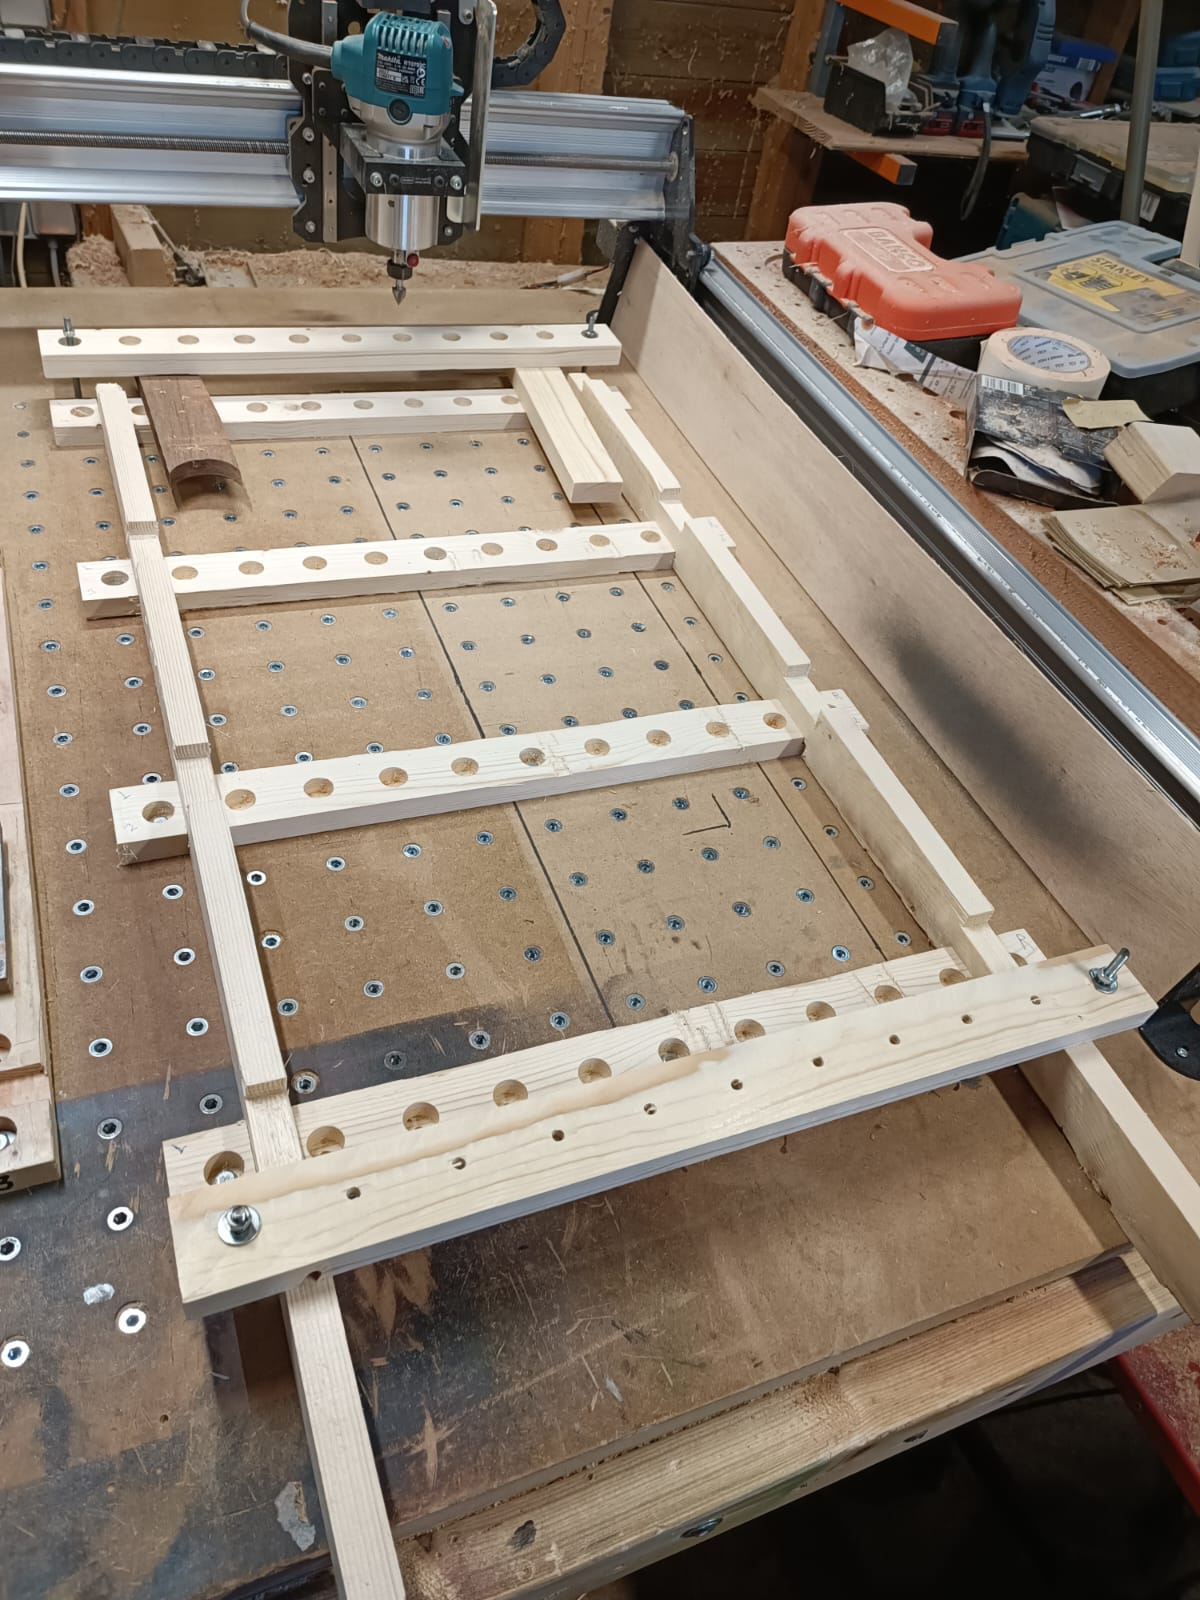
To clamp down the sign, I use two strips just outside the tile.
To align a tile I use a strip ontop of both fences as an end-stop and move it to the top pockets to the new position. Align the project to the fence and end stop, bolt it down and start the next tile toolpaths.
And that’s it. That’s the jig.