This is a project I plan on doing in the near future but which I’m starting to plan the construction method. Initially, I was only going to do the board and use the tiles from commercial sets. But now that I’ve been using (and loving) epoxy, I might make the tiles as well.
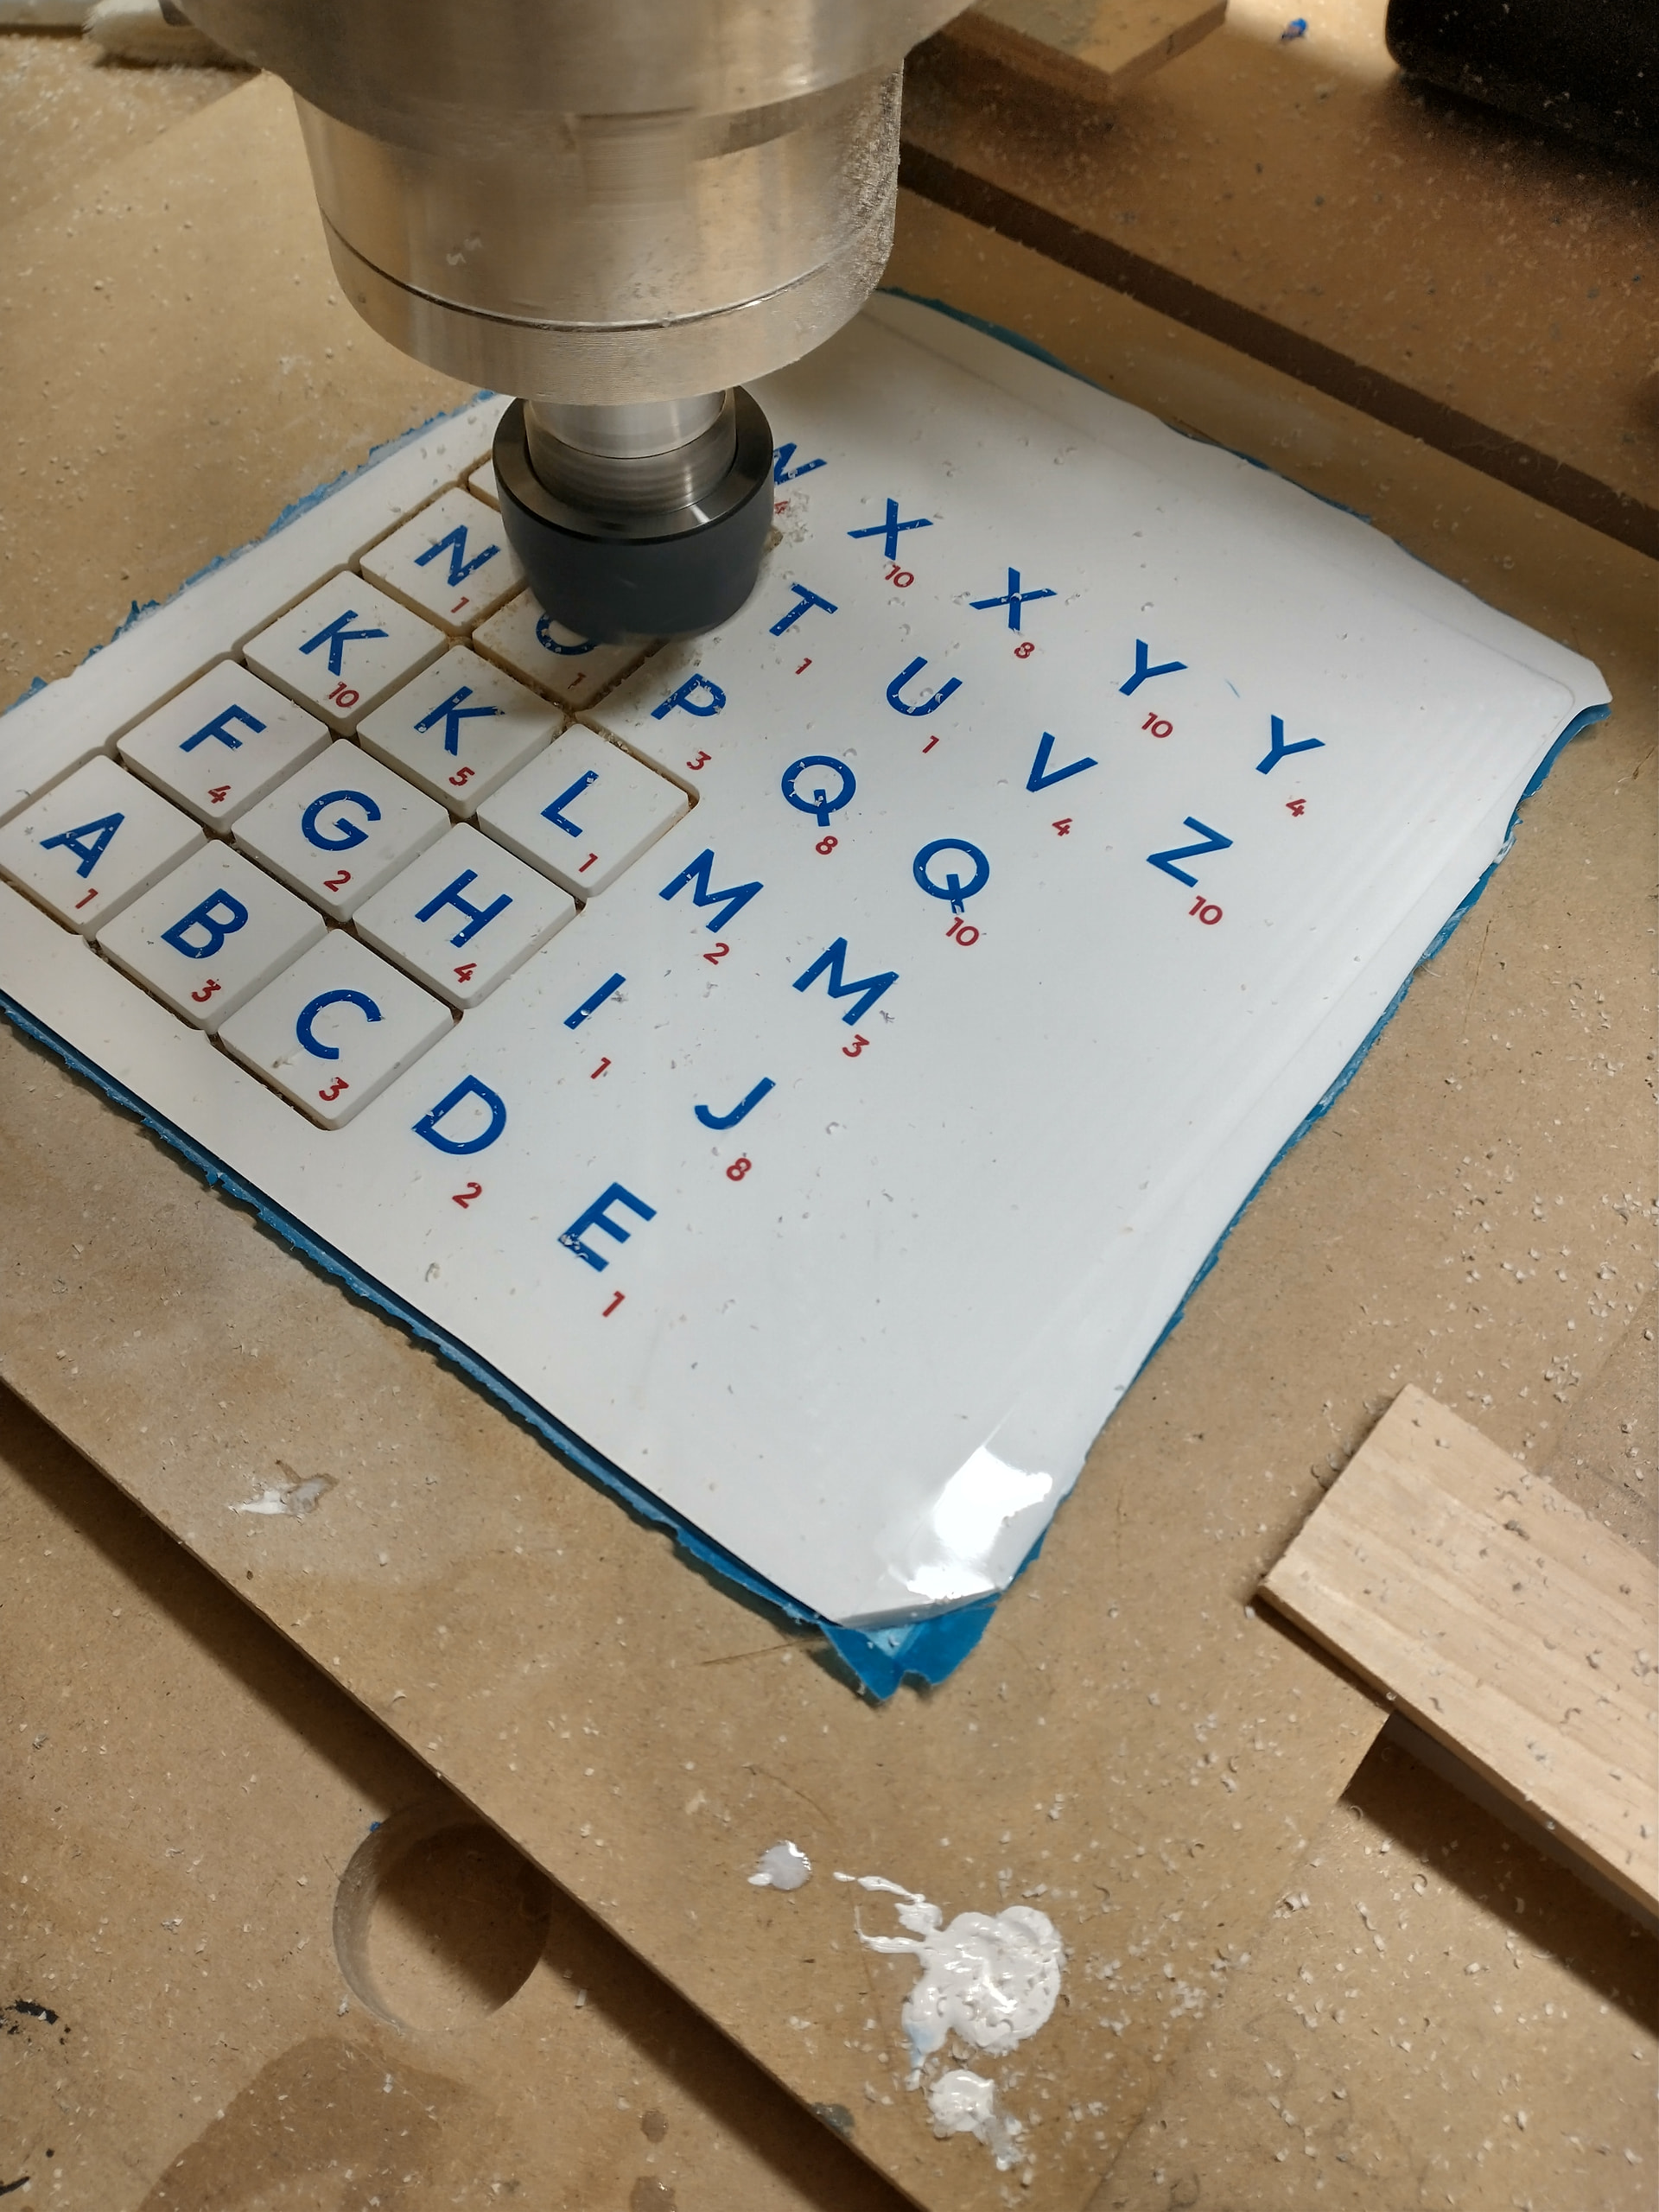
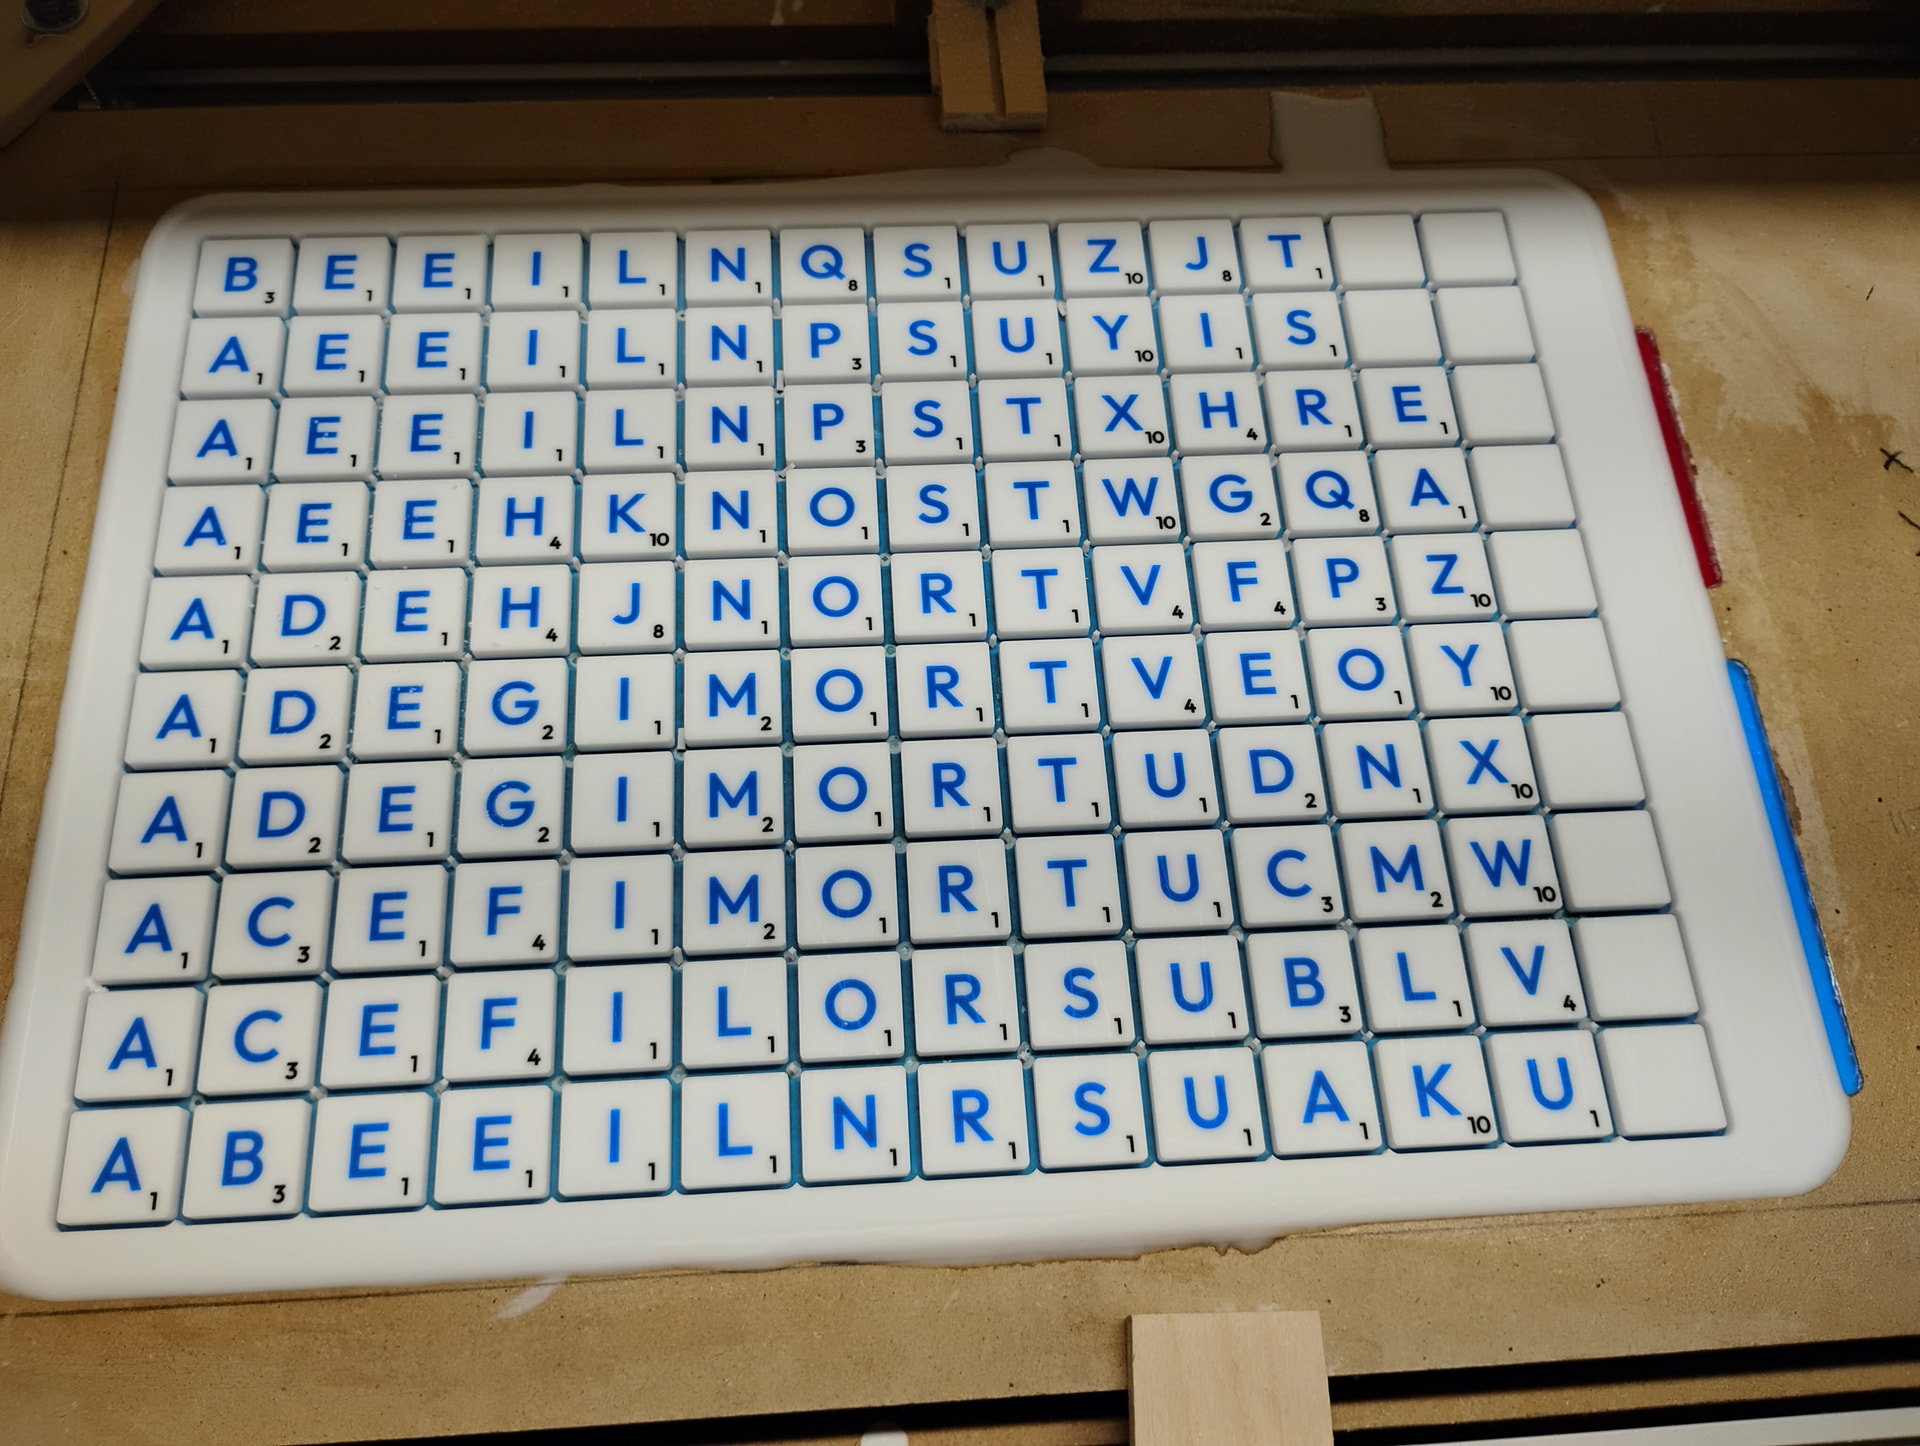
Here is my first attempt at making the tiles. It’s about 4mm of white epoxy poured over Oramask film. The film bonds to the MDF sacrificial spoilboard and the epoxy to the film. The hope was that the epoxy would bond just enough to the Oramask for me to carve but peel off once done. Very satisfied with the results.
I might try a sheet of acrylic instead of epoxy but we’ll see.
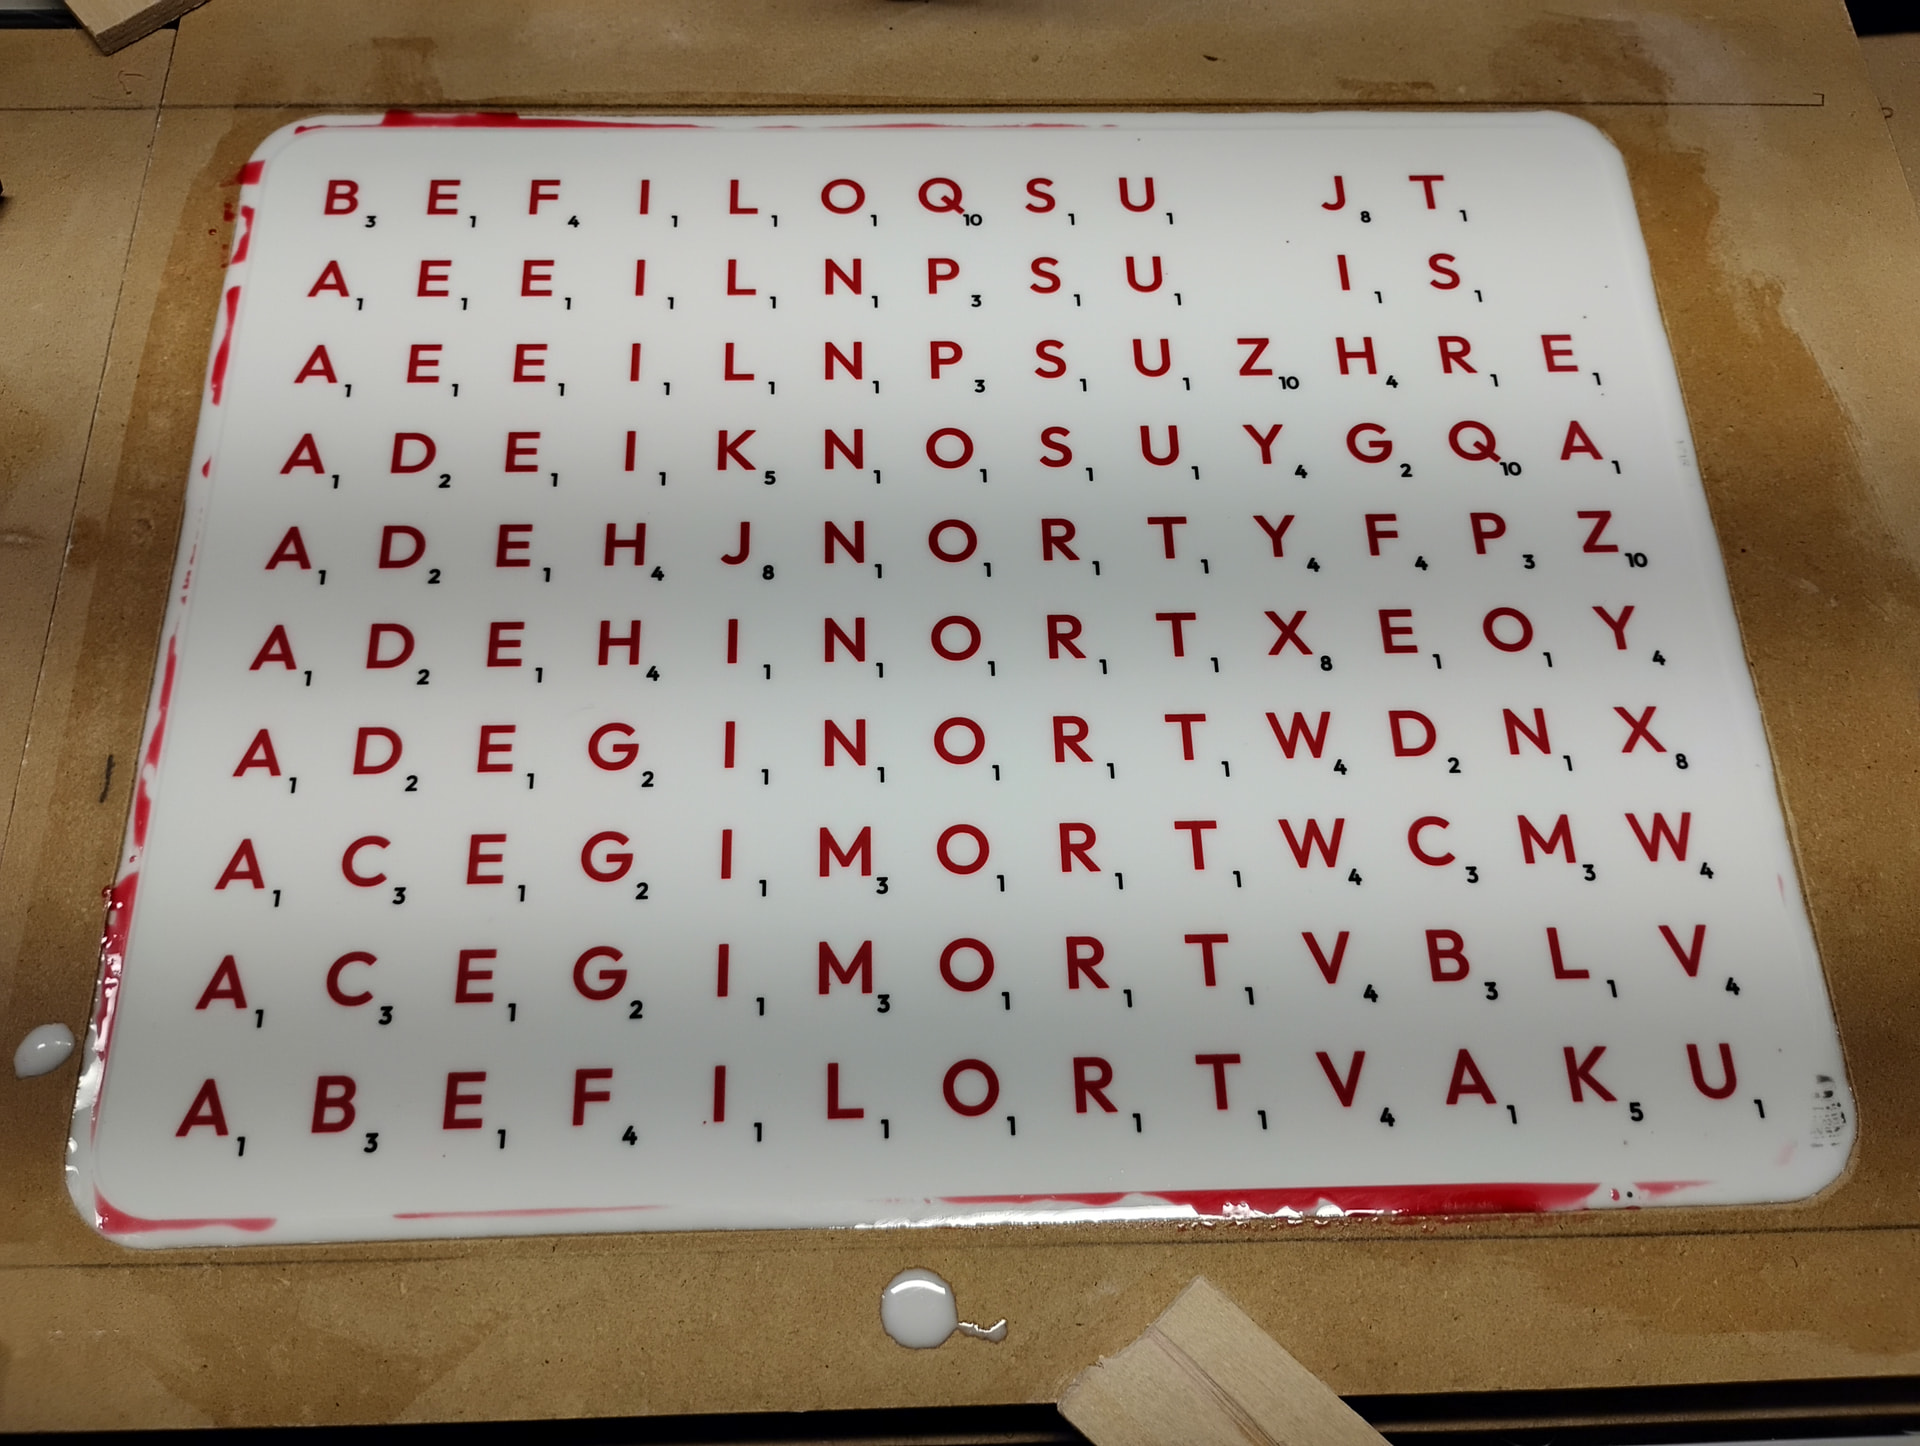
We are a bilingual family and sometimes play in French or English. So the tiles have different values. The numbers for the French tiles will be a different colour than the English tiles so that we can differentiate if required.
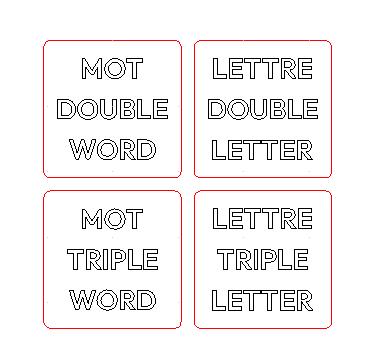
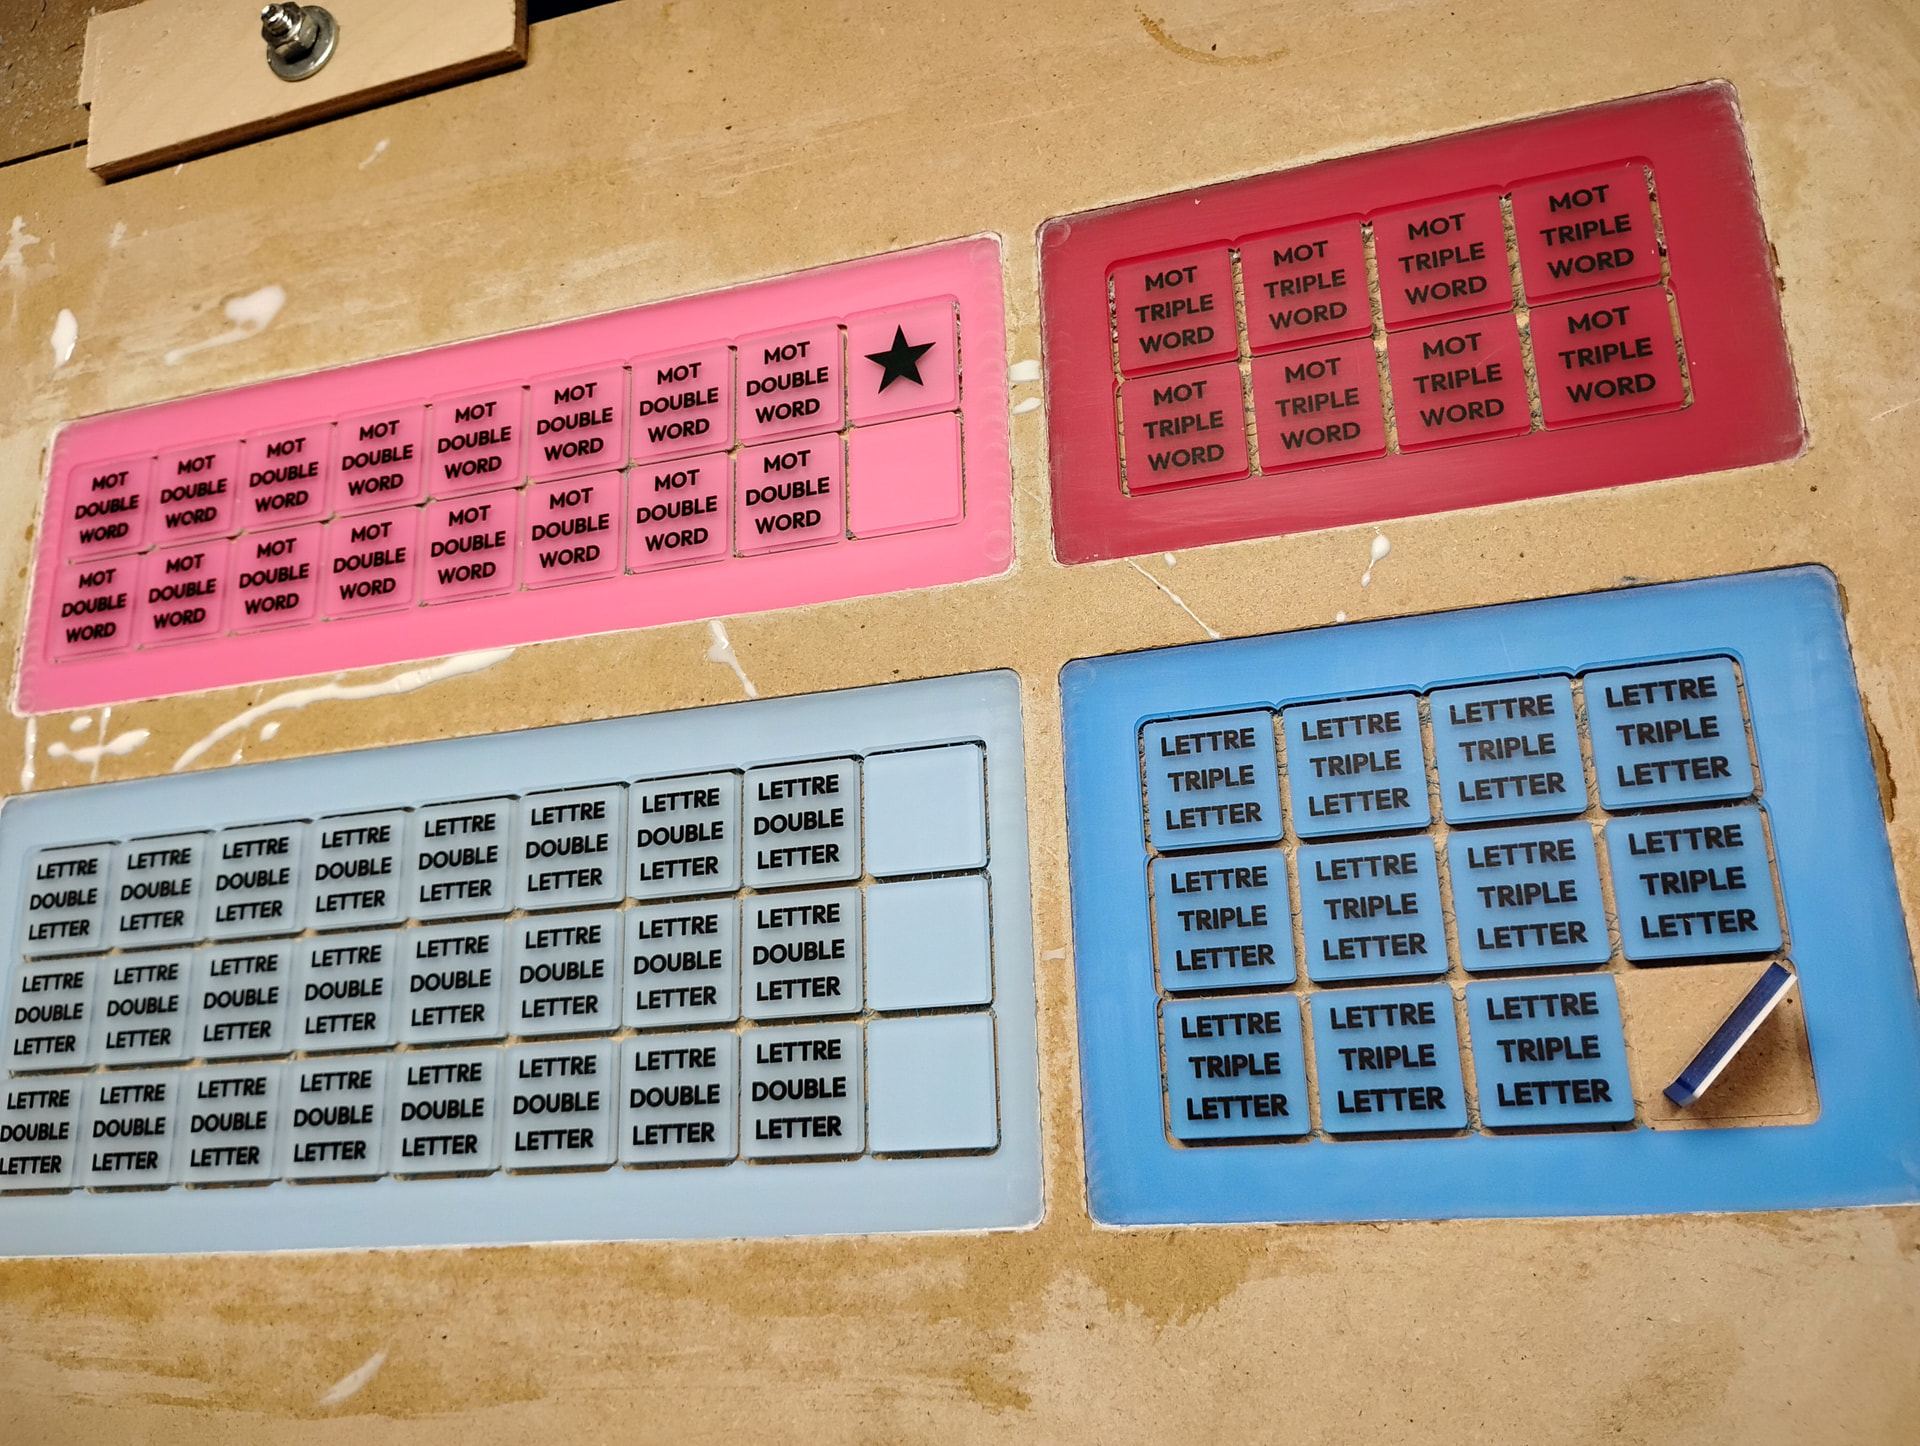
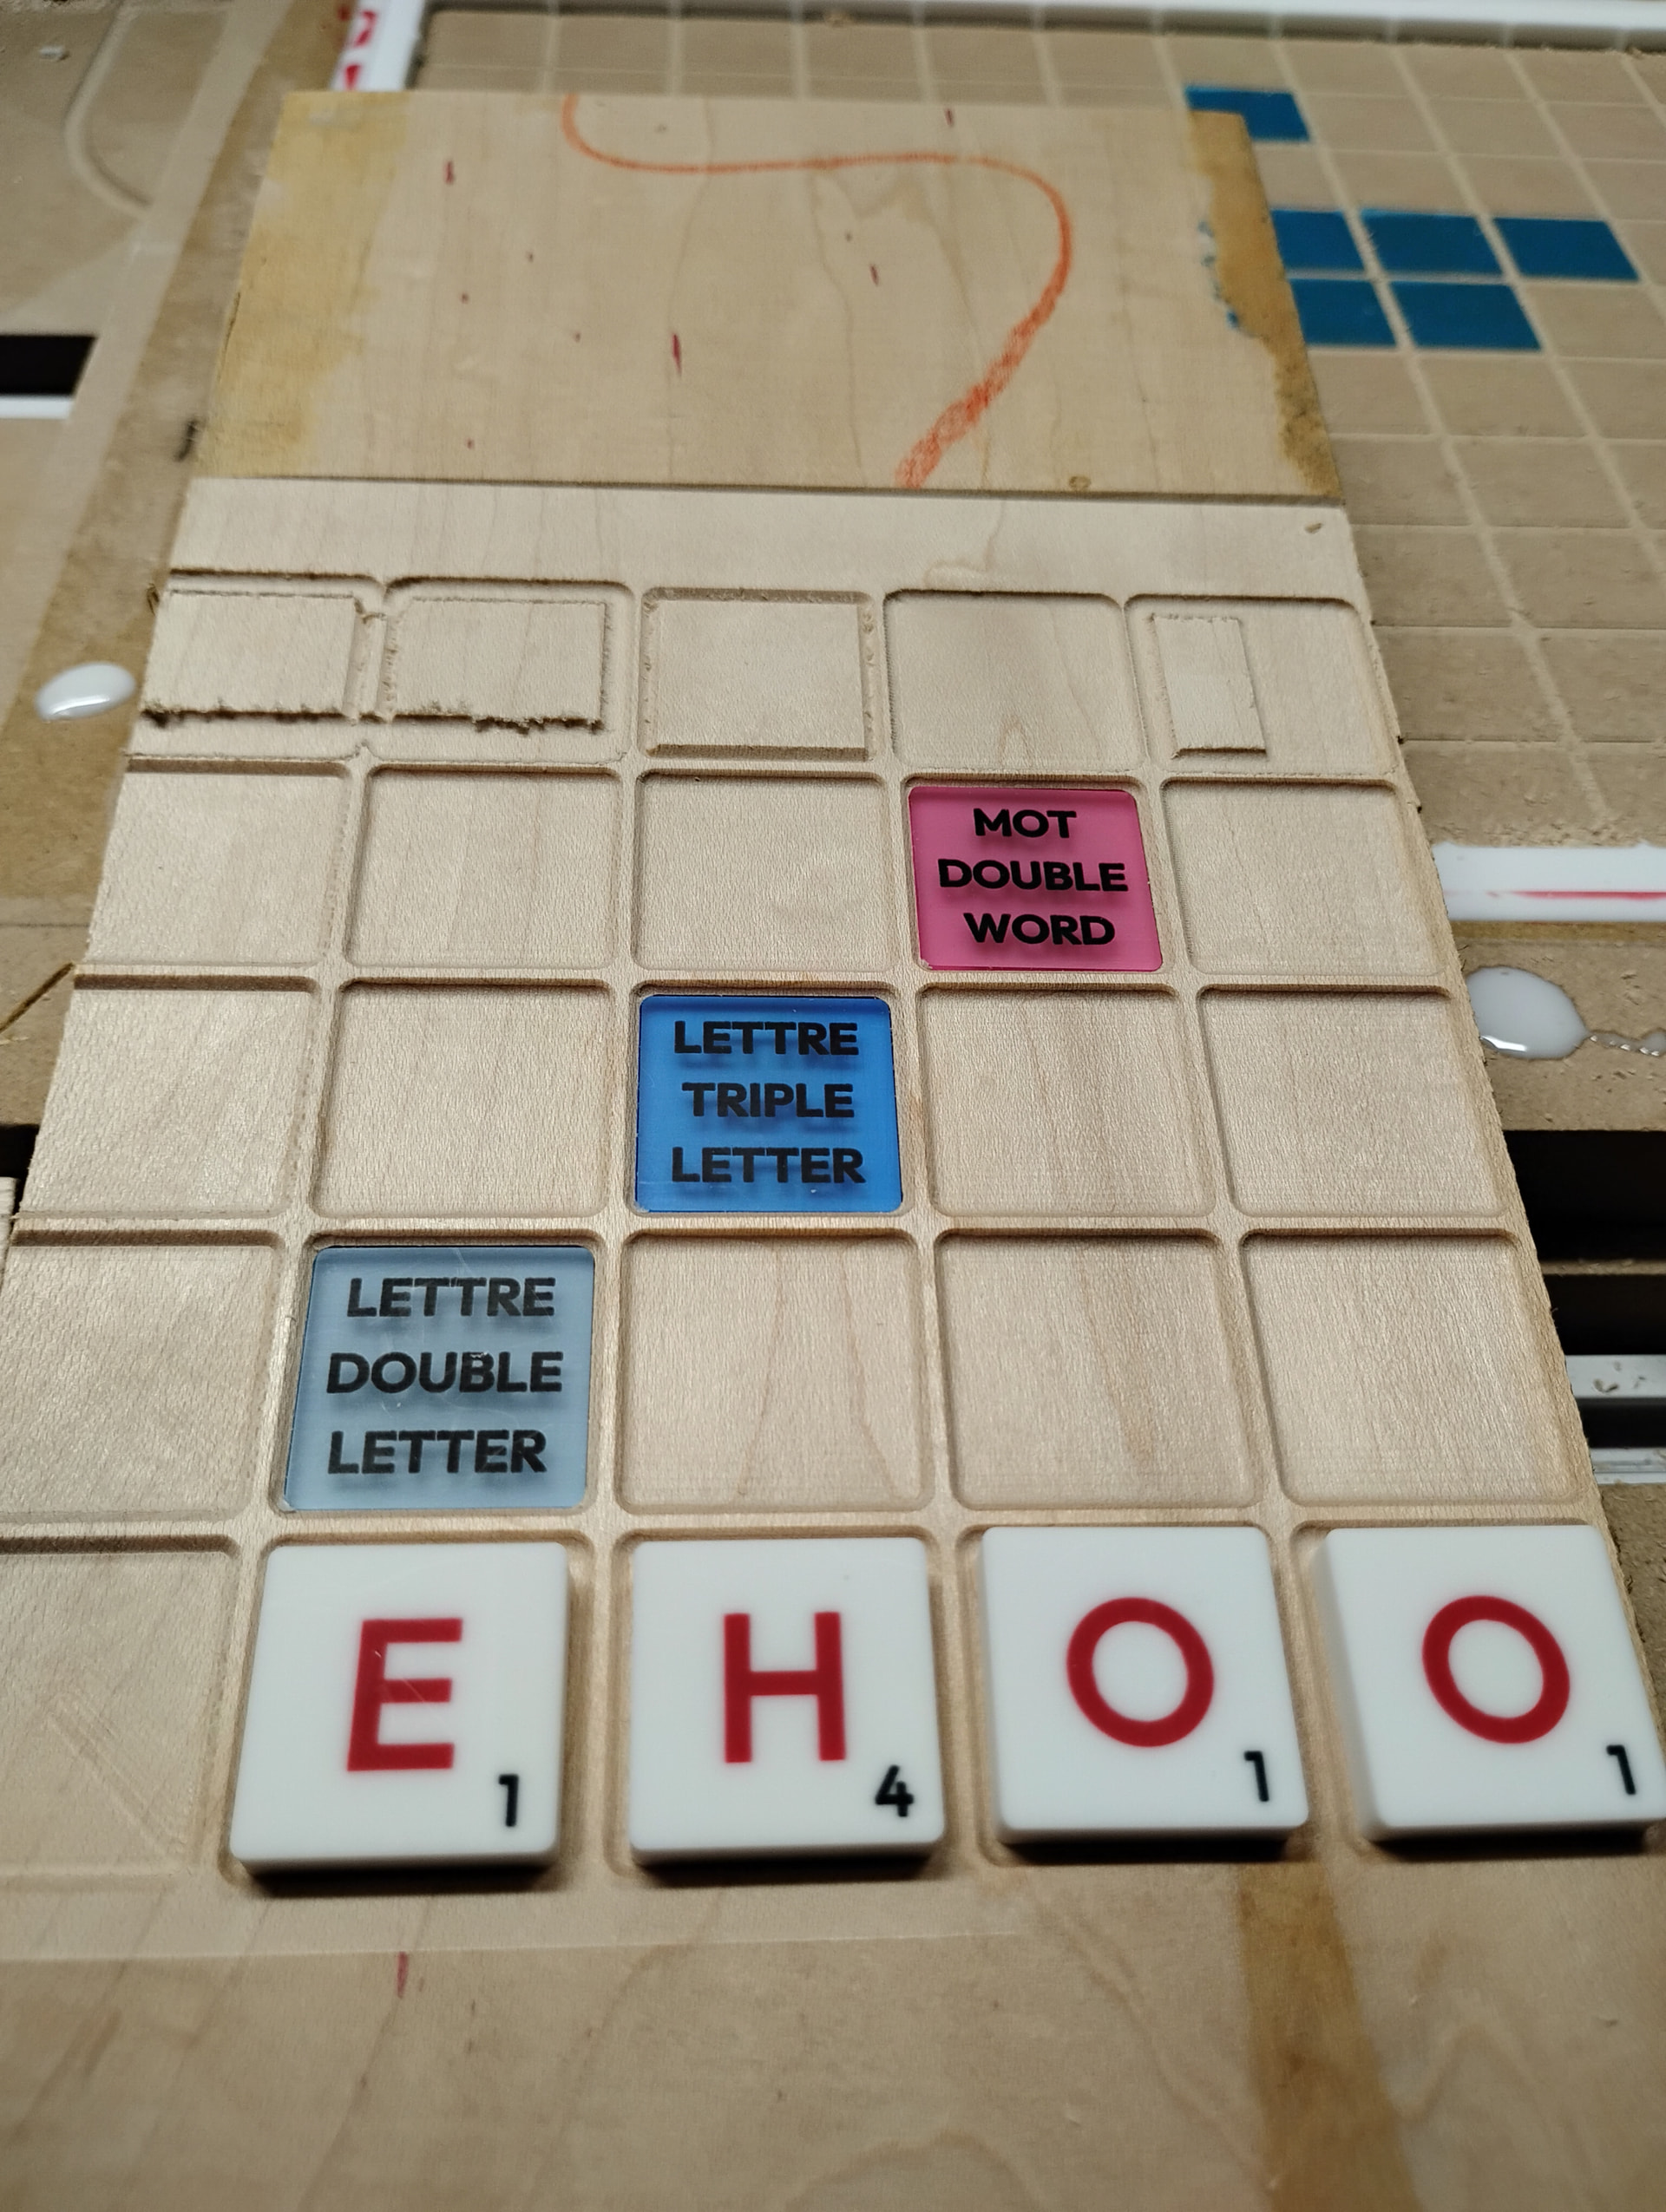
As for the board, I’m still thinking what I want to do. The double/triple word/letter squares will be done similar to the tiles but I’ll use a translucent colour instead and I’ll drop the resulting squares in the board cutouts. Just not sure what that board will look like yet.
Why did you decide to pour epoxy for the base instead of using sheet plastic available commercially?
Where the letters and numbers carved and then epoxy filled?
@Jens Essentially, because that’s what I have. But I did say that I might try acrylic sheets too. The thickness and colour of acrylic is limited to what I can buy. KJP Hardwood here in Ottawa sell different colours but mostly 3mm thick. I also don’t know how well it will polish but I’d have to try.
With epoxy, I can do whatever I want. And it will polish to a high shine once cured. I can also get solid, translucent, or metallic finishes with the right pigment. More work but more versatile.
And yes, I pour the white base first. Once cured, I carve the numbers and pour the red epoxy. Once cured, I carve the letters and pour the blue epoxy. Similar process to the flags I made.
@dmcgee Recessed pockets for sure. But it will be a very shallow recess. Something like 1mm. So there will be an edge, but it may not be necessary to chamfer it. I’d likely just use the taper from a TBN bit.
I’m still thinking about the material to use and the build method. I’m leaning towards a Baltic Birch base with a 3mm veneer of maple or other pale lumber on top.
The double/triple word/letter squares will likely be inlayed with translucent epoxy squares made like I did the tiles. The other squares would be the natural finish of the maple.
TBH, I’m looking for the least amount of finishing work because I absolutely hate sanding. So the method and materials I use will let me have a nice finish without sanding for the plain squares but still allow the raised edges.
I was originally thinking of doing two boards, one in English and one in French. But as it turns out, French and English grammar makes it that I can do one board for both. But I’ll still need one set of tiles for each language because the points are different.
No mold. Just a 4mm pocket in MDF. For the test above, I didn’t even do a pocket. I just folded the sides of the Oramask film to make a “dish”.
No ramp in since they’re shallow cuts (<1mm) with a 1/16" flat end mill. Haven’t noticed any dulling but am monitoring since I know it’s a potential problem.
Not 2-sided tape. I’m using Oramask film. One side bonds to the MDF. The other side is smooth but has a matte finish. So the epoxy bonds just enough to allow me to carve the epoxy without the piece popping out (I’m not using tabs). The film peels off easily but there’s enough shear strength in the bond for the milling operation. That was really the purpose of this test. To see how well it would stick. If that hadn’t worked, I would have tried 2" painter’s tape. But using tape would have required post-carve work on the underside of the tiles. With the Oramask, the underside is smooth.
The bigger problem is surfacing. Once I pour the base layer, I need to surface it. Using a large surfacing bit (50mm dia) makes long stands of epoxy fibers. These have a tendency to bunch up in my dust collection hose since I have a copper wire running inside to control static electricity. So now I’m surfacing with a smaller bit. This takes longer but just makes small chips.
Finally got back to this project. I’ve been staring out the window waiting for spring to arrive so that I can start going to the cottage. I needed to kick myself to get back in the basement.
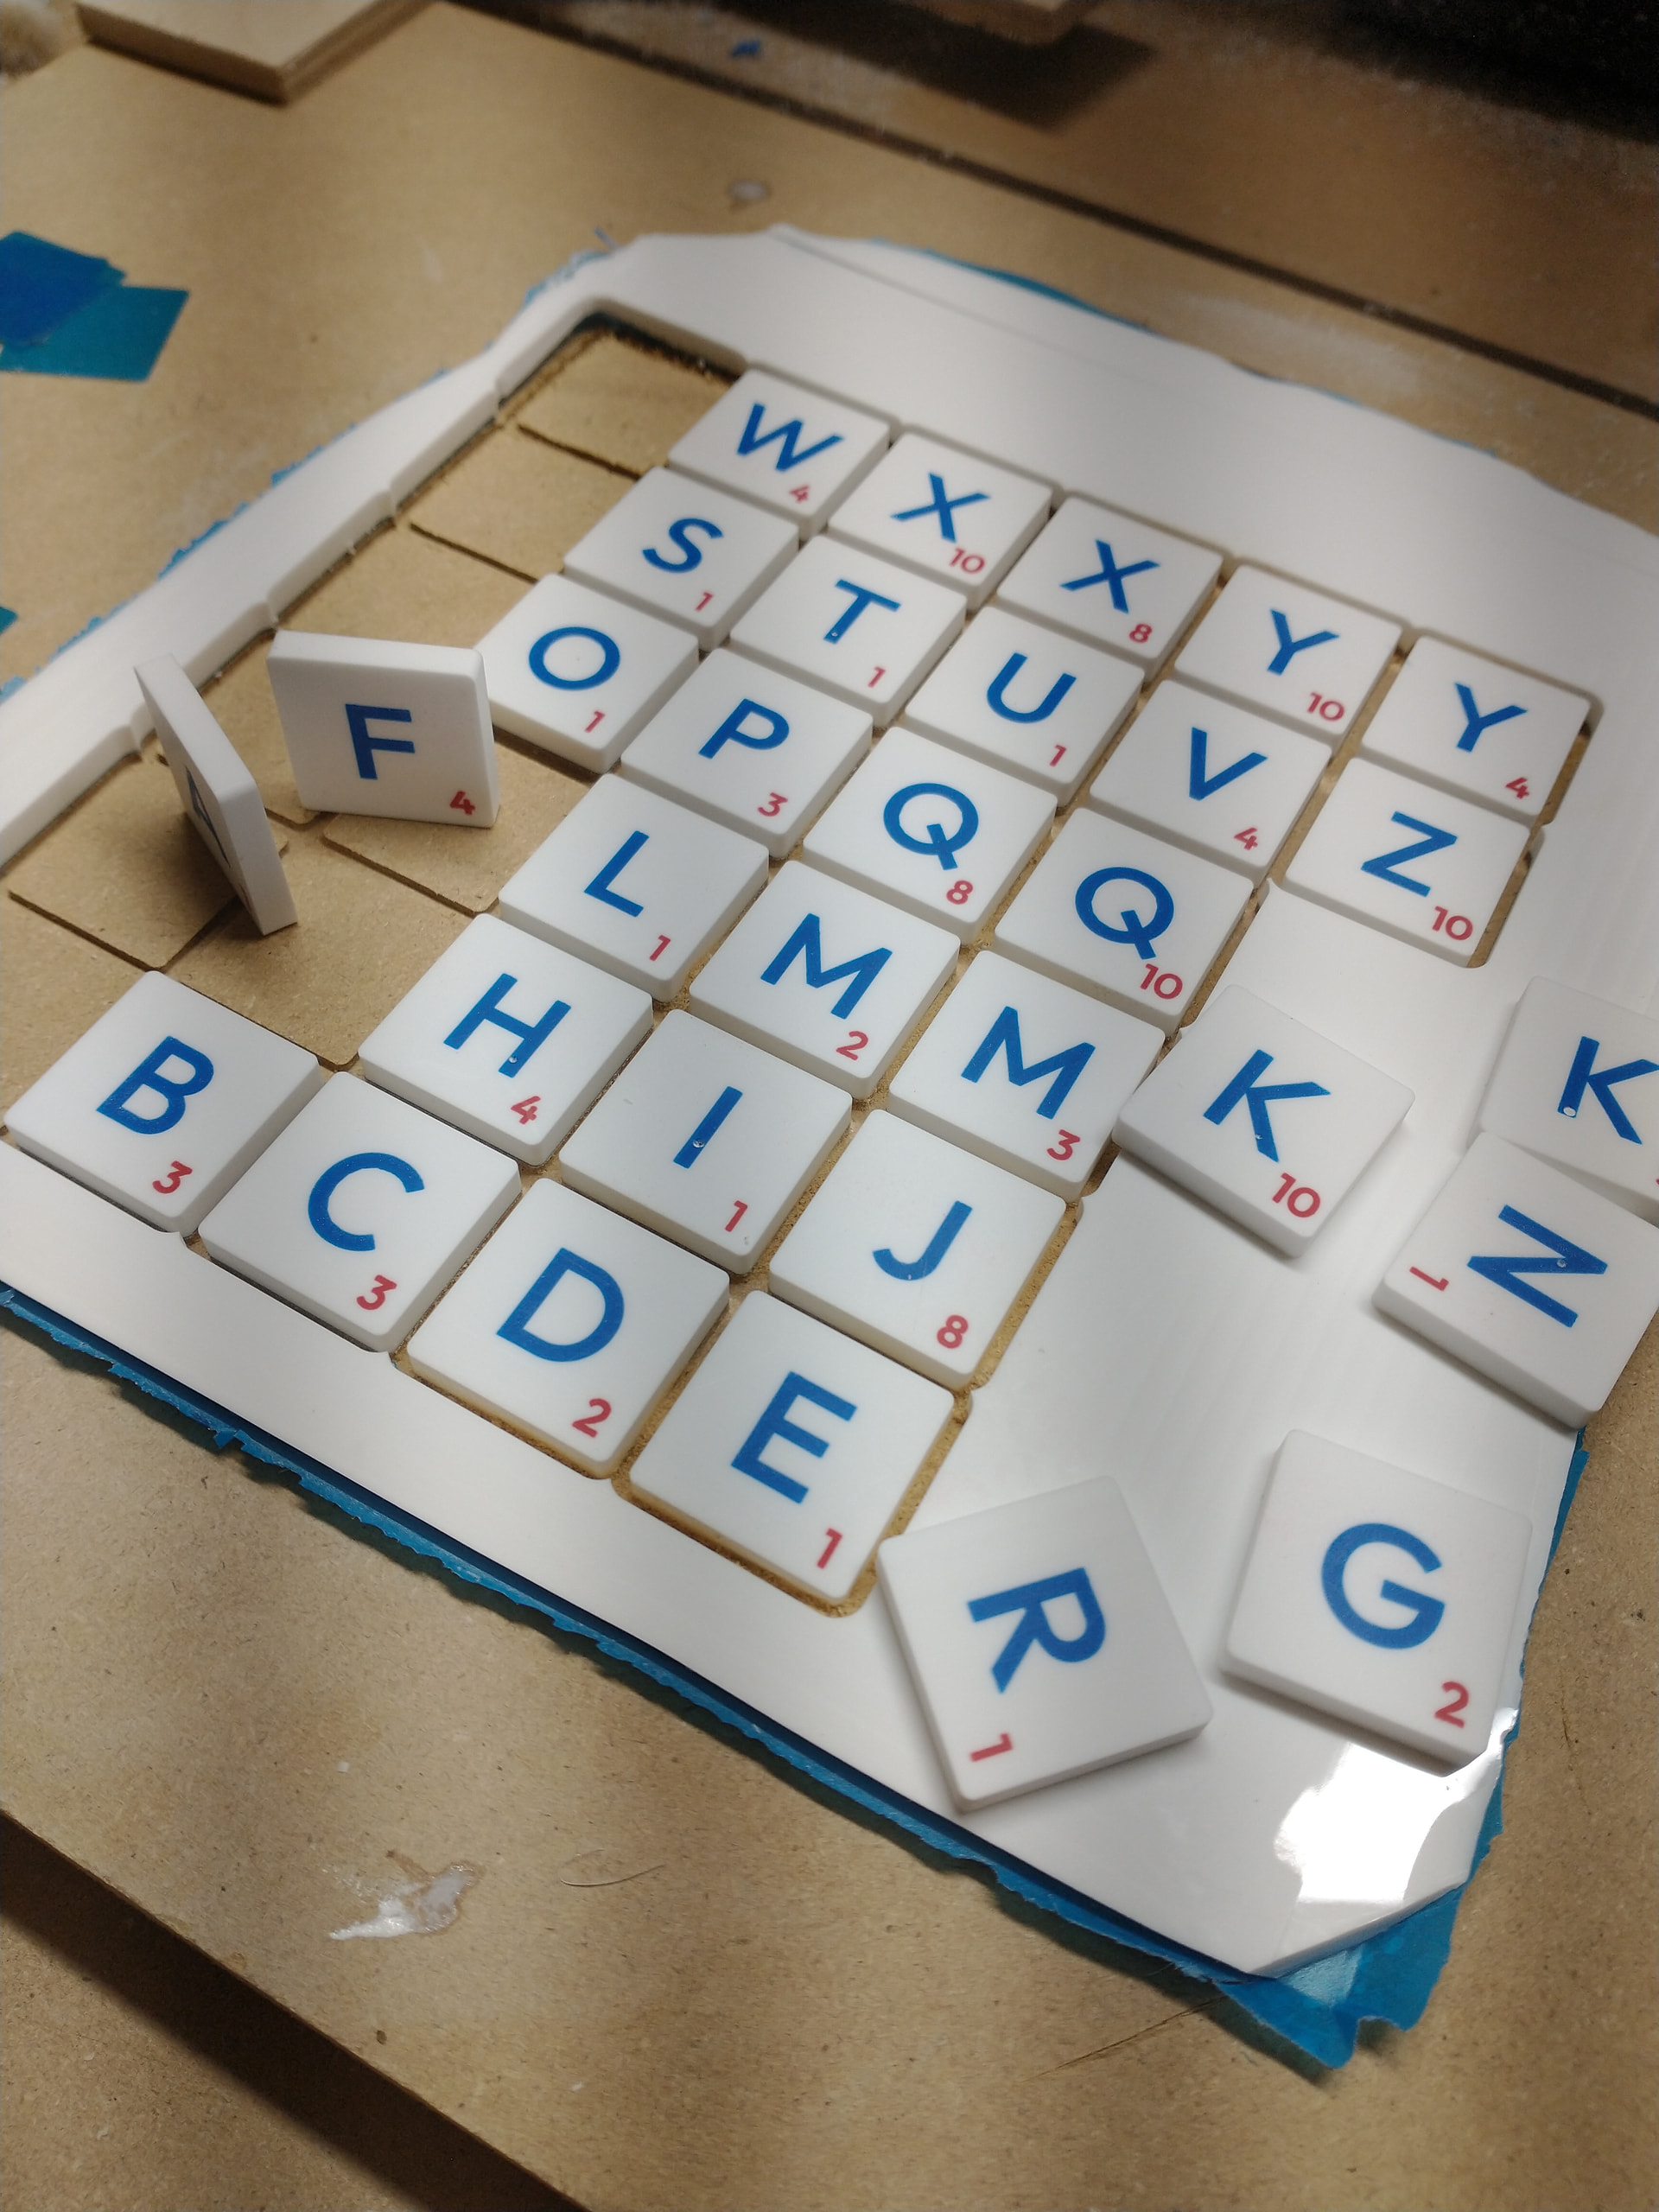
I just finished cutting the outline for the French set of tiles. The English tiles will wait until tomorrow. I colour-coded them to make it easy to know which tiles to use when we play in French or English. Blue is the colour of the Québec flag, so I went with that for French. Red is the field colour of the Ontario flag, so red for English.
The Oramask method of holding the epoxy down went really well. Not a single tile popped off when doing the profile cut. Very happy with the results.
And I made one extra of each letter and many blanks just in case.
Next thing to do is the board. I need to put some thought into that. But it’s likely going to be a next-winter project.
The profile cut to make the tile outline goes all the way through the white epoxy. Since I’m not using tabs, I needed a method to hold down the tiles as they are being cut.
At the same time, I wanted the underside of the tiles to be as smooth as possible without any work on my part.
So I needed a material that would bond to the epoxy but also peel off easily and leave a nice finish.
So I’m applying Oramask - which is a plastic adhesive film used for stenciling - to the bottom of my mold and then pouring the white epoxy on top of that. The Oramask has a matte finish and provides just enough bond to hold down the tile as it’s being cut but can also be peeled off after.
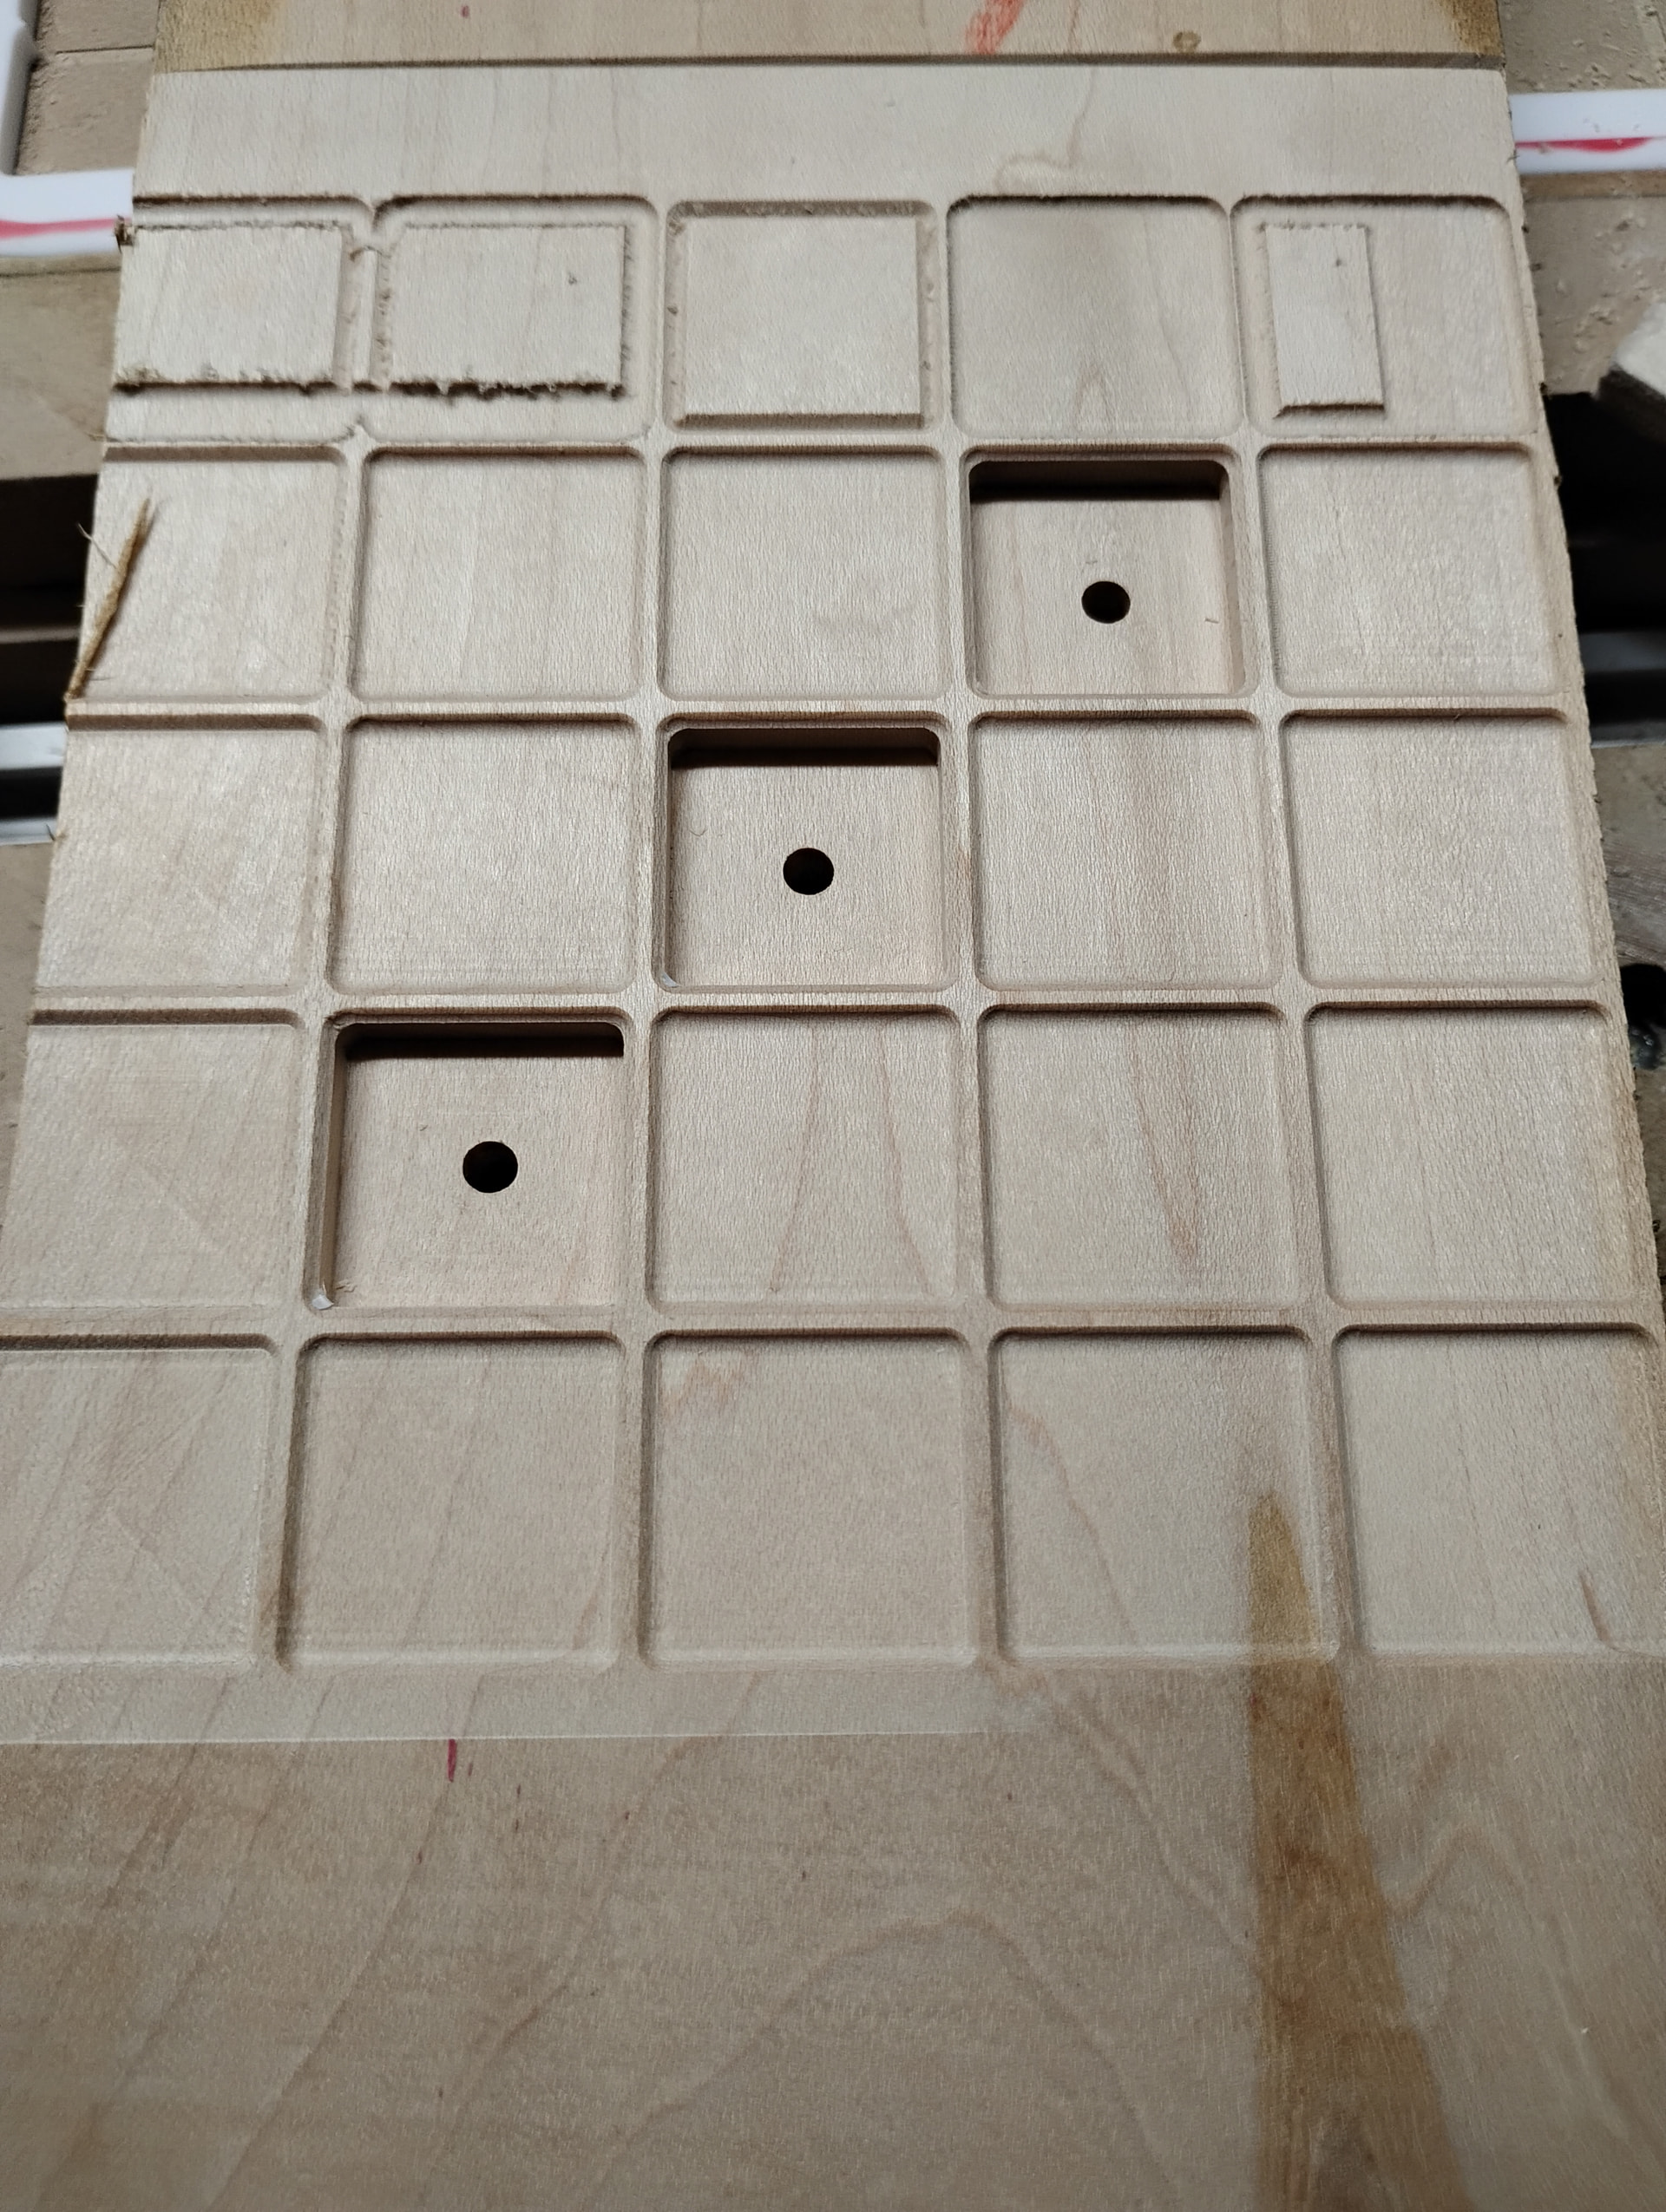
I just did a test carve in maple for the board to see what different toolpaths would look like. I think the following will work:
1mm deep profile cut along the perimeter using a 90º v-bit, followed by a 1mm deep pocket cut (raster in the grain direction) using a 1/8" BN bit with a 5% step over.
I had tried the pocket cut using the offset method but it left diagonal marks from each corner to the centre. You can see those on the left side pockets. The raster cut leaves a nice finish that won’t require sanding.
The pockets for the coloured inserts are done with a 1/8" flat end mill. I used a -0.1mm pocket allowance and the the inserts are press fit. I remembered to drill a through hole first to allow me to remove the insert.
Now, I didn’t go to all this trouble to have a plain looking board. I need to come up with a custom design that represents our family. I’ll have to sleep on that. Too bad visual art is not my forte.
Ha, when I read “next winter“, I said to myself, next winter my bottom! Once back in the shop, it gets in the head, and no one can sit on tne head for long.
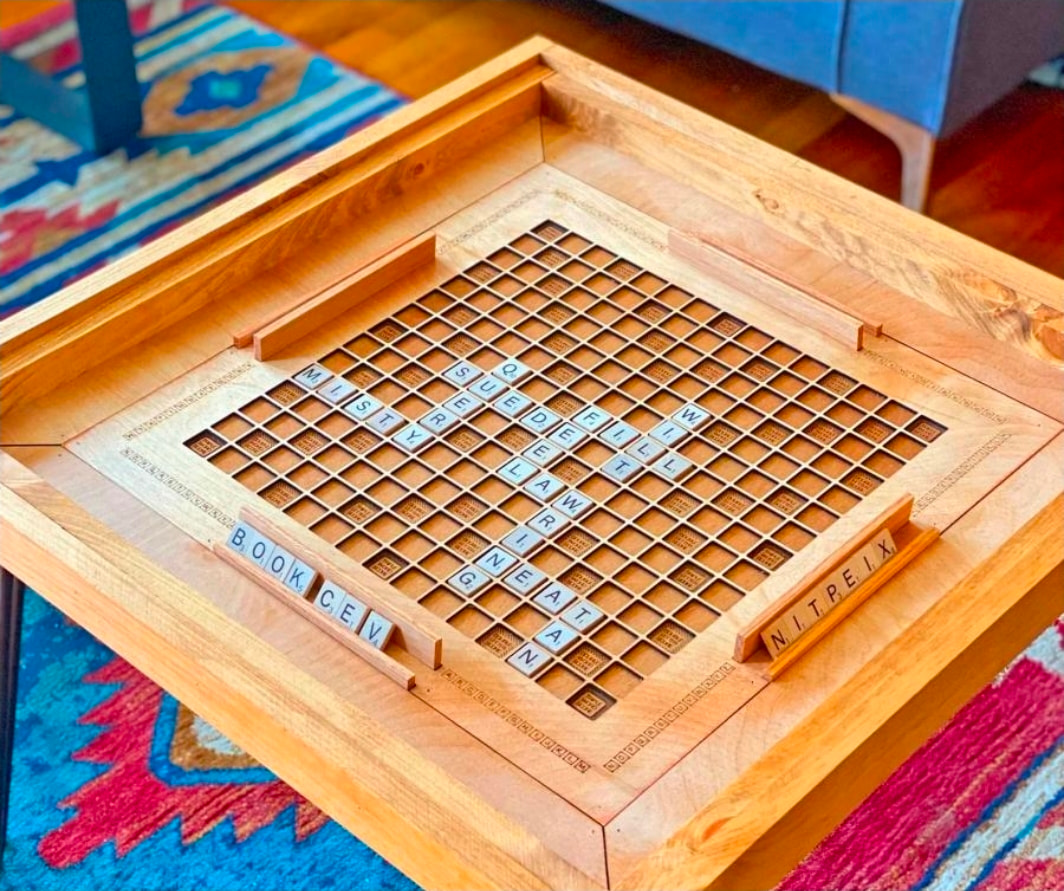
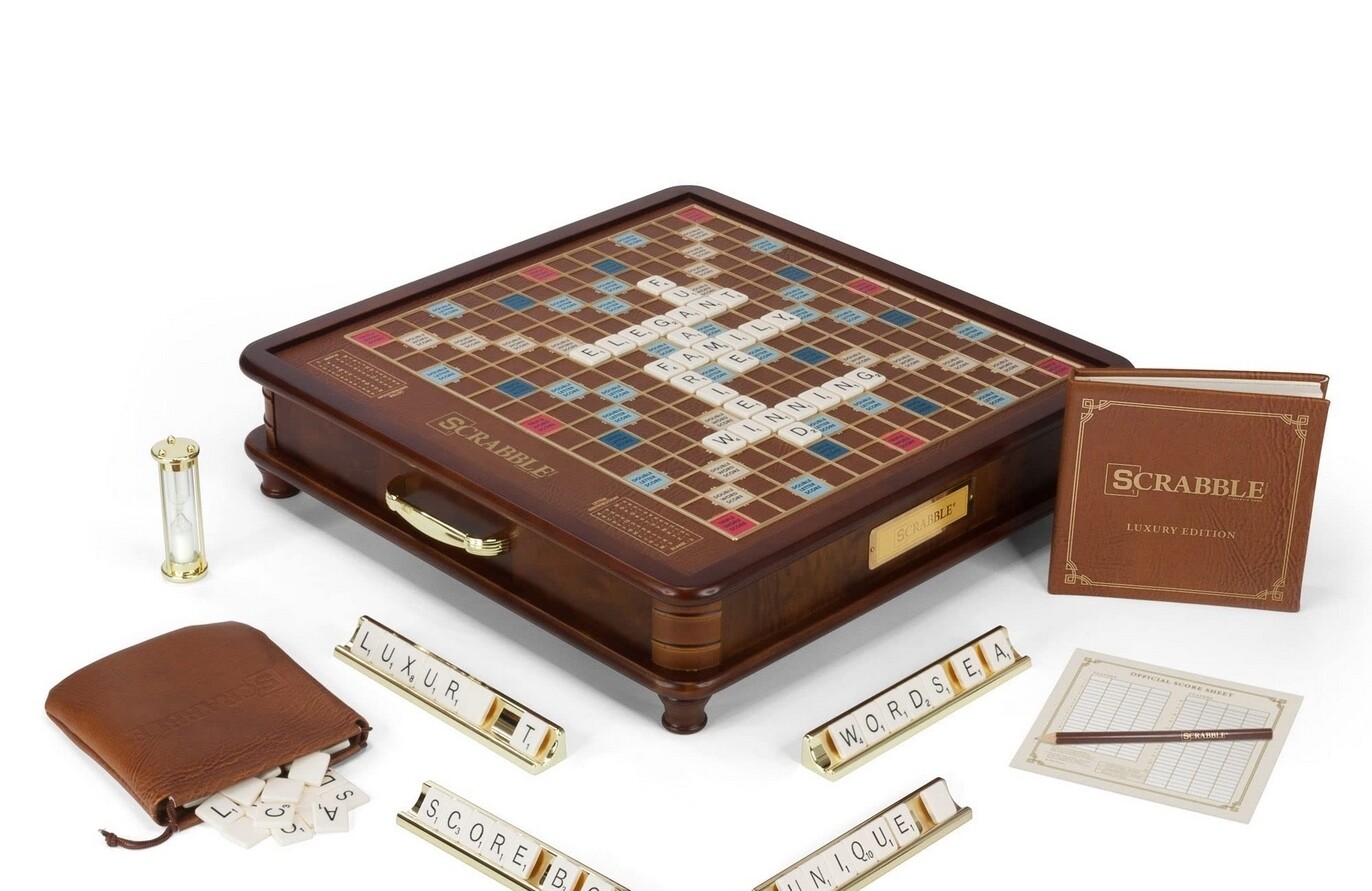
I looooove the project and am sooo curious what you are going to do with board and holders. When I get stuck on ideas or simply don’t get none, I go and google pictures (excluding ai.. always excluding ai) and see what others did to make something special. It’s not plagiarism, it’s seeking inspiration.
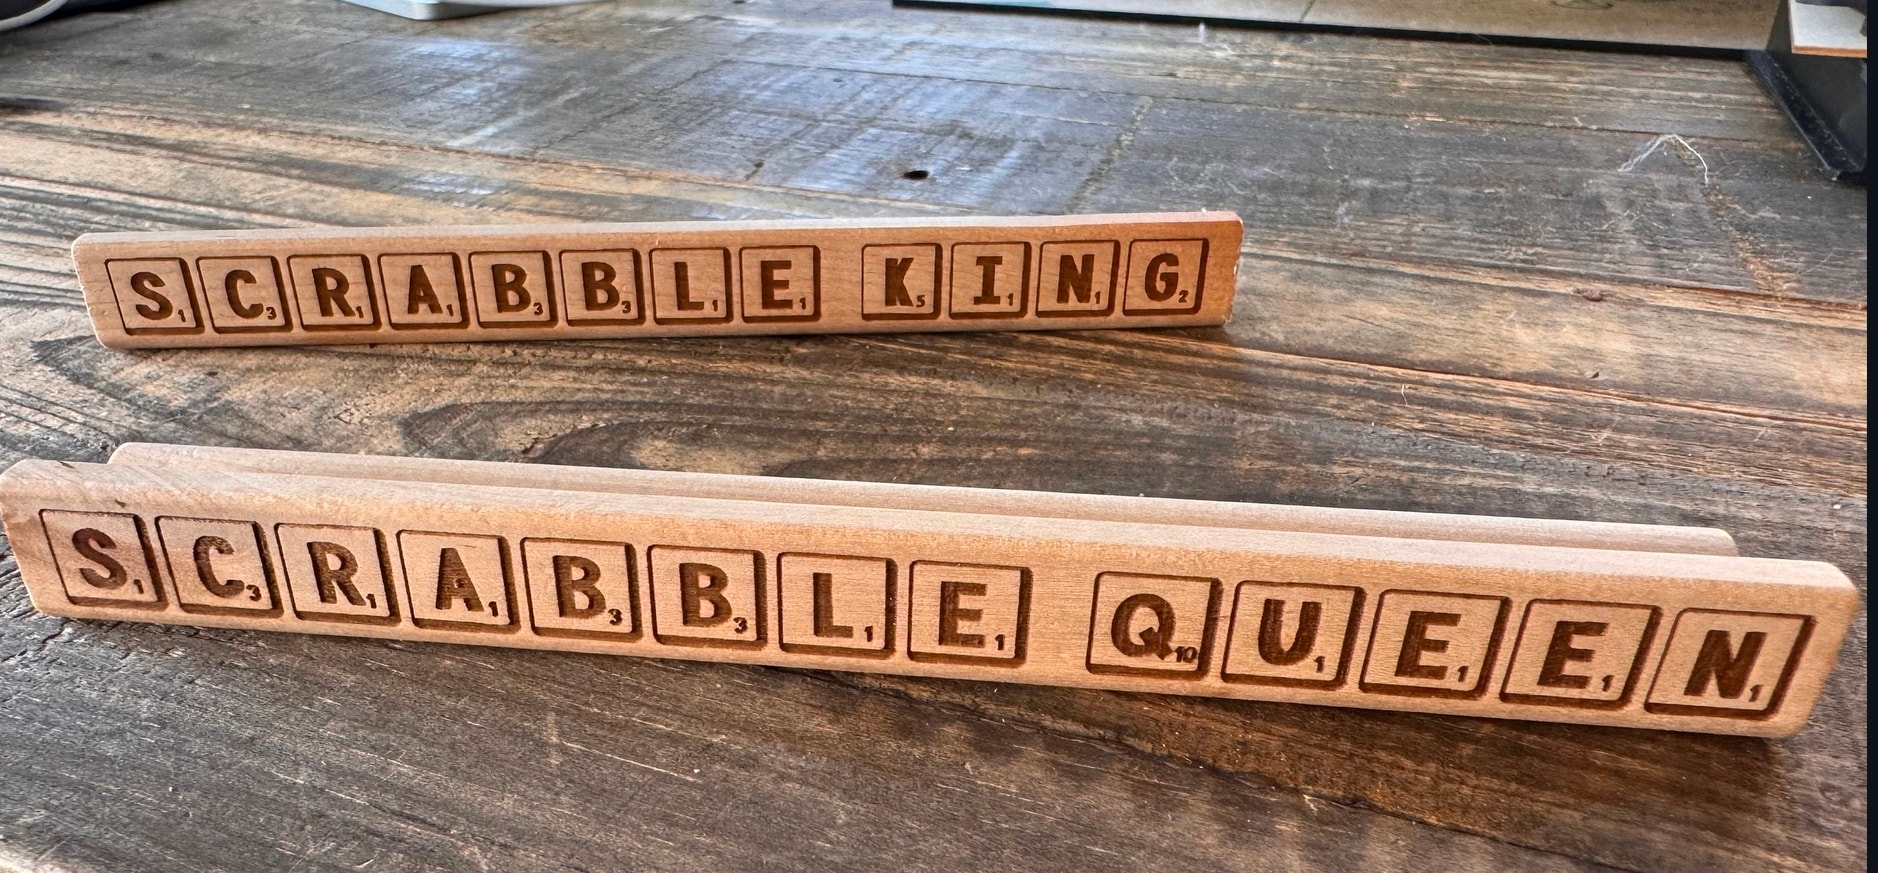
From simple customised letter holders that can literally reflect your family names or who won last time (making it a trophy)
@Spamming_Eddie LOL. Normally, I’d agree with you. But it HAS been a long winter AND I’m not a winter kind of guy. So I’m itching to get to the cottage where renovations await. While fabrication of the board may wait until next winter, I will surely work on the design this summer, while sitting on the dock, enjoying the beautiful sunrise shown in my avatar. Where would you rather be? Basement, or by the lake? And yup, inspiration from other’s work is always helpful.