First time trying to do an inlay, lots of experimentation and definitely a learning experience.
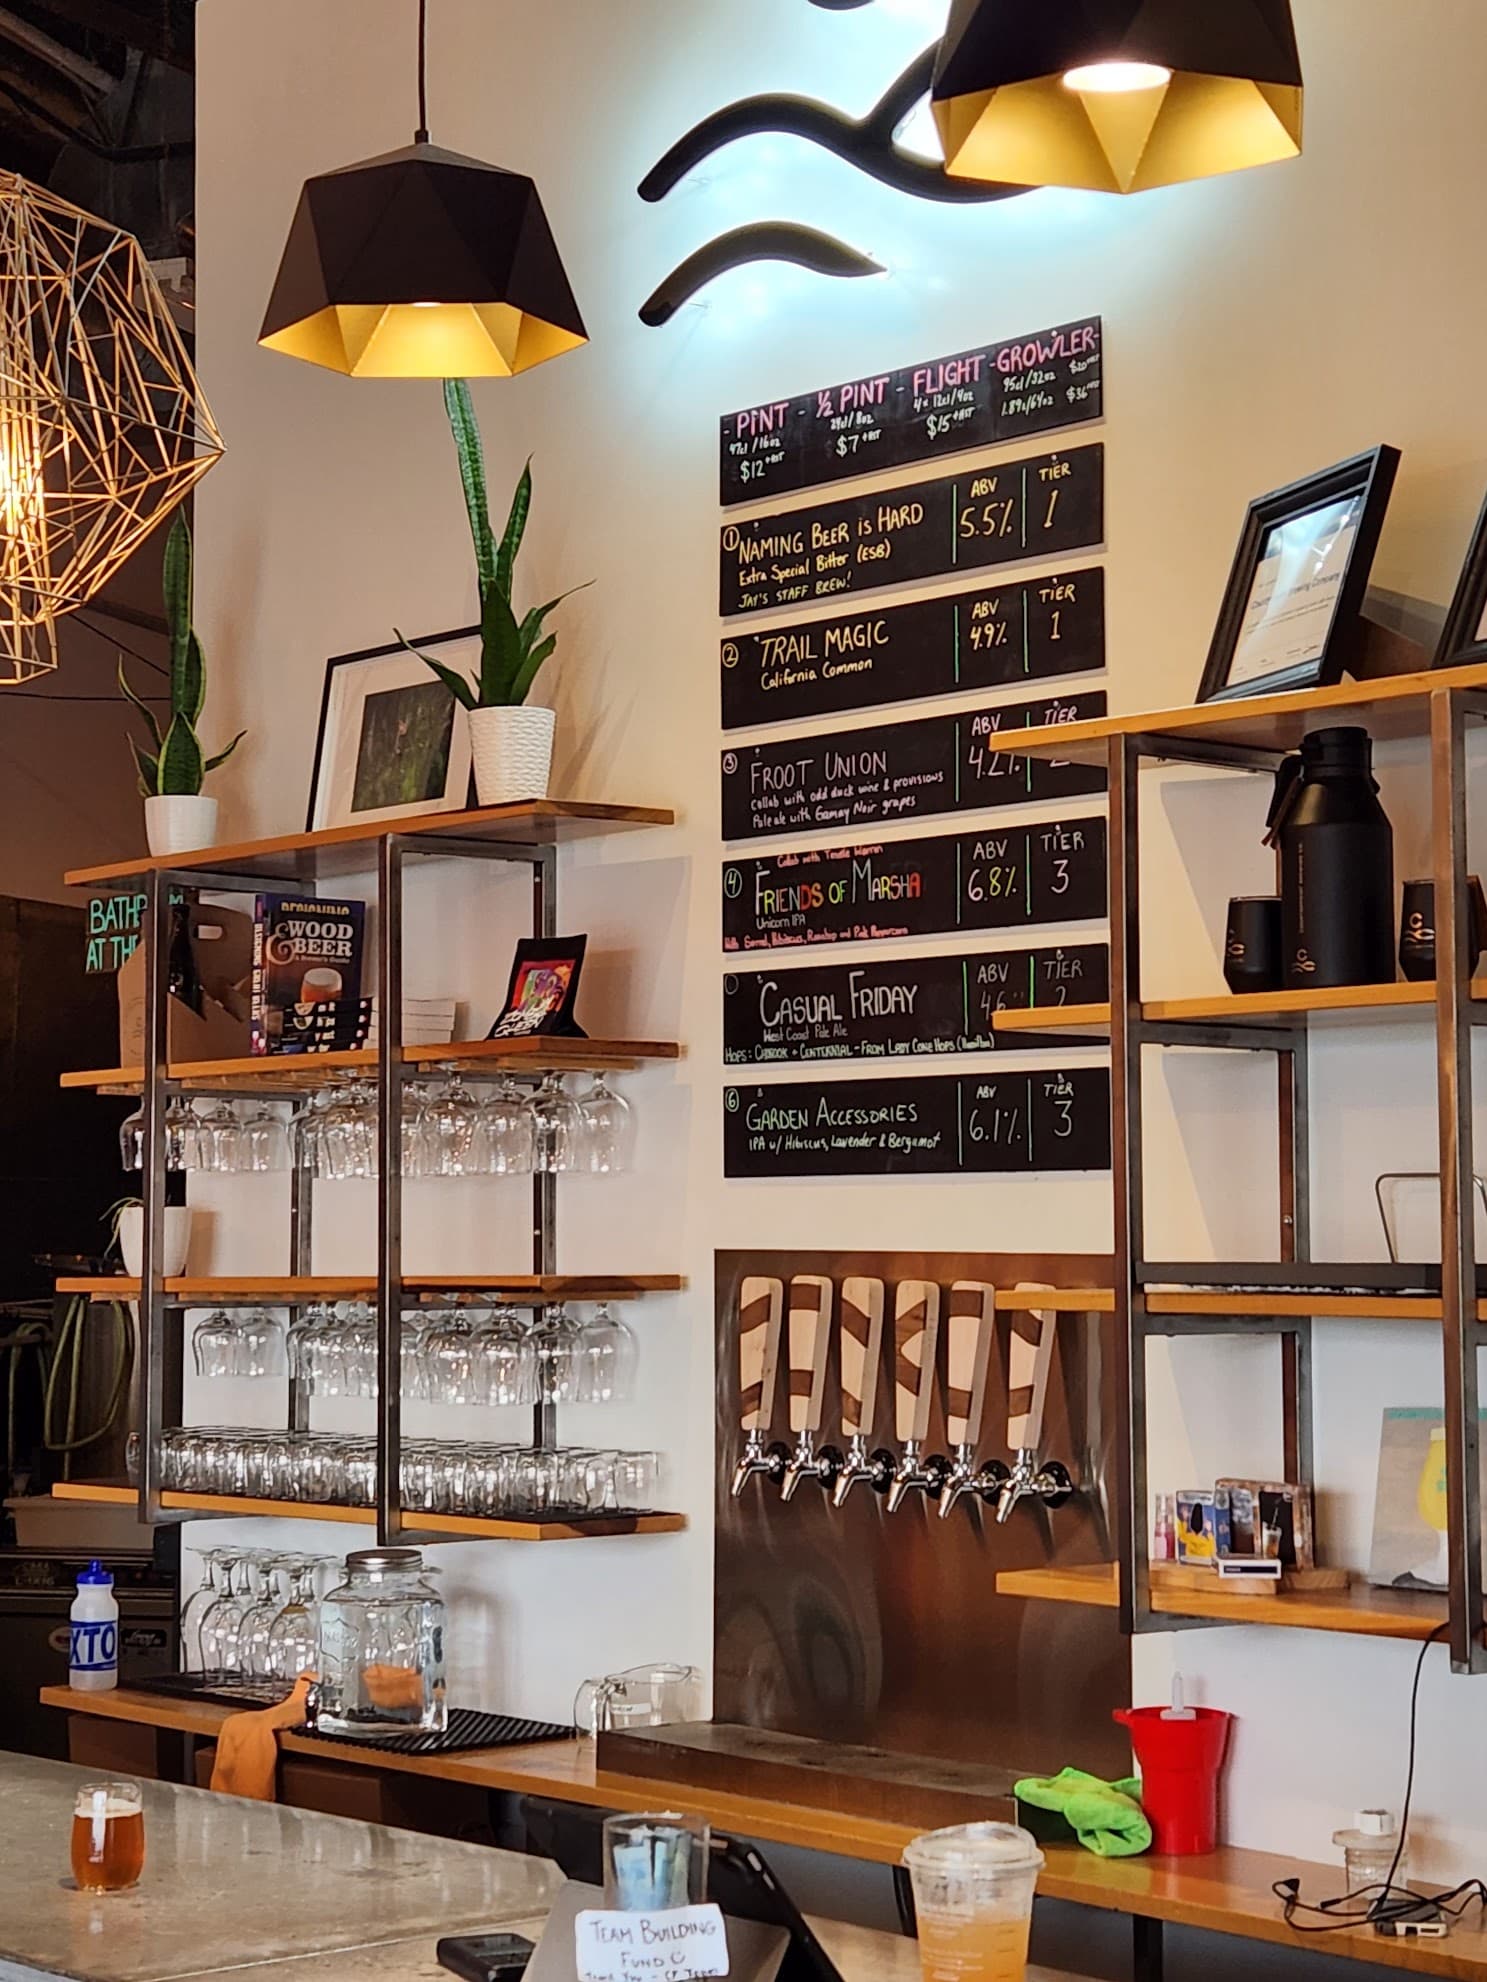
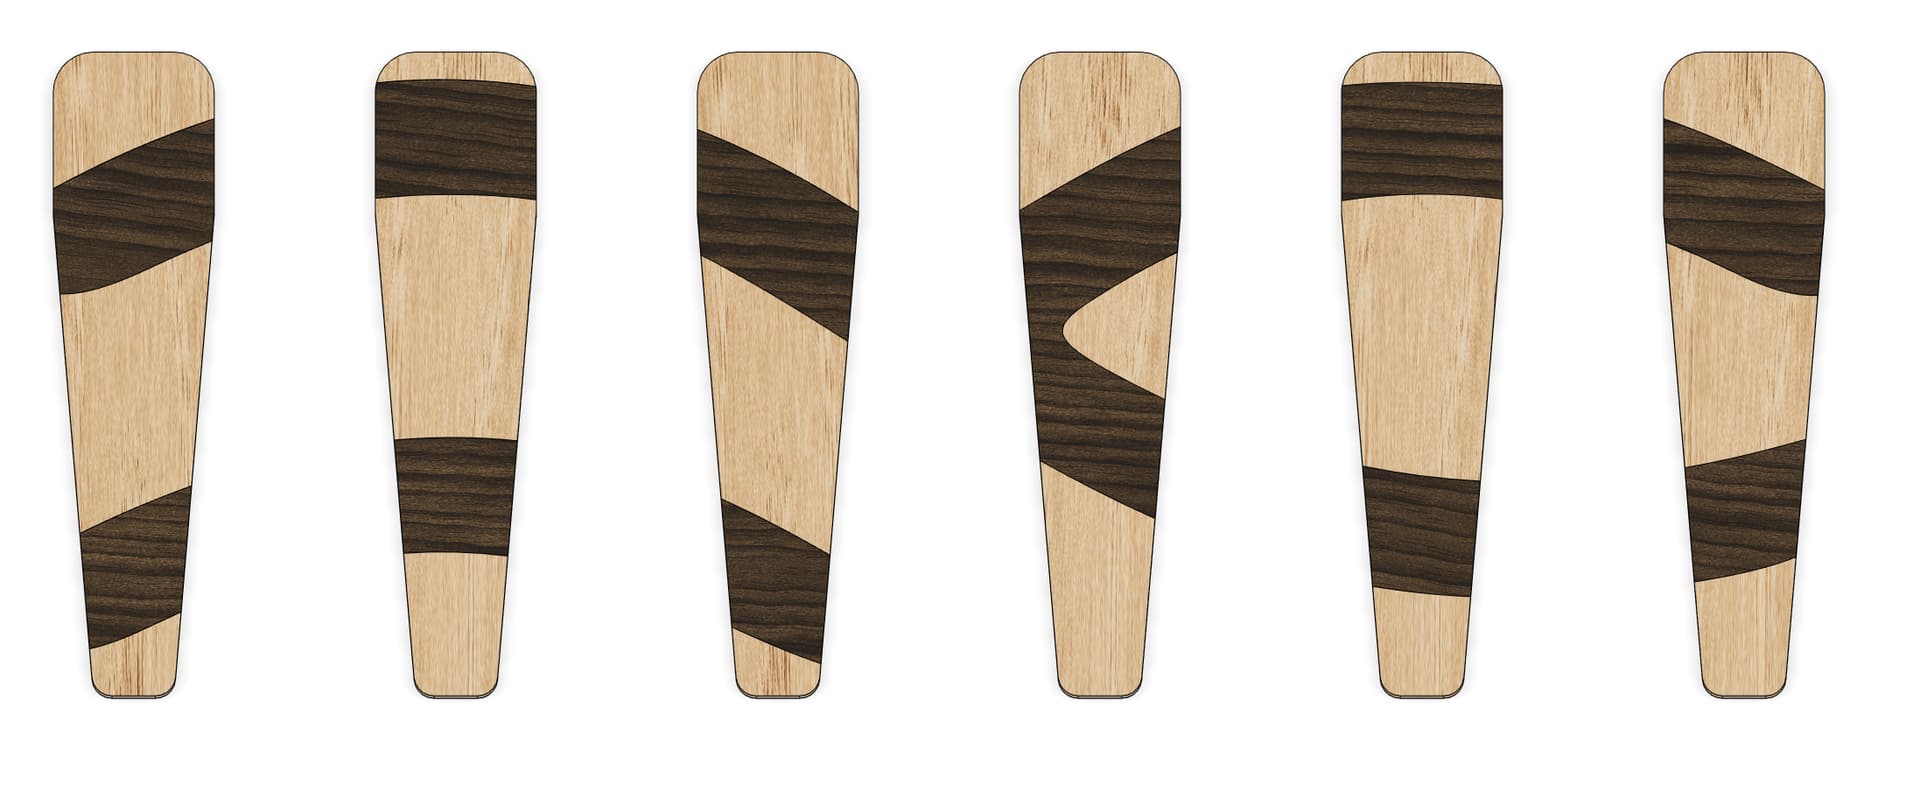
I was inspired to make tap handles for a friend’s microbrewery - overlaid his logo onto six tap handles that would line up to make an overall image.
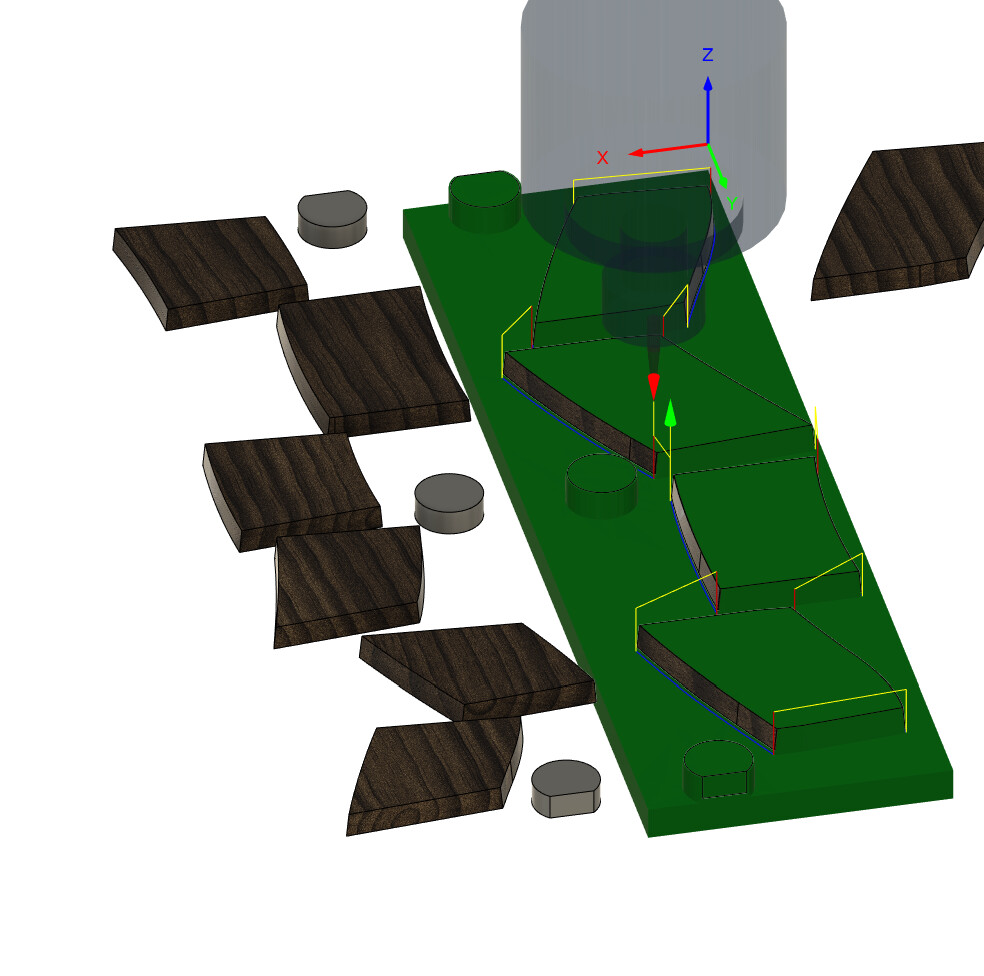
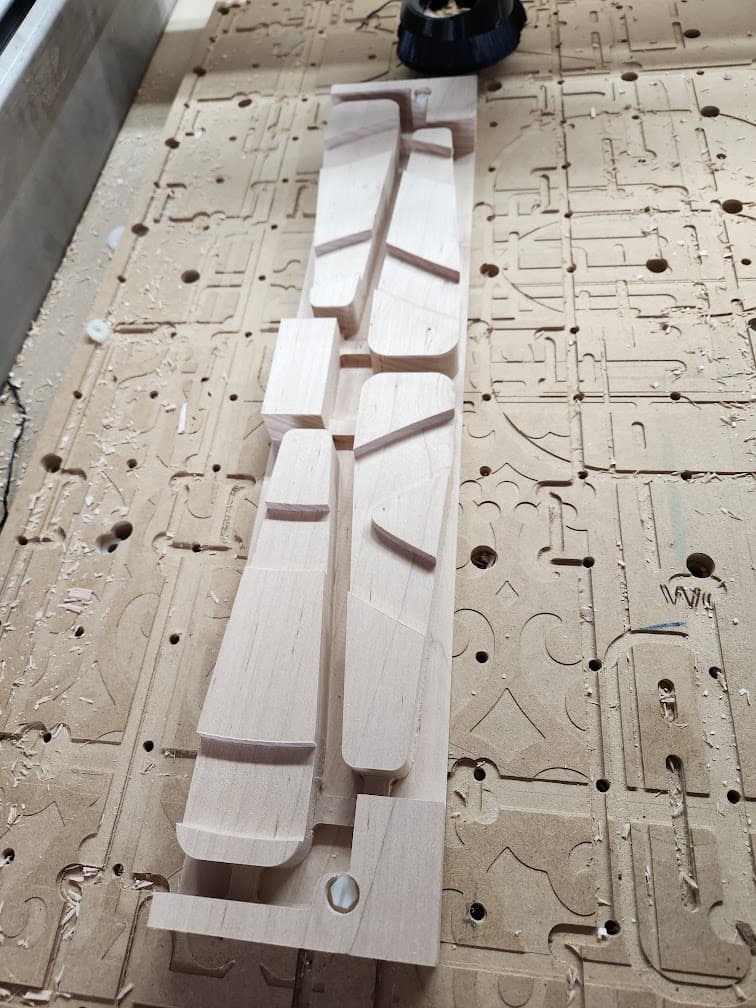
Main wood is white oak (I think - it was an inexpensive trimming). Inlay is walnut. Parts were cut in gangs:
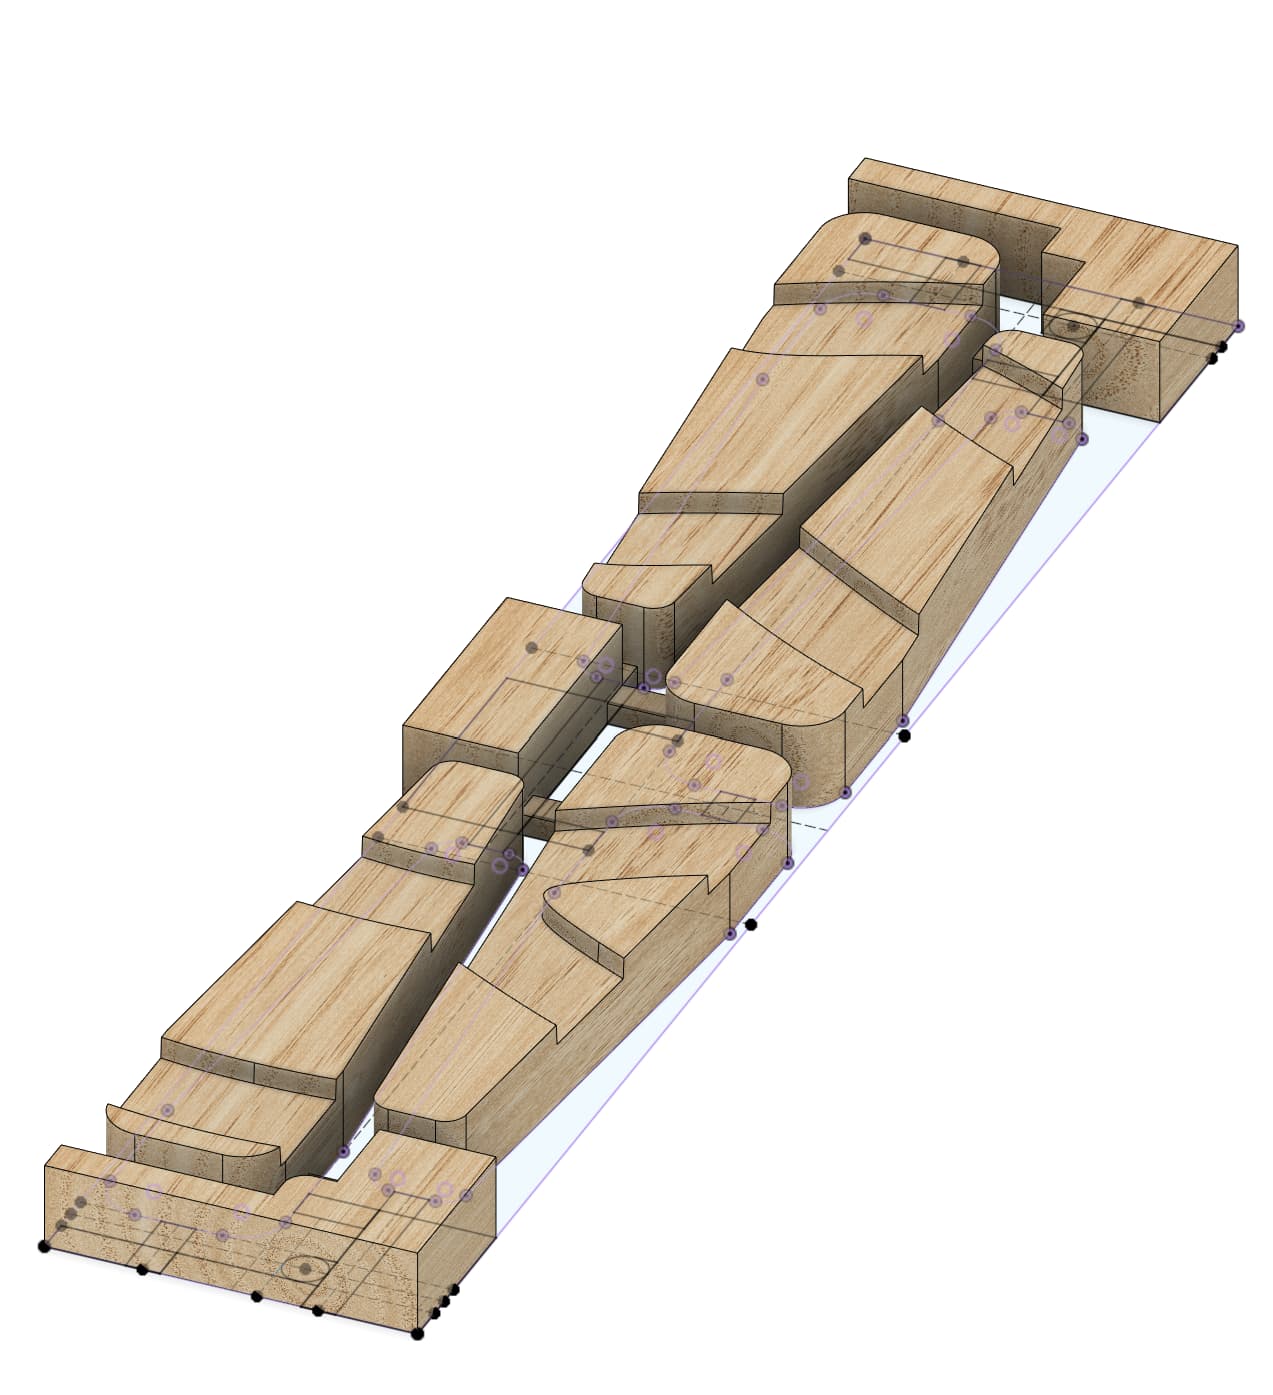
Along the way, I decided to change from a threaded waste board to T-tracks, happy with the change. I also toyed with “Manufacturing Models” in Fusion 360 to make design changes for cutting that don’t affect the source models.
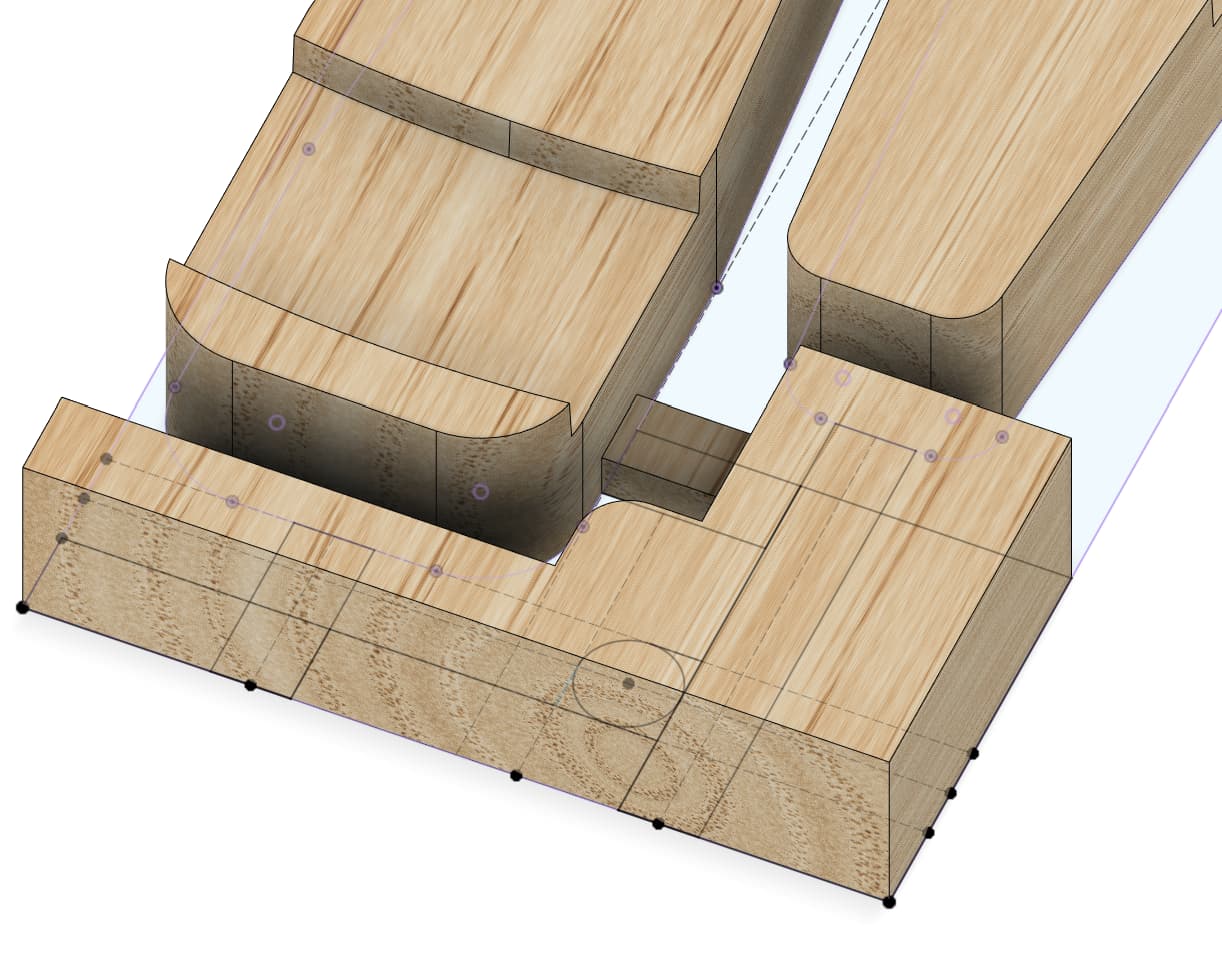
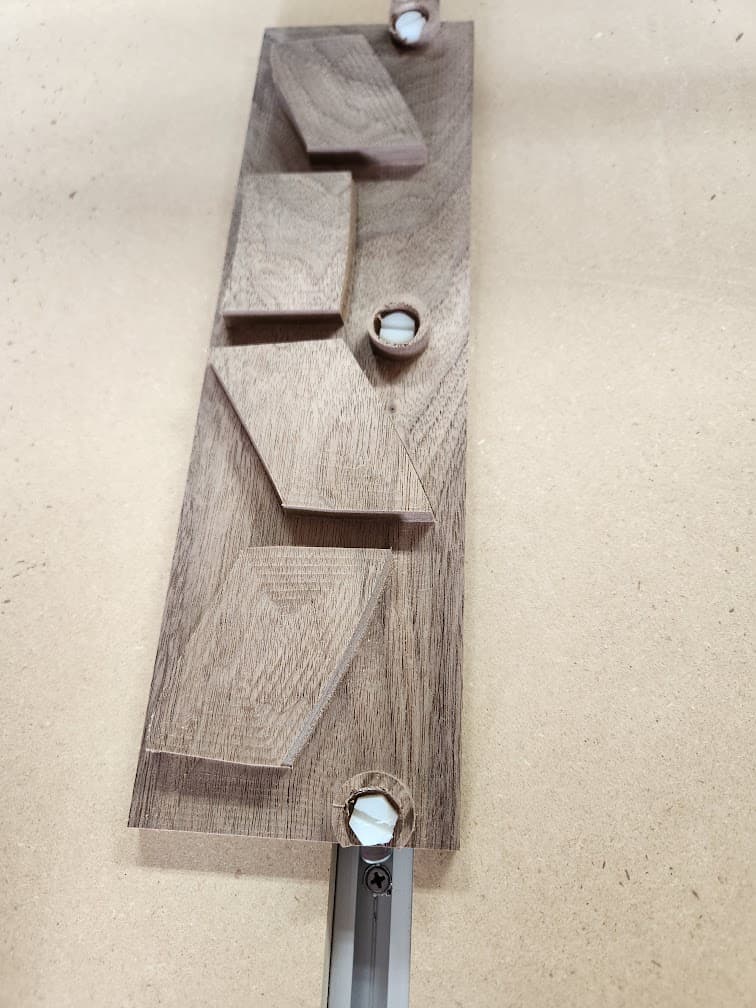
One big thing I tried (that did work nicely) was ever so slightly angling the walls of the inset wood (approximately 5 degrees - the same as the 1/8 tapered endmill I would use) so as to have the inset nest tightly.
Both the handles and the insets were cut with a 1/8 up cut bit (adaptive clearing, contour with stock-to-leave) followed by the 1/8 tapered endmill (contour) to cut the inlay edges. The final dimensions of the inlays themselves were cut with a very slight negative stock to leave (that is, taking a very very slight amount of extra material off) to allow for fitting.
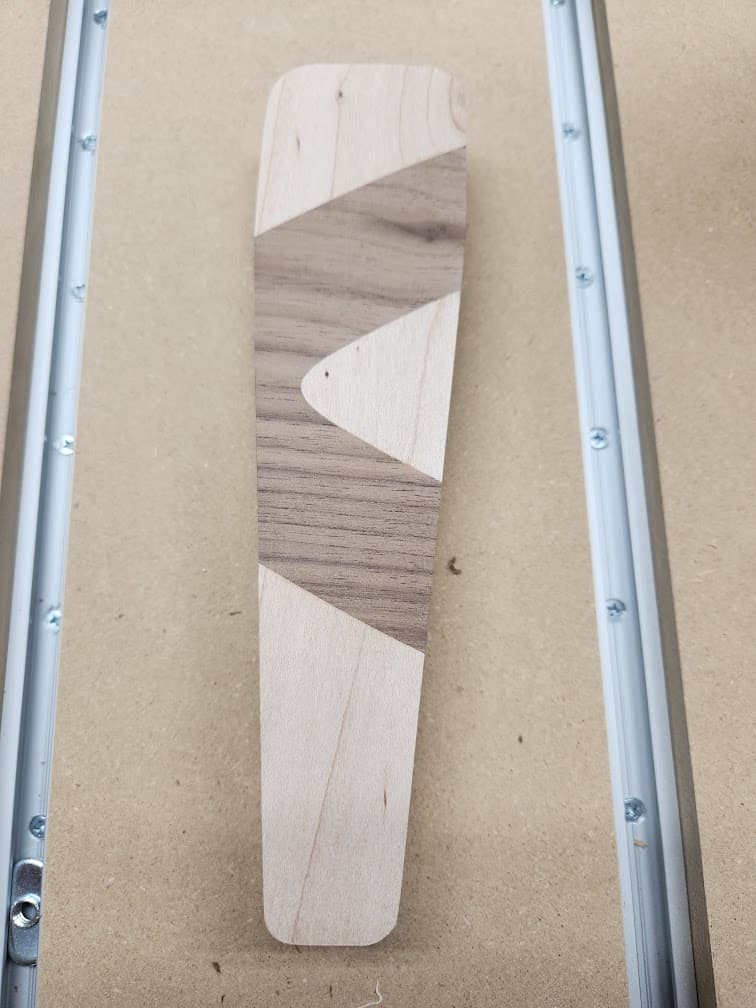
The glue up was a bit of a pain - the inlays would squirm themselves out of place if they had no features that stuck them - but all in all things came out really nicely with a bit (well, a lot) of sanding. I used my table saw to cut the majority of the excess inlay to reduce the amount of sanding required.
Progress! First test inlay glued, cut, and sanded.
The final set, with a light coat of beeswax. I will likely add another coat or two.
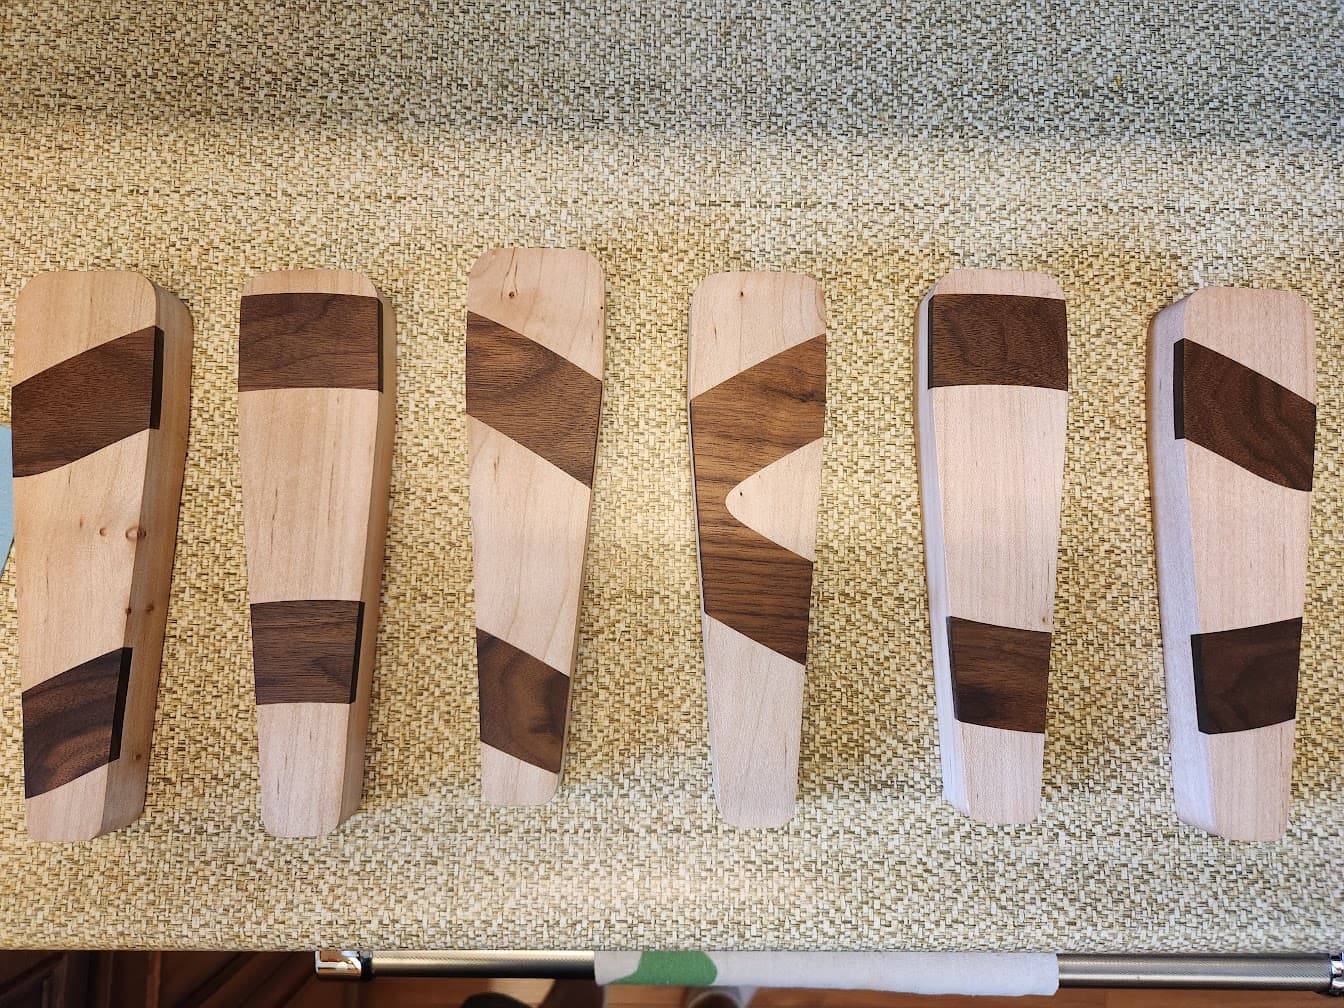
Closeup of the inlay:
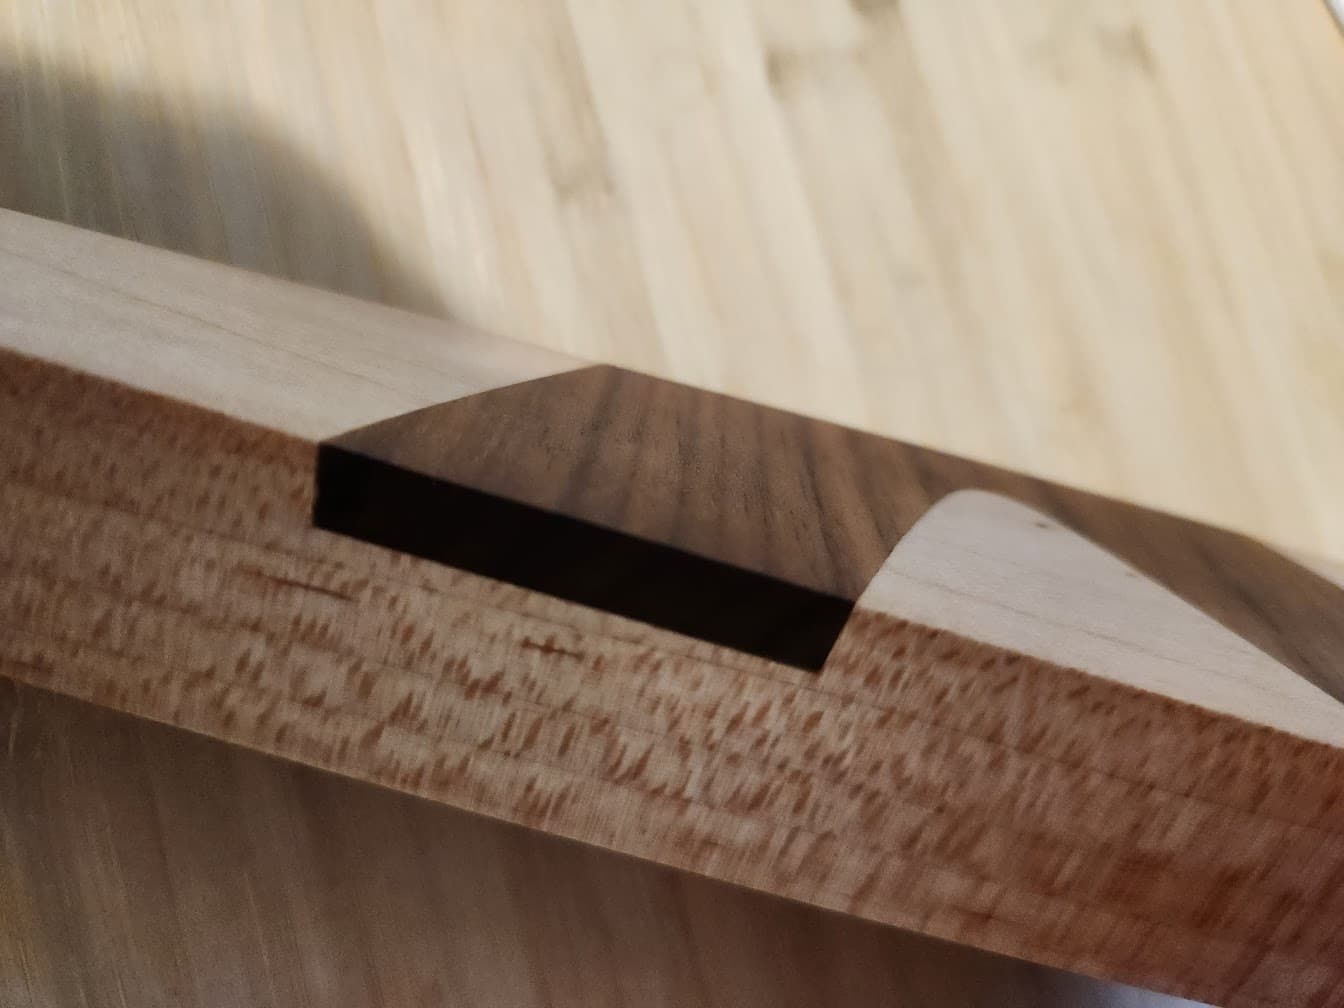
Tons learned in this project - it was my first time trying inlays, first time I used beeswax finish, and a bunch of new Fusion techniques, as well as new ideas for how to hold down my work.
I’m really excited to see these when they are installed - I will have to post a follow-up picture!