Just recently received my order of my 30 by 48 MK2 and my laser also from Sienci. I purchased a Kreg Work Bench 64 by 48 kit with casters and I am looking at this enclosure from Open Builds. Wondering if any one here has an enclosure and if this would work to enclose the MK2? I provided two links one is to the enclosure page on open builds and the other is to a promo video on YouTube.
Or is this a bad ideal ? My concerns are dust as the CNC will by near my SawStop TS and my Laguna BS . With my Powermatic Planer and planer jointer near by. I have yet to come up with a go way to hook the dust system up to my Oneida V3000 as I am still on the 5in flex and have not hard piped yet. My plan is to have the laser burn fumes exhaust on its own system such as this Terra Bloom for fume extraction only to be used when laser module is being used. Amazon.com: TerraBloom
Enclosure links : OpenBuilds Modular Enclosure System - OpenBuilds Part Store OpenBuilds Enclosure Promo - YouTube
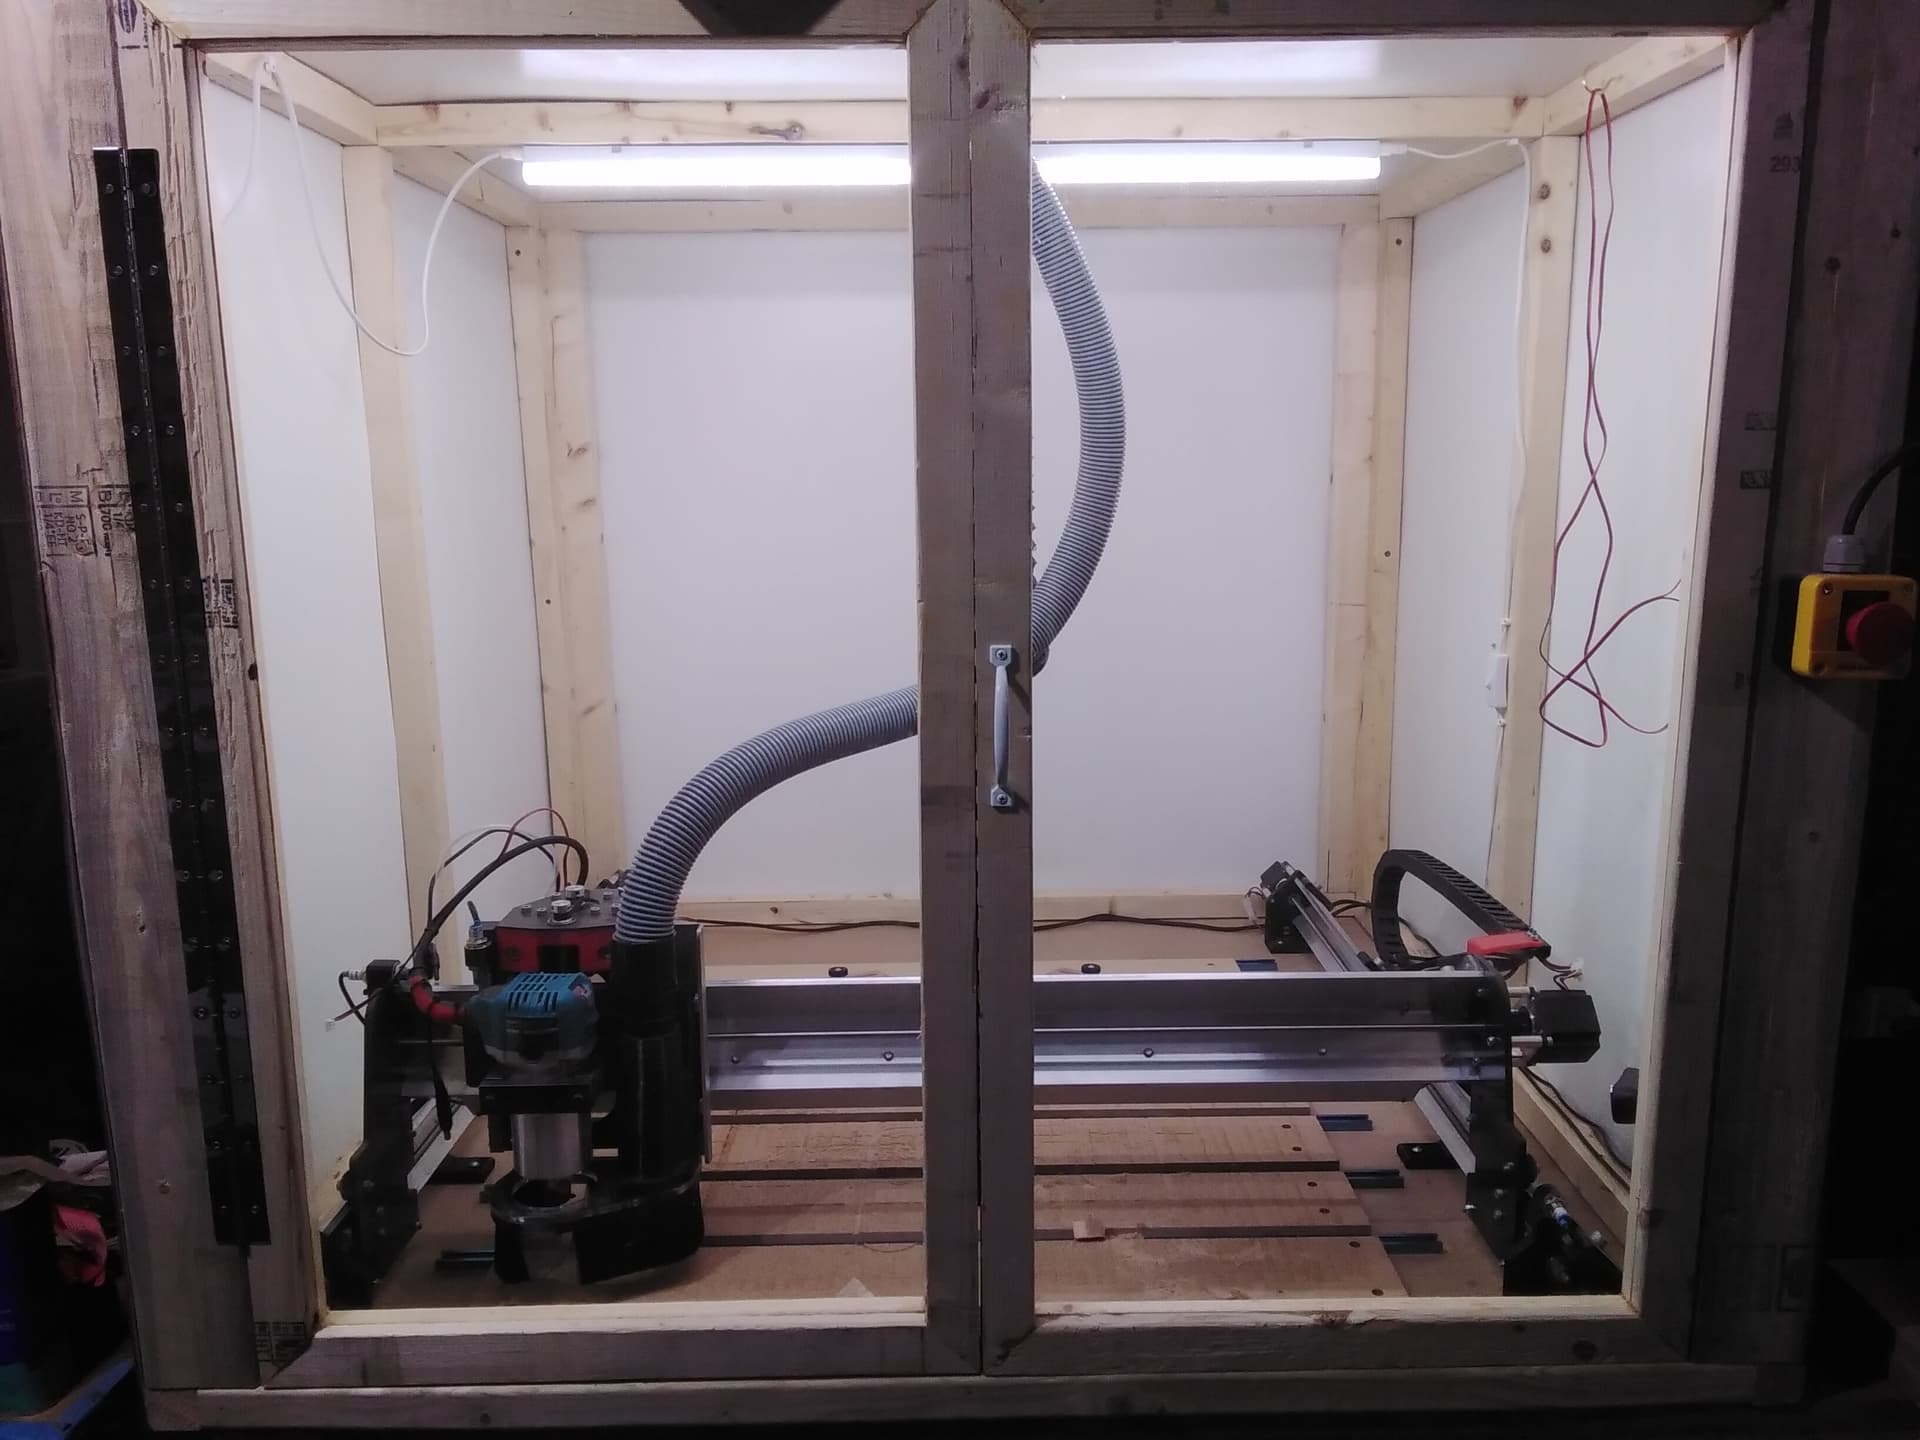
I have a homemade enclosure and I would recommend having an enclosure for a laser because of the fumes. I think it’s also nice for the router because it helps with the noise level and keeps the dust down to just what is created inside and the dust shoe gets most of that.
I looked at the OpenBuilds enclosures and they all seem too small unless you can customize them. The 1010 is only 46" inside and wont accommodate your machine. The cases do look nice but seem a little pricey IMHO.
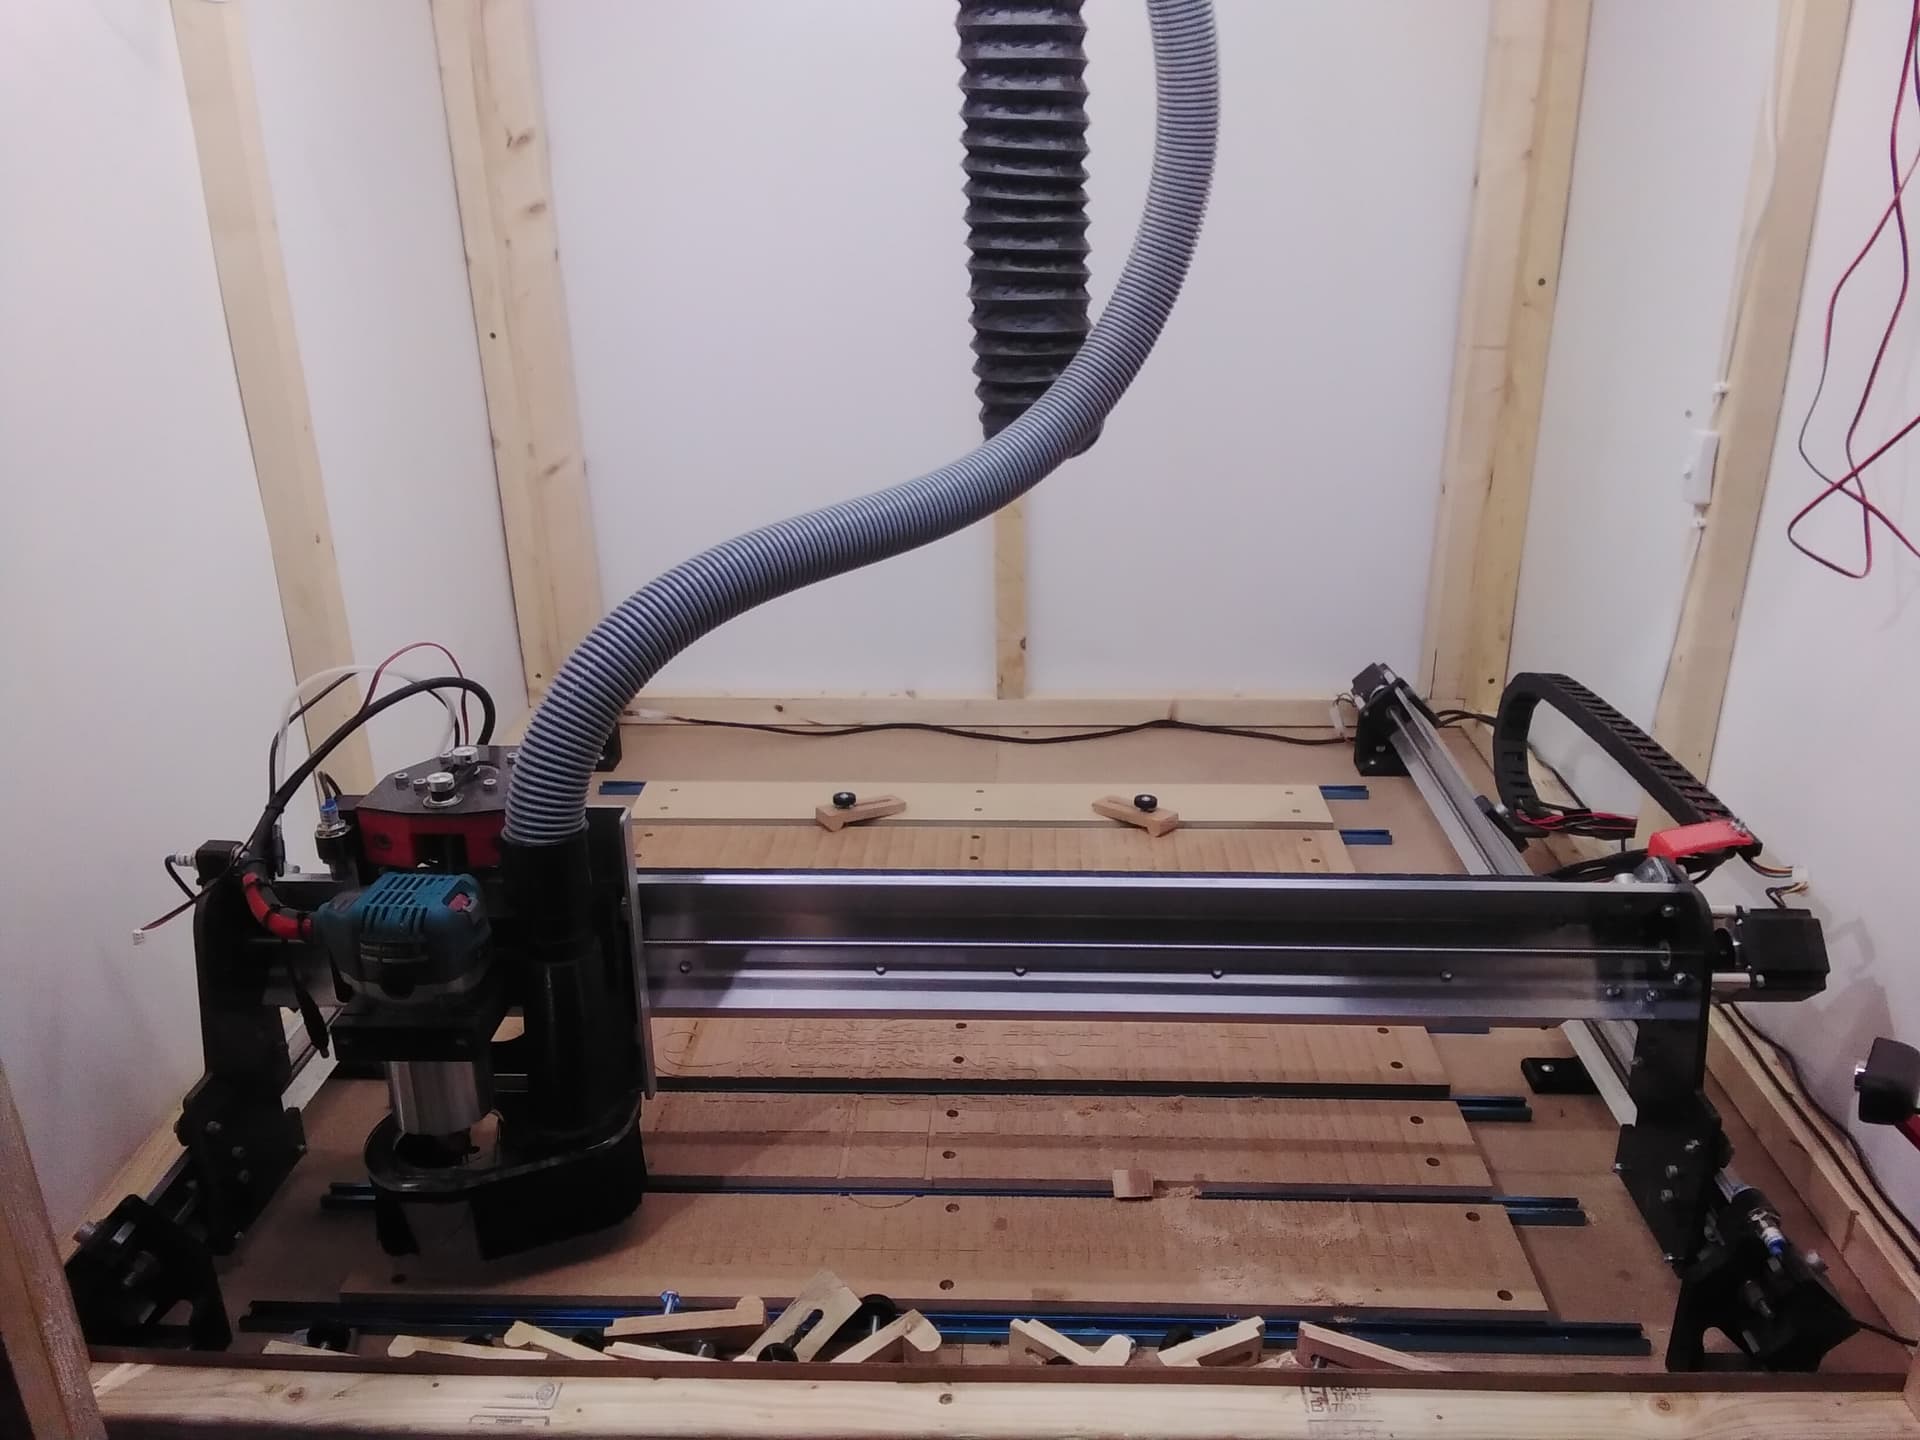
I built my enclosure out of wood and hardboard with plexiglass for the front. It cost less than $150 to build, the plexiglass was the most expensive part.
My machine is a longmill 3030 mk1 and it barely fits. The inside dimensions of my enclosure are 47.5" wide by 44.5" deep. I’ll admit it’s not as pretty as the OpenBuild enclosure but it fit my budget better and gets the job done.
That’s my 2 cents. Congratulations on receiving your machine, I remember how exited I was when mine came.
Thank you for the reply. I am going to go the same route that you took and just custom build my own so that I can install the fume extractor and my dust collection hook up in the top. Smoke fume and the residue from smoke is a big concern for me as my wood shop shares it’s space with my boat and I do not want any dust or smoke residue on my boat.
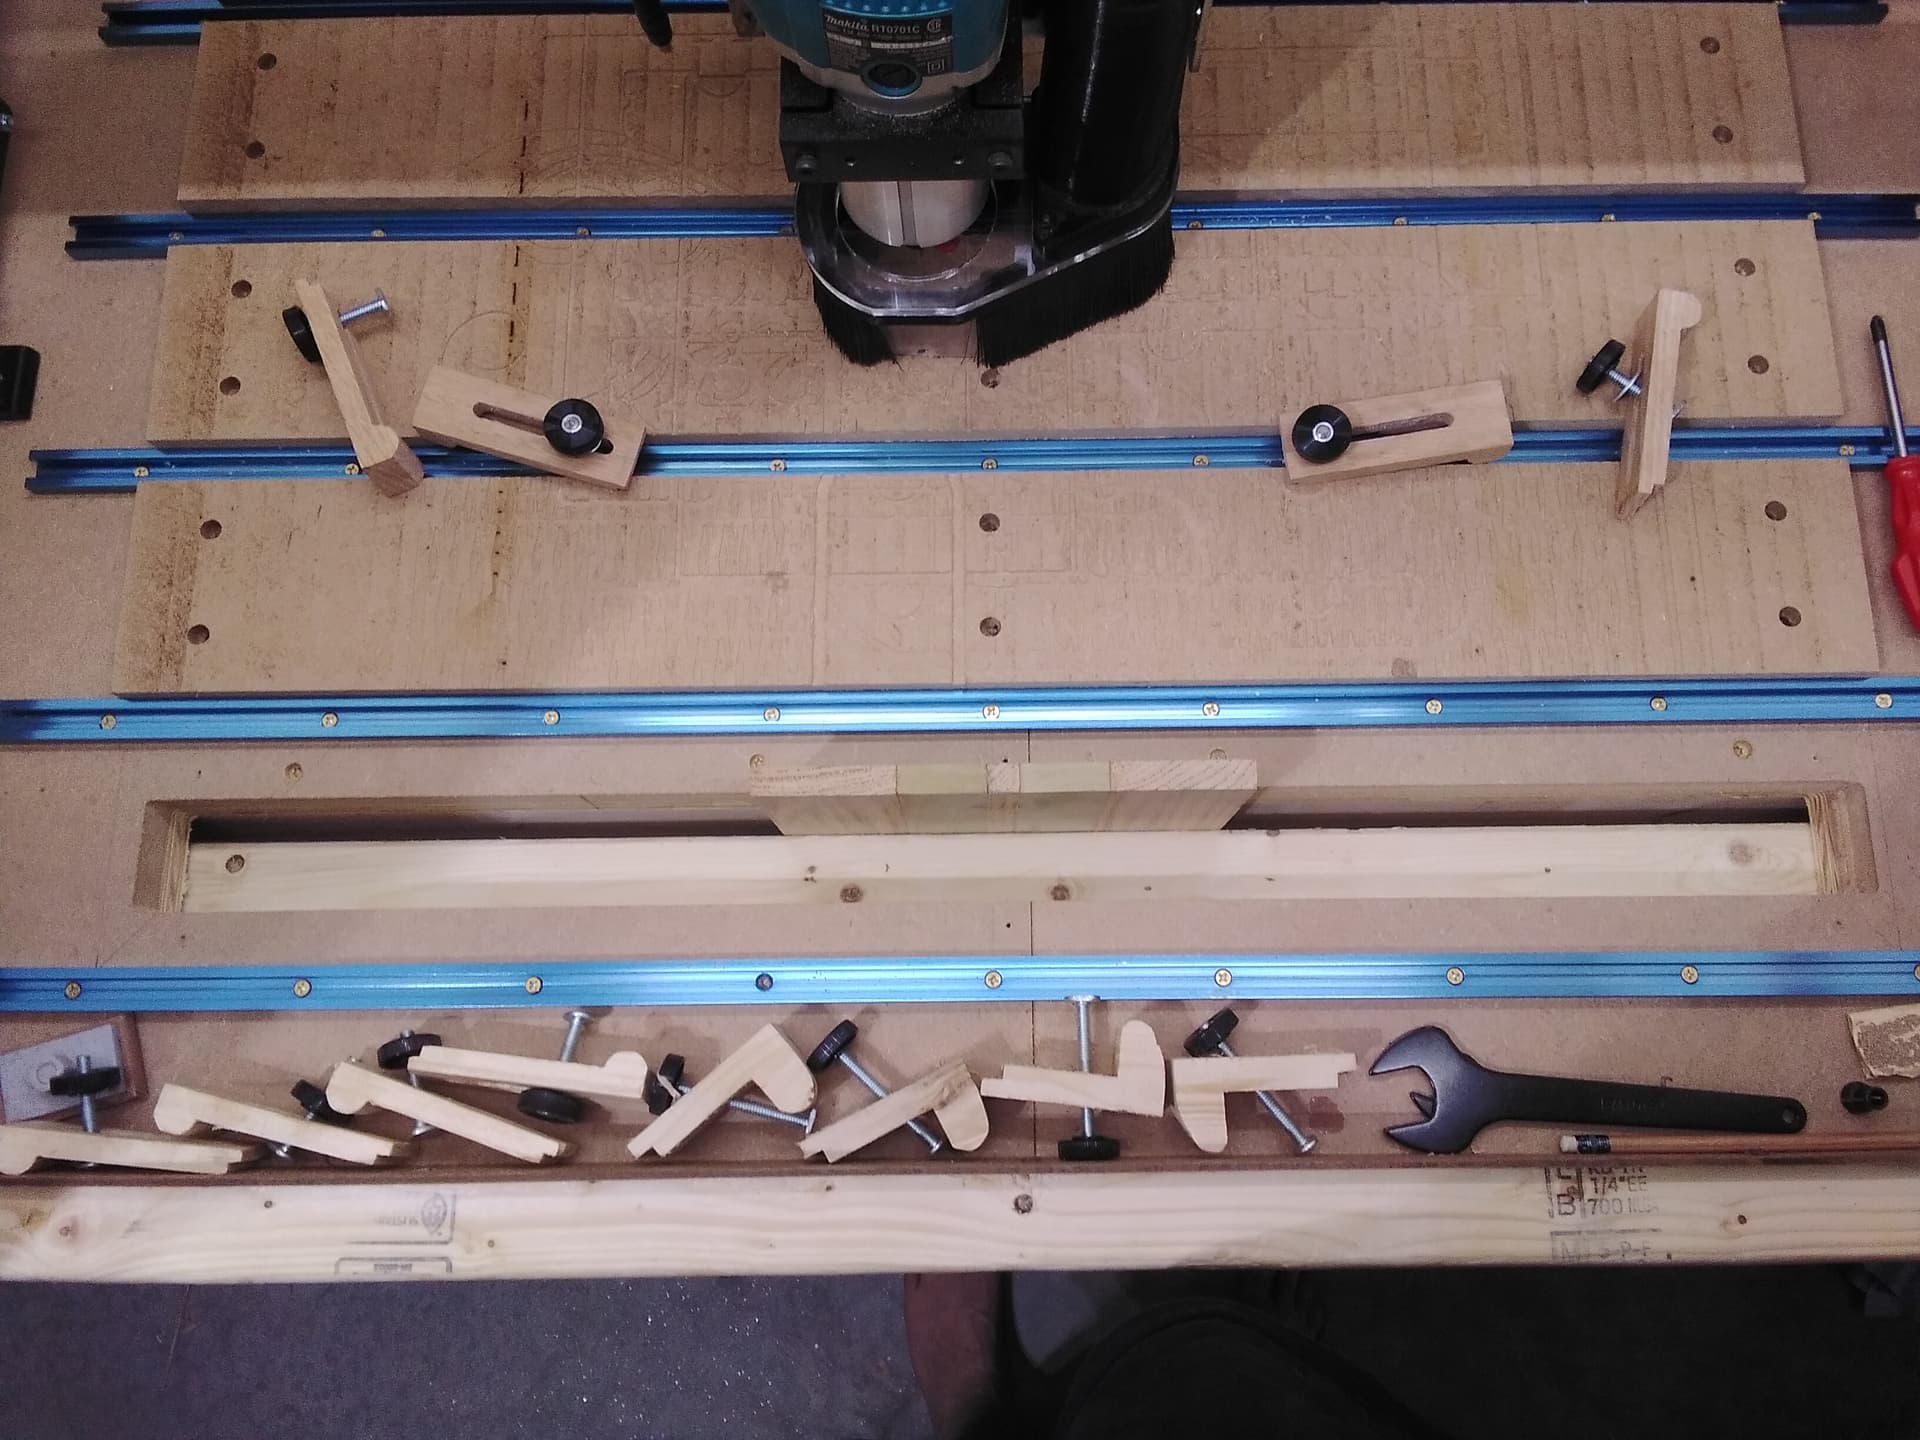
I made this slot with the machine after mounting it on the table so I know it’s square to the machine. It allows to mill box or dovetail joints on the end of a board, so long as the board is not long enough to hit the floor.
I have not as of yet built my table/bench for the MK2. I purchased a Kreg work bench kit at 64 inches by 48 inches with adjustable height and casters.
My plan was to use Baltic Birch as a top with MDF spoil board . With storage for cnc bits, tools, laptop, etc under the top. I would like to have an opening in the front to do dovetail or for future use of a Rotary axis. I like your setup did you create plans? Thanks for the ideals. Hopefully next week I can begin assembling the bench and the cnc.
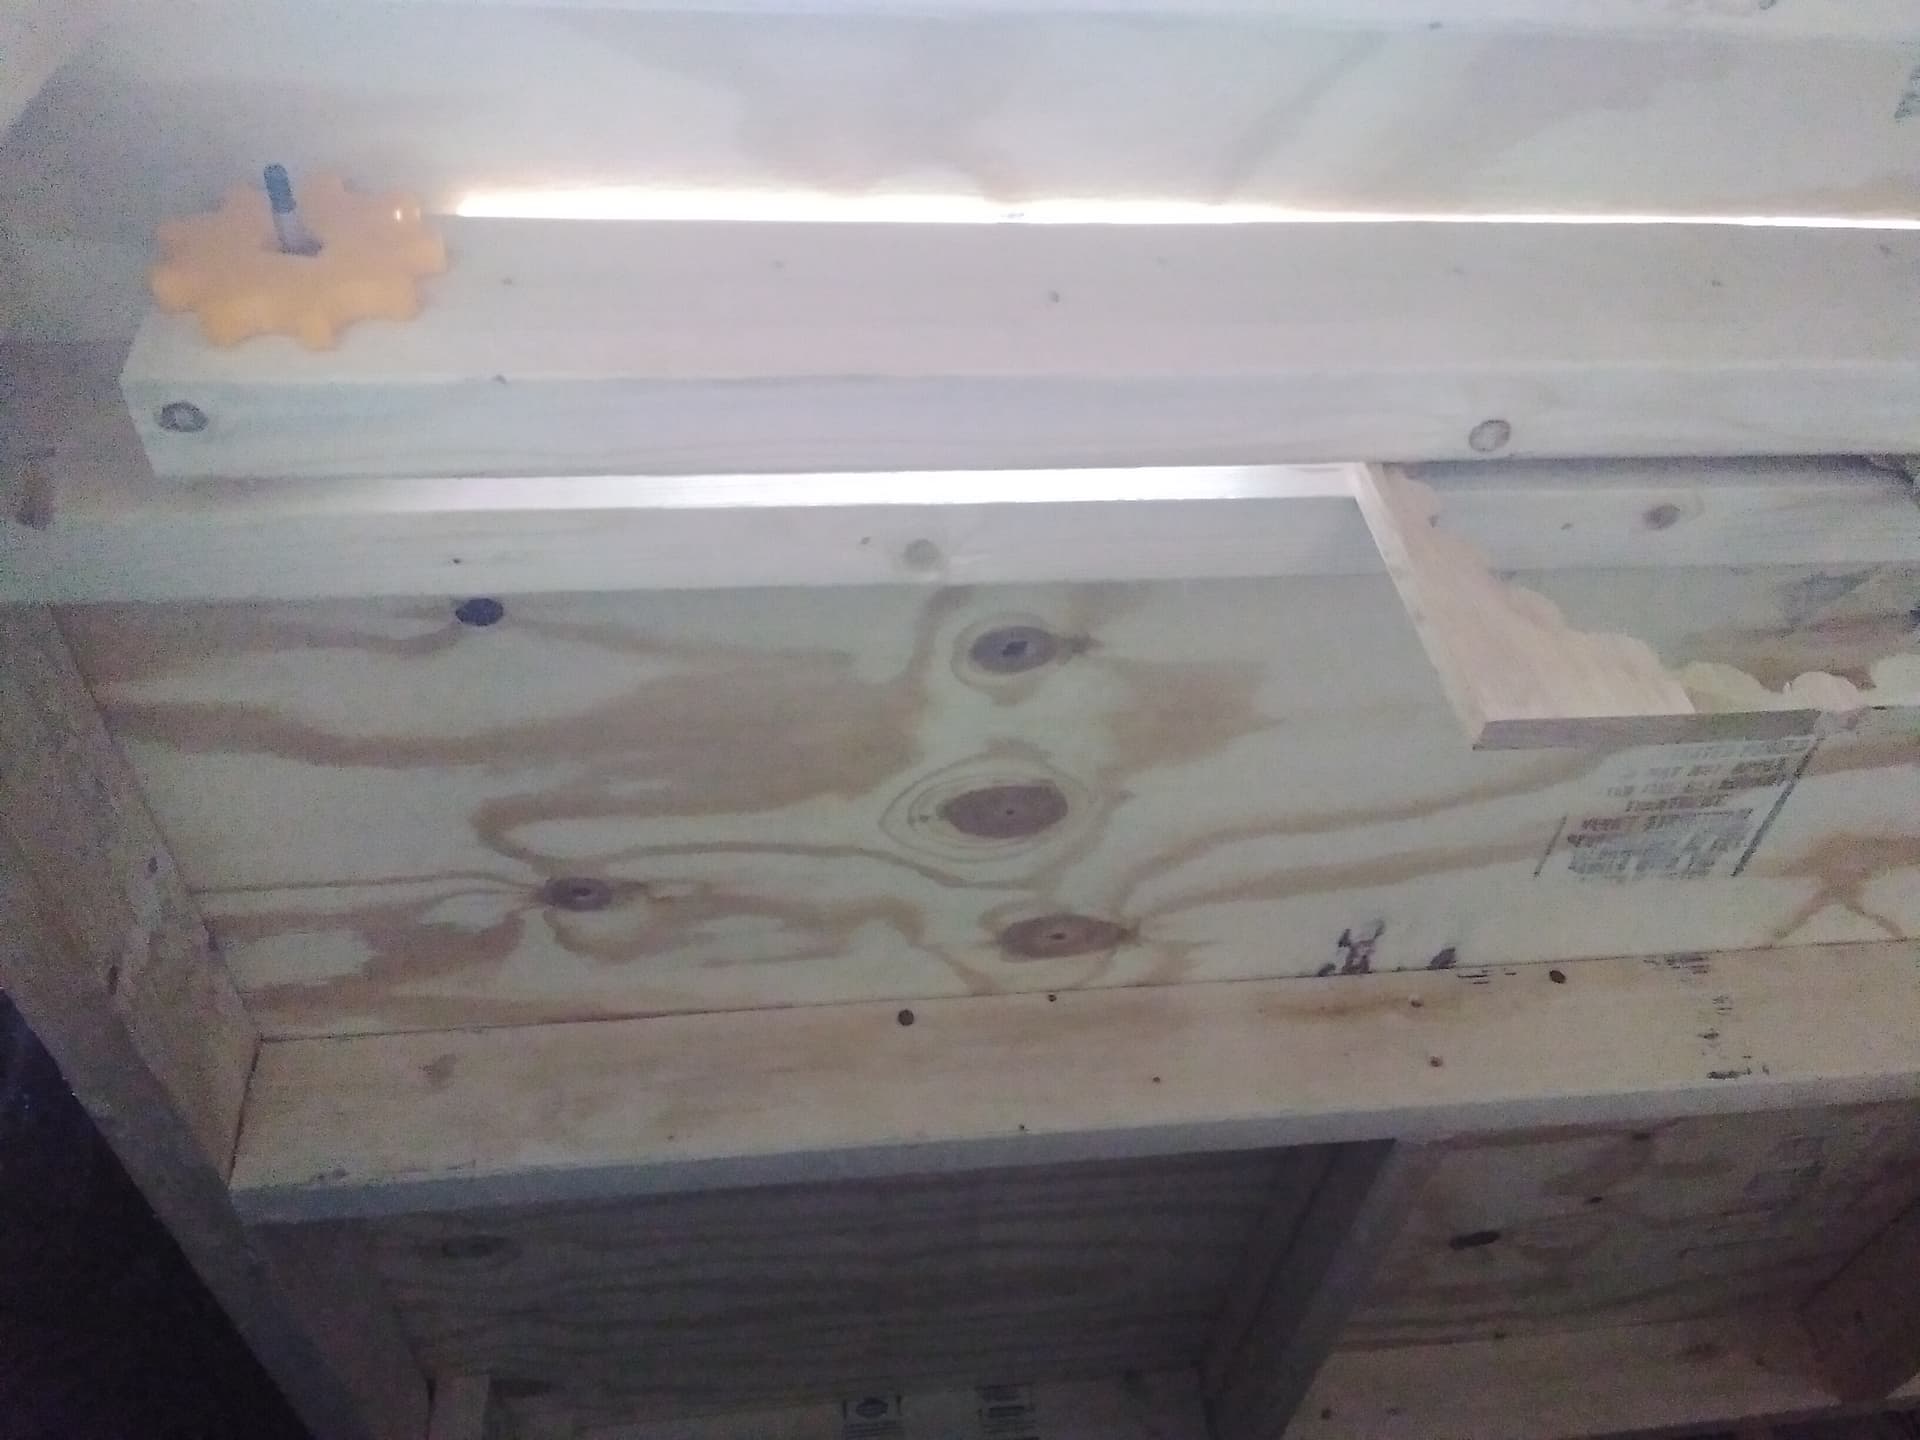
No I didn’t make plans, just kinda winged it. I knew I wanted a hole running side to side so I left out that part of the framing until the machine was set up and cut the hole. After cutting the hole I put in the 2x4 that is the back side of the clamp making it flush with the back side of the hole.
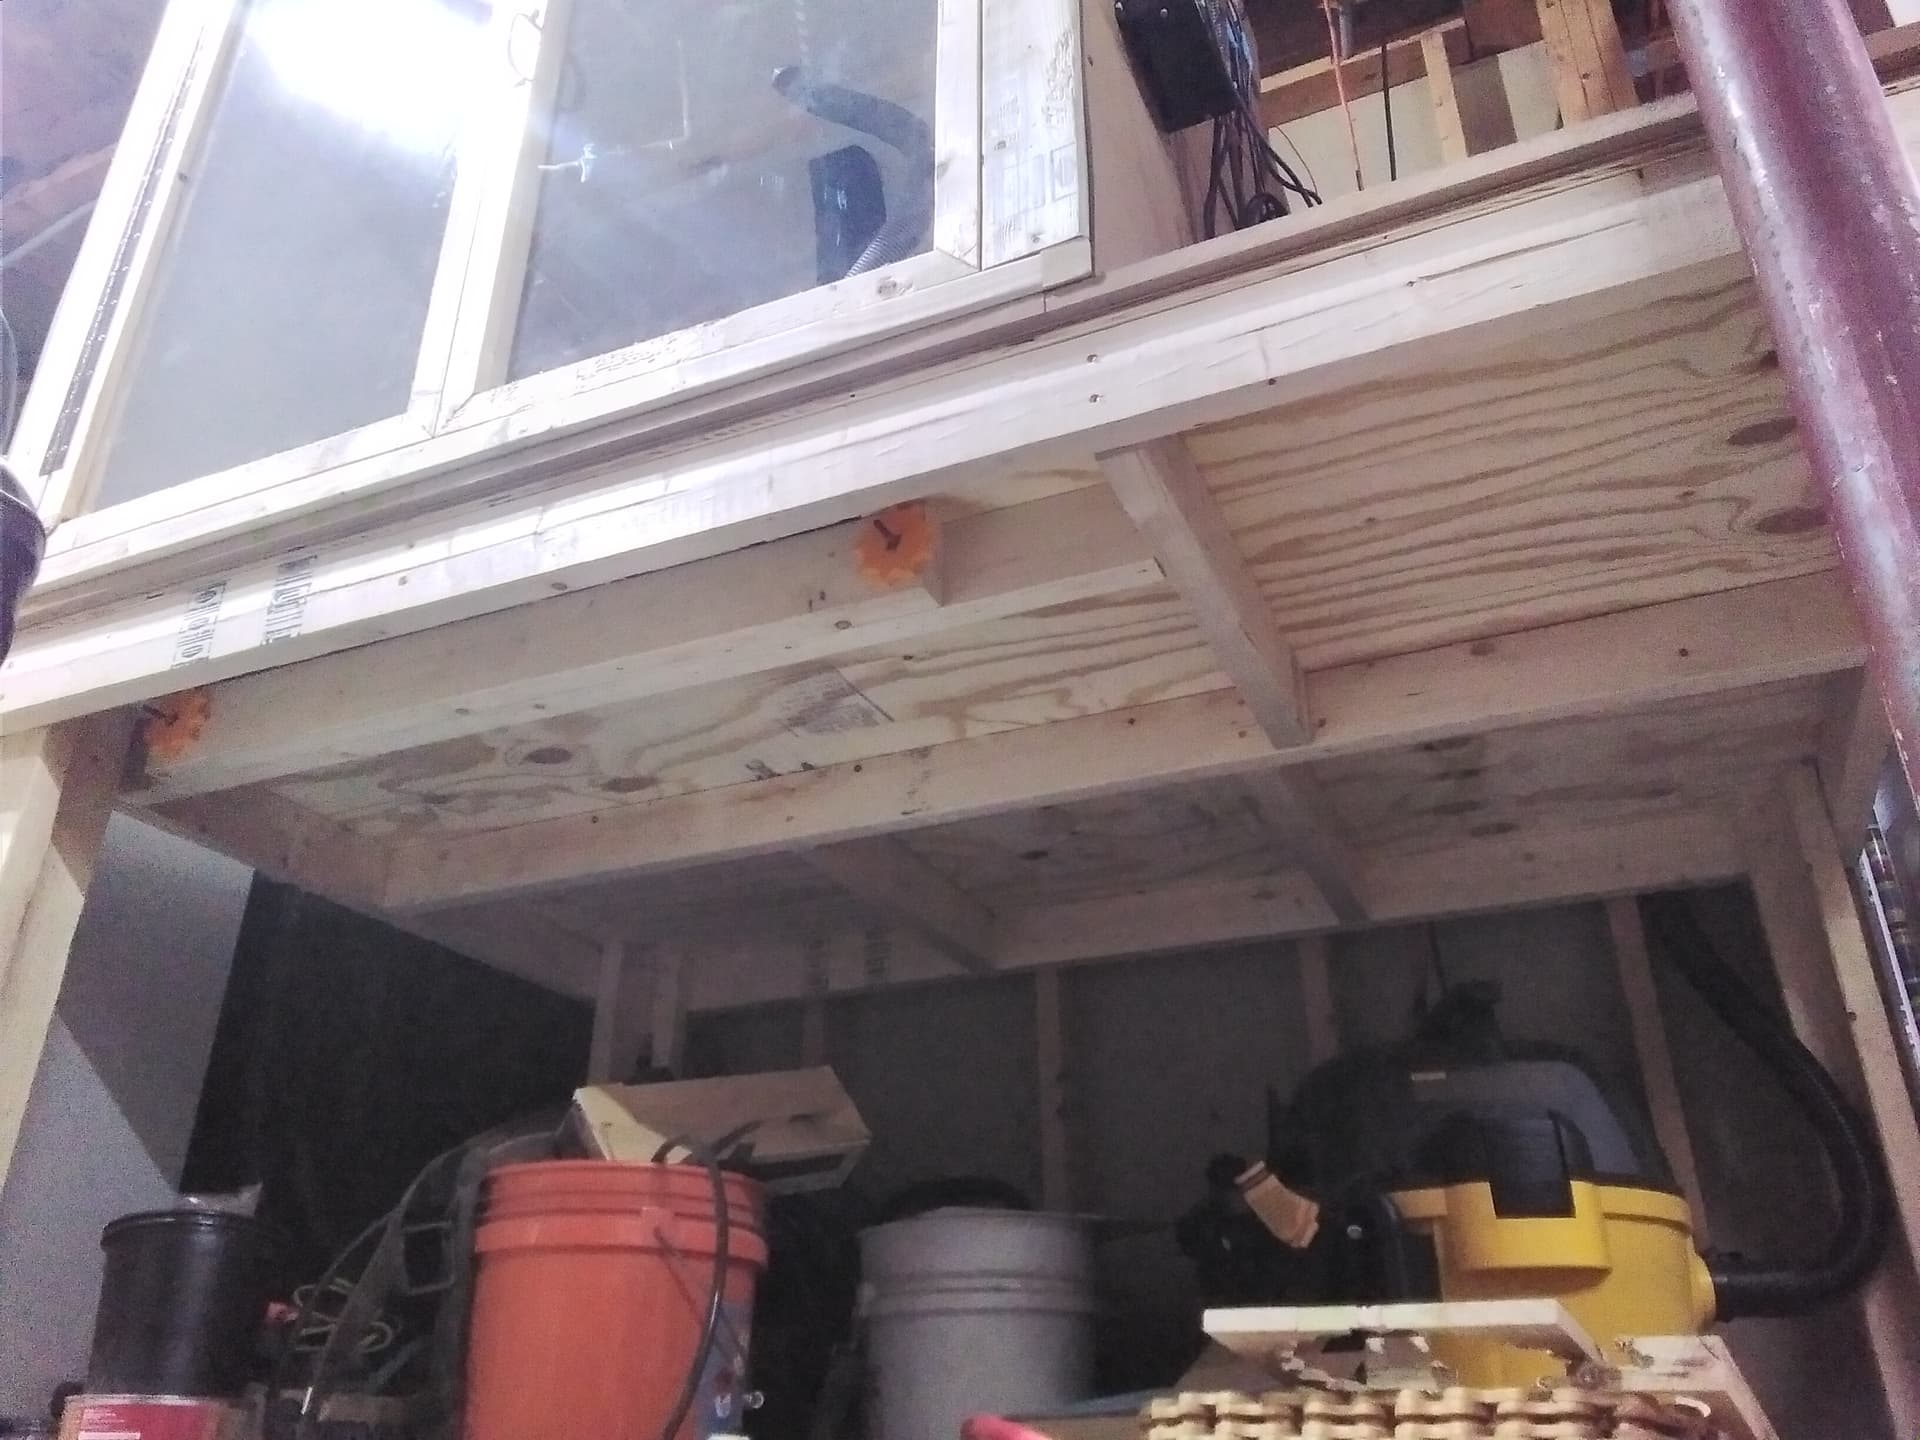
This picture shows almost the whole bottom to show how I framed it. Please excuse the junk under it. After it was framed I put one layer of 3/4" plywood and one layer of 3/4 mdf. Then I mounted the machine, cut the hole, finished the framing underneath and finally installed the t-tracks and spoil board. I made the hole after planning out the where the spoil board strips would be so that I could screw a strip over the hole when not in use.
Also in this picture you may notice that I put the control box on the right side of the machine instead of the left because of the area I had to work with. The column at the right end of the table would have prevented the door opening all the way if I had put the machine on the right side of the table. Hopefully you won’t need to do that part but I figured I’d explain why it may look a little different than other longmills.