Hey everyone, newbie to the forums here.
I got my Longmill 30x30 for Christmas (wife either loves me, or wants me in the garage more)… 2 days later I got covid. 15 days later I got a day to begin setting up my machine, then work got crazy and a couple weeks later I returned to setting it up. Had some problems with skewing and odd noises in the y axis but with the assistance of Kelly at Sienci got that squared away and finally I have been able to make something.
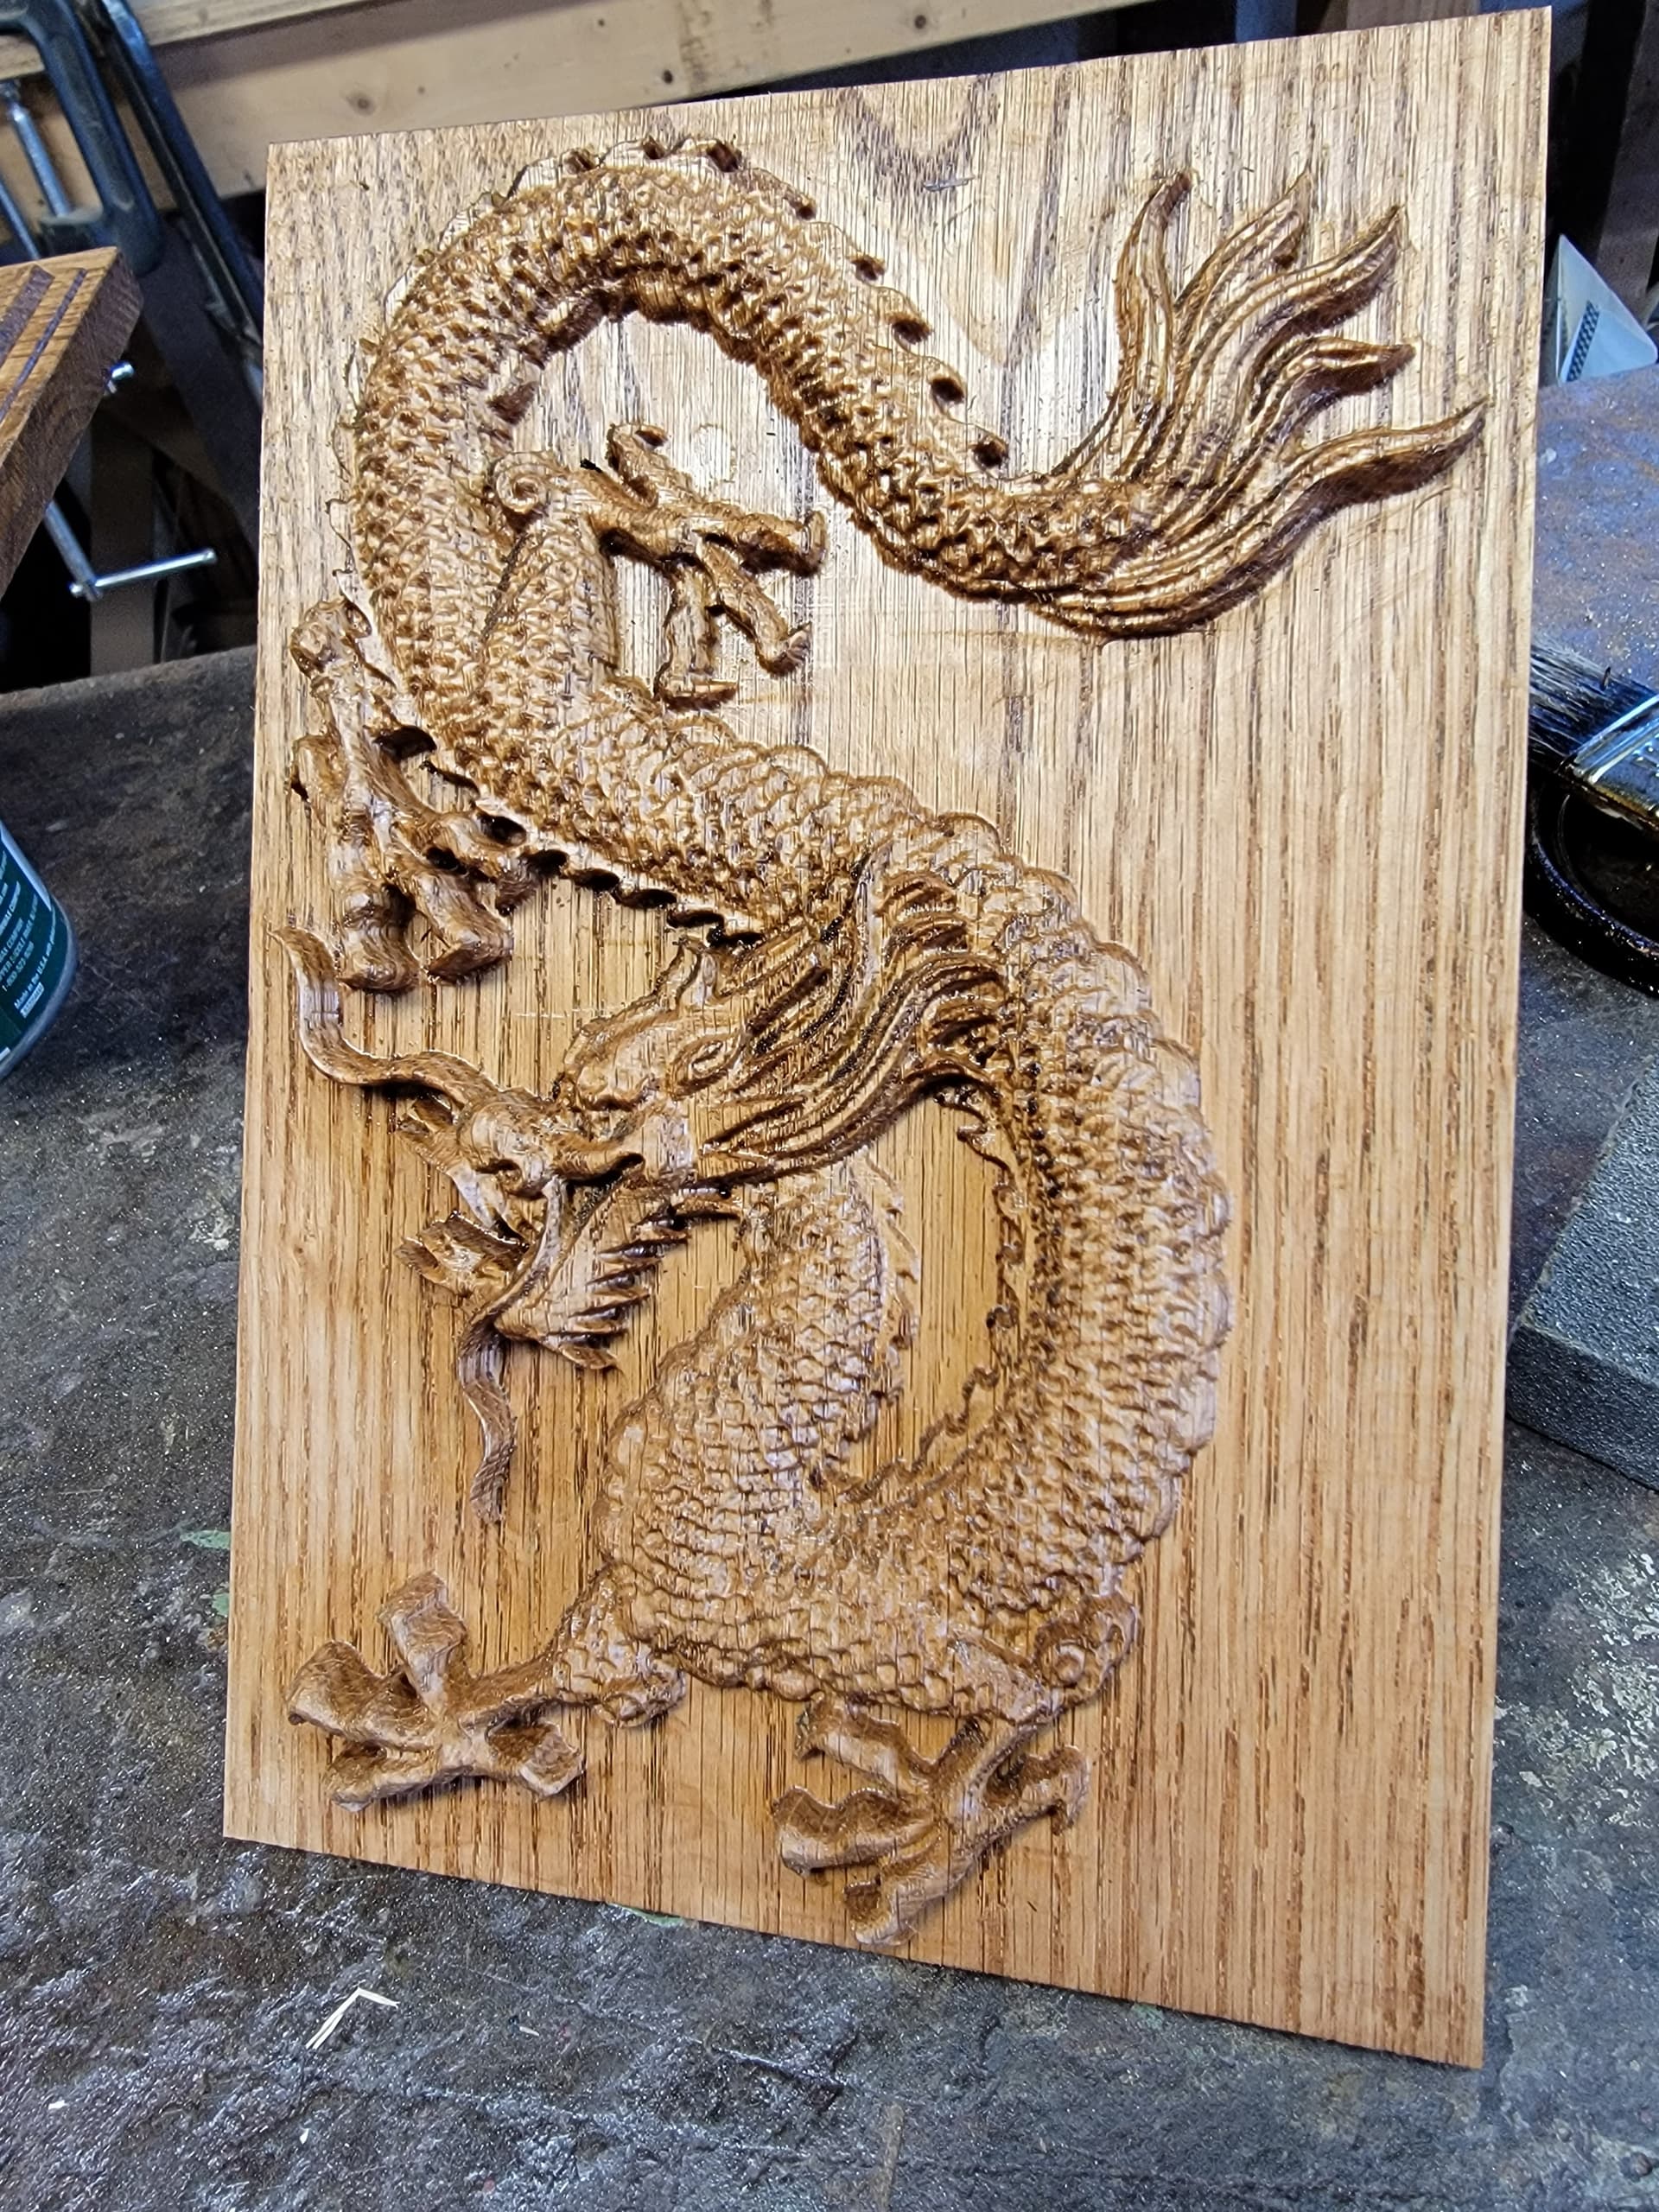
Used a greyscale image from online, and Carveco Maker+ , 1/4" endmill and 1/16" tapered ball mill. Time was about 4 hrs total. I’m really happy with this first effort and how the Longmill performed so I wanted to show it off.
18 Likes
@Todd Welcome to the group, Tod. You’ve introduced yourself with a bang. Well done. 
Very nice. I’m hoping to get to that place
2 Likes
That looks GREAT!!! You are off to a great start.
Hello!
First off, welcome to the forum! It is great to have you here. Secondly, I am glad you got through Covid alright. Wow! Amazing piece for your first project! Can not wait to see more from you. Oh yea, make sure you make something nice for your wife for getting you such a great Christmas gift!
Once again, welcome!
Jake
That’s great, my first go had a couple of holes in the piece (one of them had part of the bit in it) and the touch plate ended up with a battle scar.
Hey, Todd, I can see you don’t mess around! Good going on both this first piece of yours as well as the Valentines Day piece.
Marty from Kingston, ON
Todd, was wodnering if you designed this all yourself. Regardless, it’s very well done.
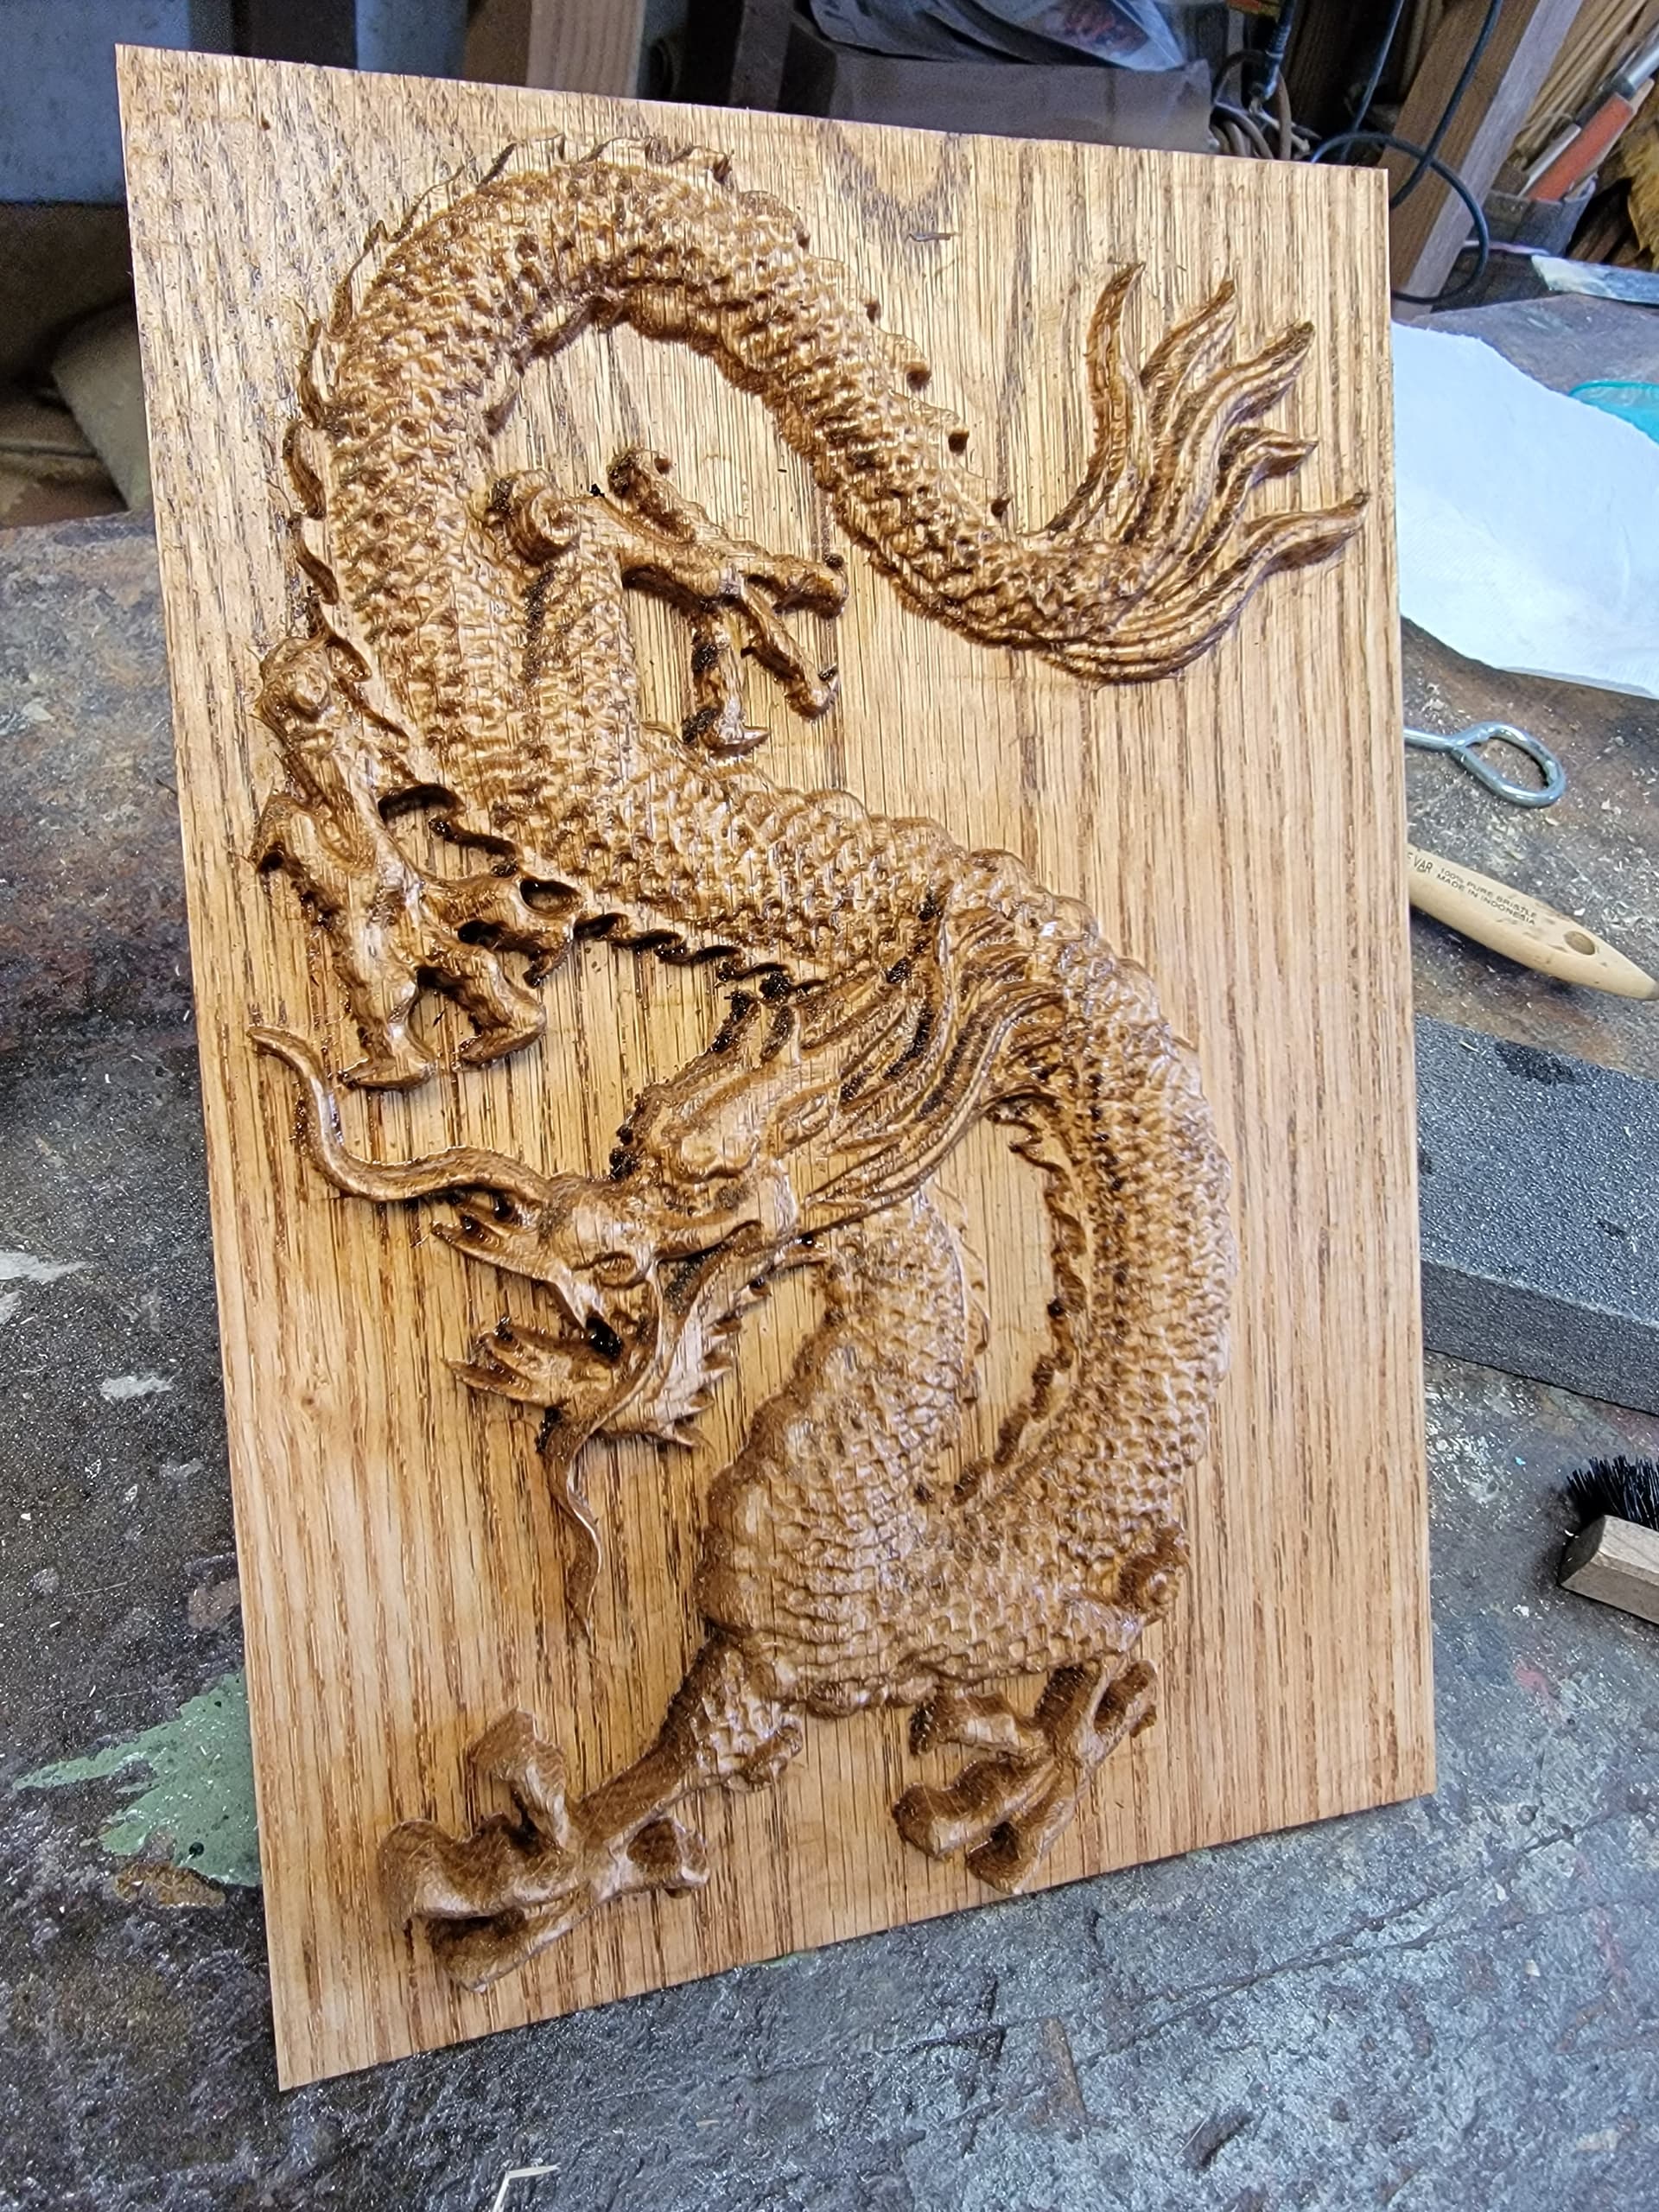
One thing that you could have considered doing would be to use a different wood (I believe this is red oak) which has less of a heavy grain. That way the engraving would show up better instead of competing with the grain.
Regardless, keep it up!
Marty from Kingston, ON
Nice. Only thing I would do is to use satin clear finish. A less shiny finish shows off the wood better. That would hi-light the carve, and at the wood better. Just say’in.
1 Like
Hey Marty,
Thanks for the advice, I’m really just grabbing any scrap wood I have around the shop right now to learn with. Seeing what the machine is capable of, learning what bits to use for what processes etc.
The dragon was a grayscale image I got free off the internet and used carveco maker + to make the gcode.
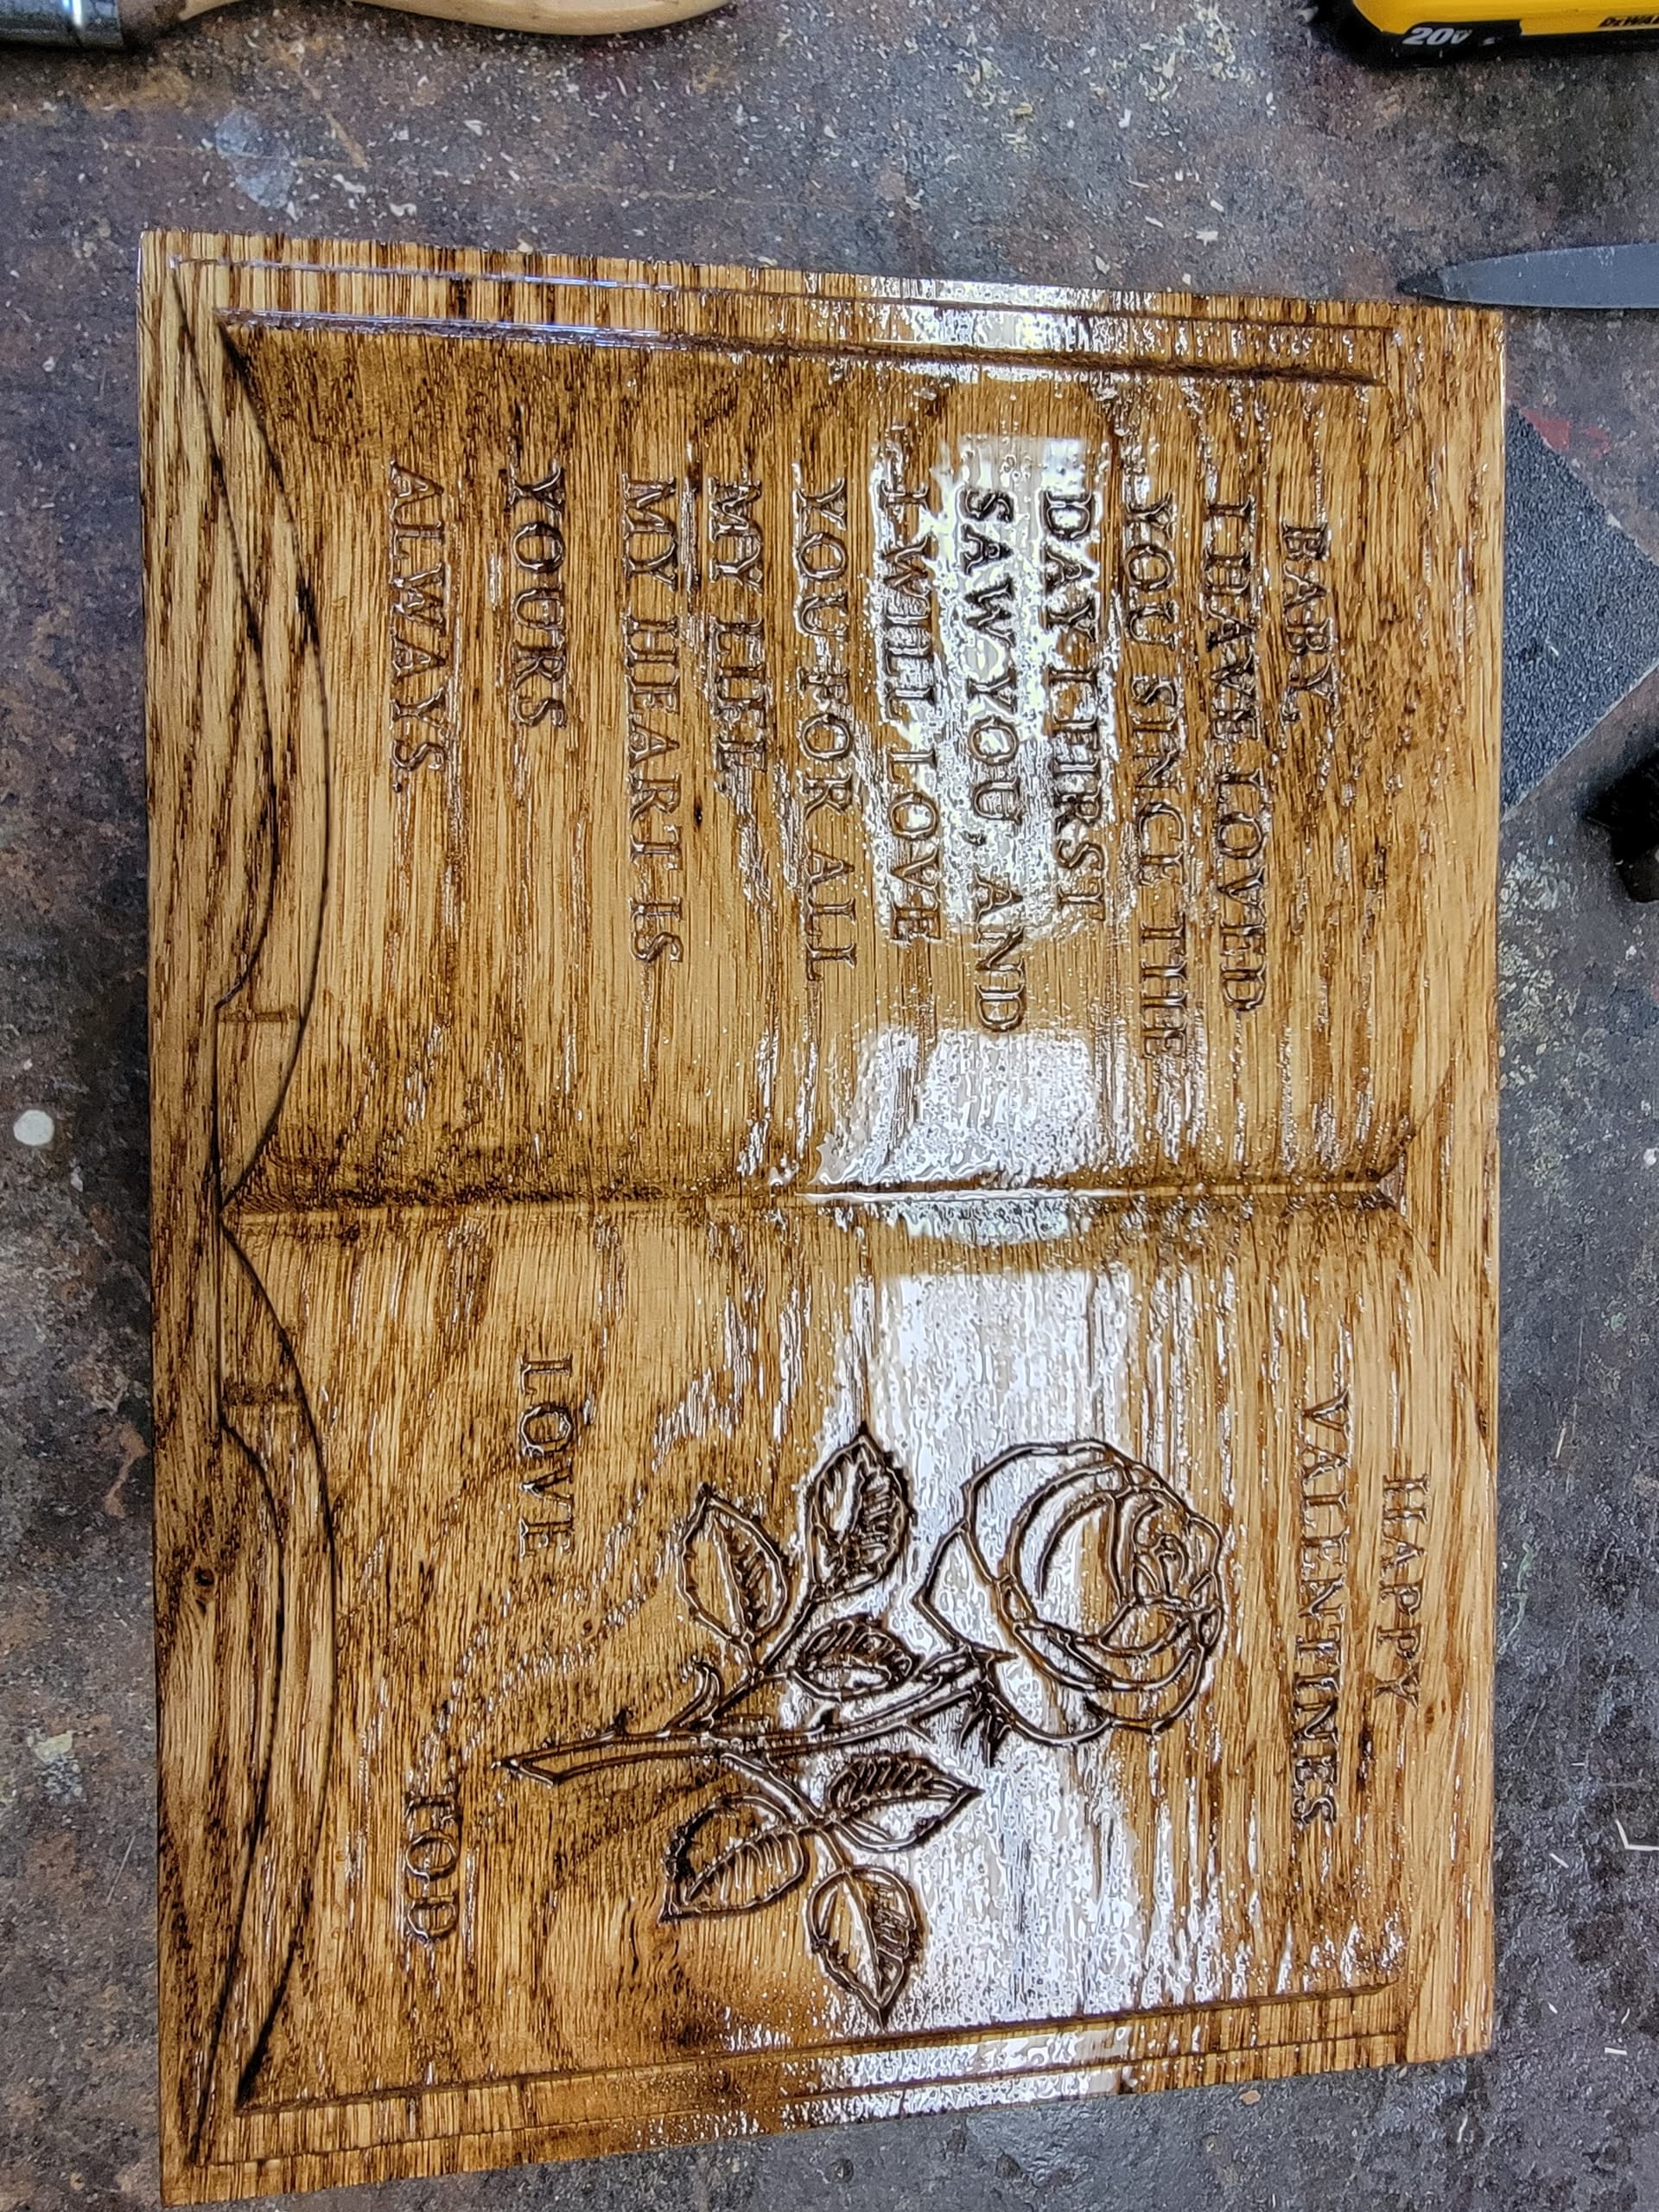
The book was a stock relief that comes with carveco and I added the rose from a bitmap image made in inkscape, and then I added the text on the relief surface.
I’m learning what I can do with different file formats like bitmaps, jpegs, stl etc… and playing around with modifying them to fit what I’d like to see in the finished product. I have alot to learn.
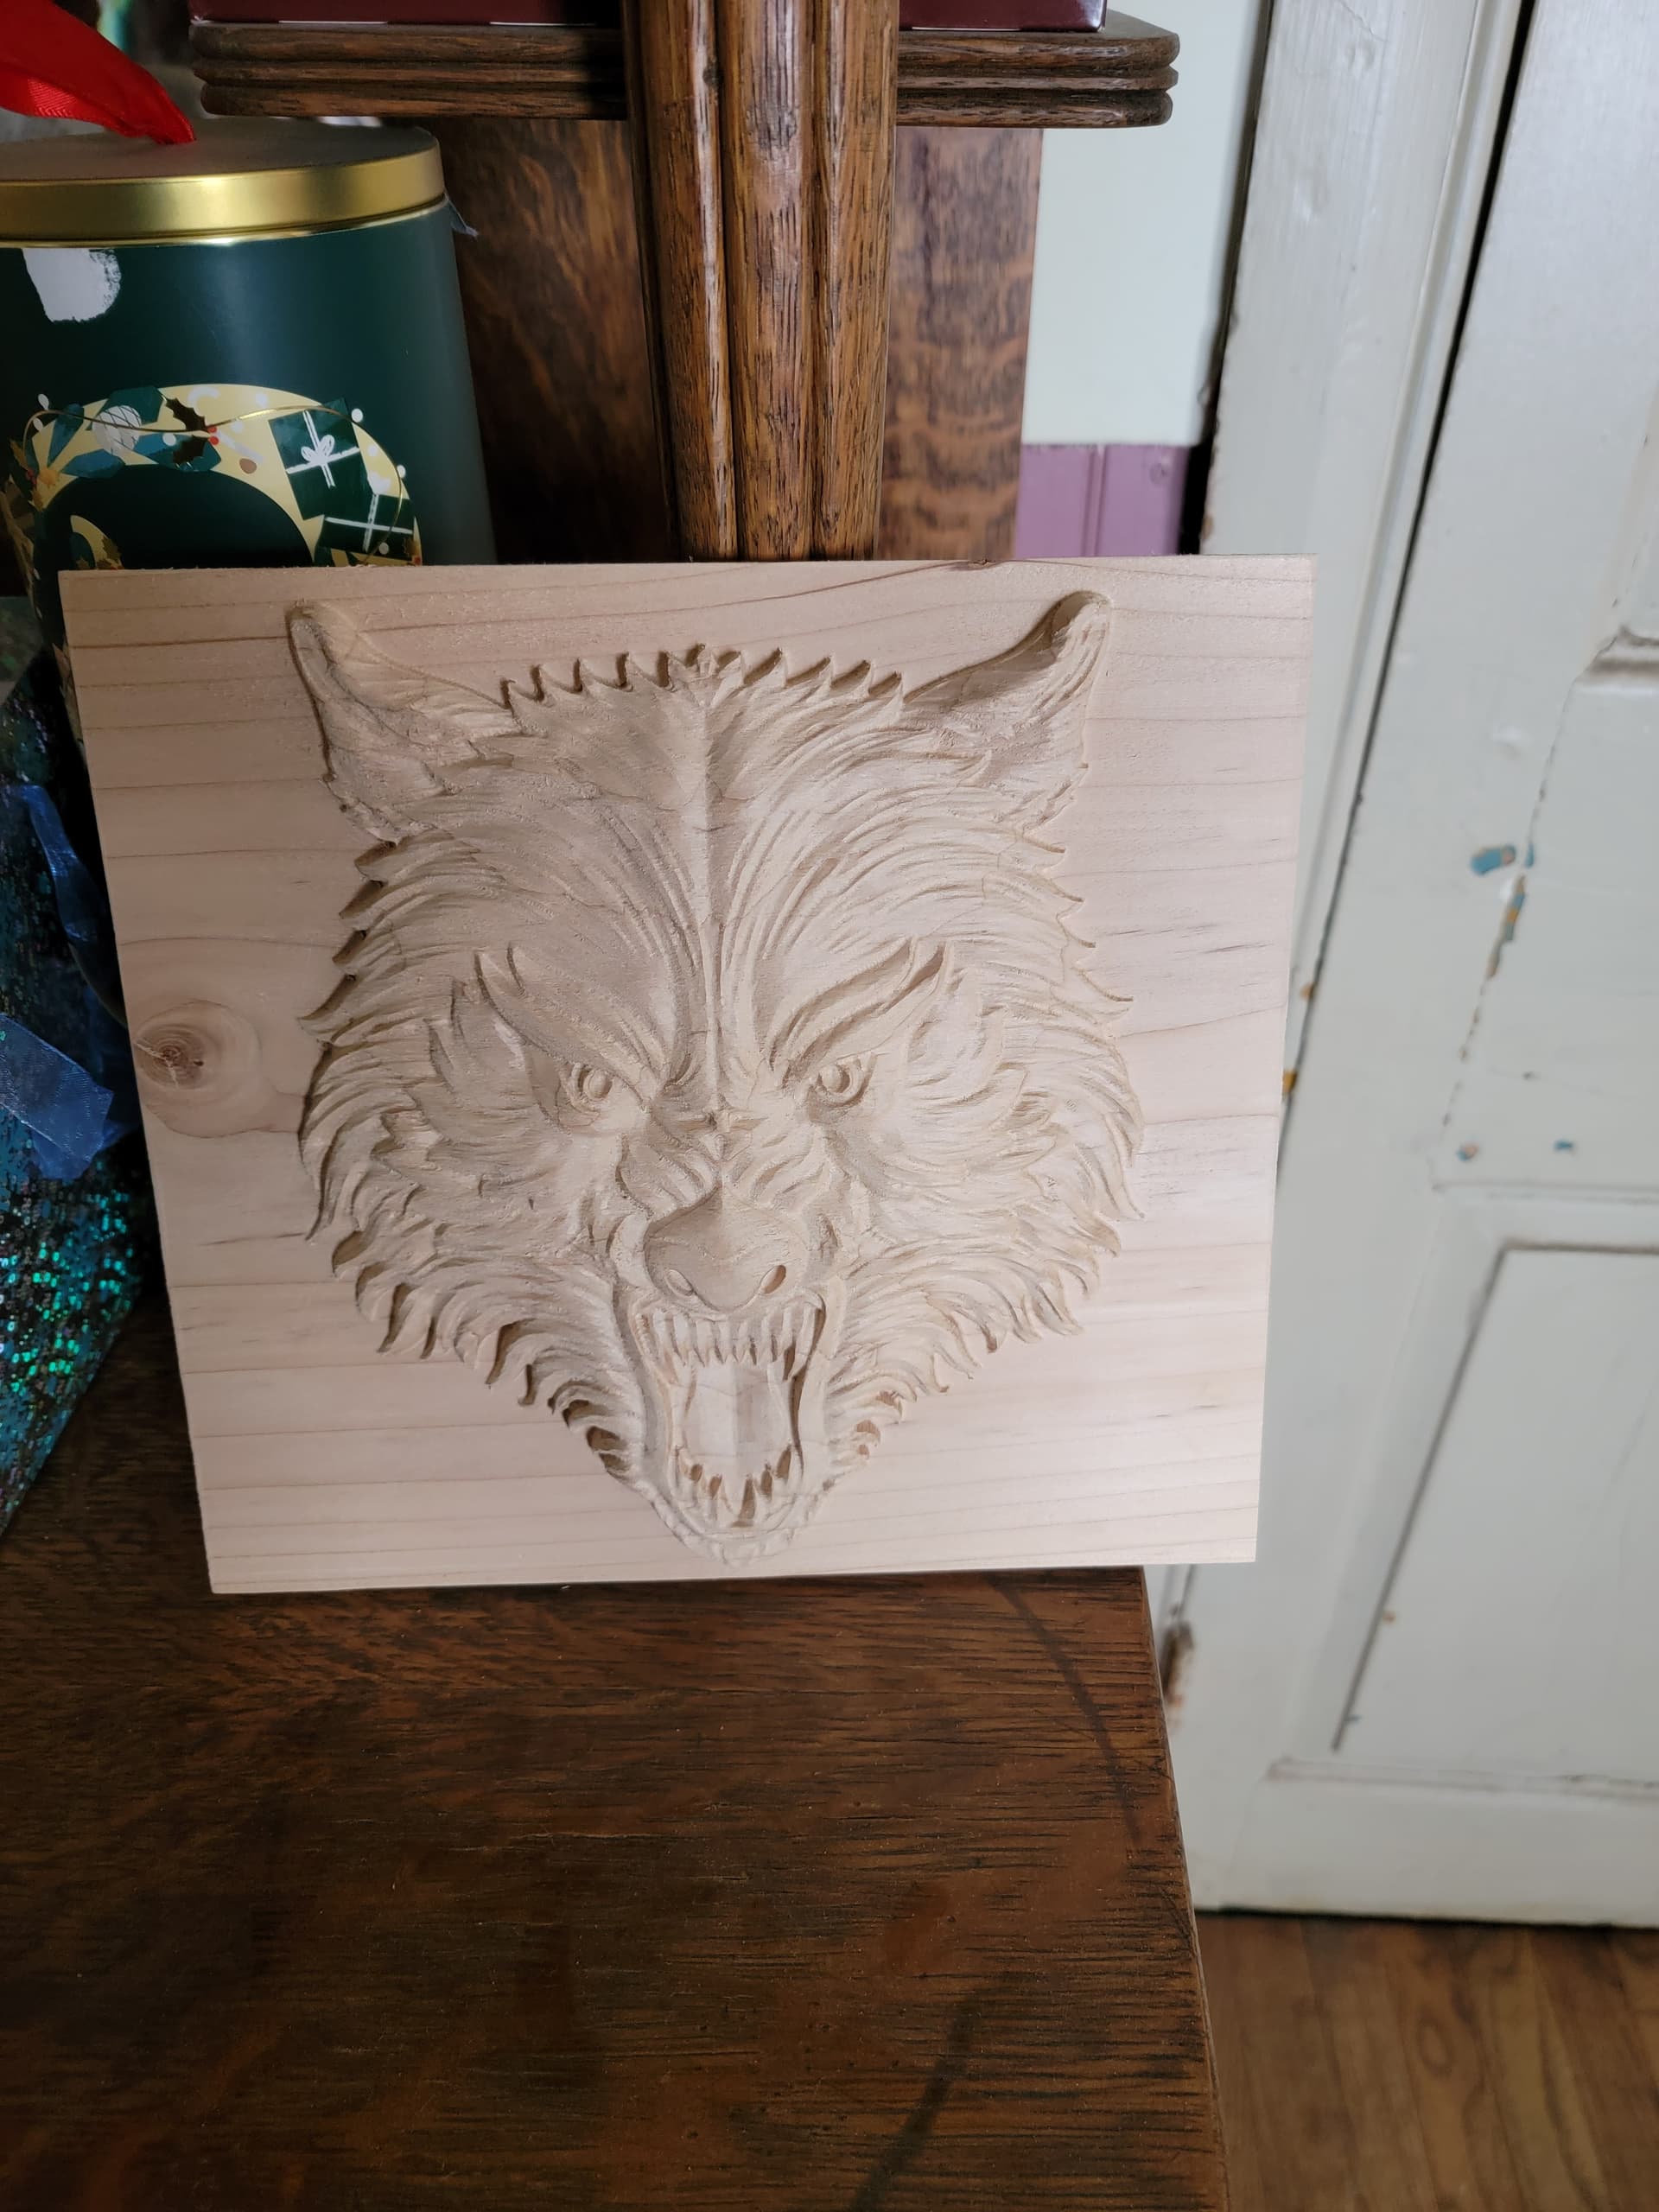
I cut this wolf the other day and while I like some of it, the jaw doesn’t quite look right so I am playing with sculpting tools to bring out some features in the z axis.
It’s fun, but time consuming.
Thanks again and happy carving,
Tod, From Baltimore Maryland
5 Likes
I think you are doing fantastic for just starting out Todd! Makes me even more anxious to get mine and get started making some creations! Bet your wife enjoyed the piece you made for her!
Dude! I received my MK2 at the end of January and have it built, on a proper table and connected to Gsender. Im a bit slow when it comes to software and this whole CAD thing, as I have ZERO experience; feel a bit like a caveman trying to become an electrician. I am quite jealous. Keep up the good work.
@Mrfinz30 I like your comparison caveman vs electrician. I still feel the same way going from paramedic to cnc operator. I’ve had my machine for 10 months and still sit and scratch my head. Needless to say, good folks here and they are very willing to help! My advice for the caveman is don’t stand in water while connecting the power. That may leave a mark!
2 Likes
Thanks, Jake. I like the caveman / power response ![]()