This is my first attempt at creating a model using AI. I followed instructions set out by Kyle at LearnYourCNC.
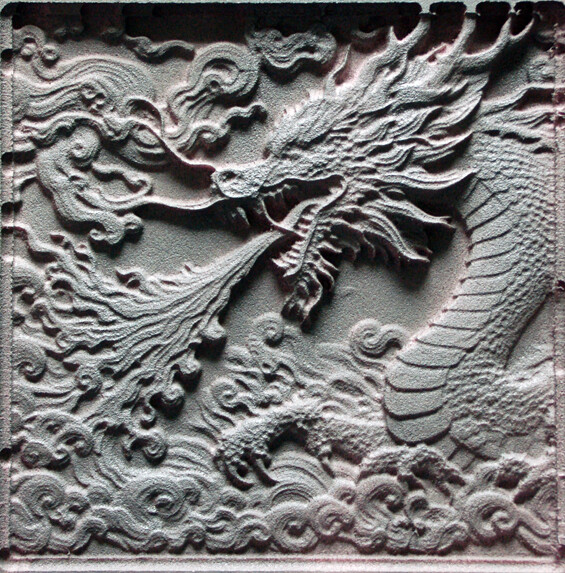
I carved this in foam and sprayed it grey. There remains a steep learning curve so that I can get better results from the AI, but I’m happy enough with this as my first attempt.
Fantastic! We definitely need more detail - so far I have played a bit with using AI to generate images for the laser, but nothing for 3D - would love to know how you’re doing it.
Enter your prompt. For the dragon, I used:
“A greyscale image of a fire breathing dragon with the highest possible contrast, representing a relief model for CNC routing. The image must feature extremely balanced lighting to make details visible across the model, with very clear, sharp contours and textures.”
The prompt is the key. Just keep playing until you get results that you like.
You will be given 4 choices. Choose one and download it.
Import your image and click to convert. Save the first choice – 16bit. This will be a .png file.
Bring this file into your graphics program. I used Photoshop. The sole purpose of this is to invert the height map. As it is, the dark areas are high, and the light areas are low. We need them inverted.
Excellent, thanks @gwilki. I have been looking at trying to extract depth from an existing image - I’m curious to see how that Marigold tool does at it.
Try “Tiled Zoedepthmap” in GitHub.
You can use image files such as png and jpg. Generates great deep greyscale depth map images.
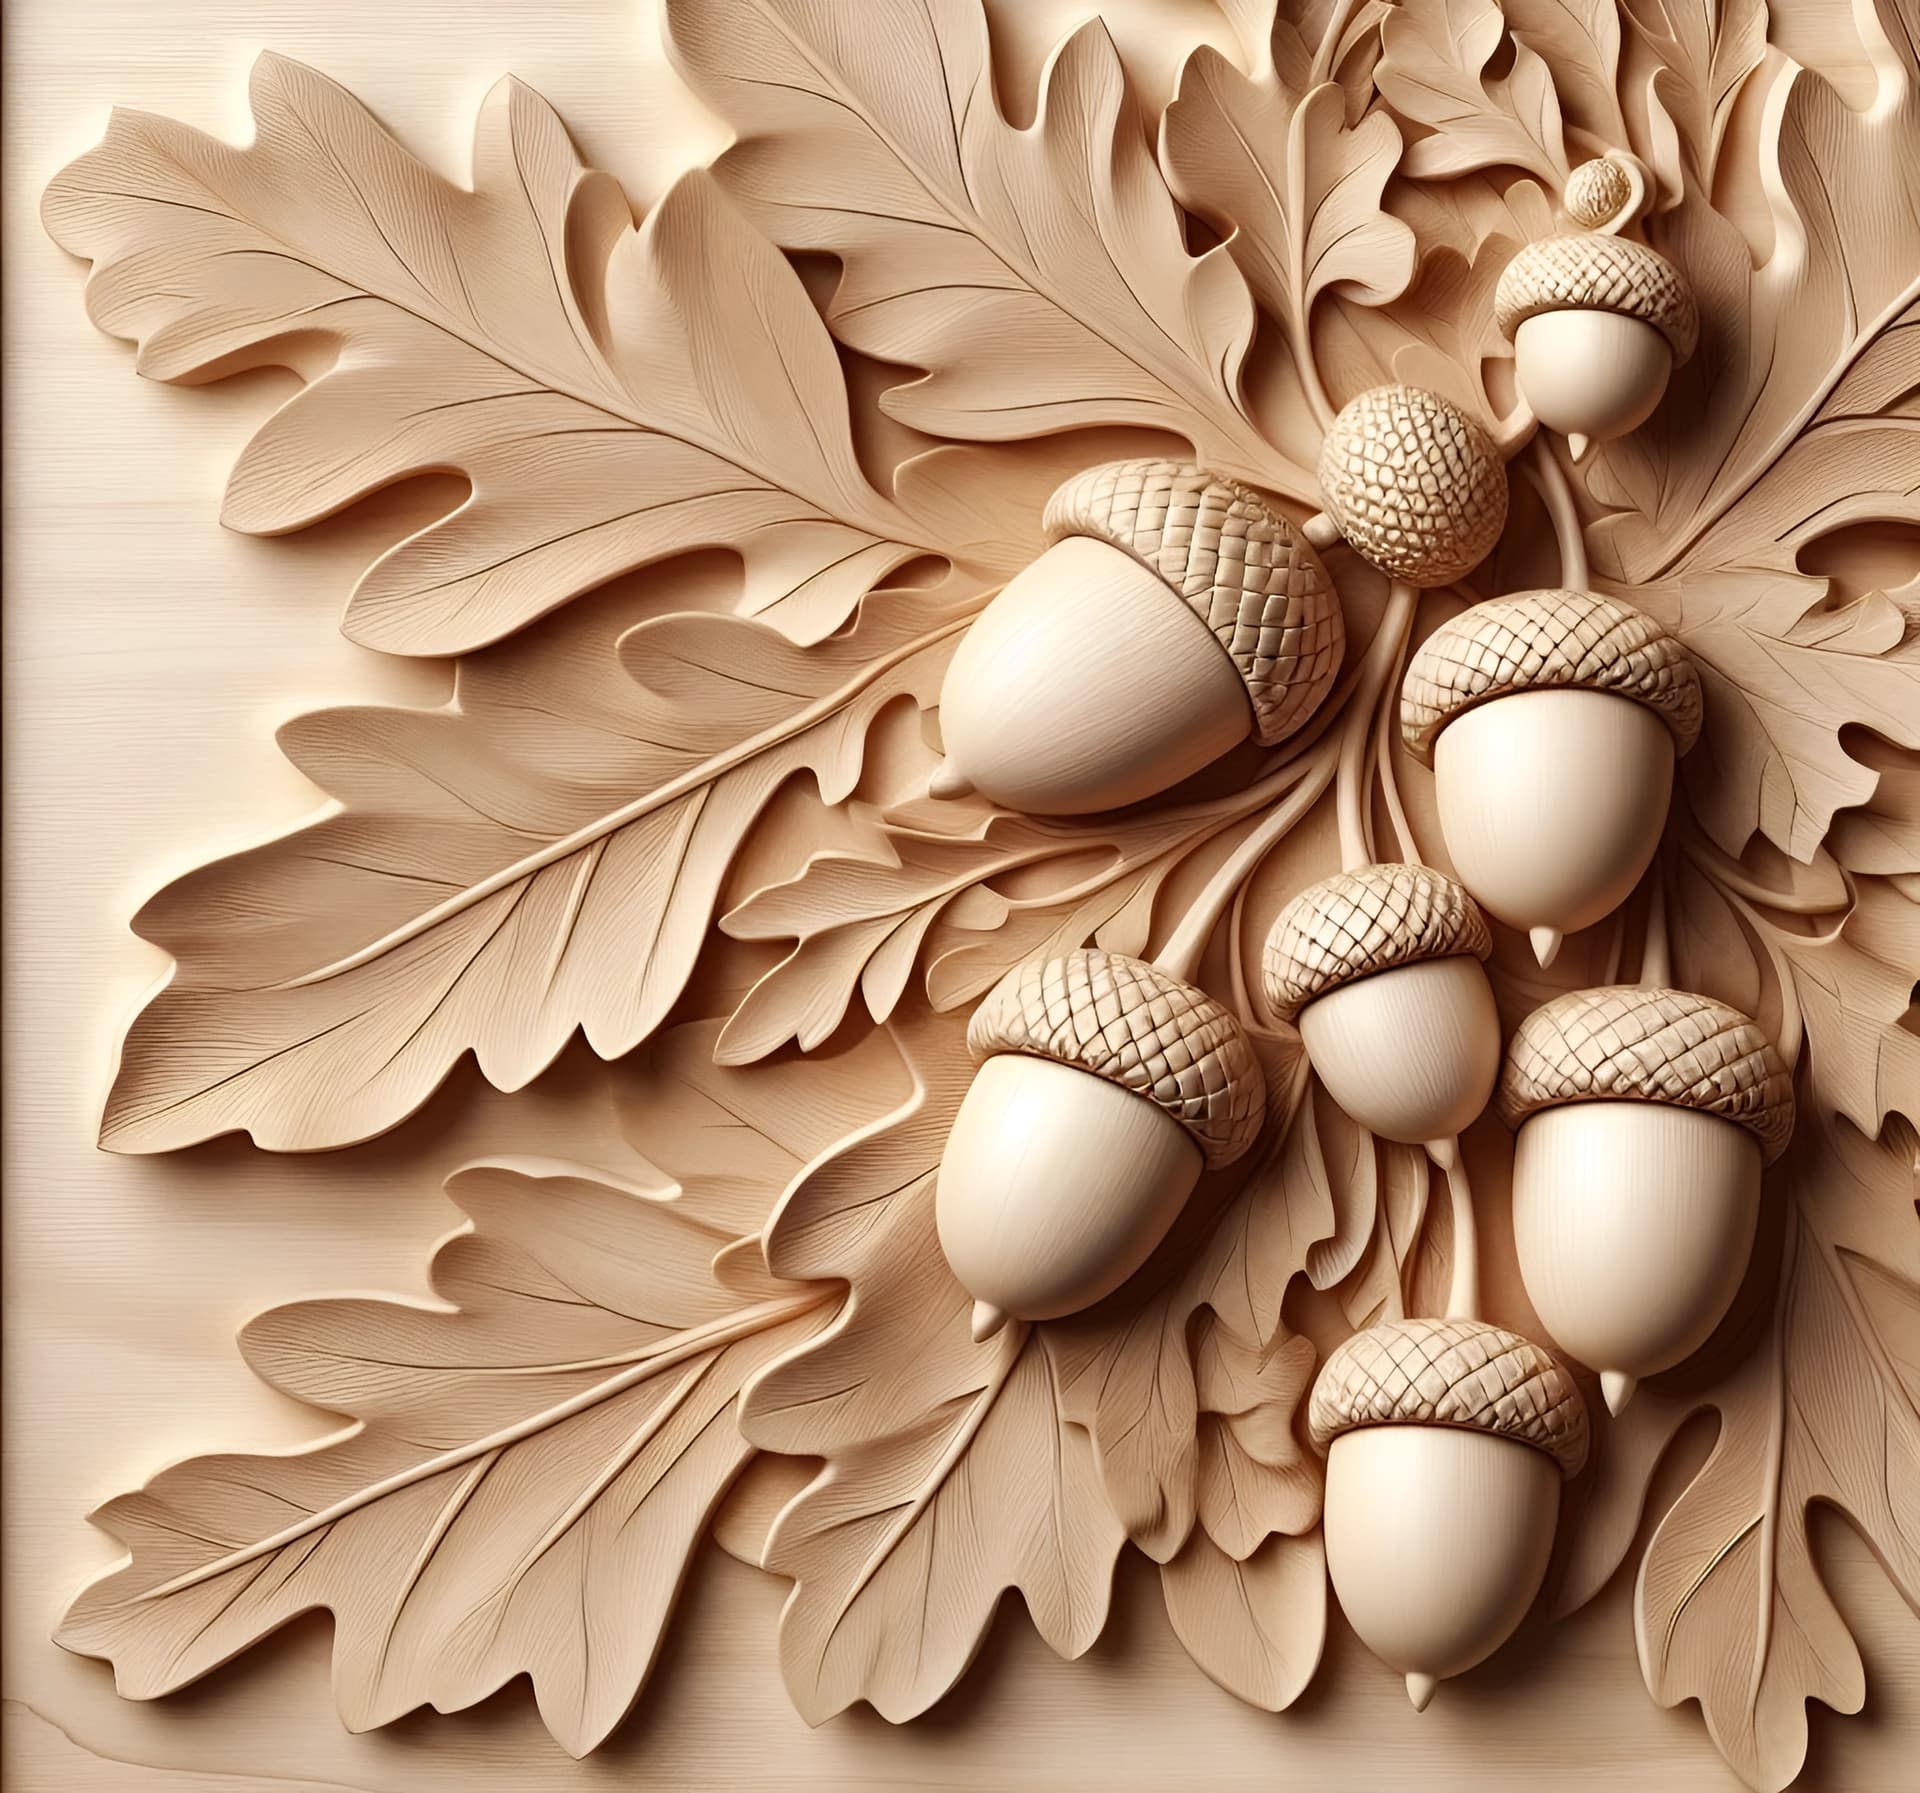
Also, with Micro$haft Co Pilot, I’ve go the best results starting the query with “ light wood bas relief ,“ and then ending with “high detail, high contrast deep” for the best results
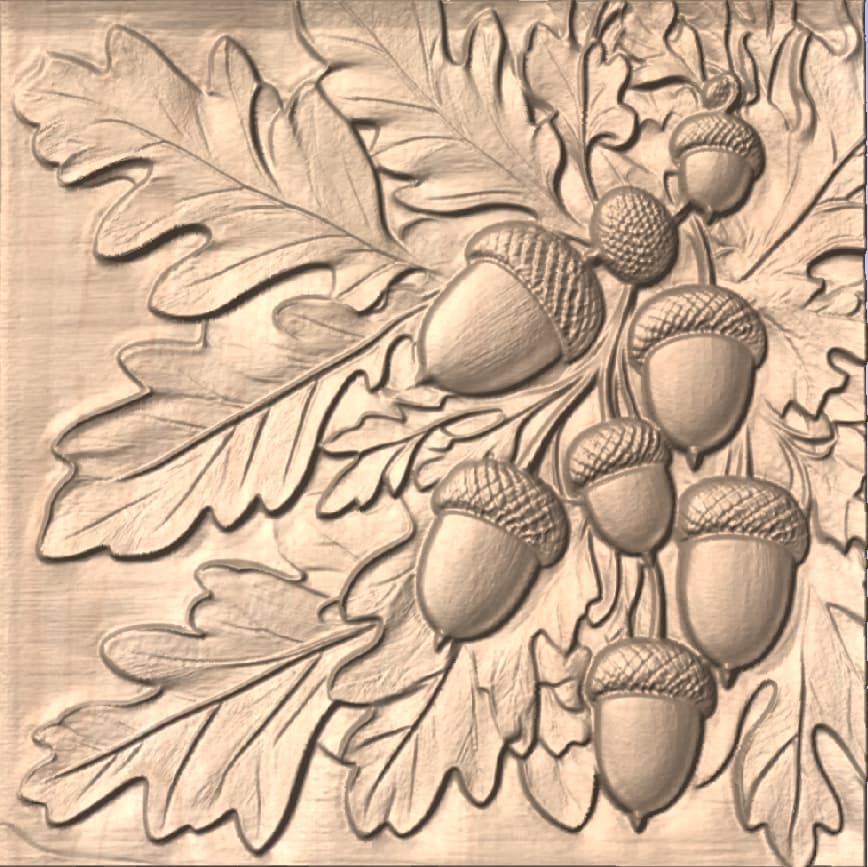
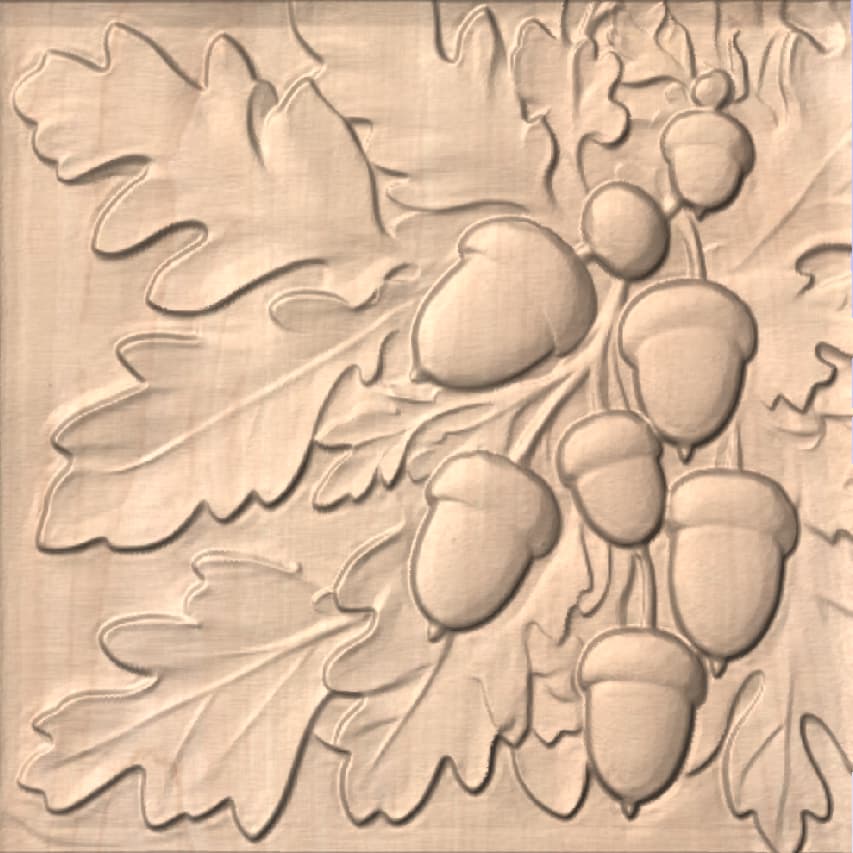
I use Vectric Desktop and after multiple different methods to replicate the Copilot Bas reliefs, using Vectric Desktop, this was the best method I found.
Create Bas Relief using Co pilot with the above terms.
Turn the bas relief image to a STL using “heighmapt2stl” (link below). I tried multiple programs and this one seemed to work the best with Vectric.
a) Open heightmap2stl and choose image and choose output path.
b) Set " base height" to 2 and model height to between 6 and 8 (this will give you a relief height of between 4 and 6mm). This can be adjusted later in Vectric but I haven’t found the need - yet.
c) Select “create”
In vectric, open the stl as a “File, Import component/ 3D model” and then do what you would normally do with a 3D model.