The big mistake was leaving the router at max speed as it was shipped. I feel the high RPM add greatly to vibration, and loosening of the bit. Turning it down from 6 to 2 made everything nicer.
In the future I will really torque down the collet. Anyone have thoughts on the $37 Makita 192987-1 1/8" Collet versus the 1/8" - 1/4" sleeve I bought from Siensi? Maybe the dedicated collet holds the bits better?
Mike, “speed” is not as simple as just turning it down. You’ll have to do some research to get up to “speed” on speeds and feeds; how fast the bit is moving around the cut vs. the rotational speed of the router bit. Its important and basic.
Also, treat yourself to a DOWN CUT router bit. You’ll be pleased at how little finishing time you’ll spend.
I certainly understand the difference between the speed the router moves in the X, Y and Z dimensions versus the speed at which the bit is rotating. I did not touch the former, allowing for all defaults, which it seems are conservative. It would be good if the software could also control the router’s RPMs, but since the switch is physical (on the recommended Makita router), I guess that’s not possible.
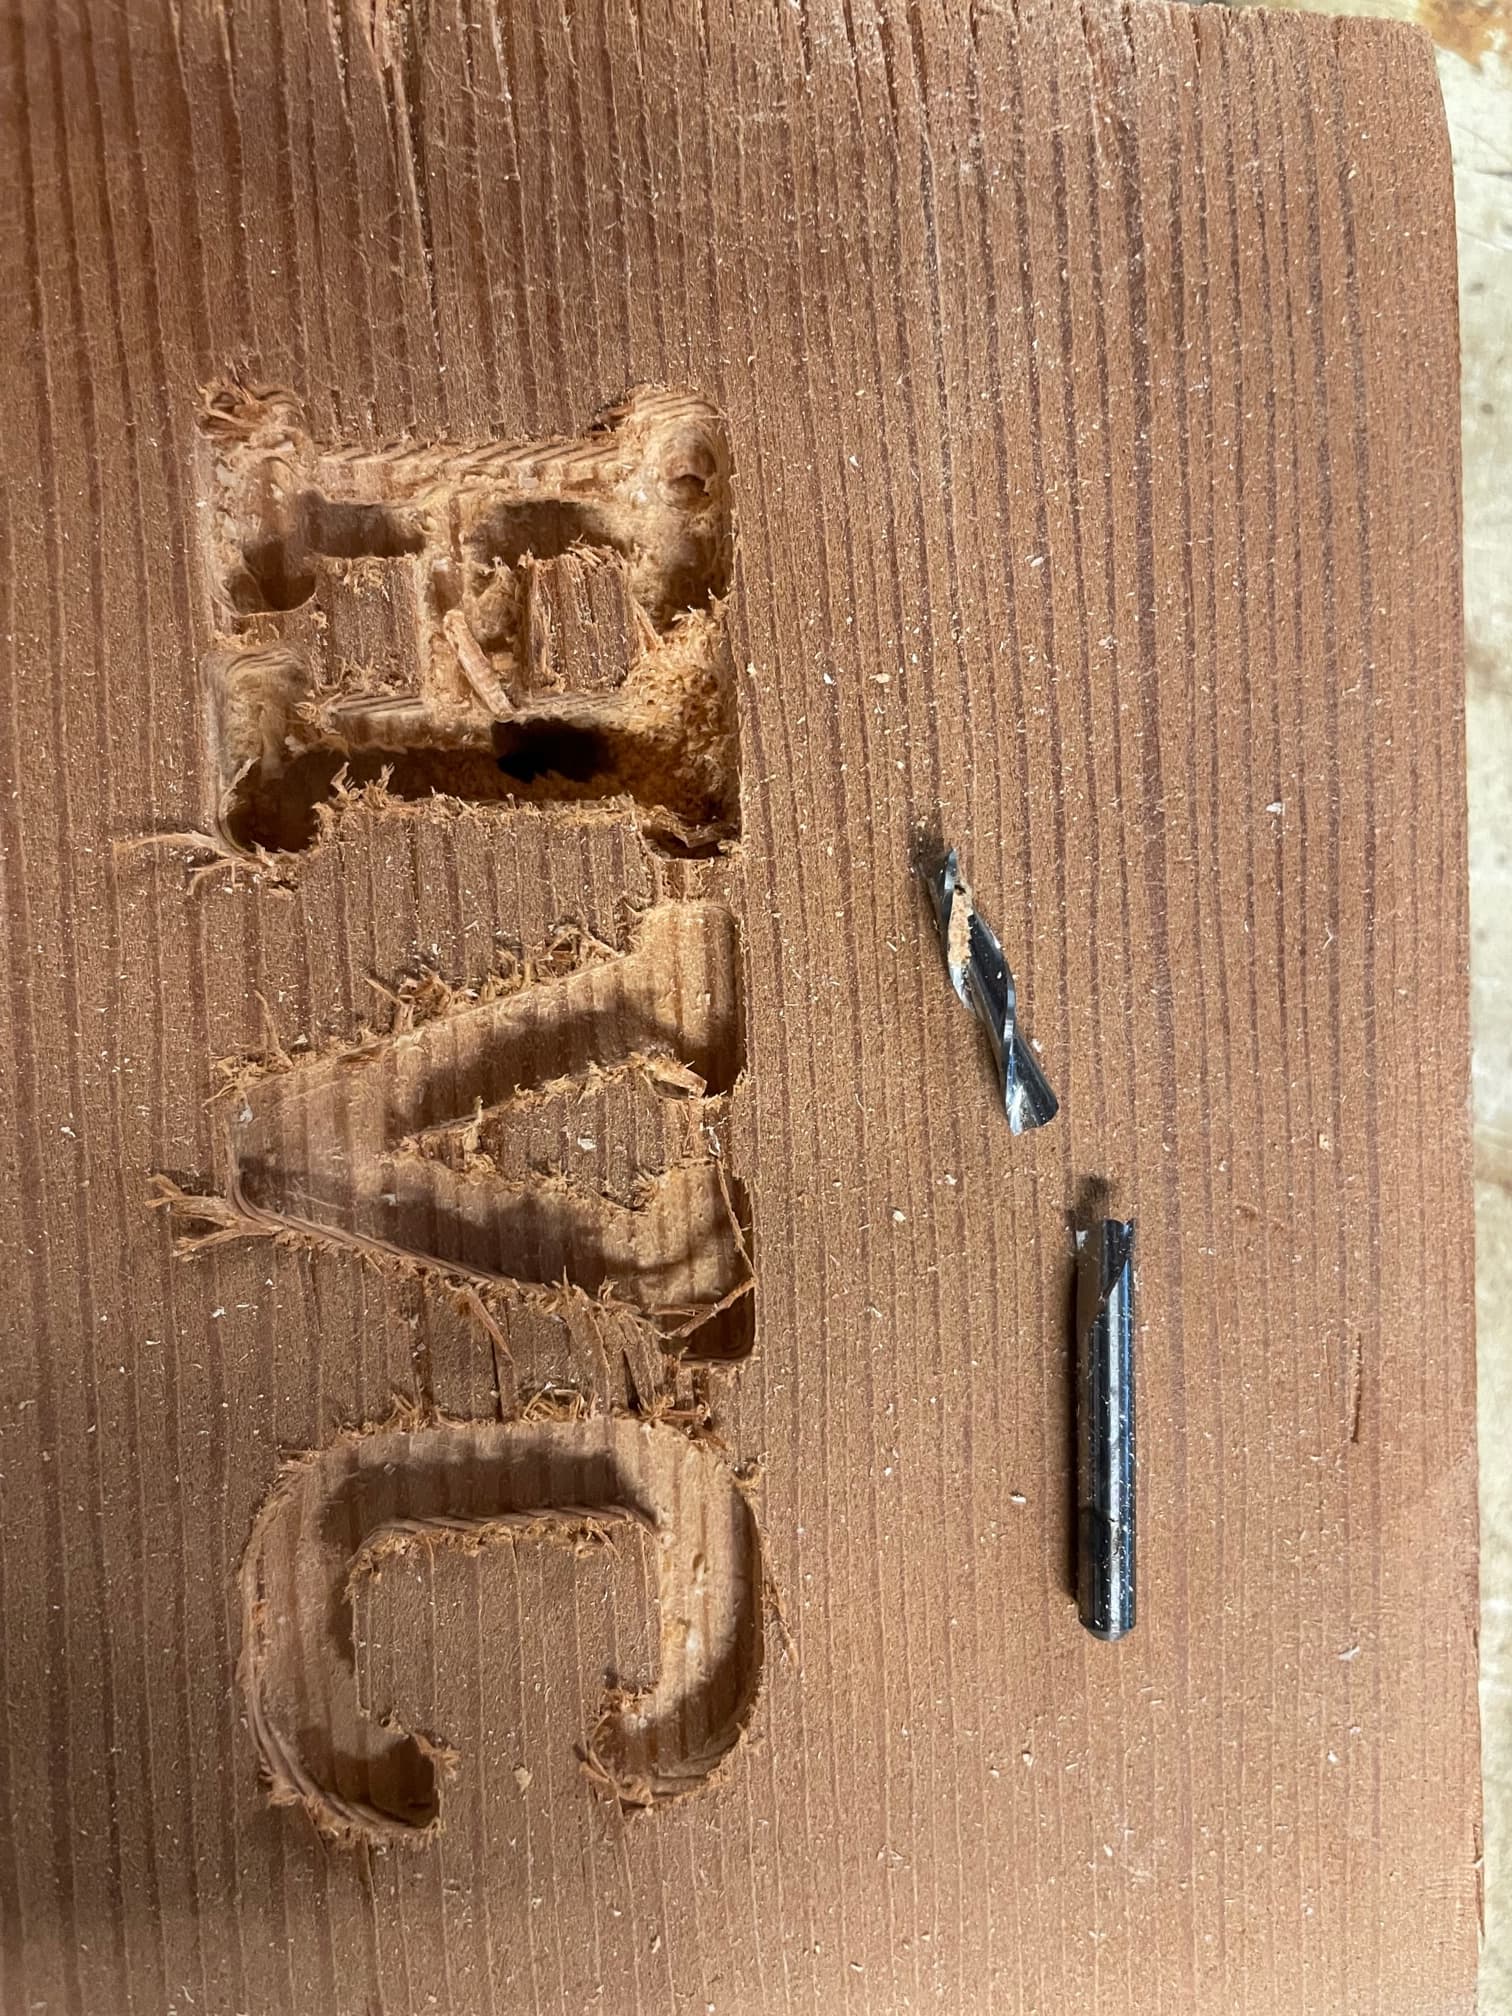
With regards to upcut vs. downcut bits, I chose the former to have clean bottoms on the letters. The messy tops can be sanded. Is that not correct?
@mike99mac Mike: I would suggest that you move away from the 1/4 to 1/8 adapter and get this collet:
It means one fewer point of failure and likely less possible run out.
I can’t agree that your bit loosened because you ran the Makita at top speed. It was more likely that the collet was not tight, or even that the adapter was in upside down. Many here run the Makita at top speed more often than not with no bit loss.
Others have commented on feeds and speeds and you seem to have that well in hand. You will get much more vibration and bit flex by bad feed rates than by router speed.
As to up cut and down cut, there is no right answer. It depends on what you want the final product to be. As @CrookedWoodTex said and as you know, a down cut will give you a clean top surface. An up cut will give you a clean bottom surface. The choice is yours. As I am lazy and hate sanding, I frequently use a combination of the two. I run a tool path at half depth using a down cut, followed by a tool path that cuts through the material using an up cut. I get clean surfaces on both top and bottom. You can get the same results using a compression bit, if the thickness of the material lends itself to a one-pass through cut.
Feeds and speeds are a complicated subject, but most likely the correct feed for a particular piece and bit will be scary fast for a beginner. It was for me.
I use such a sleeve (its not the one from Sienci but think there is no difference) without real problems since startup. Few days ago I did not fastn the collet enough and i noticed (while milling) that the bit got sucked out of the collet. Using an upcut mill, there is a lot of downforce generated - it scales more with the feed than the rpm.
However, torque the collet and sleeve as tight as needed (no need to destroy the sleeve) and you will be fine.
As a starting tip, I run the 1/8" Endmills with ~1800mm/min, high rpm (think lvl 5) and 2-3mm depth of cut (depends on the wood) when cutting a groove. Start with less depth and increase it if you and the LM feel save.