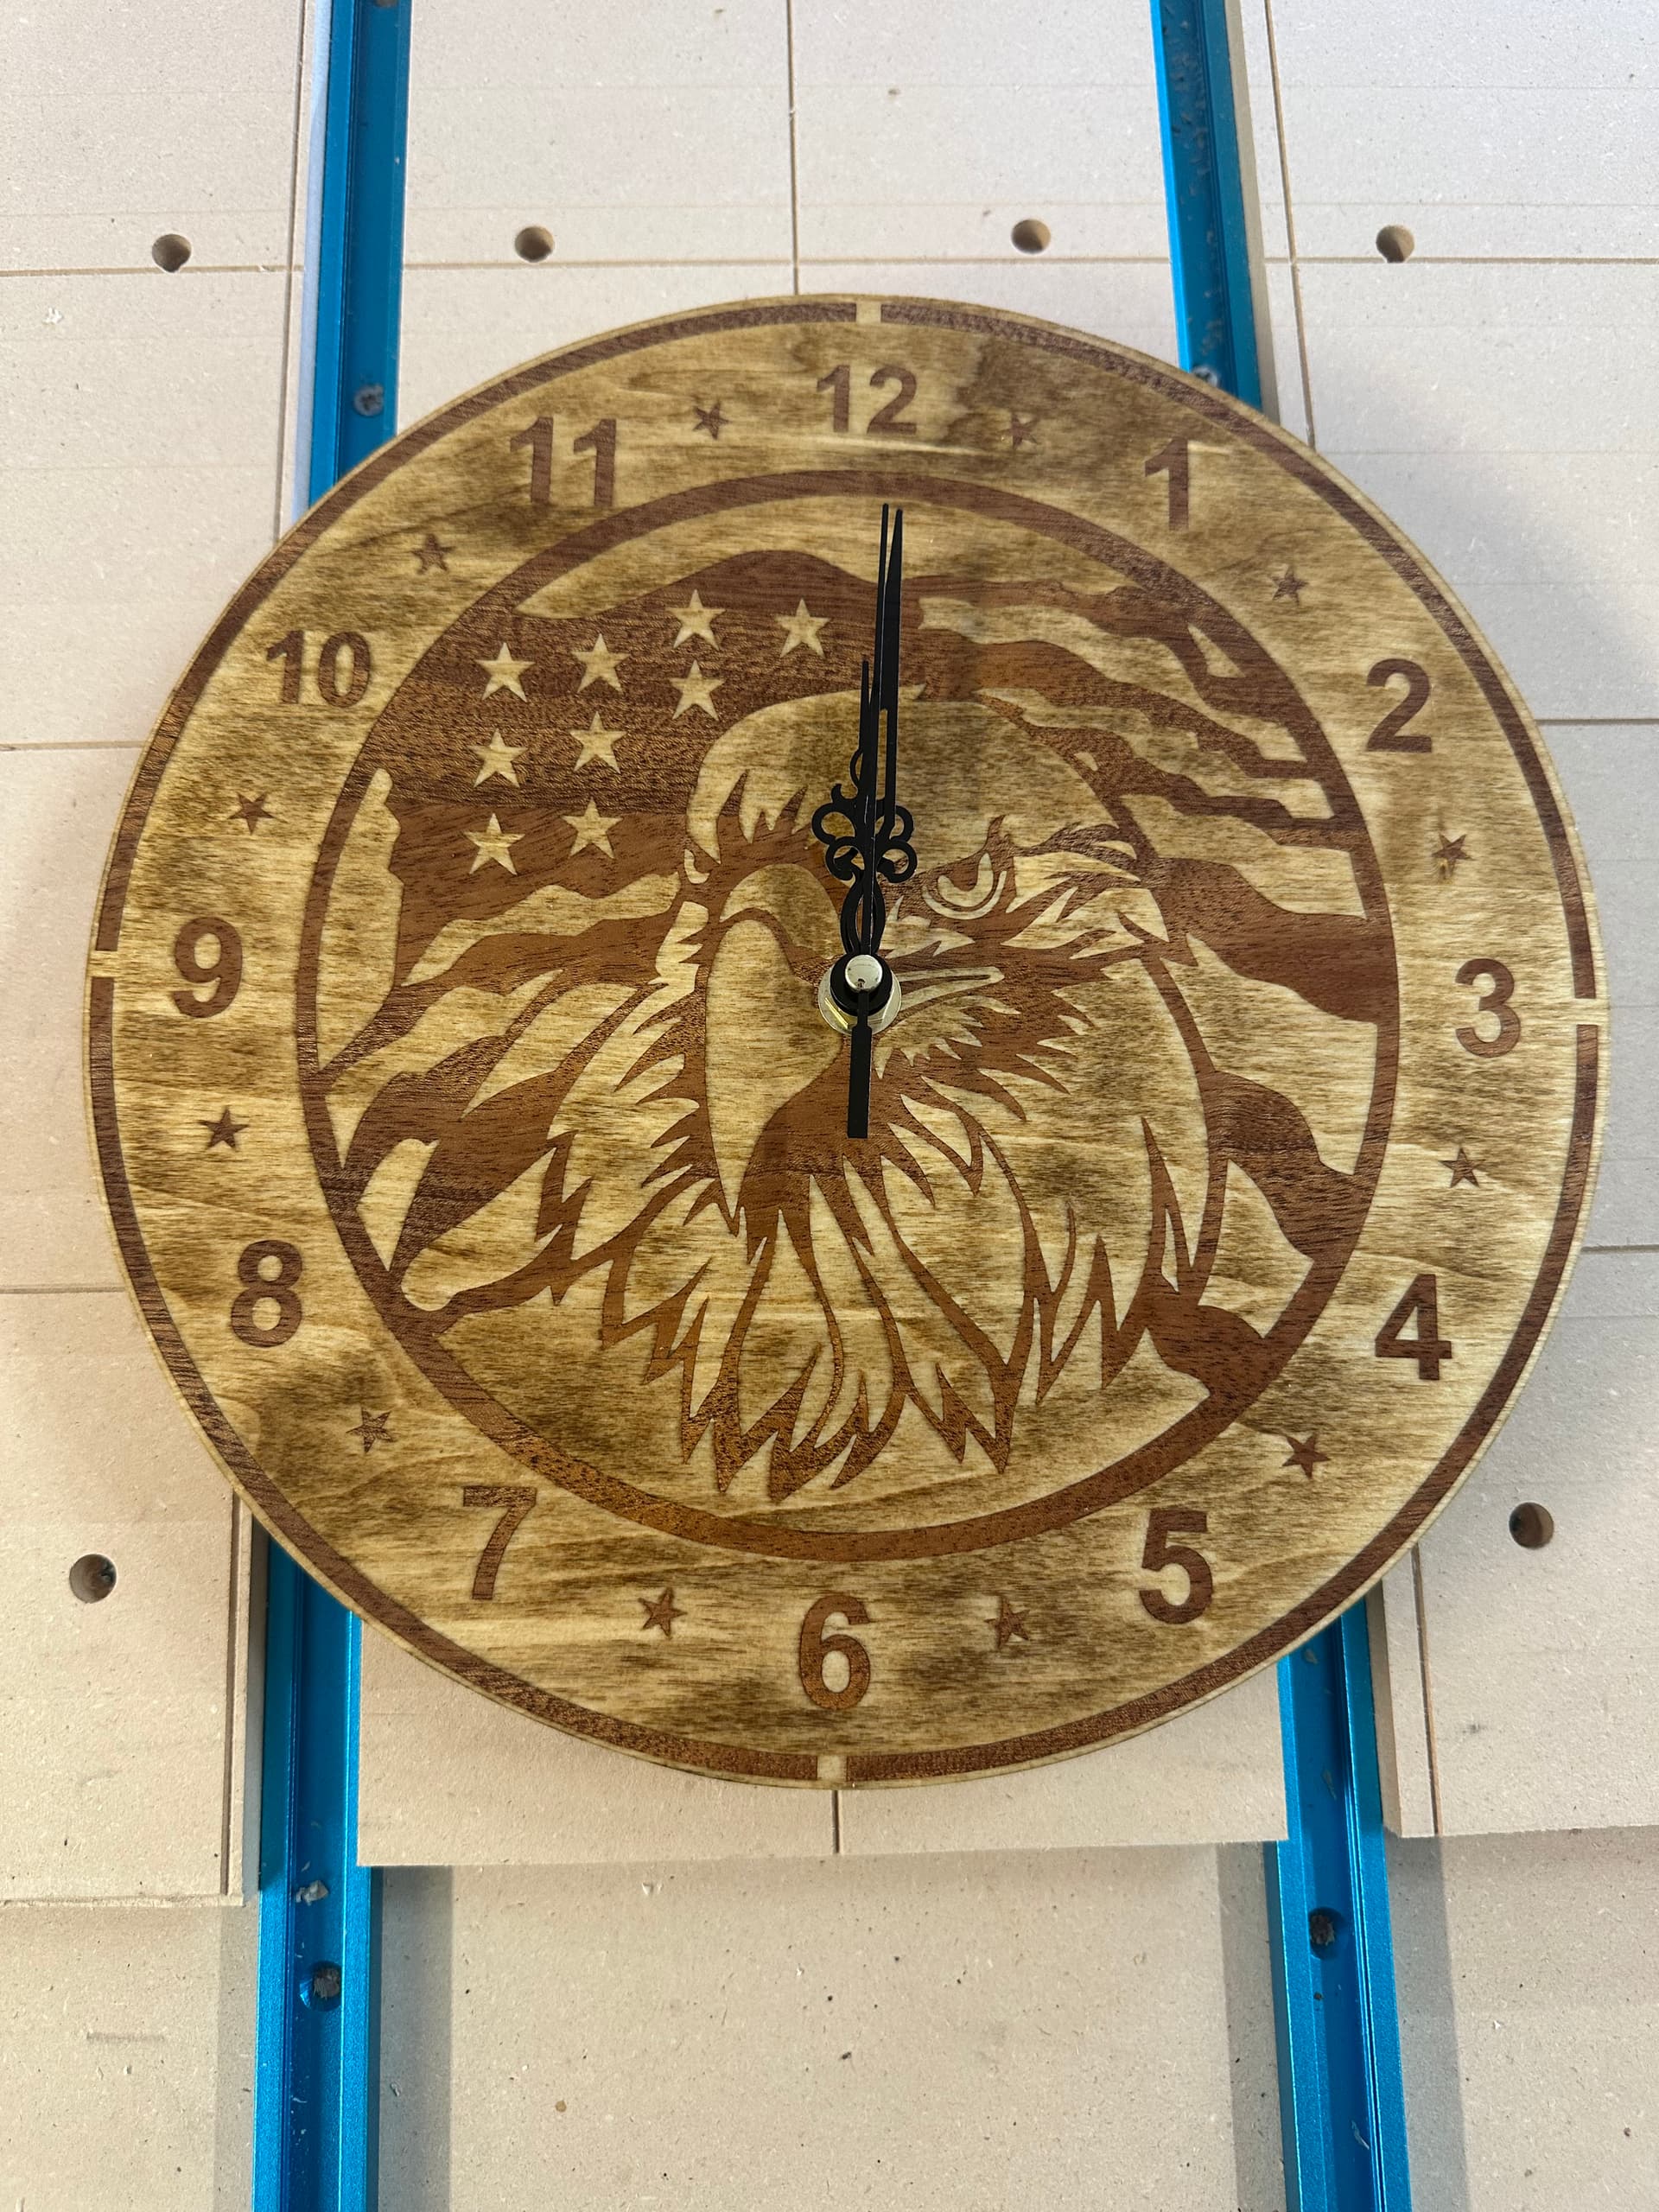
I have completed several small projects on my new Altmill 4x4 including a couple of simple and small (5-6" diameter) inlays. This latest one took two tries to get it right. First one failed in glue-up (I think I had too much glue and it expanded resulting in the male and female parts being pushed apart). This one came out great with the only issue being I need a darker male portion or lighter female to get more contrast.
Base was (I think) maple and the insert was sapele.
This is a fantastic inlay. I get why you would like a bit more contrast, but I just love the fibe you managed to pull off. The clock looks old, weathered, aged by an unknown amount of time. It whispers stories, tales of earlier days when cnc was not a thing one had hidden in a shed and creative people made awesome stuff the hard way.
I love it when a cnc project simply has you question if it is even cnc. It could be painted on, faded over time. The variation in the size of the numbering strengthens the doubt and makes you look closer, twice, question.
I had these questions asked last saturday when I had a display at a craft market, and I take it as the biggest compliment I can get. “Do you carve these by hand?”
No, I don’t agree, that it needs more contrast. This one pulls someone in to look closer and wonder its history, only to be blown away when told it’s just a few days old.
Nice job. The contrast would have been fine if the light coloured piece hadn’t been stained. If you wanted more contrast, I think a clear coat would have been sufficient. But it looks good as is.
Maple tends to be blotchy when stained. Plywood even more so. If I wanted to stain it, I would use a good sealer first and/or a gel stain.
As for the glue up, I’ve never done an inlay and wondered what would be the best glue. PVA glue bonds quickly so you have to work fast. And if you put too much and any excess can’t squeeze out, you will get issues. Anyways, I’ll cross that bridge eventually.
I was wondering about the failed attempt. Did you cut it after it failed to examine it and look for a cause of failure? If both parts were ruined I would slice a failed area on a table saw. Then you should be able to tell if it was the glue or if the male part bottomed out. I think there are benefits to using a 30° or 45° V-bit verses a 60° or 90° but it does increase the chance of the male bottoming out.
If it was because the glue expanded it’s possible that it wasn’t clamped tight enough. I don’t know how you clamp your inlays but I like to use some boards to ‘sandwich’ my inlays. This helps to spread the clamping forces and protect your work. Then I use as many clamps as I can fit.
I think your off to a good start with your AltMill. Your initial projects are more complicated than my first ones for sure.
Thanks for all the comments. Certainly not my first major project with CNC but was the first large inlay on the altmill or my old home built unit. I don’t think it will be the last either!
Michael, I think your correct in the clamping not being adequate. I had used the jig I built based on plans found online. I just isn’t strong enough. That, plus I probably used a little too much glue (Tightbond II). The plug (male) had pushed out and shifted slightly leaving gaps across the face of the clock. I was able to salvage the first one with some dark wood filler and my nephew really liked it so he now has another clock! Second attempt was four large C-clamps and two inch thick backer boards. Worked great.