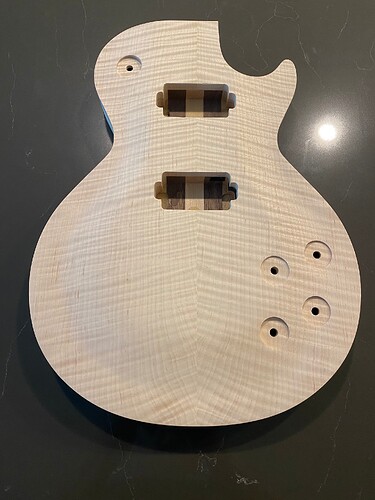
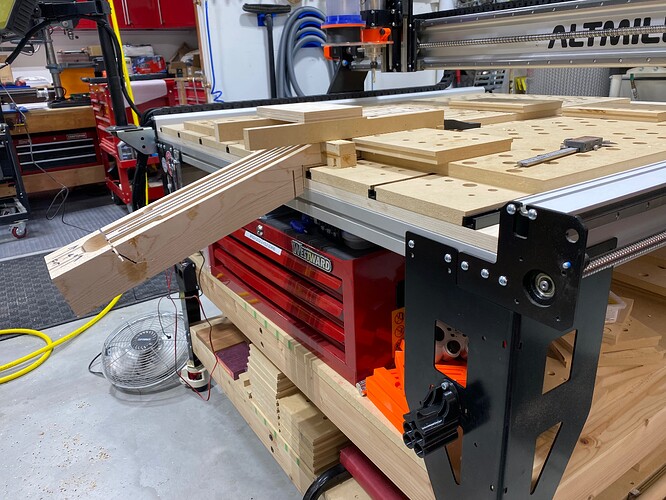
Finished my first project on the AltMill, well 95% of it.
Les Paul Style Carve Top Guitar.
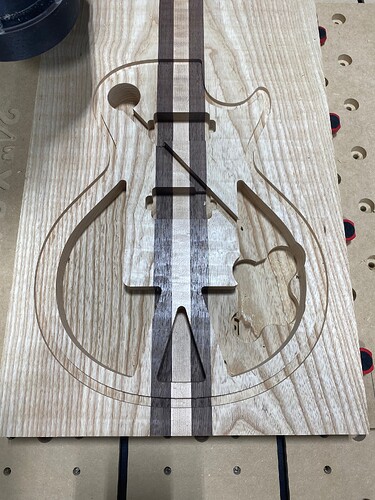
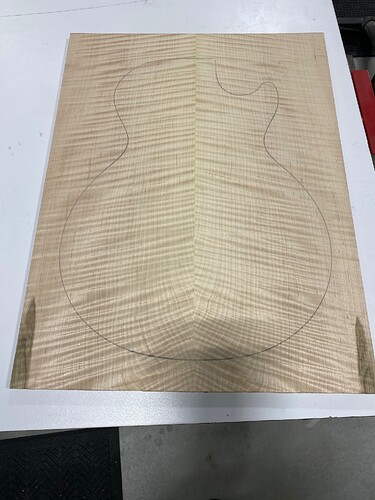
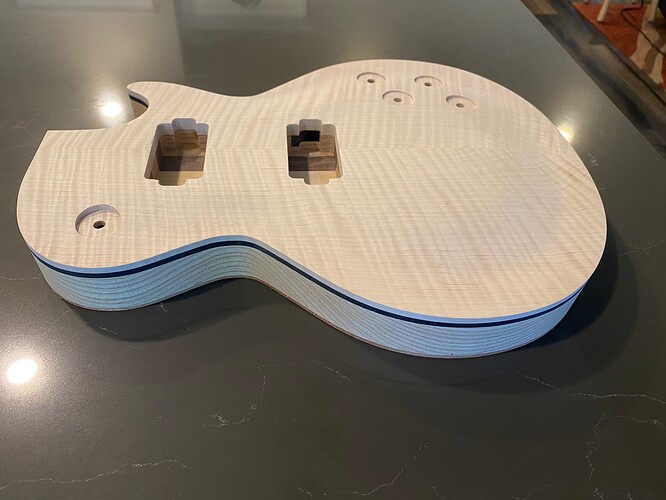
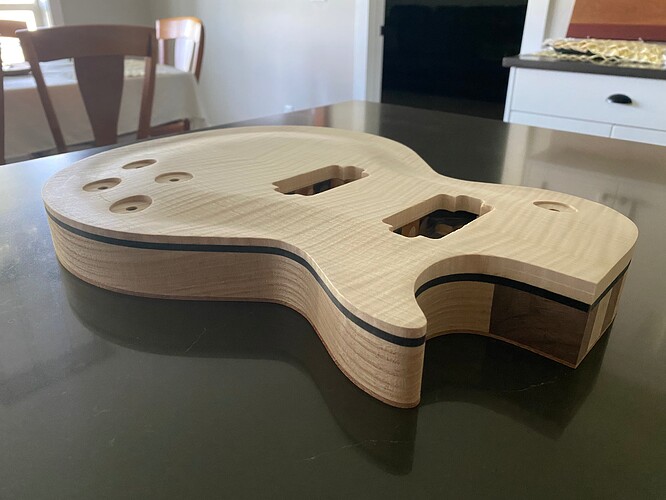
African Mahogany back, white ash body and a curley maple book match top.
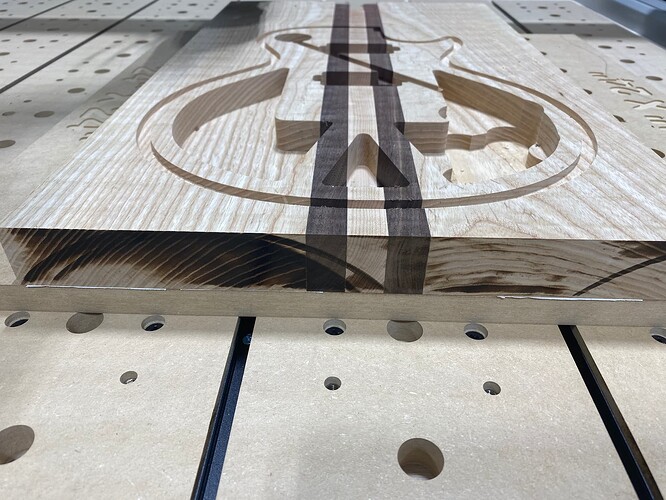
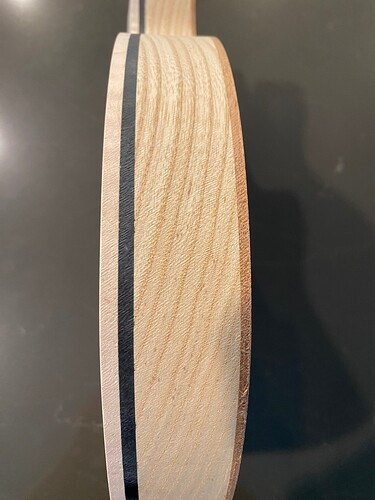
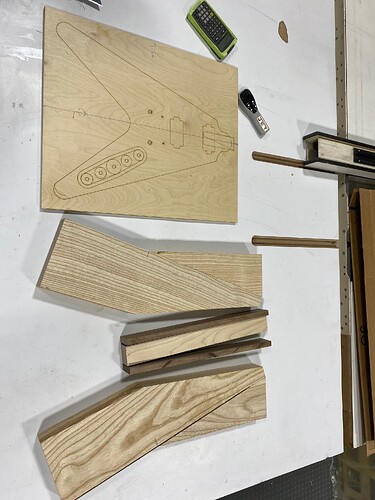
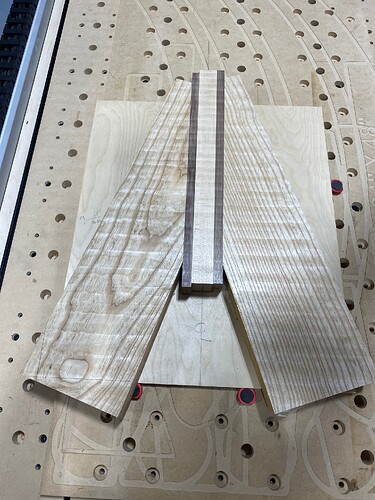
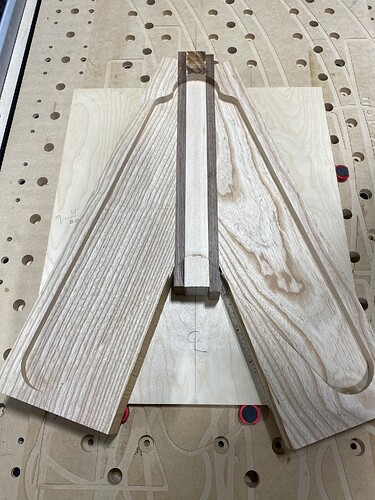
Since the thing was going to weigh a ton, I did some chambering to lighten the load. The piece of ash I was working with was just a little narrow so I added a couple of strips of black walnut and a piece of bird’s eye maple to the center to make up the difference.
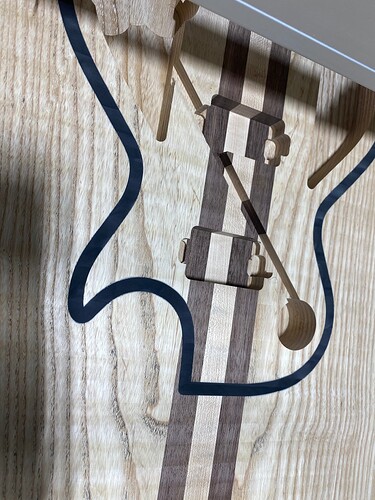
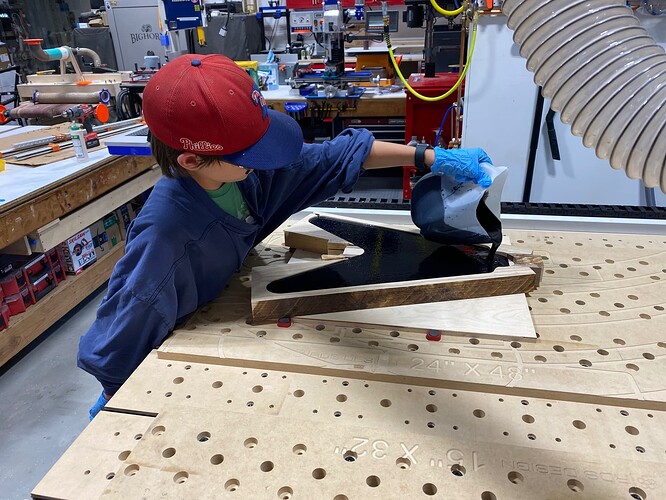
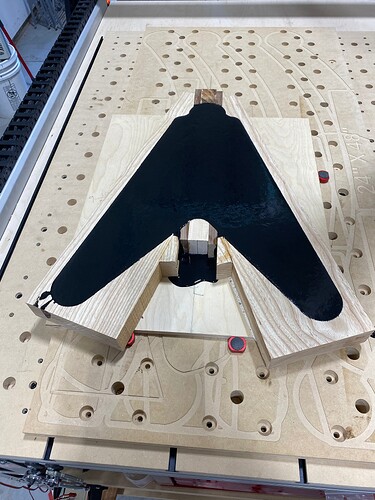
Instead of using a binding, I routed a groove on the outside edge and filled it with black epoxy to give it some contrast. Why, because, why not? I’ve never seen it done before.
Now I really need to buckle down and learn the Aspire platform software. I need to glue up and cut out a neck for this thing.
Before anyone asks, no, I don’t build guitars. This is my first wooden guitar from scratch. I built one guitar from a pre-made kit. It was a 12 string LP style. (I like being different)
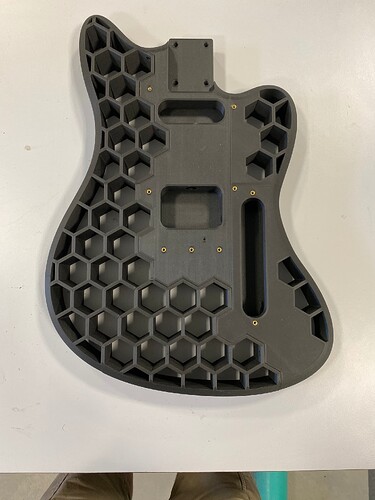
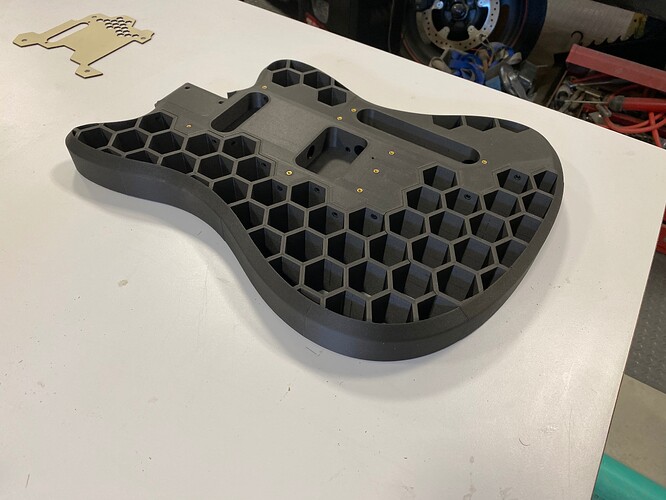
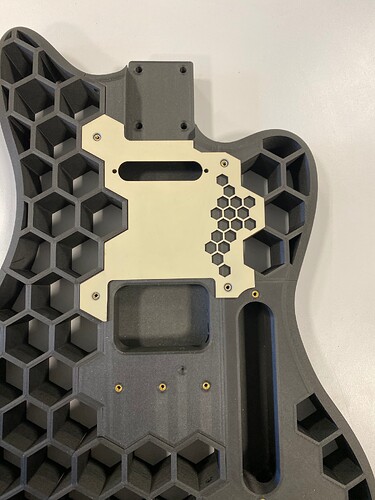
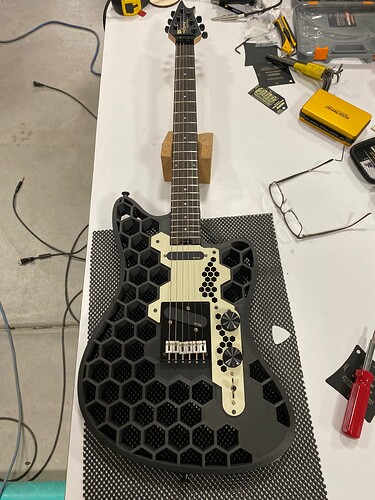
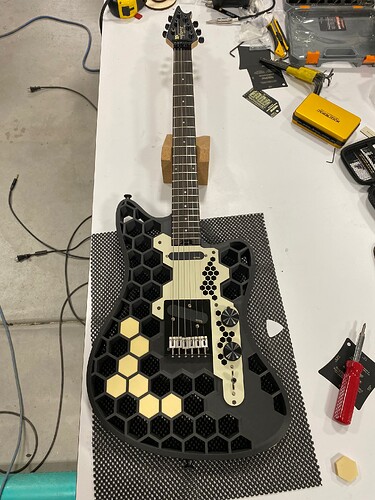
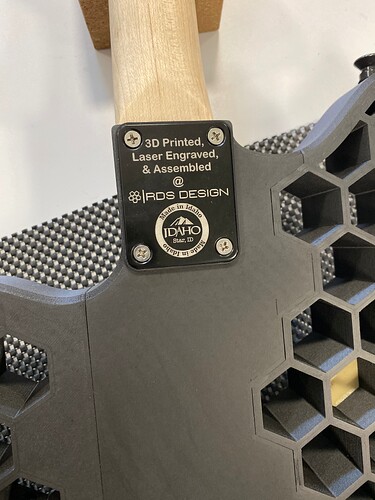
My brother gave me a 3D printer as a gift a couple of years ago. I didn’t really know what to do with a 3D printer, so right out of the box I built a guitar. Skipped all the learning curves and went straight to using a PETG-Carbon Fiber filament.
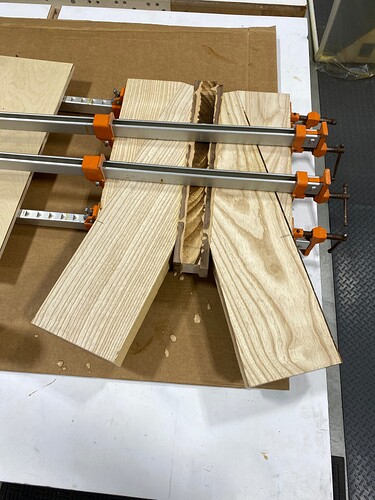
I’ve got the material for a Flying V gluing up on the bench that I will start cutting out next week.
I hope the neck build goes as well as the guitar.
9 Likes
First project uh,? Yeah sure  .
.
Great job and nice looking guitars.
1 Like
Not a guitar builder or player but I sure do like looking at the ones people make! I like the looks of both the milled and the printed one.
Nice work! I think your off to a great start with your CNC.
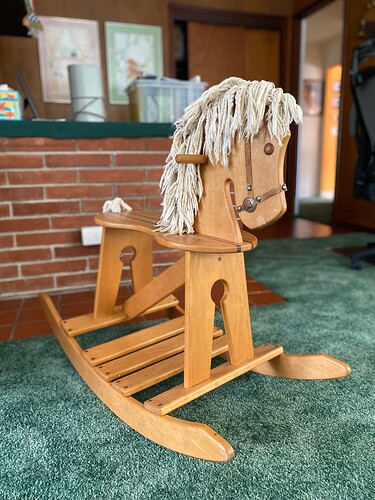
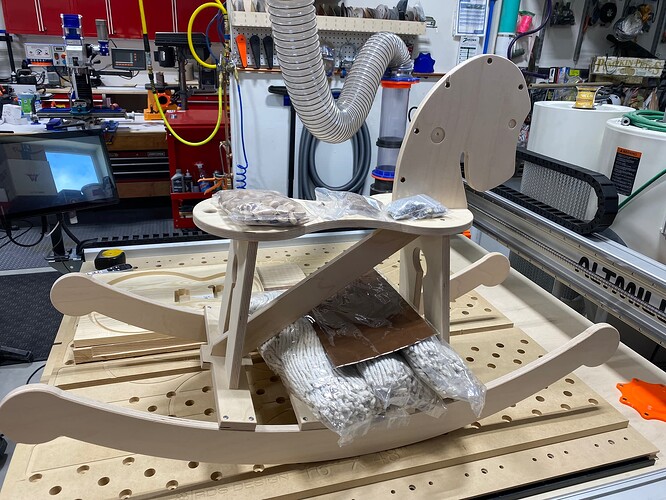
ok, I’ll come clean. While this was on and off the spoil board a couple of times gluing up different pieces, I had Project 1B on the spoil board.
I resurrected an old idea I did 35 years ago, using only a radial arm saw, some sanding attachments for it and a router.
This was the prototype of the 200 rocking horses my wife sold to friends and others by word of mouth… before the internet and ETSY. I made a few changes to the most recent rendition. This rocking horse is 35 years old, been through a ton of grandkids and now great grandkids. It been living at my mother in law’s for all this time. Sometimes it’s been incorporated into the Christmas dinner table as an extra chair
In the new design, all the pieces are tabbed and hidden slotted. (Super tight fit) The holes get pre-drilled and countersunk. I only have to round over the edges and hit everything with a sander.
So, you caught me… 1A and 1B
4 Likes
Finished the neck a couple of weeks ago.
It’s easy to see why 99.9999% of all commercially available aftermarket necks are for Fender bolt in style guitars. I did find one company that would produce a glue in neck for an “SG” style guitar but that is a different animal all together.
I really over did it with the material glue up, but I wanted to make sure I was able to keep things flat and square to the spoil board, since I didn’t know what I was getting myself into. I will go about it differently in the future.
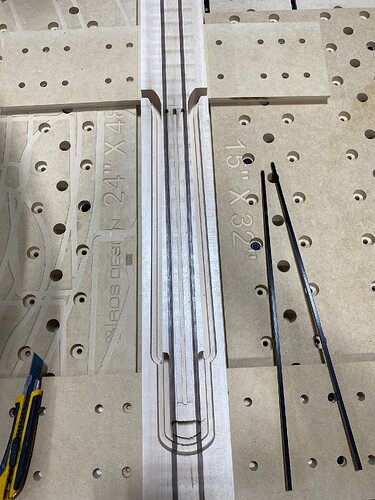
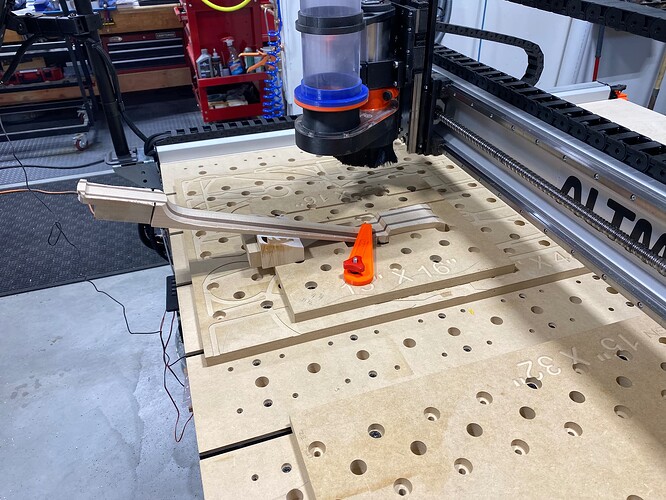
This is the neck roughed out, with the truss rod routed and the channels for the carbon fiber stiffeners.
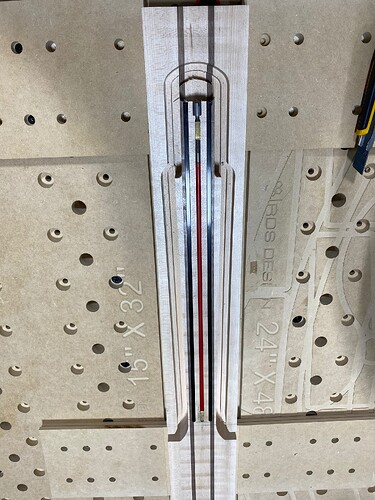
Truss rod and carbon fiber in place.
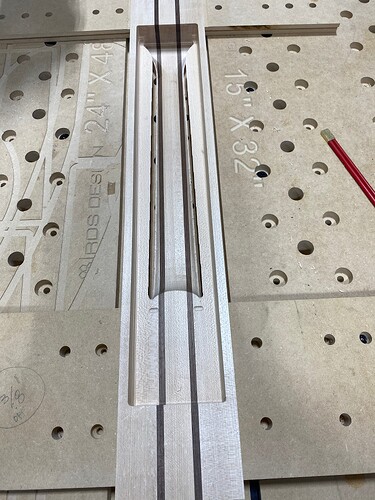
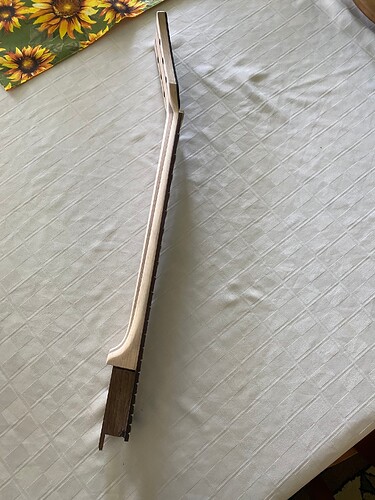
Back of neck roughed out.
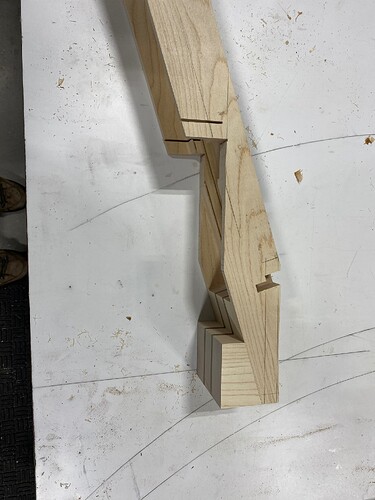
Setting up to mill the front side of the headstock at 17 degrees.
Setup to mill back side of neck.
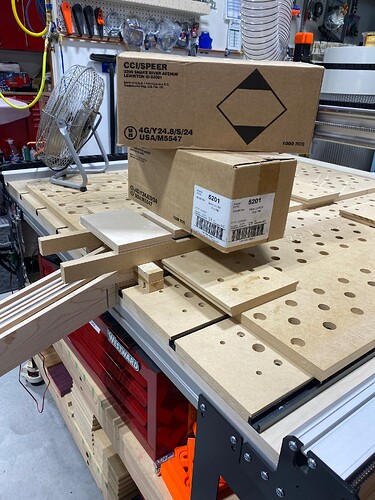
The officially approved method of clamping the ebony headstock veneer to the neck in the State of Idaho… 2000 rounds of 9mm.
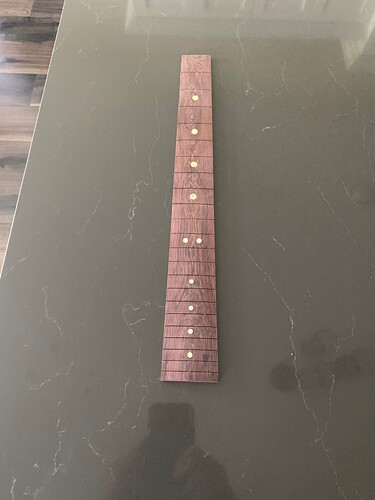
Rosewood fingerboard with polished brass fret markers… that was a chore
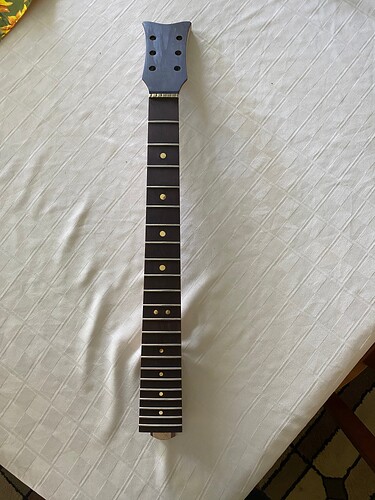
Finished neck…frets installed, frets trimmed, frets leveled, frets polished… Youtube is great.
I’m currently putting a finish on the guitar, check back in a month for the results.
2 Likes
Wow! This is really nice. Thanks for sharing your work. I really like it!
All of this is awesome! Did you create the files for both guitars yourself? I’m really diggin’ that 3d printed guitar. Time to put my printer to work.
The 3D printed guitar was something I saw on Printables.com There are several variations. Some that you can print as a one piece unit, if your print bed is big enough, others that are multiple pieces with fasteners. I used fasteners. (Like 50 of them) The Les Paul was something I picked up on Etsy. I highly modified the body for the cavities and added the resin border. I made my own file for the carve top. The neck was kinda weird in the fact that I never could get it to index flat to the surface of the material. Aspire kept importing into the file at like a 20 degree angle, and I would have to guess when it was flat. (Maybe I was doing something wrong. I finally just hit send and I ended up with a pretty nice neck in the end.
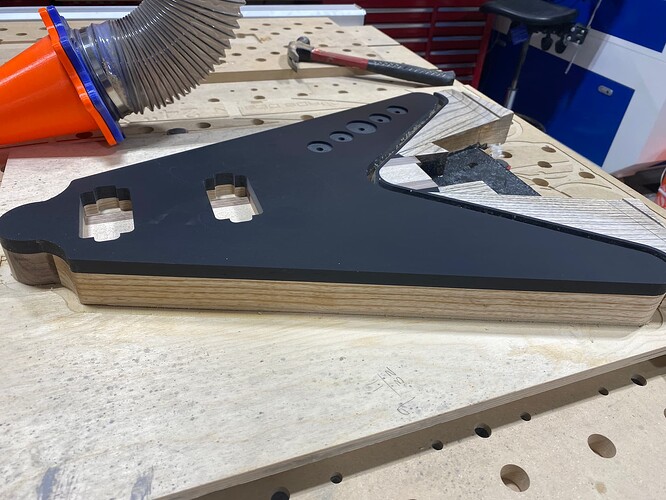
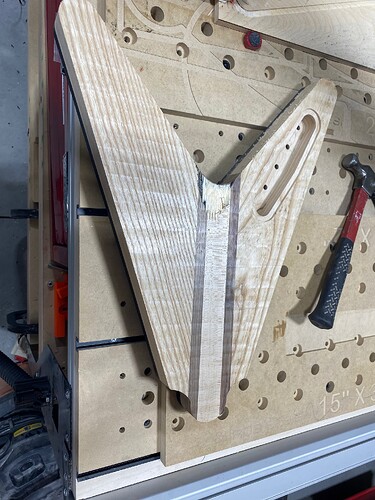
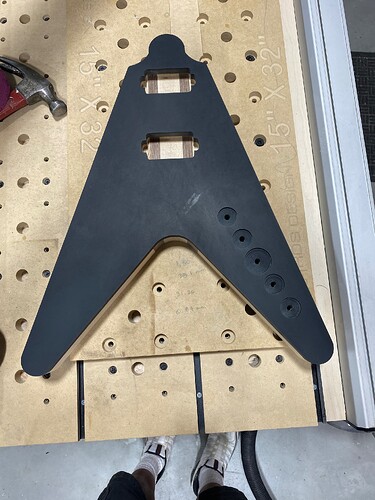
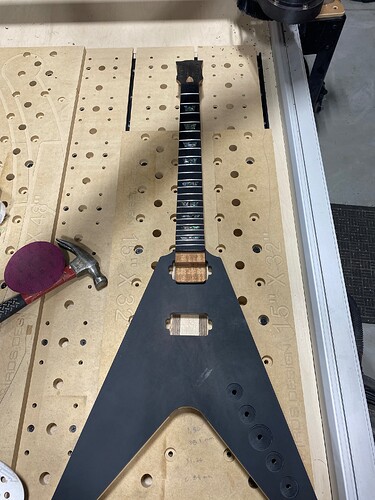
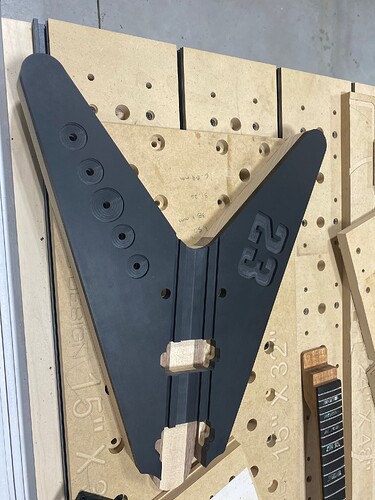
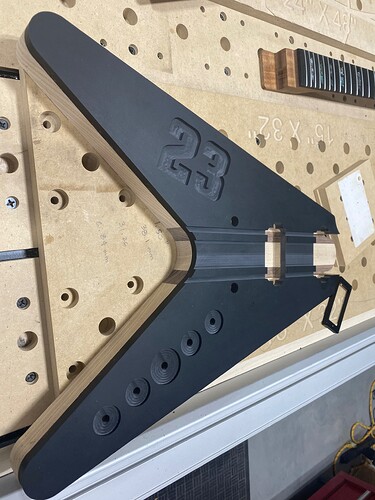
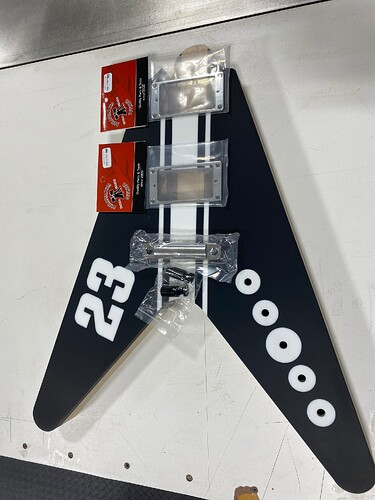
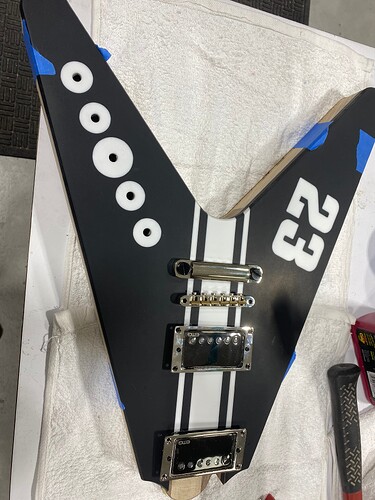
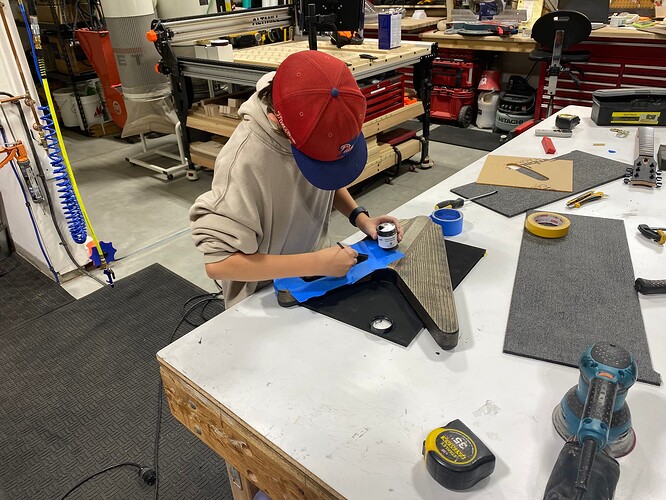
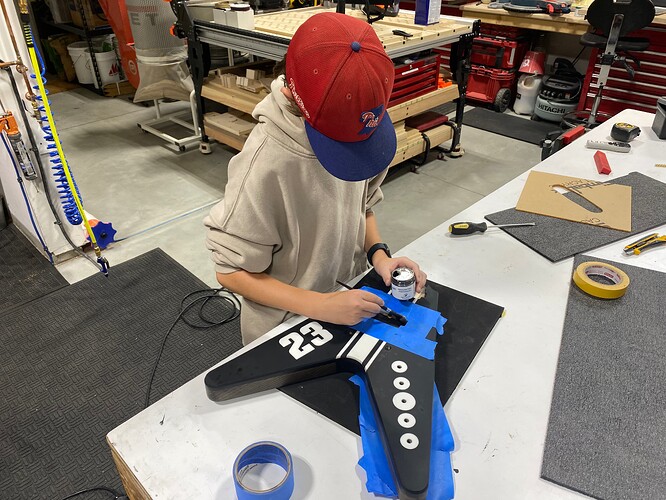
My 13 year old grandson came out to spend a few weeks with us this summer. He wanted to use all the tools in the garage. He ran my 3D printer into the ground. Then we started on a guitar for him.
This one is all my design, inspired by a 1958 Flying V.
Other than the table saw work and some finish sanding, Logan has pretty much done everything on the guitar, so far. I walk him through the process of getting the files into Aspire, he sets all the tooolpaths and transfers the files into gSender. I set the zero and he runs all the processes. We just glued the neck into place before logging on and answering your question. Assembly will probably get completed by the weekend.
4 Likes
I think Logan’s doing some excellent work! He must have a good teacher  I think it’s pretty awesome, the skills you have, and that your passing them along.
Nice work on all fronts.
What a great project to work on with your grandson! and now I’m going down a Prusacaster wormhole…
