@dfrechette As a last shot, if you post the gcode - not a pic of it - I can run it to see what happens. You could also run it in ncviewer.com to see what happens in that visualizer.
Hey Dfrechette,
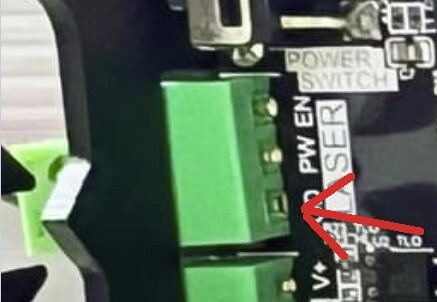
I was looking at the picture of your SLB and noticed what apears to be a unsoldered pin on your Laser connector. Unfortunately the sienci site is under maintenance at this moment, so I cannot look further into how it would effect things. Personaly I feel it should not effect things like it does, but you might want to look into this a bit closer to see if it is indeed an unsoldered pin or not. The picture is just a picture and things might look like somethig they are not.
1 Like
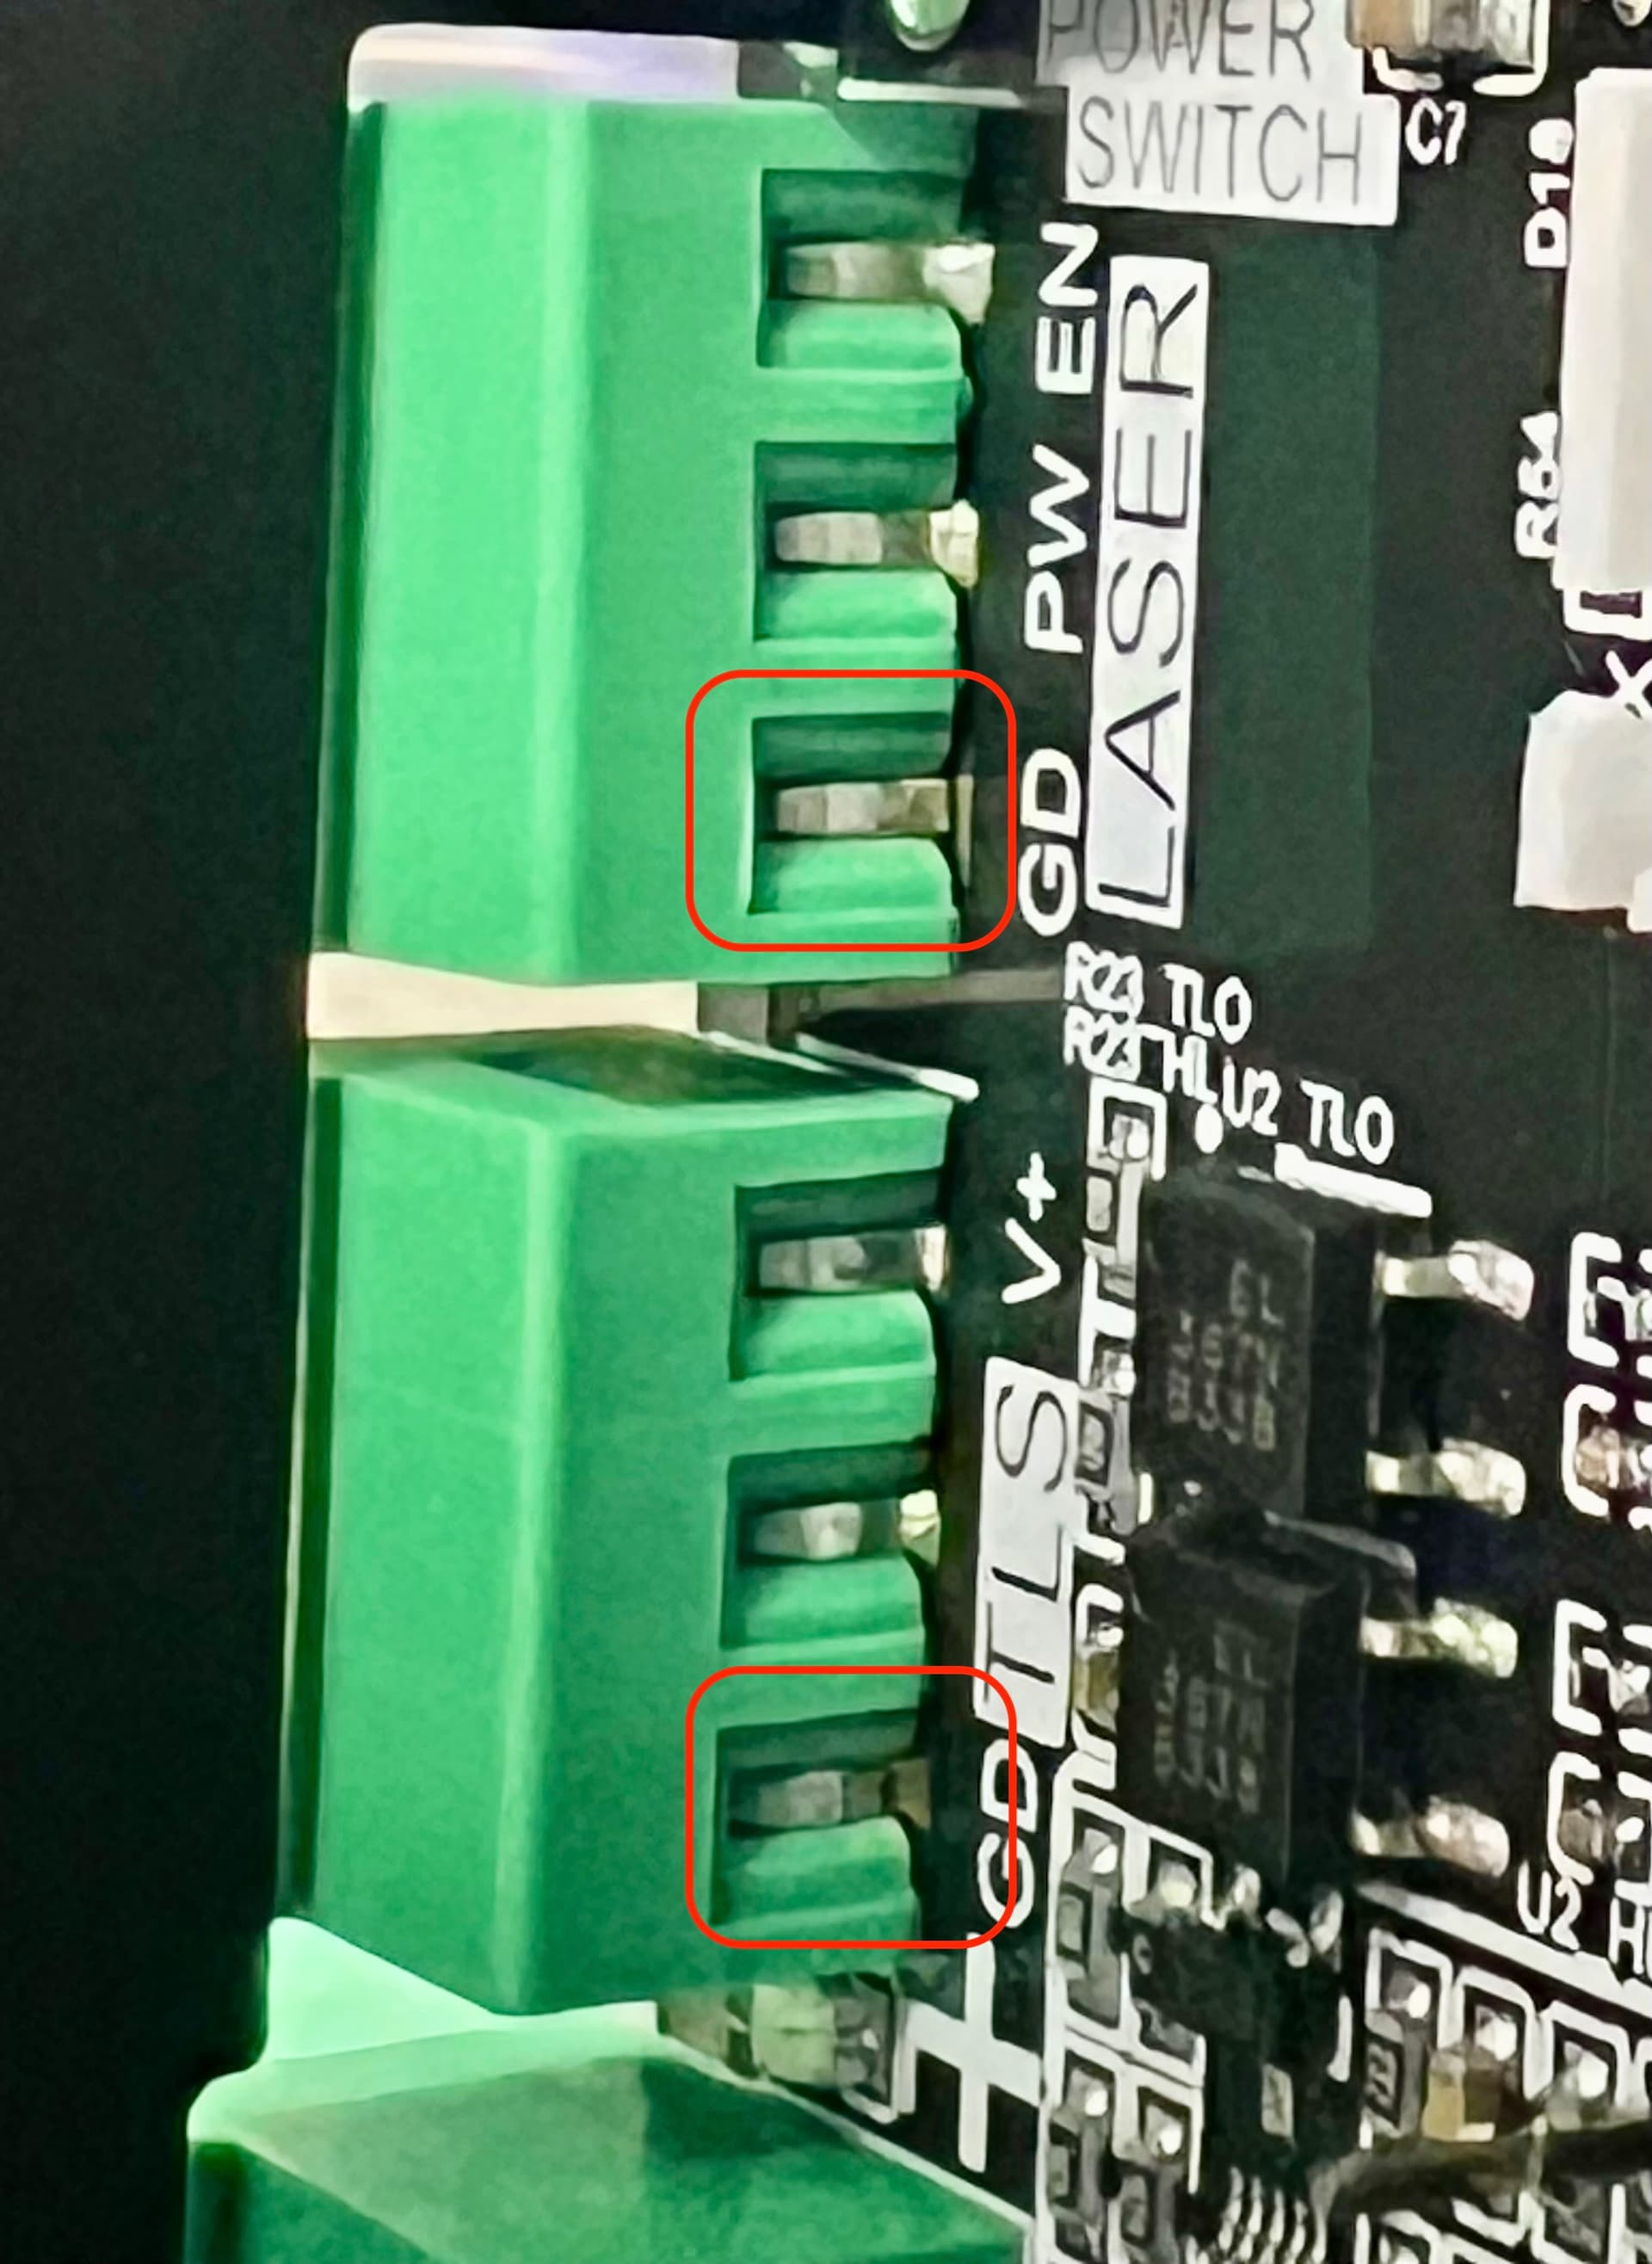
@Spamming_Eddie Wow! That’s an excellent observation — I think you’re absolutely right! Here’s a closer picture for reference:
I’ll test it tonight with my multimeter and let you know the results. If confirmed, it means that many other pins may not be soldered properly. In fact, this may help explain why my IoT switch and the E-Stop are behaving erratically.
1 Like
I wasn’t sure about the second one, but saw that one deviated a bit aswell.
The trough hole connectors are soldered with a seperate soldering proces. In low batches it will be done by hand, but by the looks of it these been soldered by a gulf or selective soldering machine.
It might be that the machine was low on flux or the bath/fountain was running out of solder. In both cases the risk of multiple bad flows on the tht connectors is there, especialy when a pad has some mass behing it, like the two we see here that are bound to ground. They need more time to flow.
You should def check all of the through hole solderings. Maybe even alert Sienci that they might have a bad batch on their hands or even a structural process error. These problems have the tendency to be present on multiple boards when a process moves away from ideal conditions.
QC might want to include a check on these solderings.
1 Like
@dfrechette @Spamming_Eddie I’m going to follow this for my education. While the bad solder joints may cause a problem, I can’t see how it can cause this particular problem. As I understand the problem, the laser burns one leg of a square, then stops moving. If this issue was with the laser, I would think that the laser would stop firing, but the machine would continue to run the gcode.
2 Likes
@Spamming_Eddie @gwilki, over lunch I disconnected the SLB, removed both ends of the enclosure, and tested each connection for continuous current with a multimeter. All seem fine, including the ones we suspected were faulty. I will put everything back together and contact Sienci Support for further assistance. Thanks for your help.
2 Likes
Hey Gwilki,
Though, I’m with you on that it’s unlikely that this shouldn’t cause the weird problem, I will not totaly dismiss it. I suspect the laser unit to have multiple pathways that could serve as a way to sneak currents down. When the easy gnd pathway disconnects, a provided voltage may find other, less obvious pathways to wiggle a current down. Especially when multiple gnds from different power sources get tied together.
You can work in electronics for decades on the same product and still get a scratchyhead on how something you think you know inside out does something you have never seen it do before.
With Electronics, it’s a given that unlikely things will happen.
2 Likes
Problem solved!
Kelly at customer support sent me these instructions:
- Open the firmware tool. Ensure you have the correct machine profile selected in the drop-down menu. Users with the SLB or SLB-EXT will choose their machine version and size (I assume you have a LongMill MK2, so choose the one that matches your size) Click ‘Restore Defaults’ in the bottom right column
Click Yes to restore defaults
Once complete, turn off the controller using the power slide button to enable all settings. Turn on the controller and reconnect.
2. Could you set up the gSender settings again following the steps here? gSender Settings - LaserBeam Make sure you are in the SLB/SLB-EXT tab of the page.
3. Plug your SLB and laser power directly to outlet, or at least to a power bar instead of the IOT relay. I just want to make sure we eliminate as many variables as we can.
4. With the IOT relay removed, could you run the g-code file without the laser powered on (unplug the power for the laser)? And then run the g-code file with the laser powered on, just to see if the machine disconnects?


The 3 key changes that made the difference were:
- Restoring the default firmware settings – Resetting to the original settings resolved any misconfigurations.
- Maintaining correct parameter values – For the SLB, it’s essential to keep these settings unchanged:
- $30 = 24000
- $31 = 7200
- $32 = Normal
- Direct power connection – Connecting both the SLB and the LaserBeam directly to a power outlet, instead of using an IoT Relay, ensured stable power delivery.
After making these adjustments, everything started working perfectly! I can now run G-code successfully.
2 Likes
Great work Kelly! Thanks for returning to tell the story. Who knew restoring settings could make that bigga difference. I need to somehow remove that -Never do this- sign I have mentally put up, out of fear it might brick my controller.
Me doing software things aways ends with someone saying..

Anyhooo, I’m happy that yer troubles are traversed and you finaly can get to the good parts of owning the laser beam. It’s a nifty machine. It has it’s quircks, sure, but ooooh it can do things too!

2 Likes
@dfrechette Kelly’s the best and came through again. I apologize for all the wrong information that I provided. I must admit to being completely confused now, but that is not important. I believe that I will open a new topic to discuss the settings that you are using. They are not even close to mine.
Have fun with your laser.
2 Likes