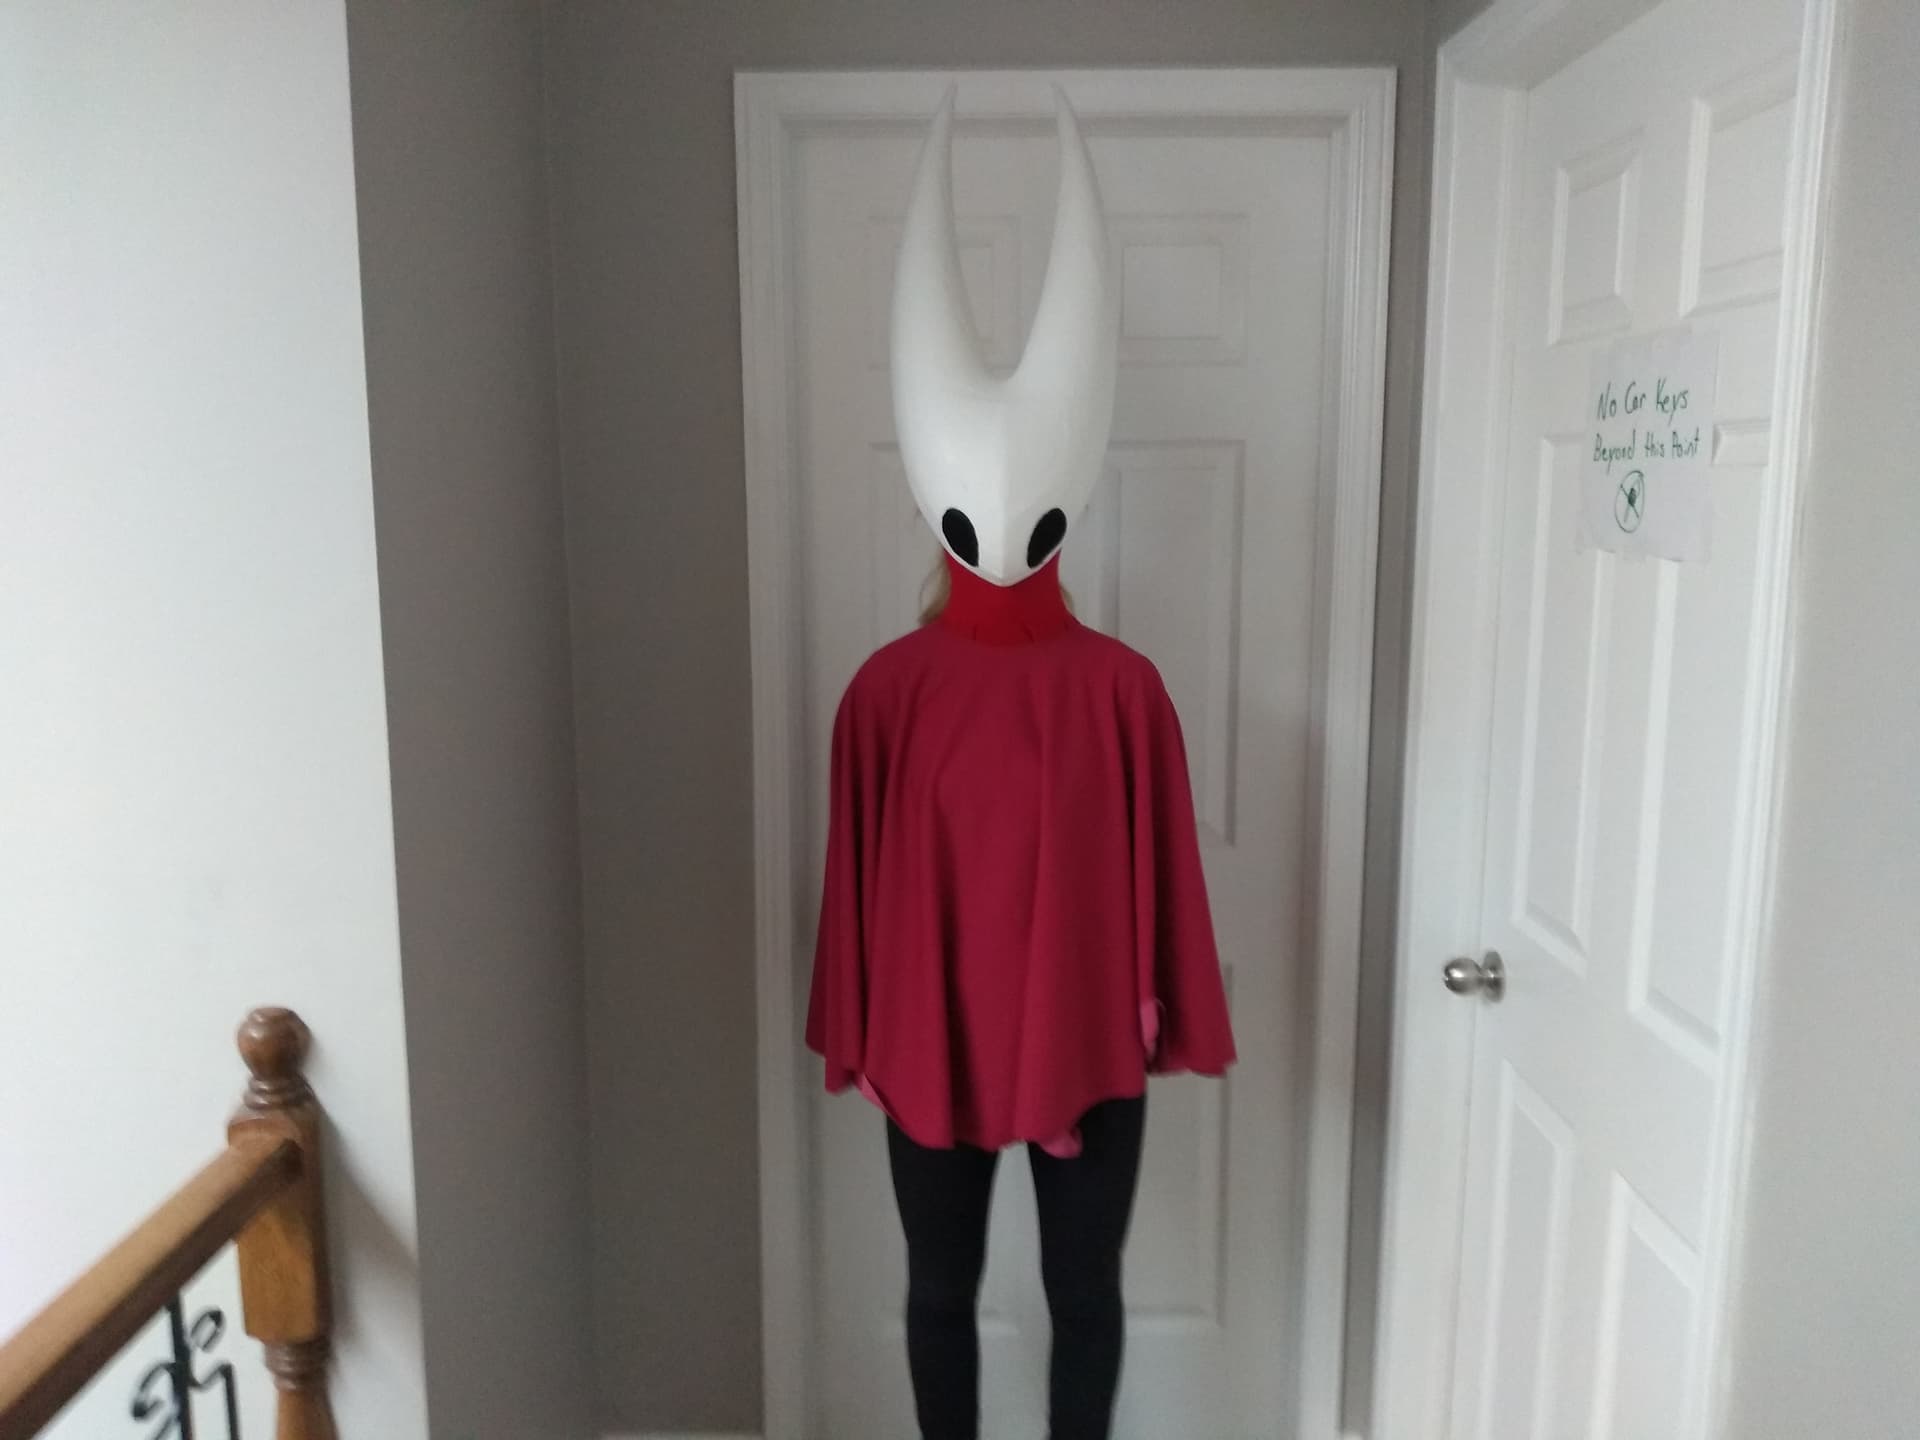
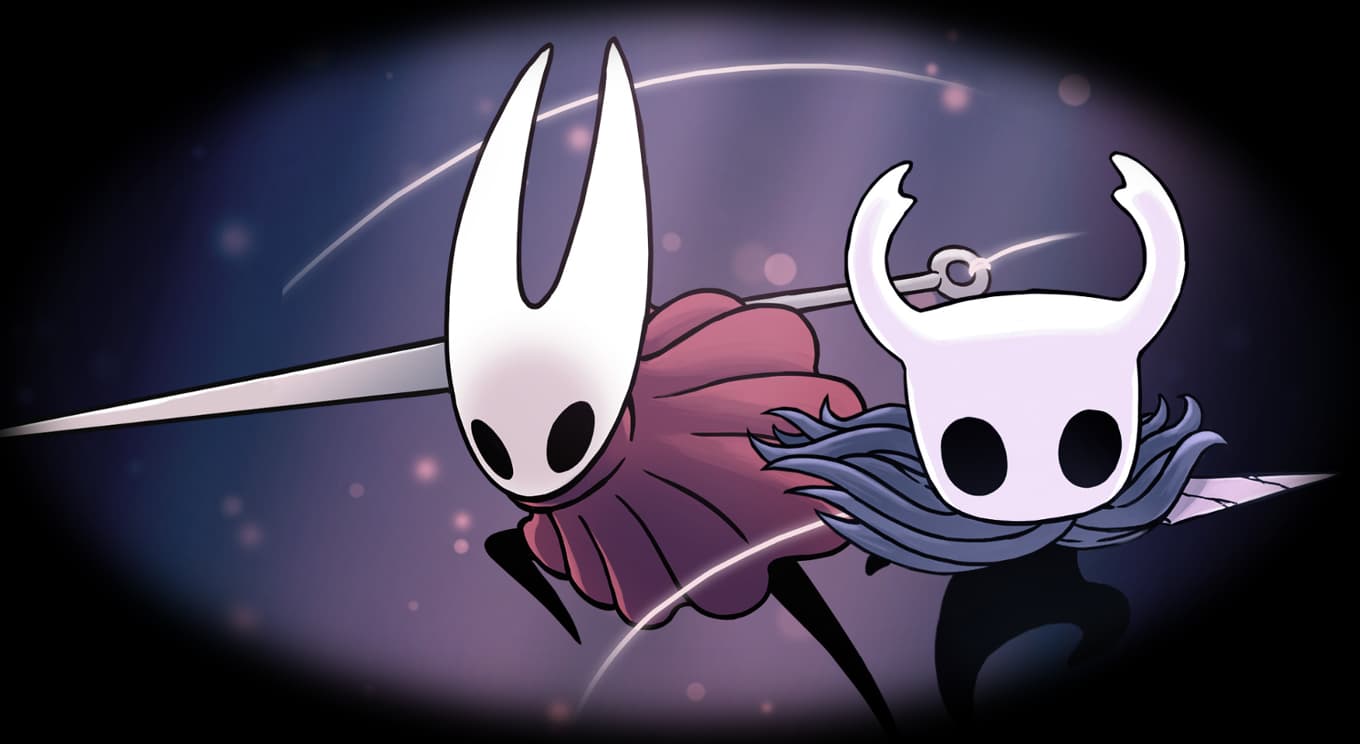
My sister managed to convince me to cosplay with her for Ottawa Comic Con which is happening this weekend. We decided to go as the Knight and Hornet from Hollow Knight, a game we both thoroughly enjoyed.
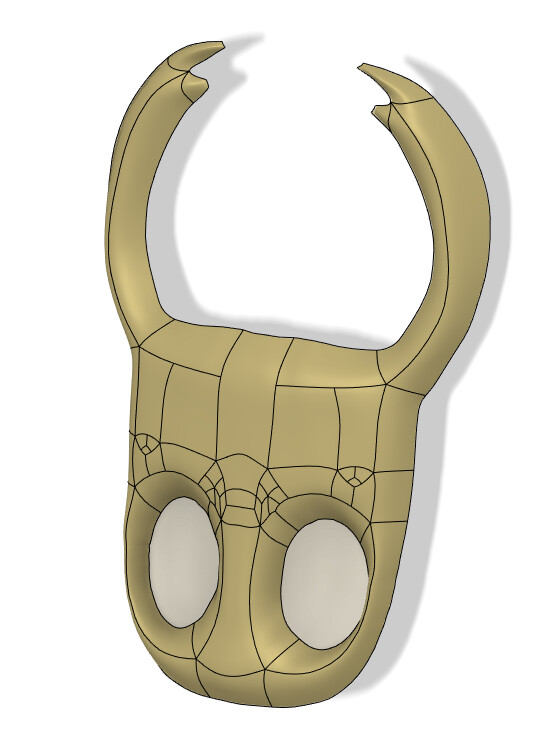
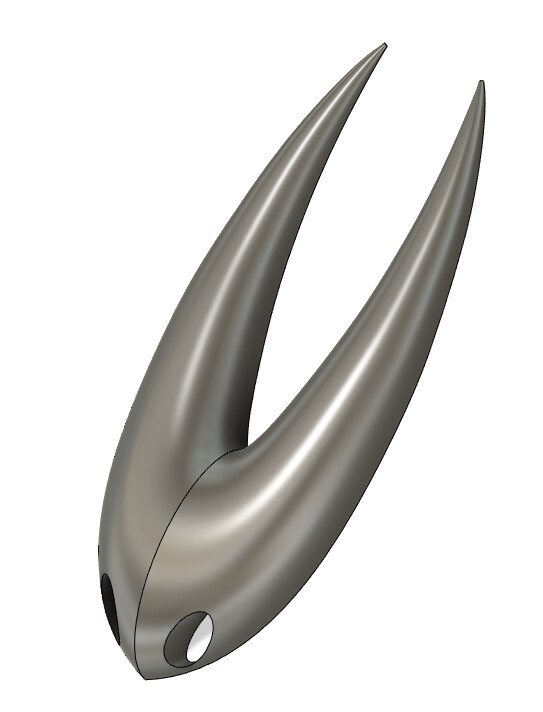
The models were designed with Fusion360, the Knight’s mask was done using the form tools (a workflow entirely new to me) while Hornet’s mask was done using some good ol’ sweeps.
To cut them out, some adaptive cuts with a 22mm surfacing bit were done to clear out the bulk of the material, followed by a scallop operation to finish them off.
On to cutting out the masks, the masks were made out of styrofoam project boards, which are dirt cheap at roughly 0.50$CDN per board foot at Home Depot. The project boards were glued together with some wood glue (more on that later) and cut out on the machine.
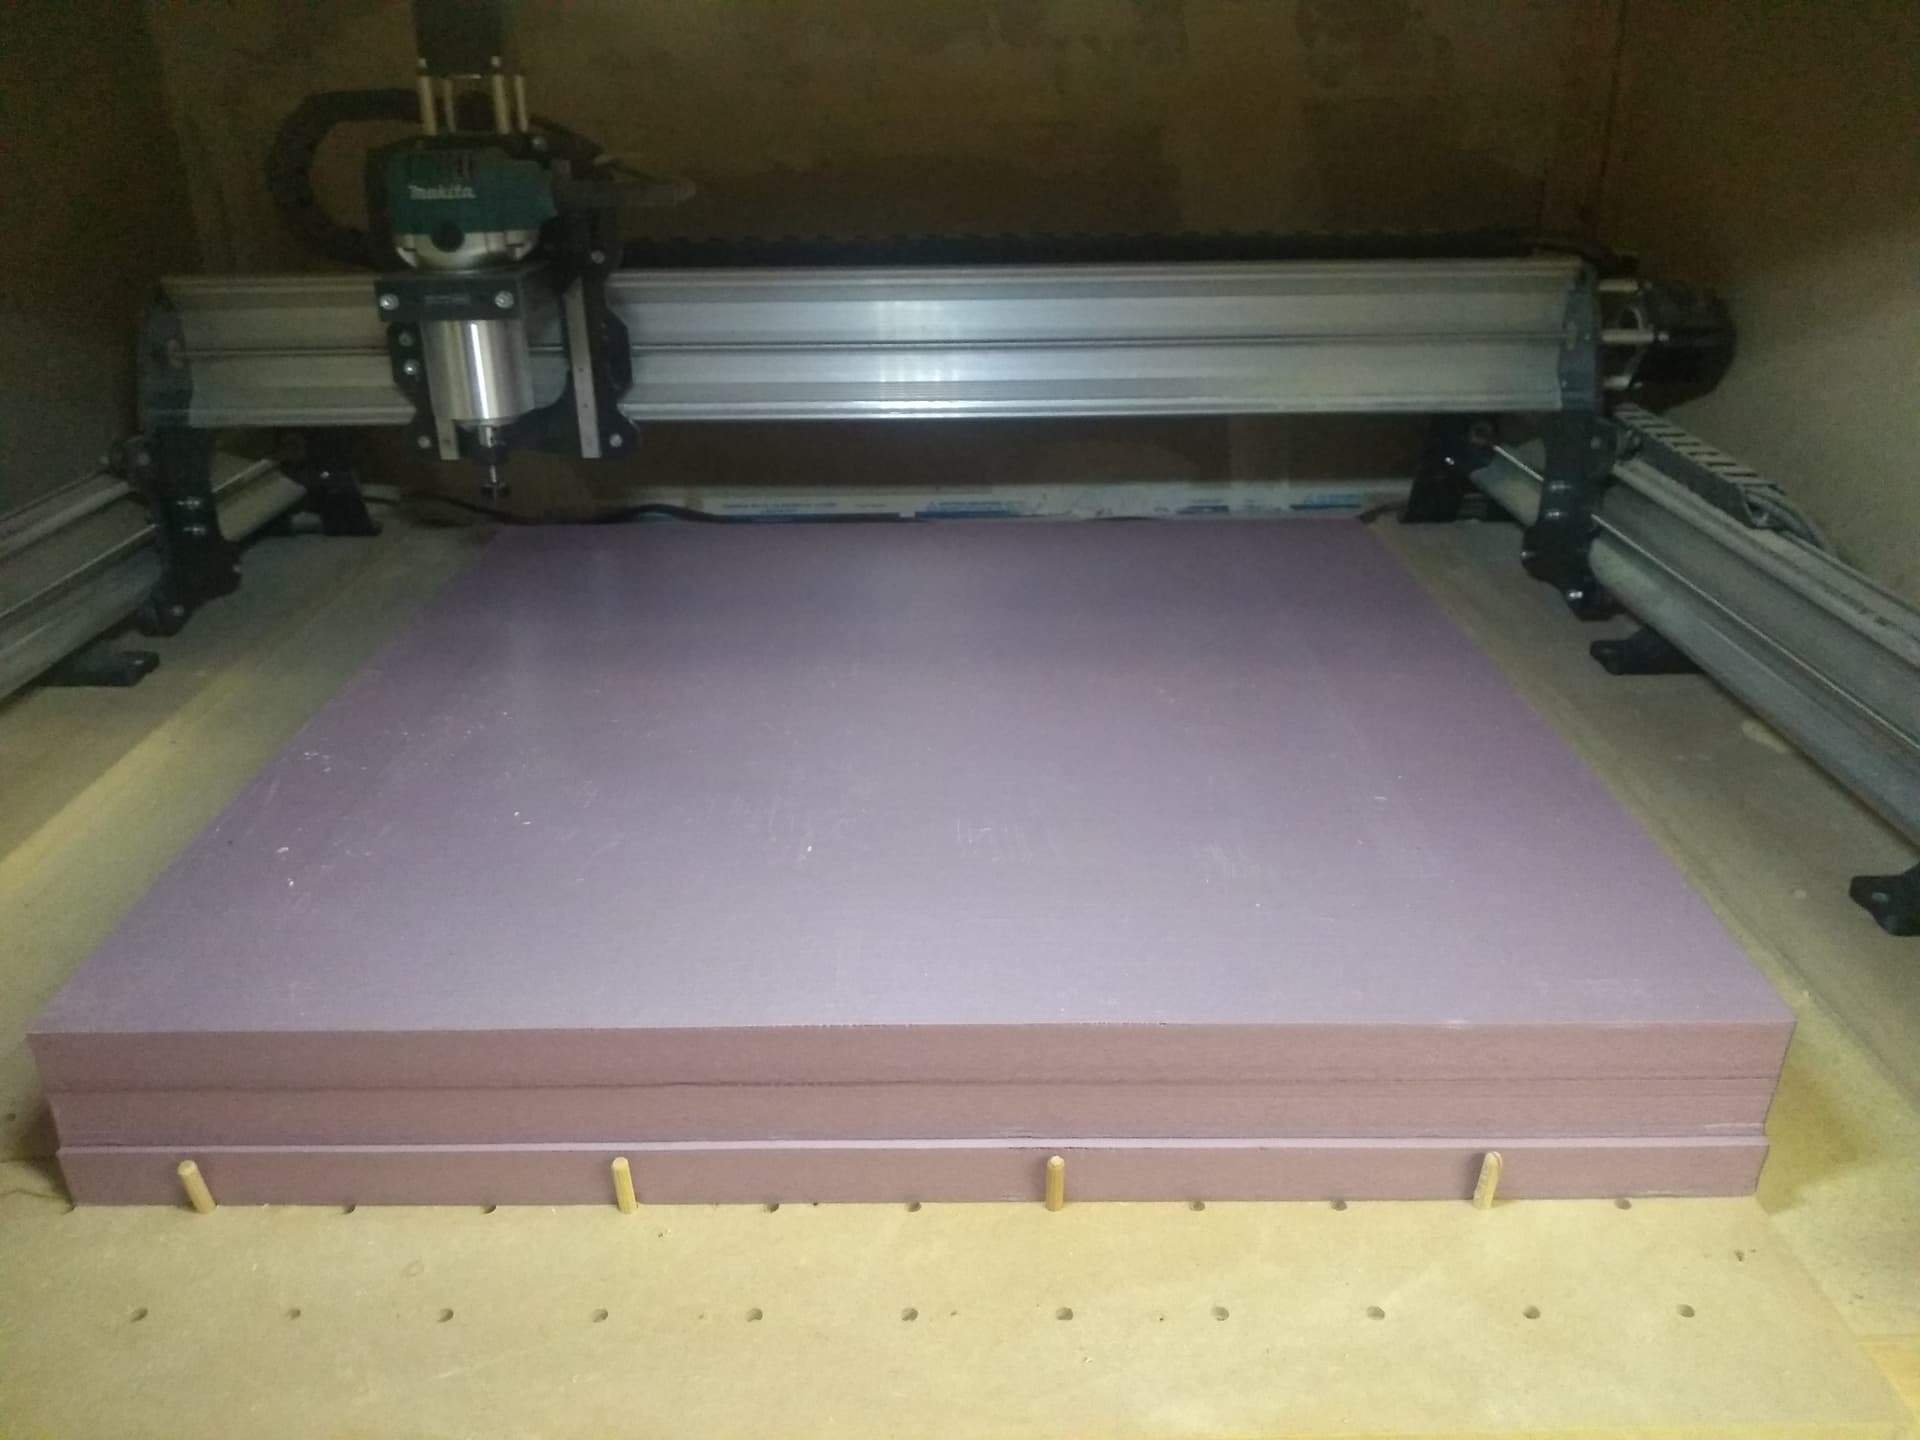
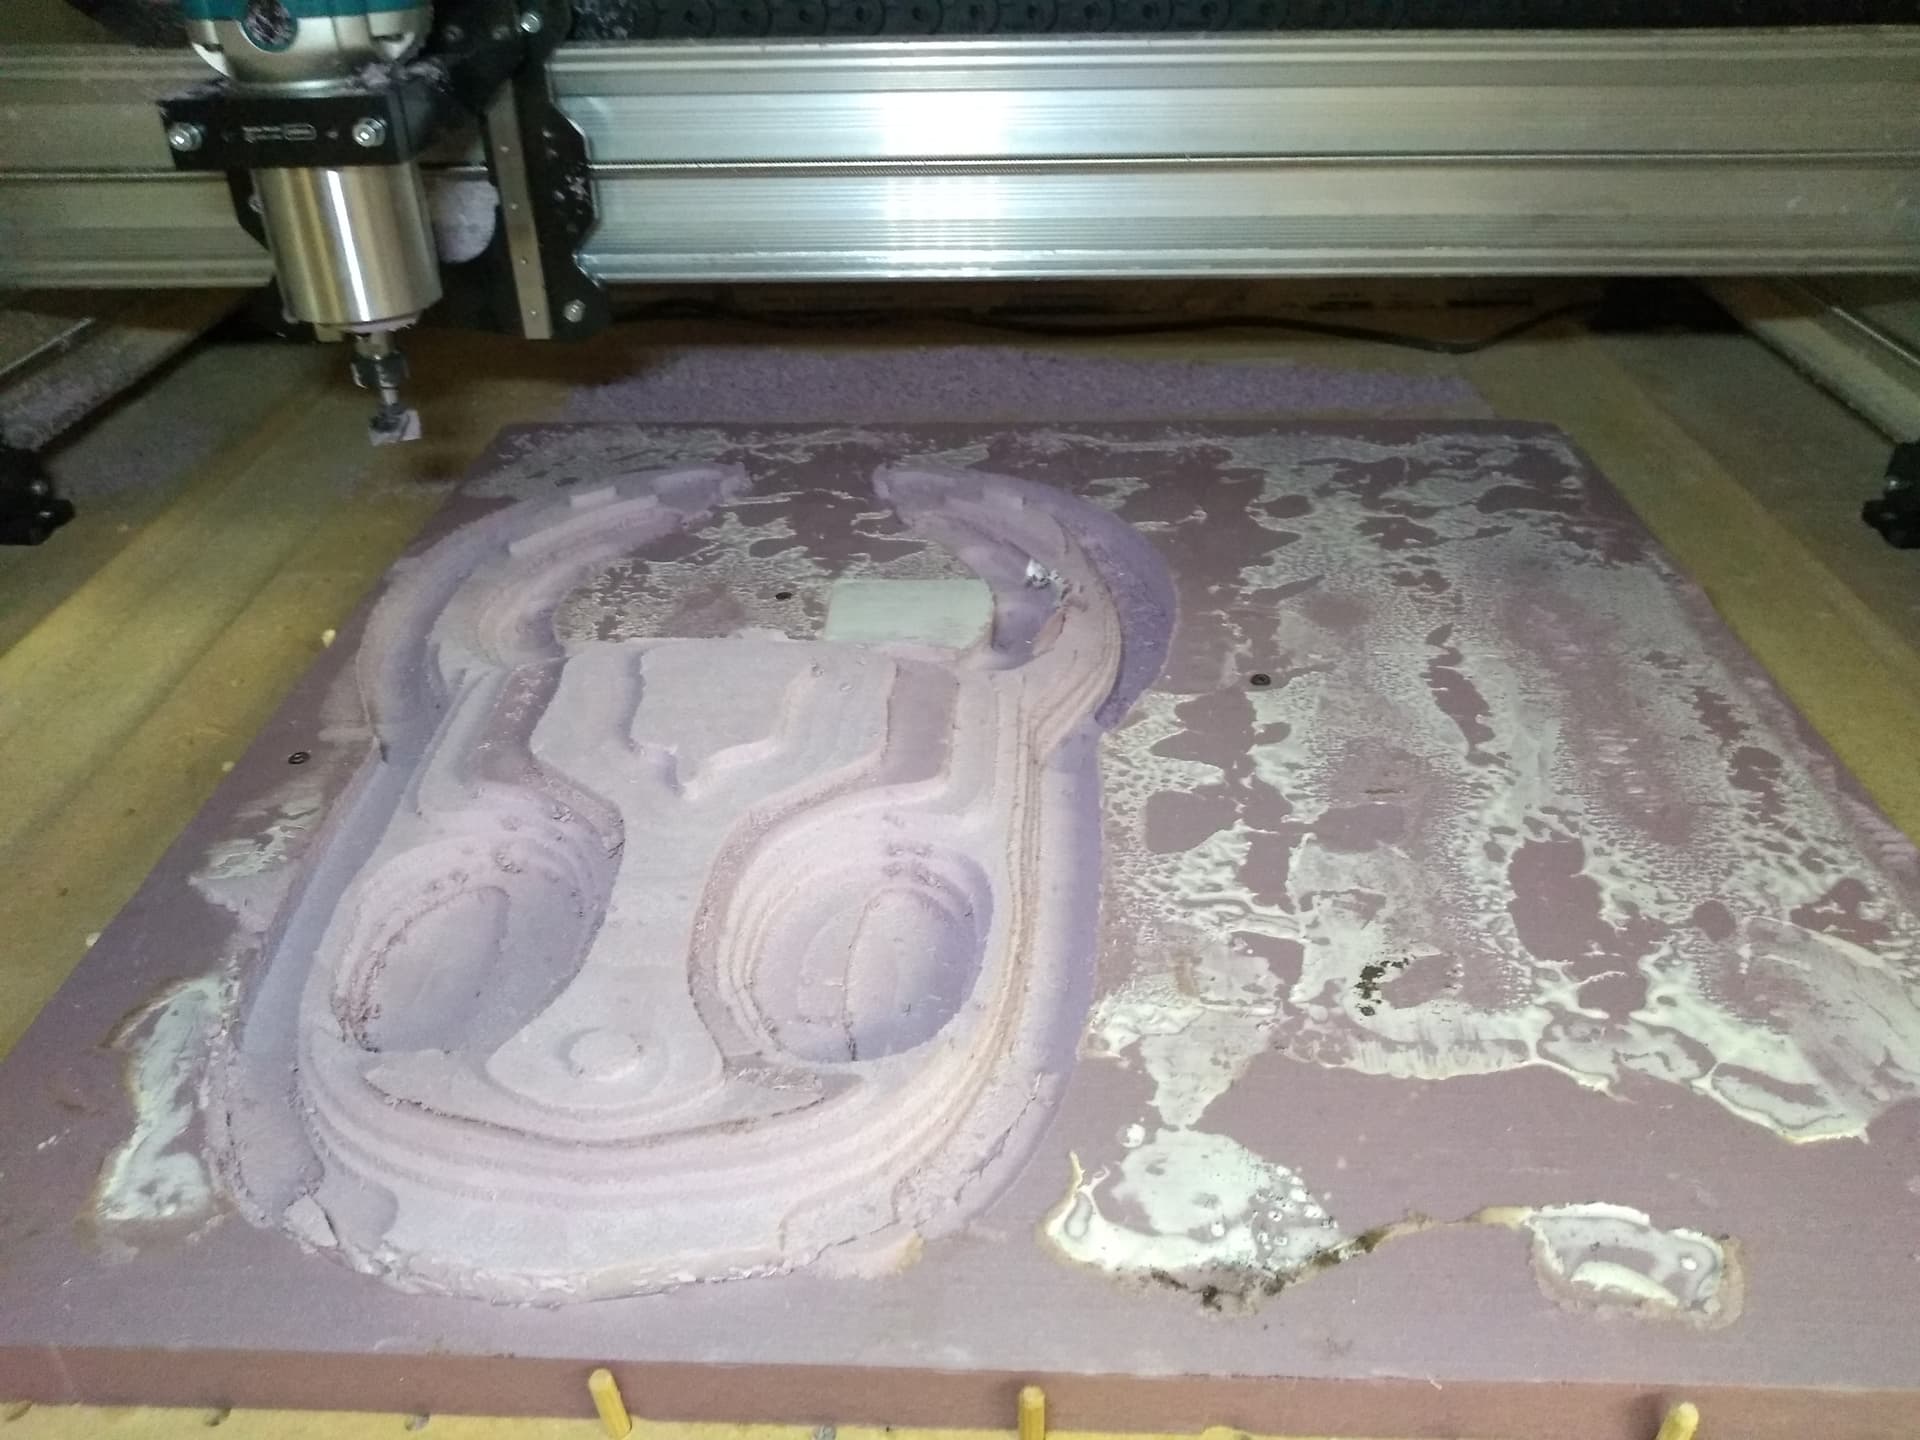
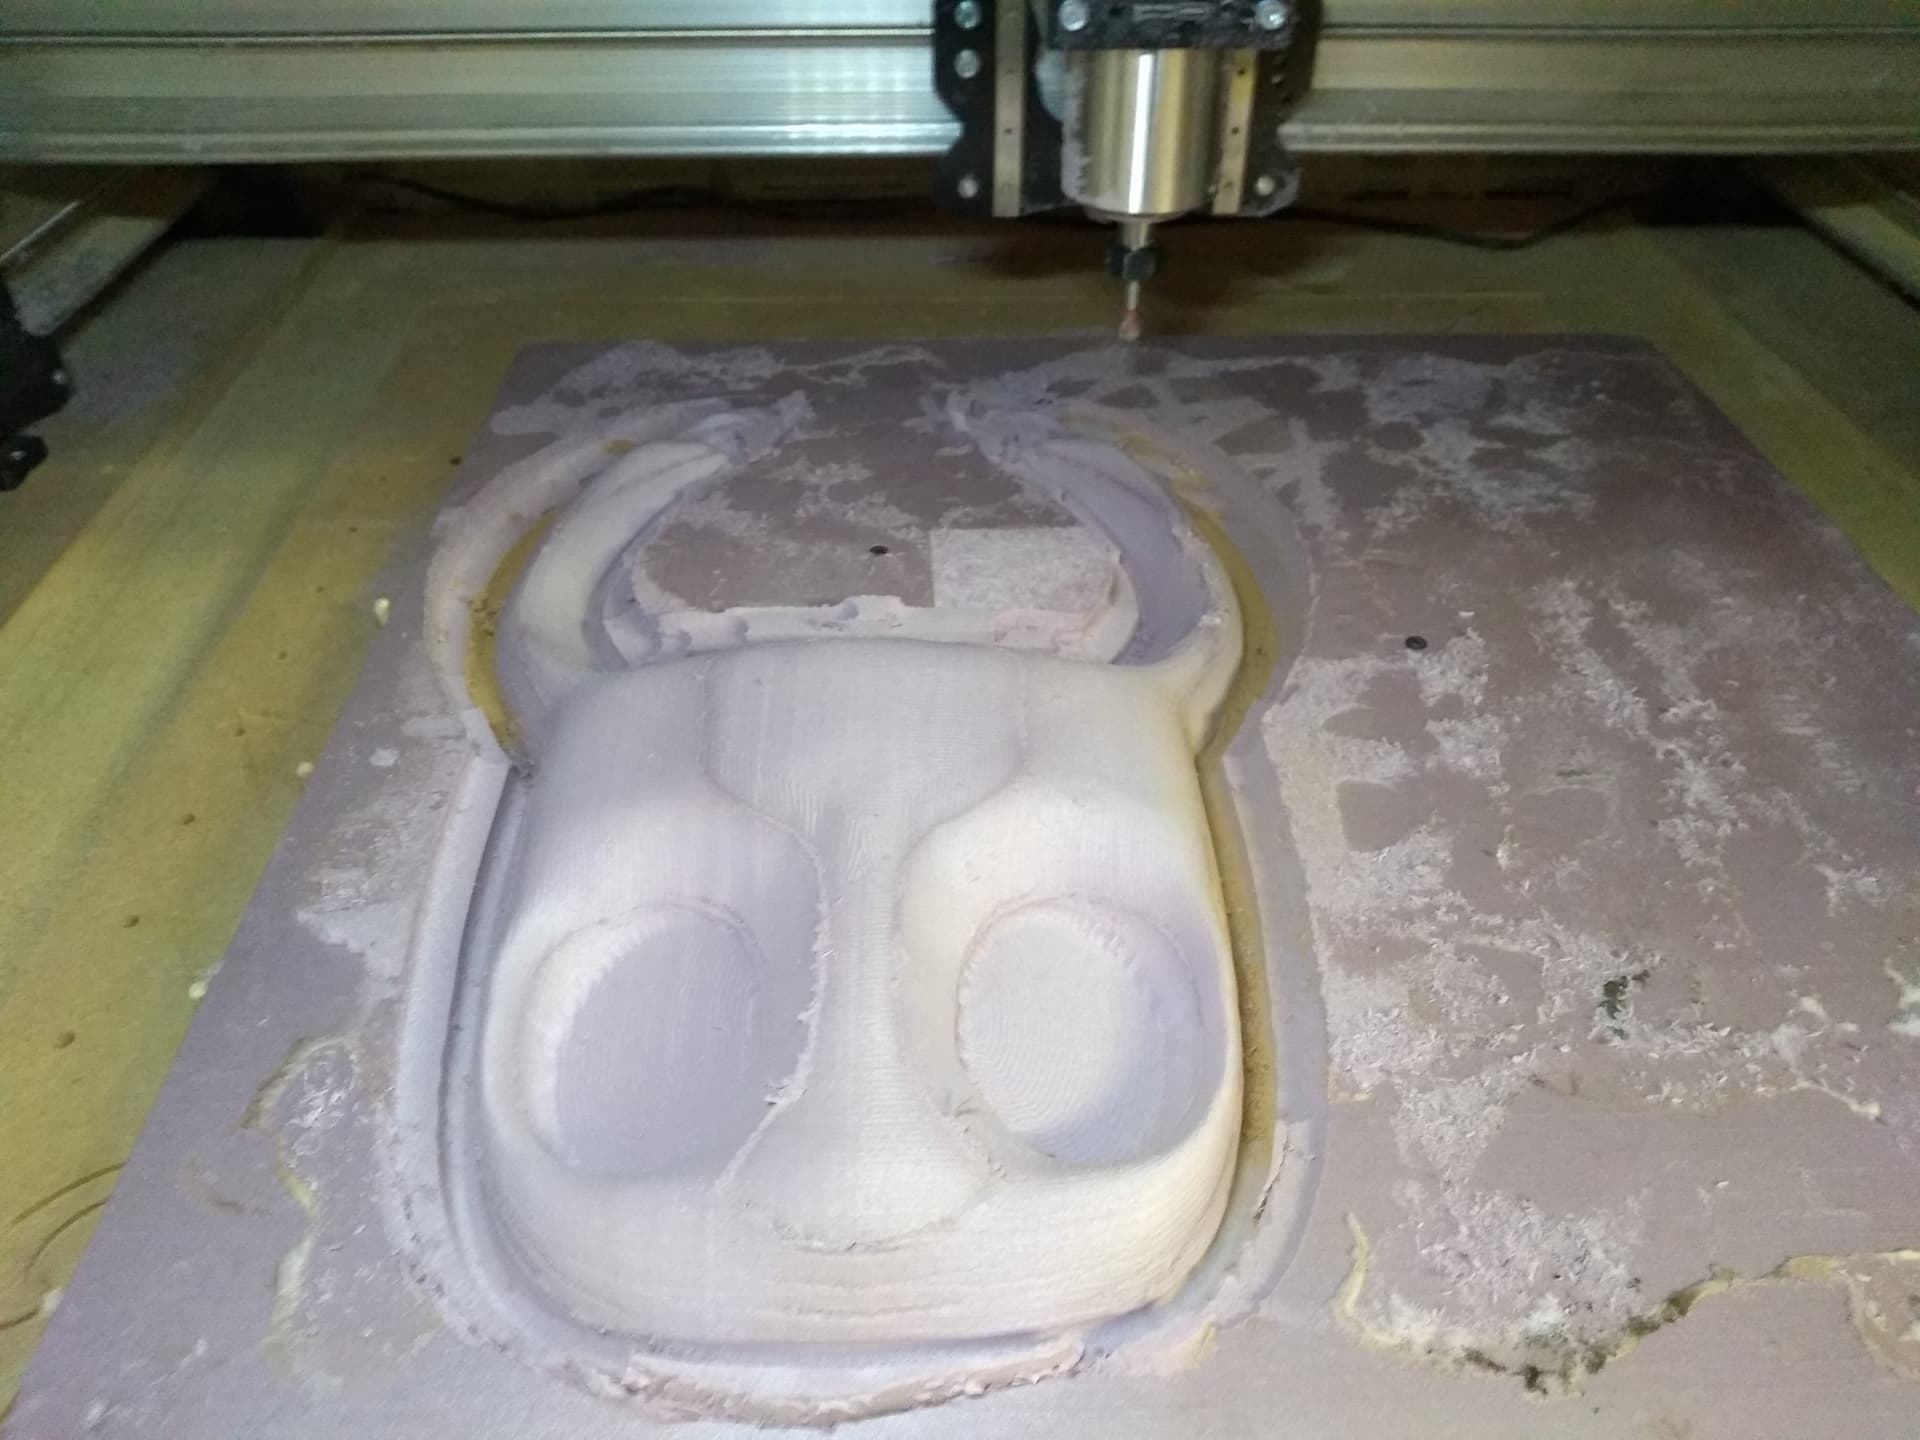


From the photos you may notice that the router, collet and tools are too short to reach every part of the design, especially with Hornet’s mask which started out nearly 4" deep. This is where the wood glue came in, even after several days of drying between the foam boards, it still wouldn’t be completely dry, but it would be tacky enough to keep the boards together, this let me set the router to cut through one layer of foam board, stop the job and remove the layer to give the next layer enough clearance to be cut. I had not planned this, but it was a really nice discovery.
A couple pros and cons learned along the way while working with foam;
Pros:
- Super easy to cut
- Quiet
- Mistakes don’t break bits, collets or routers (your collet even works as a cutter!)
- Easy to carve afterwards by hand
- Cheap
- Wood glue on thick sections dries very slowly
Cons: - Foam shavings, especially when the gantry is within 1" of the material tend to clog the wheels, causing jams
- It likes to melt, most of the crappy surface finish on hornets mask is due to foam melting to the bit and essentially moulding a new cutter geometry. Melting is my fault though, I should have checked the tool paths ahead of time, otherwise I would have noticed it wanted to nose dive into the material and cut from deeper to shallower in some parts.
- Wood glue on thick sections dries very slowly
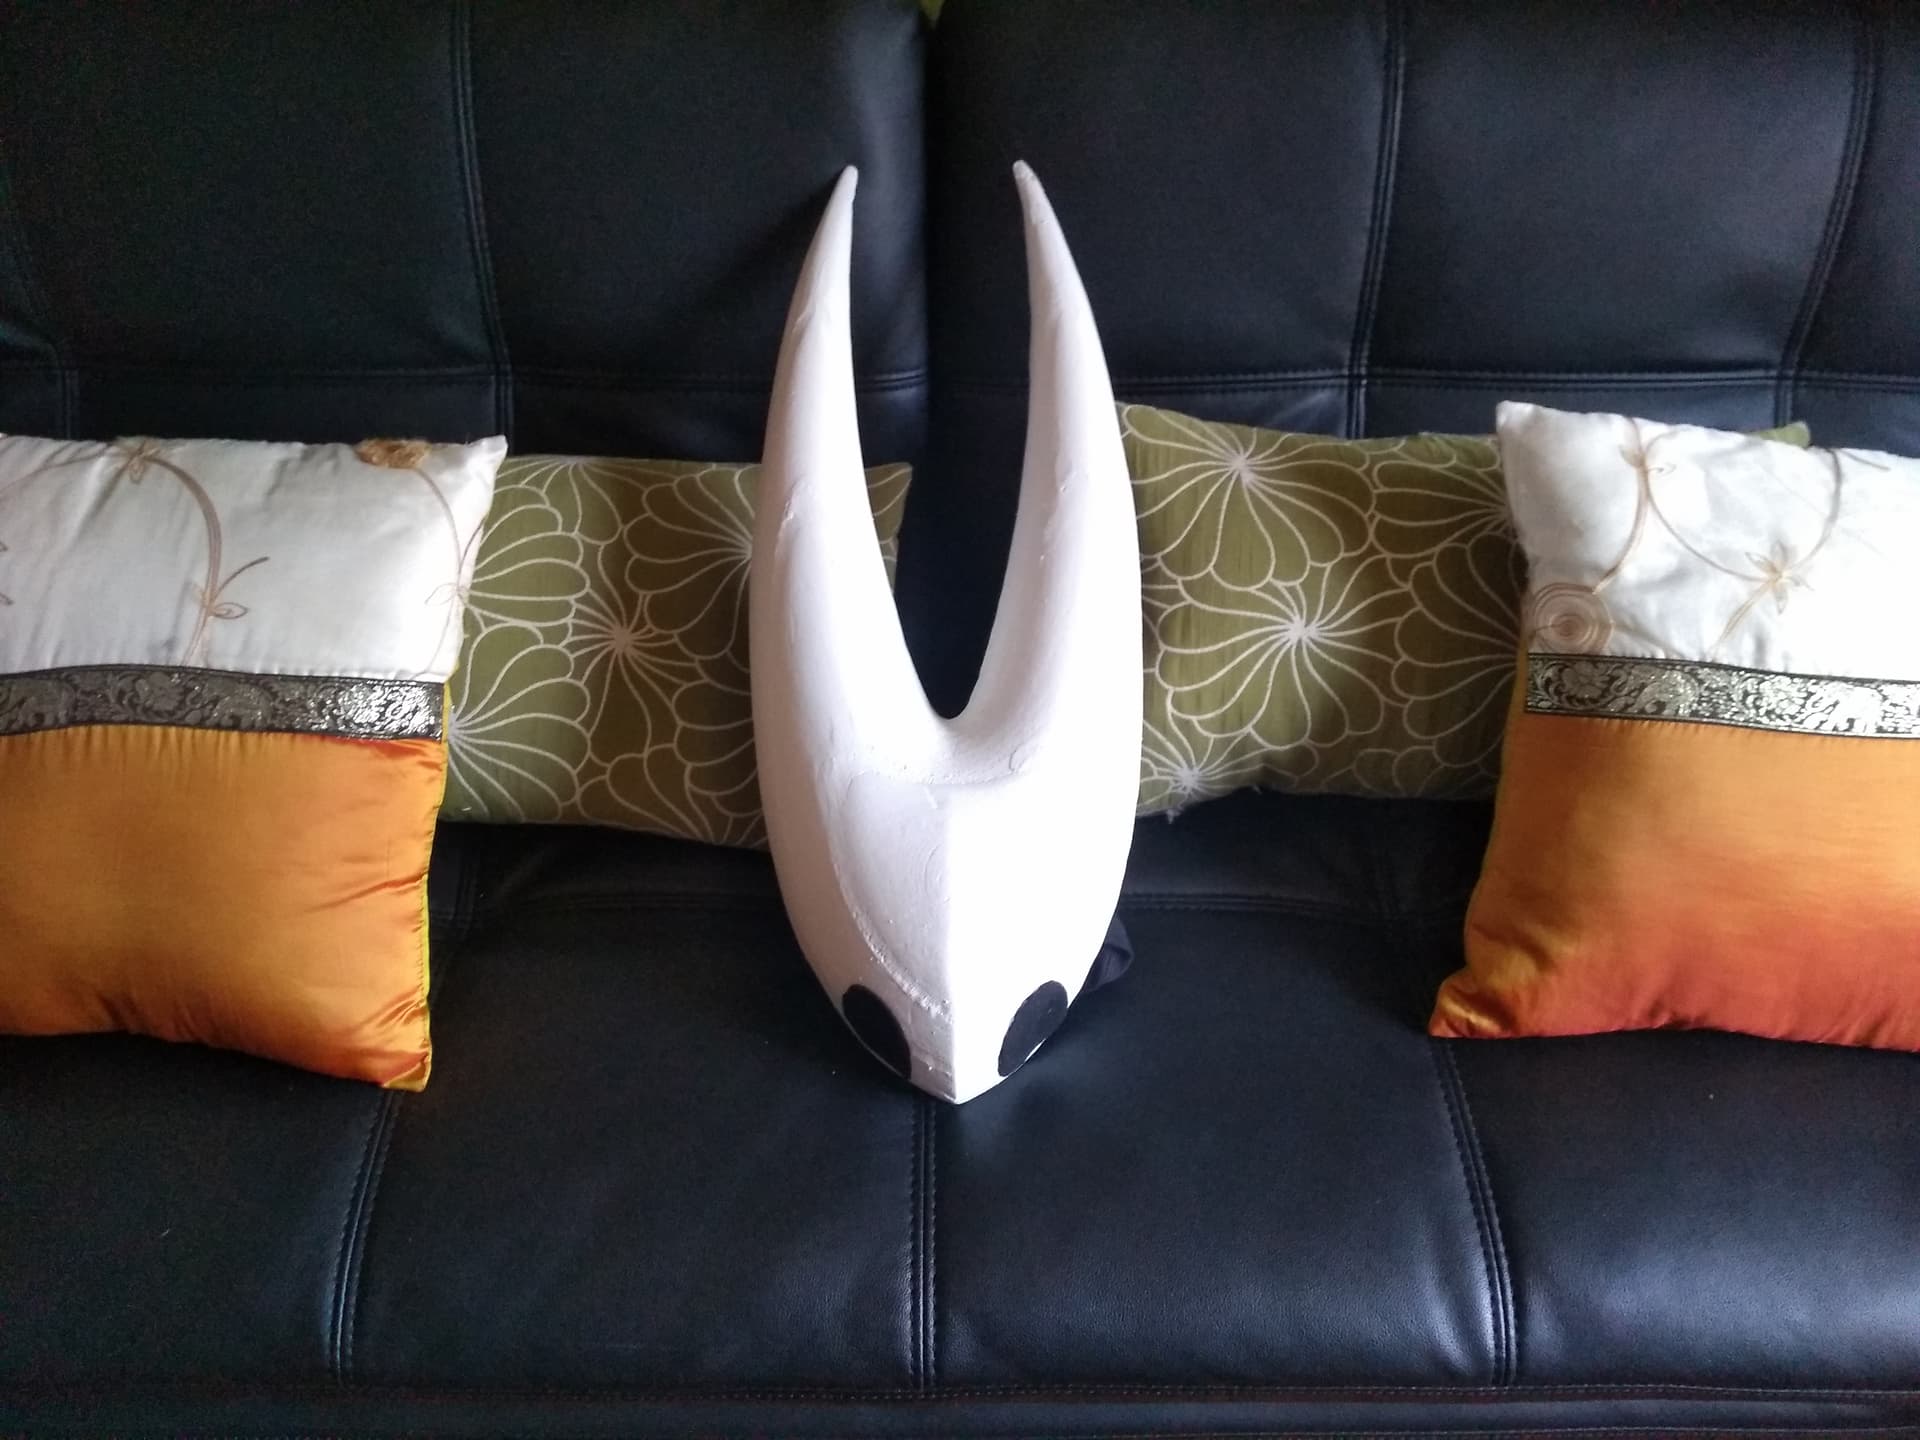
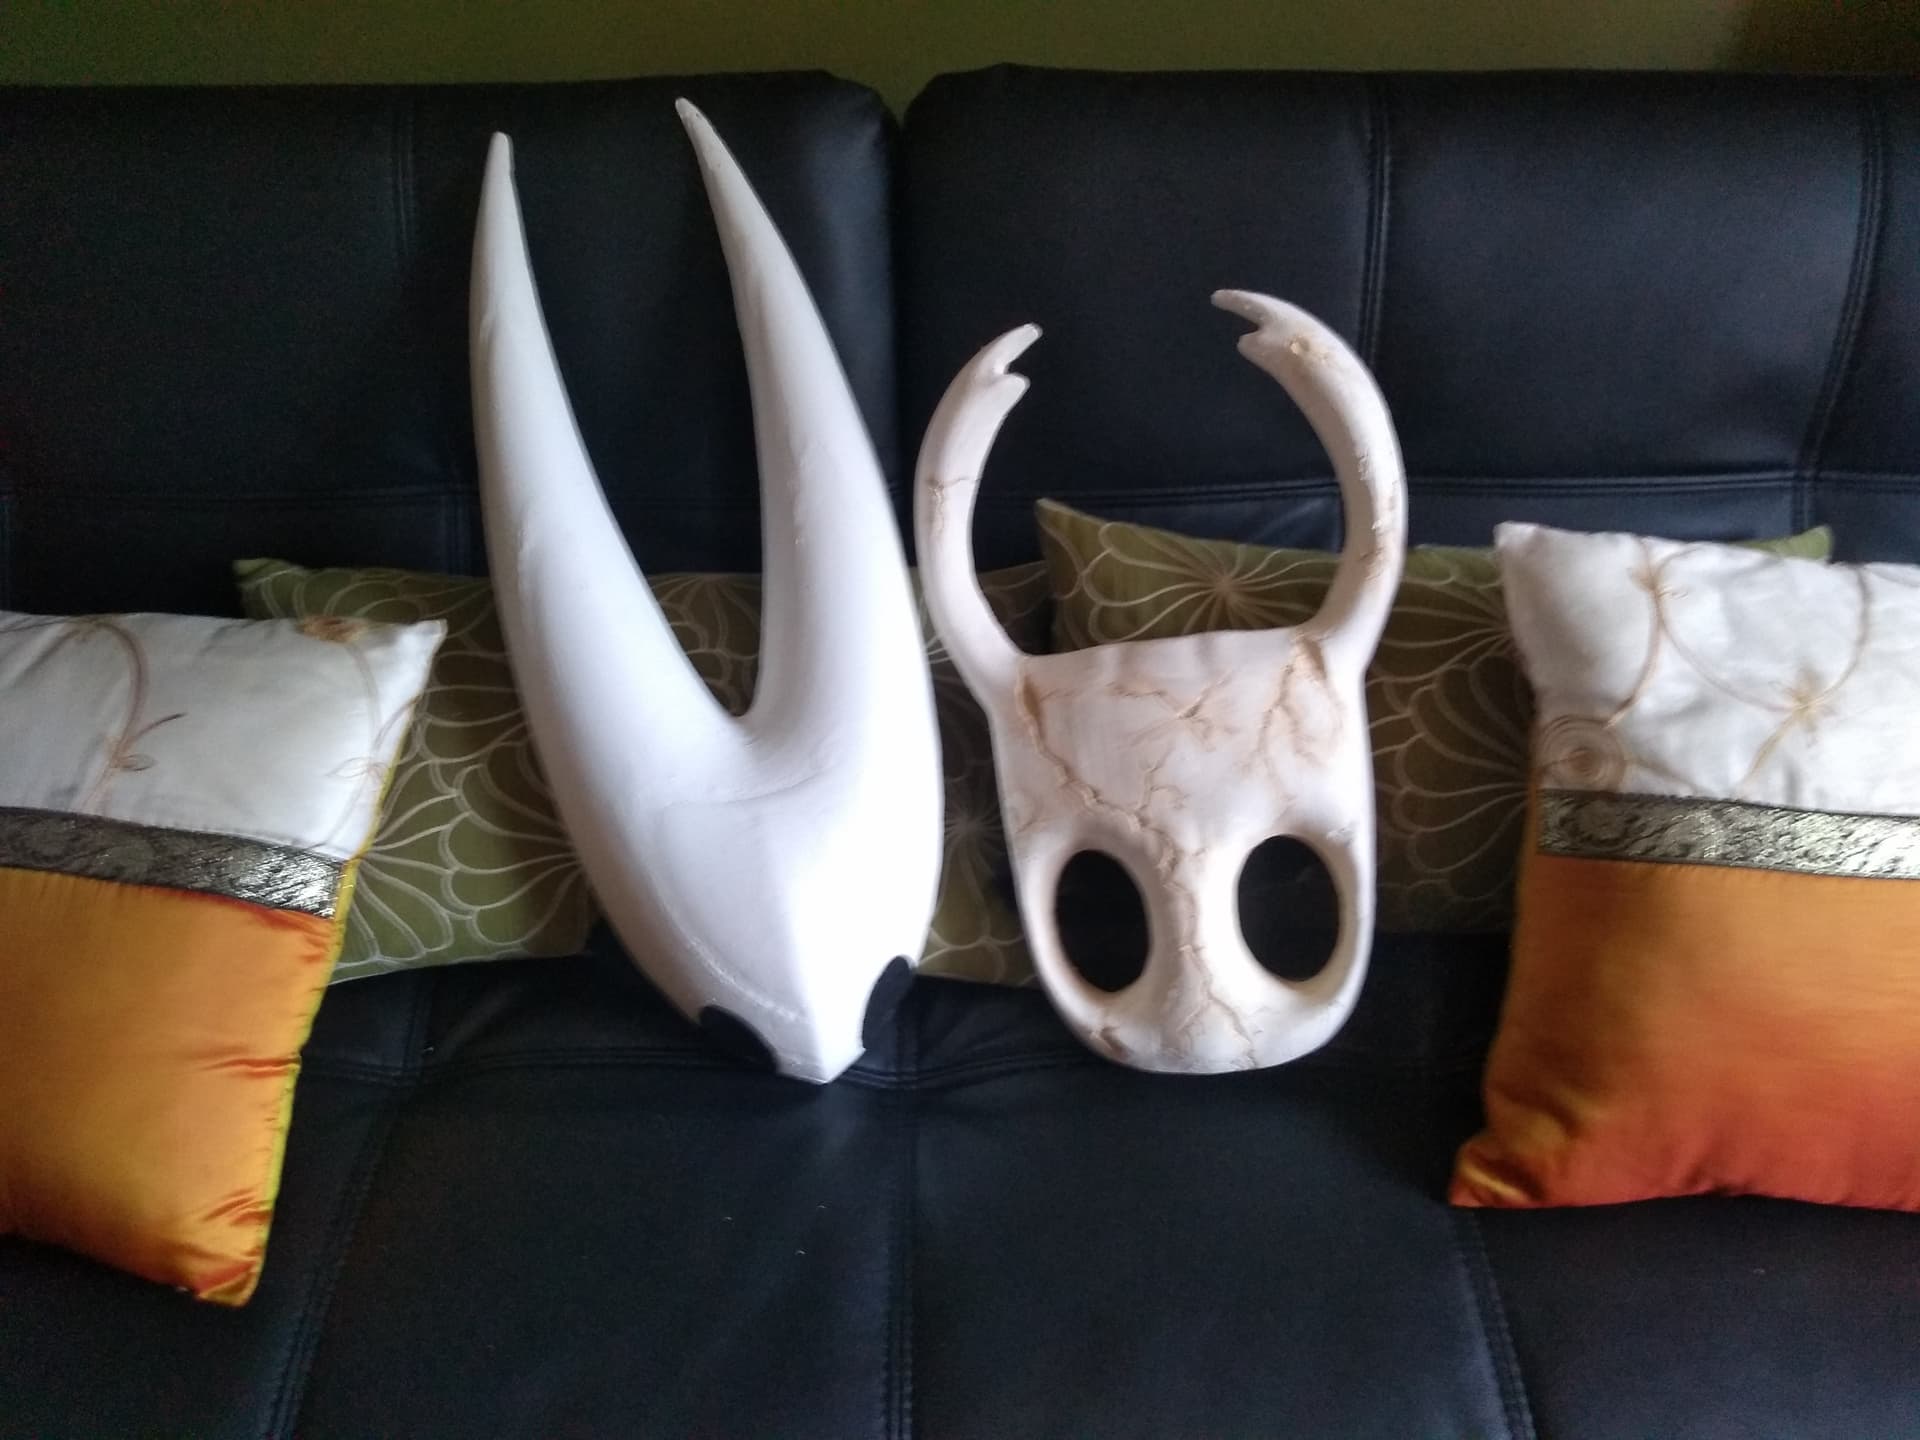
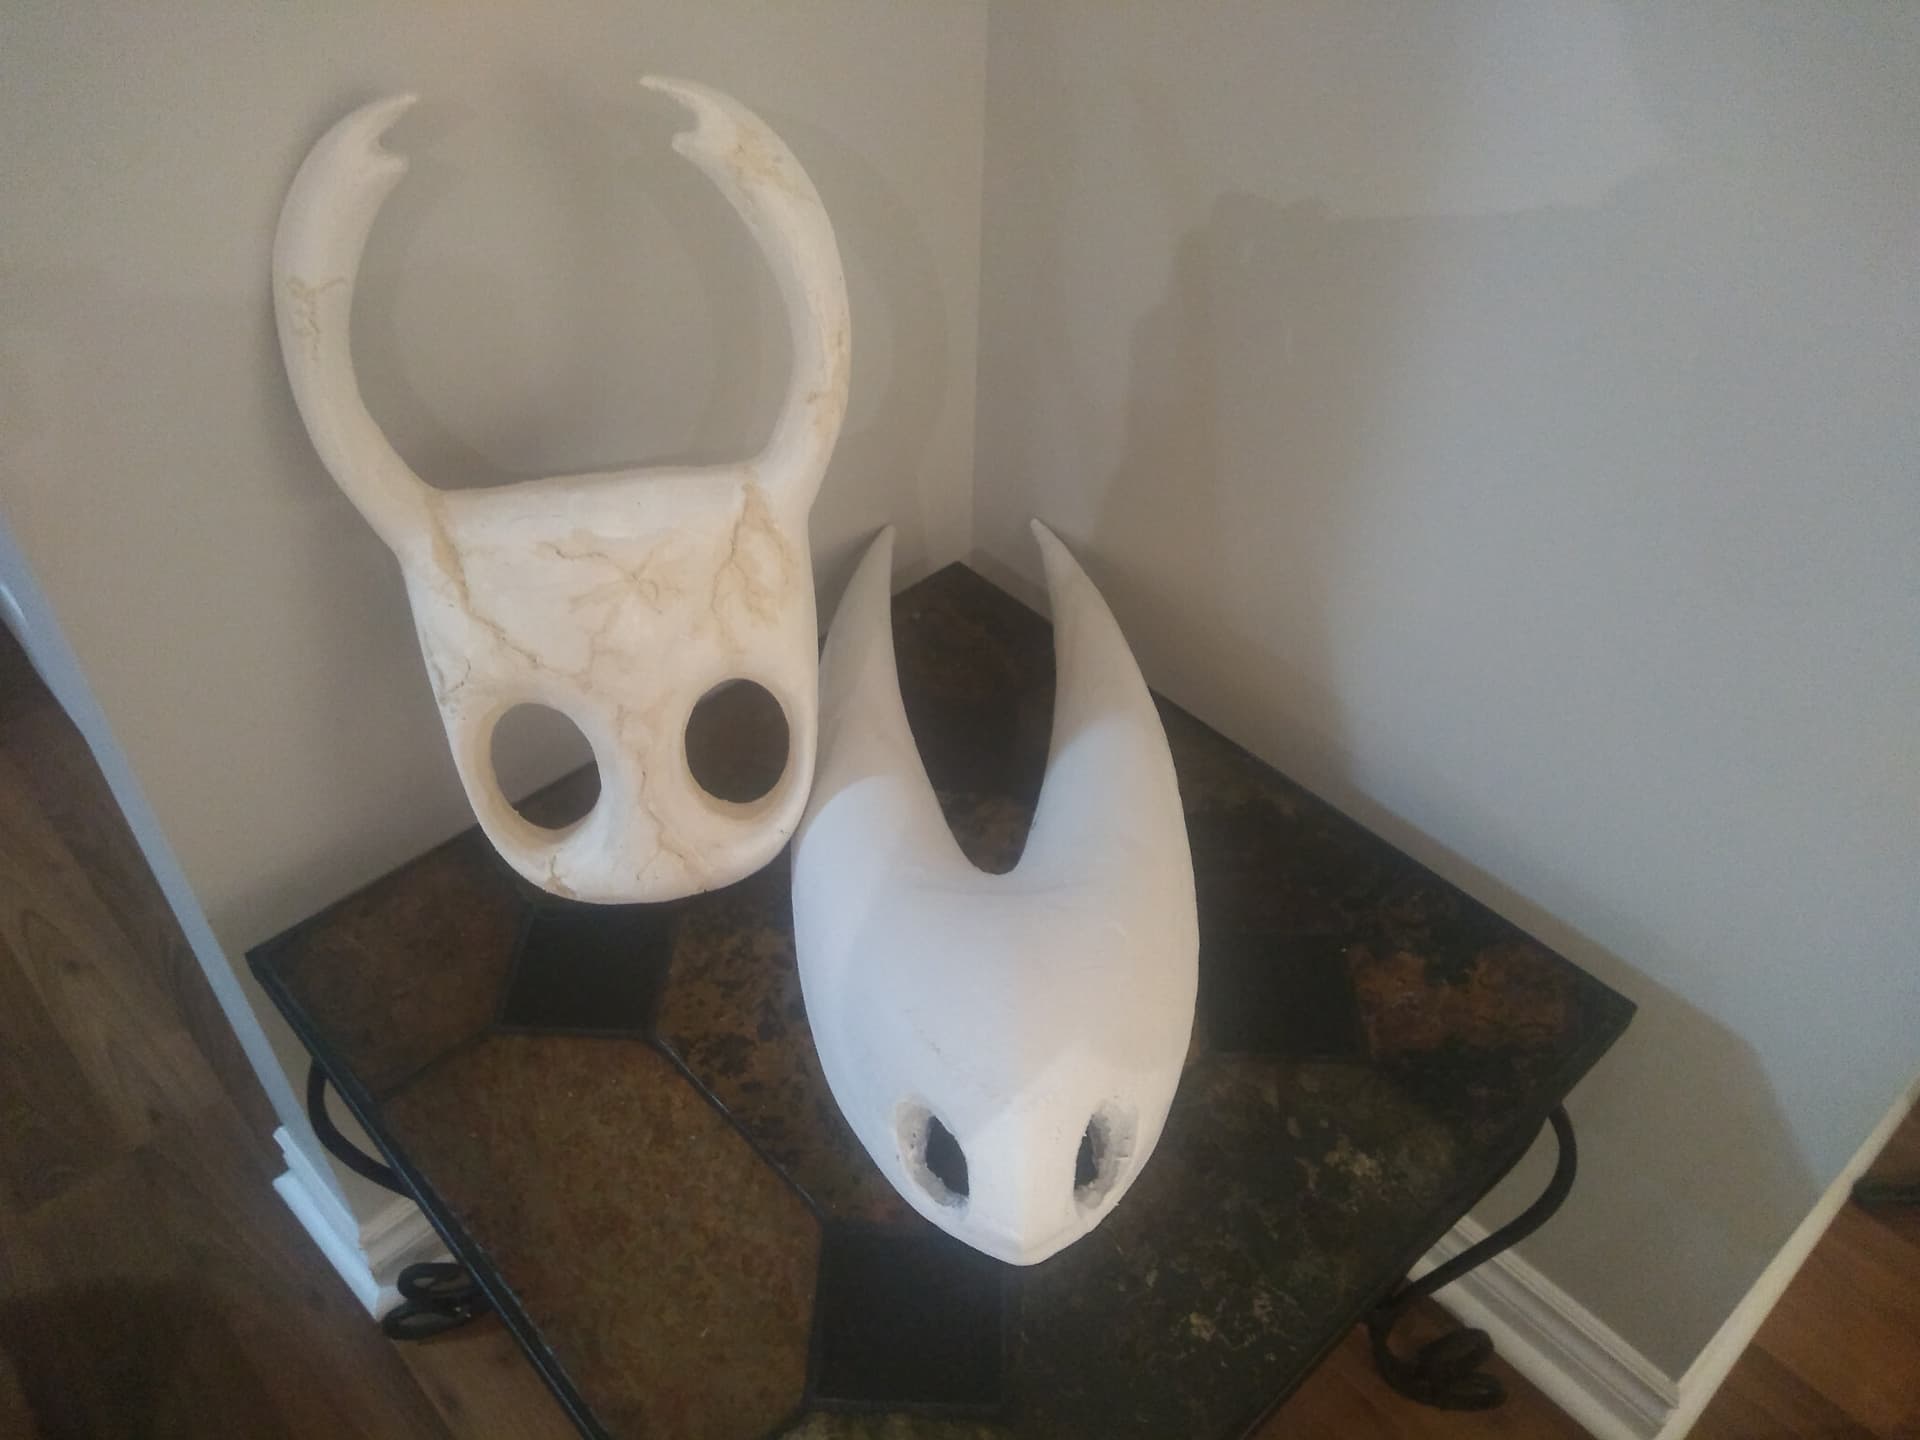
Finally, to finish the masks, some drywall compound was used to fill in any gashes or pits in the surface caused by melting plastic, followed by some sanding and carving out the cavities for our faces/heads with a Dremal. The knight’s mask got an extra bit of weathering to really sell the idea that he had conquered the pantheon, and a bit of white paint on both gives the final results below.
All thats left are the costumes and black fabric for the eyes (courtesy of my sister) and we’ll be at comic con tomorrow browsing the booths!