Greetings, thought I would share how, in a previous cnc router life, I developed a system for not damaging my spoil-board/base-board. Never ever needed to machine it flat, or replace it.
My approach may be somewhat different when I get my new MK2 but the principal will be the same.
1> Start with some form of a main base, which could be wood, metal, or whatever.
2> Attach strips of 2X4’s (laying flat), or strips of 1X4’ (laying flat). The strips don’t have to be too close to each other.
3> Now skim the tops of the strips with a cutter. You don’t have to worry too much if your cutter is slightly misaligned, but if some minor adjustment is required in order to create a fairly flat surface, without too extensive of cutting ridges, then now is a good time to tweak the head alignment. Don’t get too fussy at this stage. Just make sure that the entire surface of all the strips gets machined.
4> Sand the edges of the strips (remove all rags and burrs) and install (lay down) an appropriate size and thickness (at least 3/4") of MDF. Attach the MDF to the newly machined wood strips, using screws that seat themselves below the MDF surface. MDF is a great product because it is very flat and parallel in thickness.
5> Now you can tram your axis to the newly installed MDF.
6> Now you can install threaded inserts into the MDF.
7> So, moving forward with a project, I would use a piece of 1/8" hardboard, which is also very flat and parallel, to become my spoil-board, under my work-piece. All my cut thru tool paths would be programed to cut approx .020"-.030" into the 1/8" hardboard/spoil-board, therefore never damaging my main MDF platform. I would always drill bigger mounting clearance holes in the 1/8" hardboard so the screw/fasteners wouldn’t flare up the material to cause issues with full contact seating between the work-piece and the hardboard.
I have a brief video of the spoil-board concept but don’t know how to upload to this post.
Here’s a few pics.
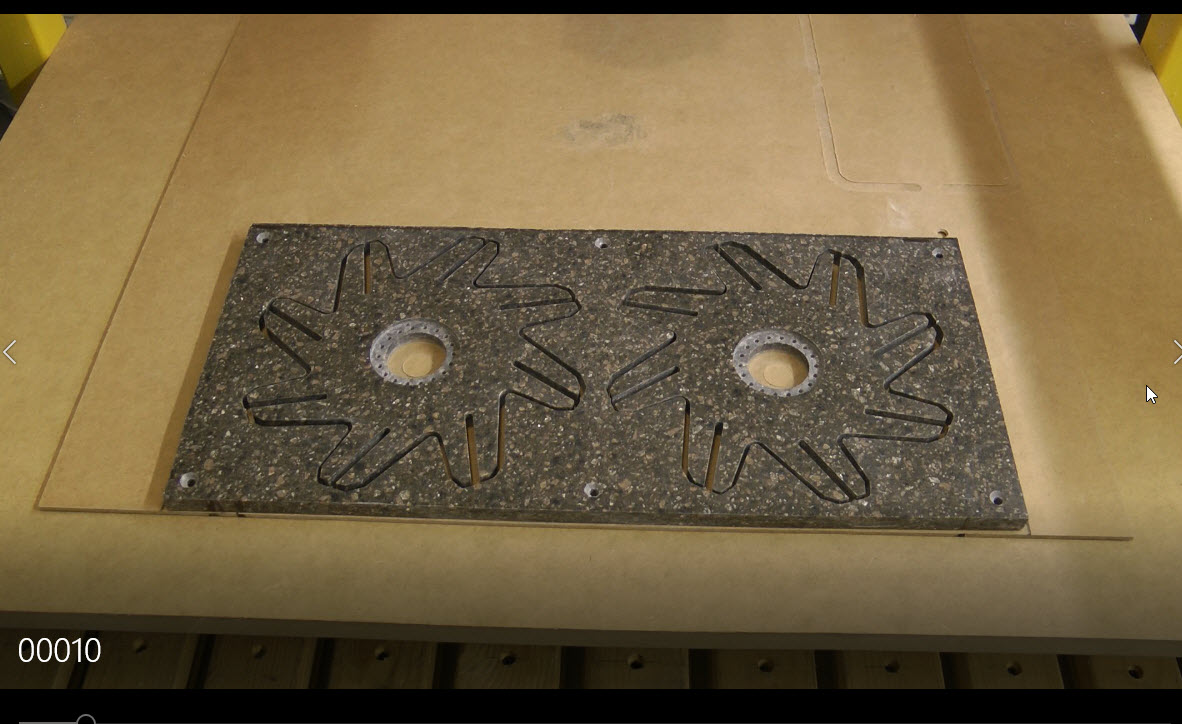
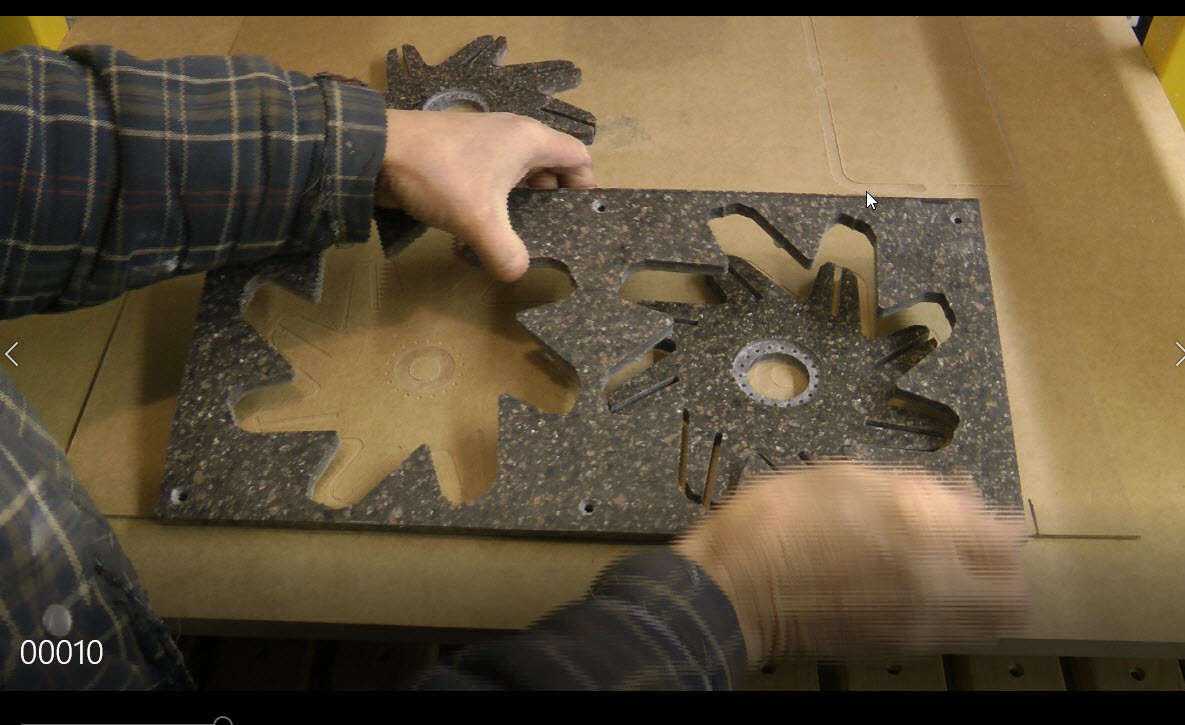
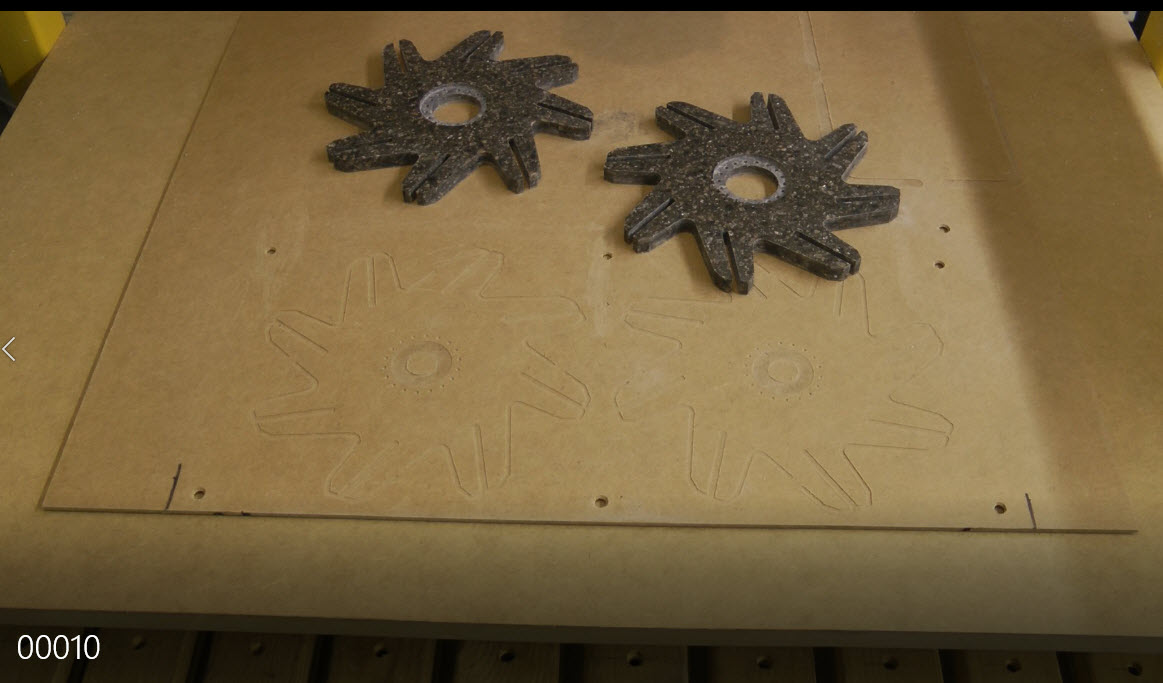
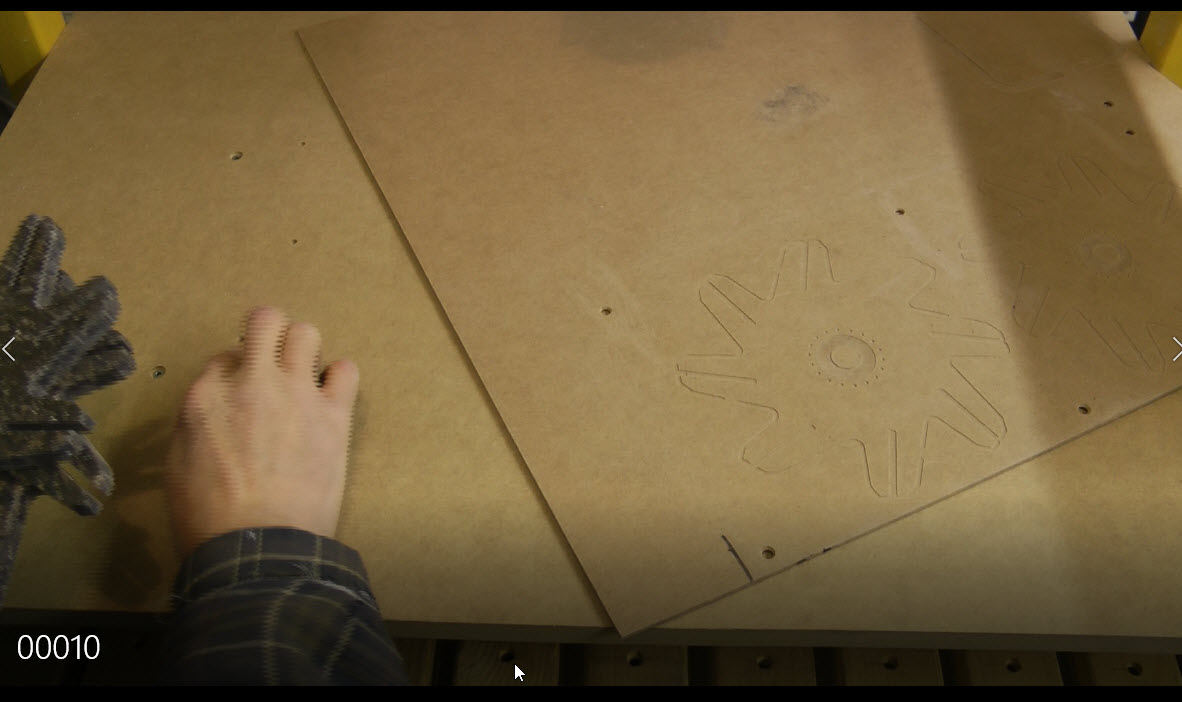
To reuse the 1/8" hardboard spoil-board just hand sand off the burrs from the cuts and then reuse on next project, of just leave it mounted for the same next piece.
Hope it gives you some ideas.