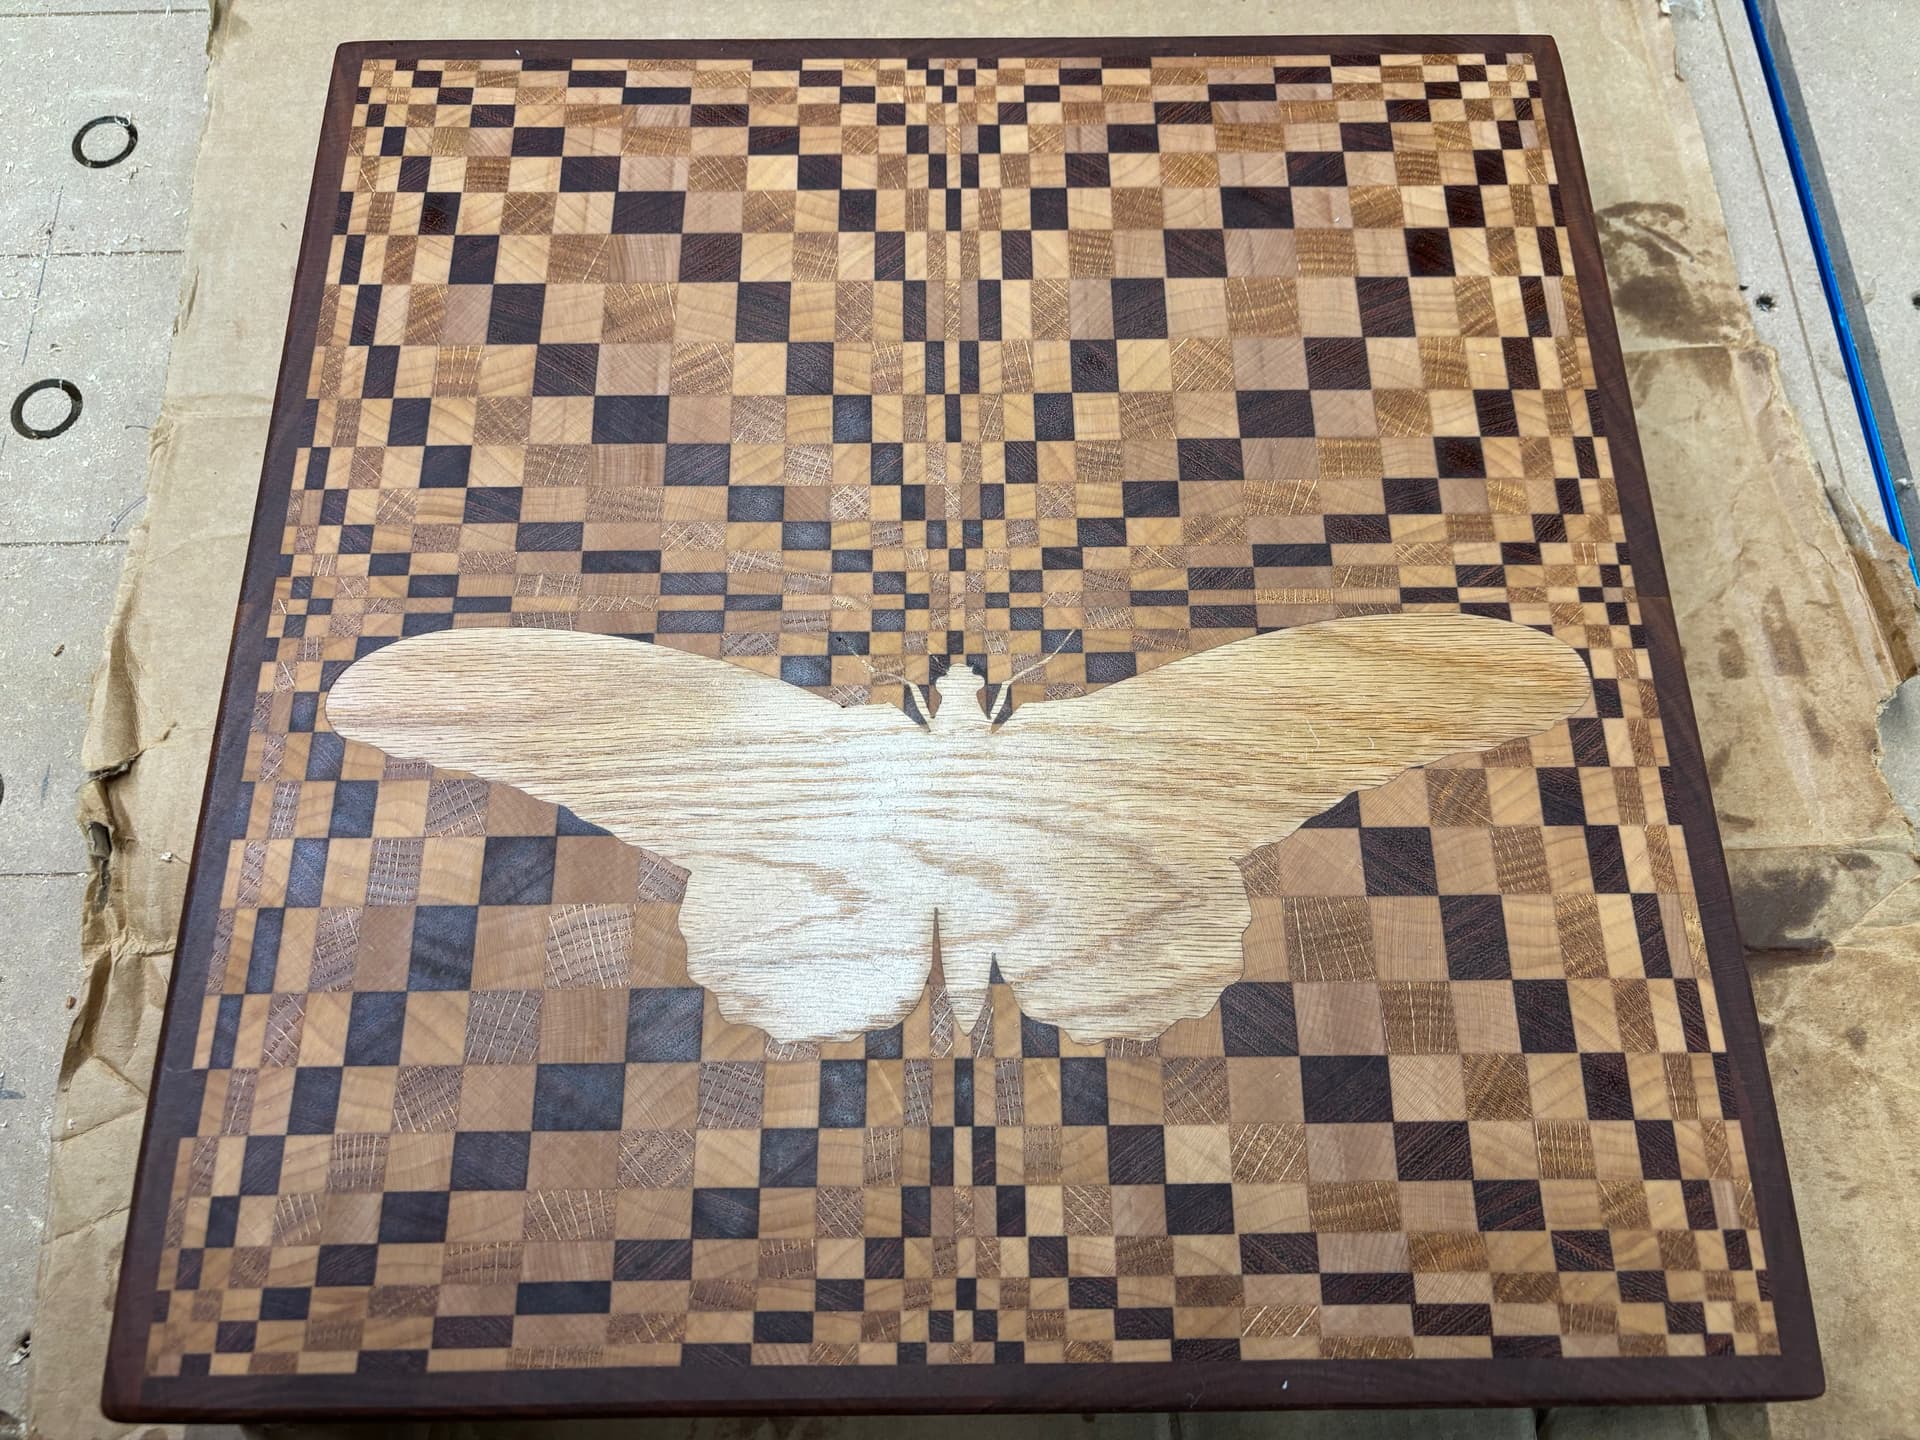
I made this cutting board and 2 others as gifts and 1 donation to a silent auction at my favorite charity. This board had one misplaced strip that ruined the pattern, so it has resided on my back porch for 7 years until I could fix it.
Tried to do the typical Vetric v-carve methods and could not get fine enough detail with standard v-bits. Stumbled upon a you tube video at Gearhead Daily and his tutorial was concise, to the point with explanations of why he was doing it his way.
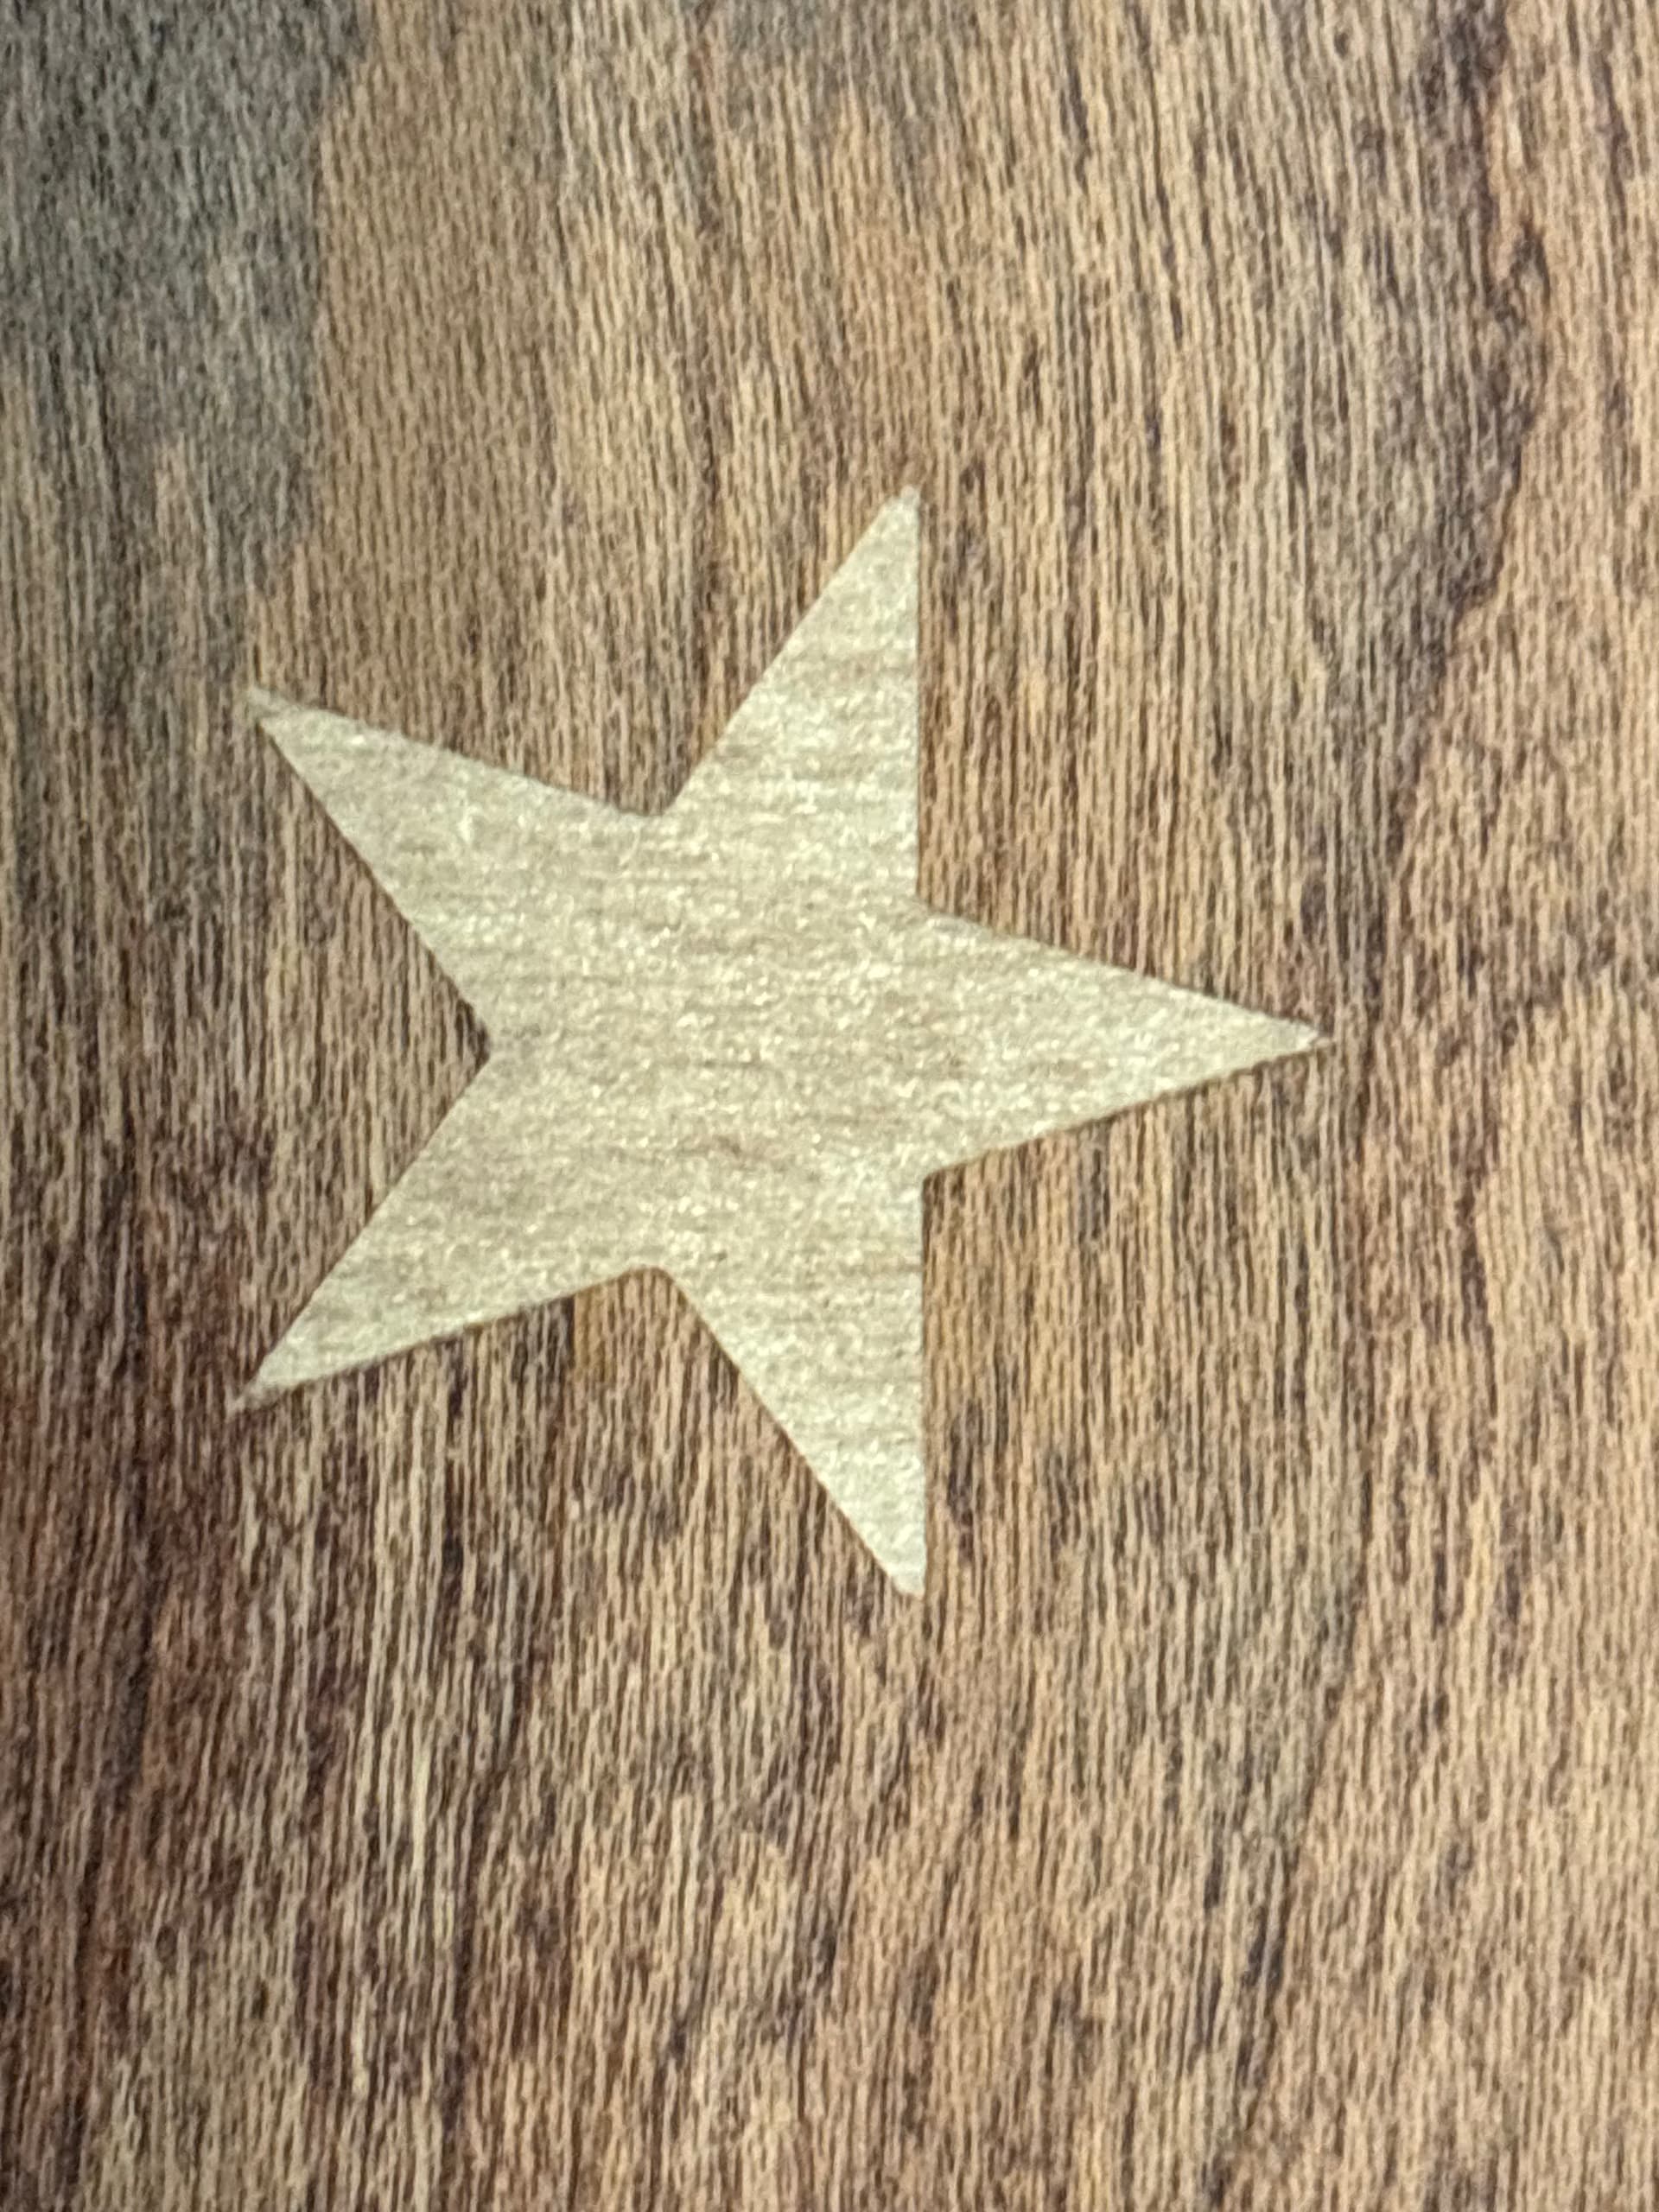
I got the bit he recommended (Amana 46280-k) 6.2 deg. tapered ball nose. Downloaded the tool database from Amana and off to the races. Here’s a picture of my first experiment. The outside diameter of the star is 20 mm.
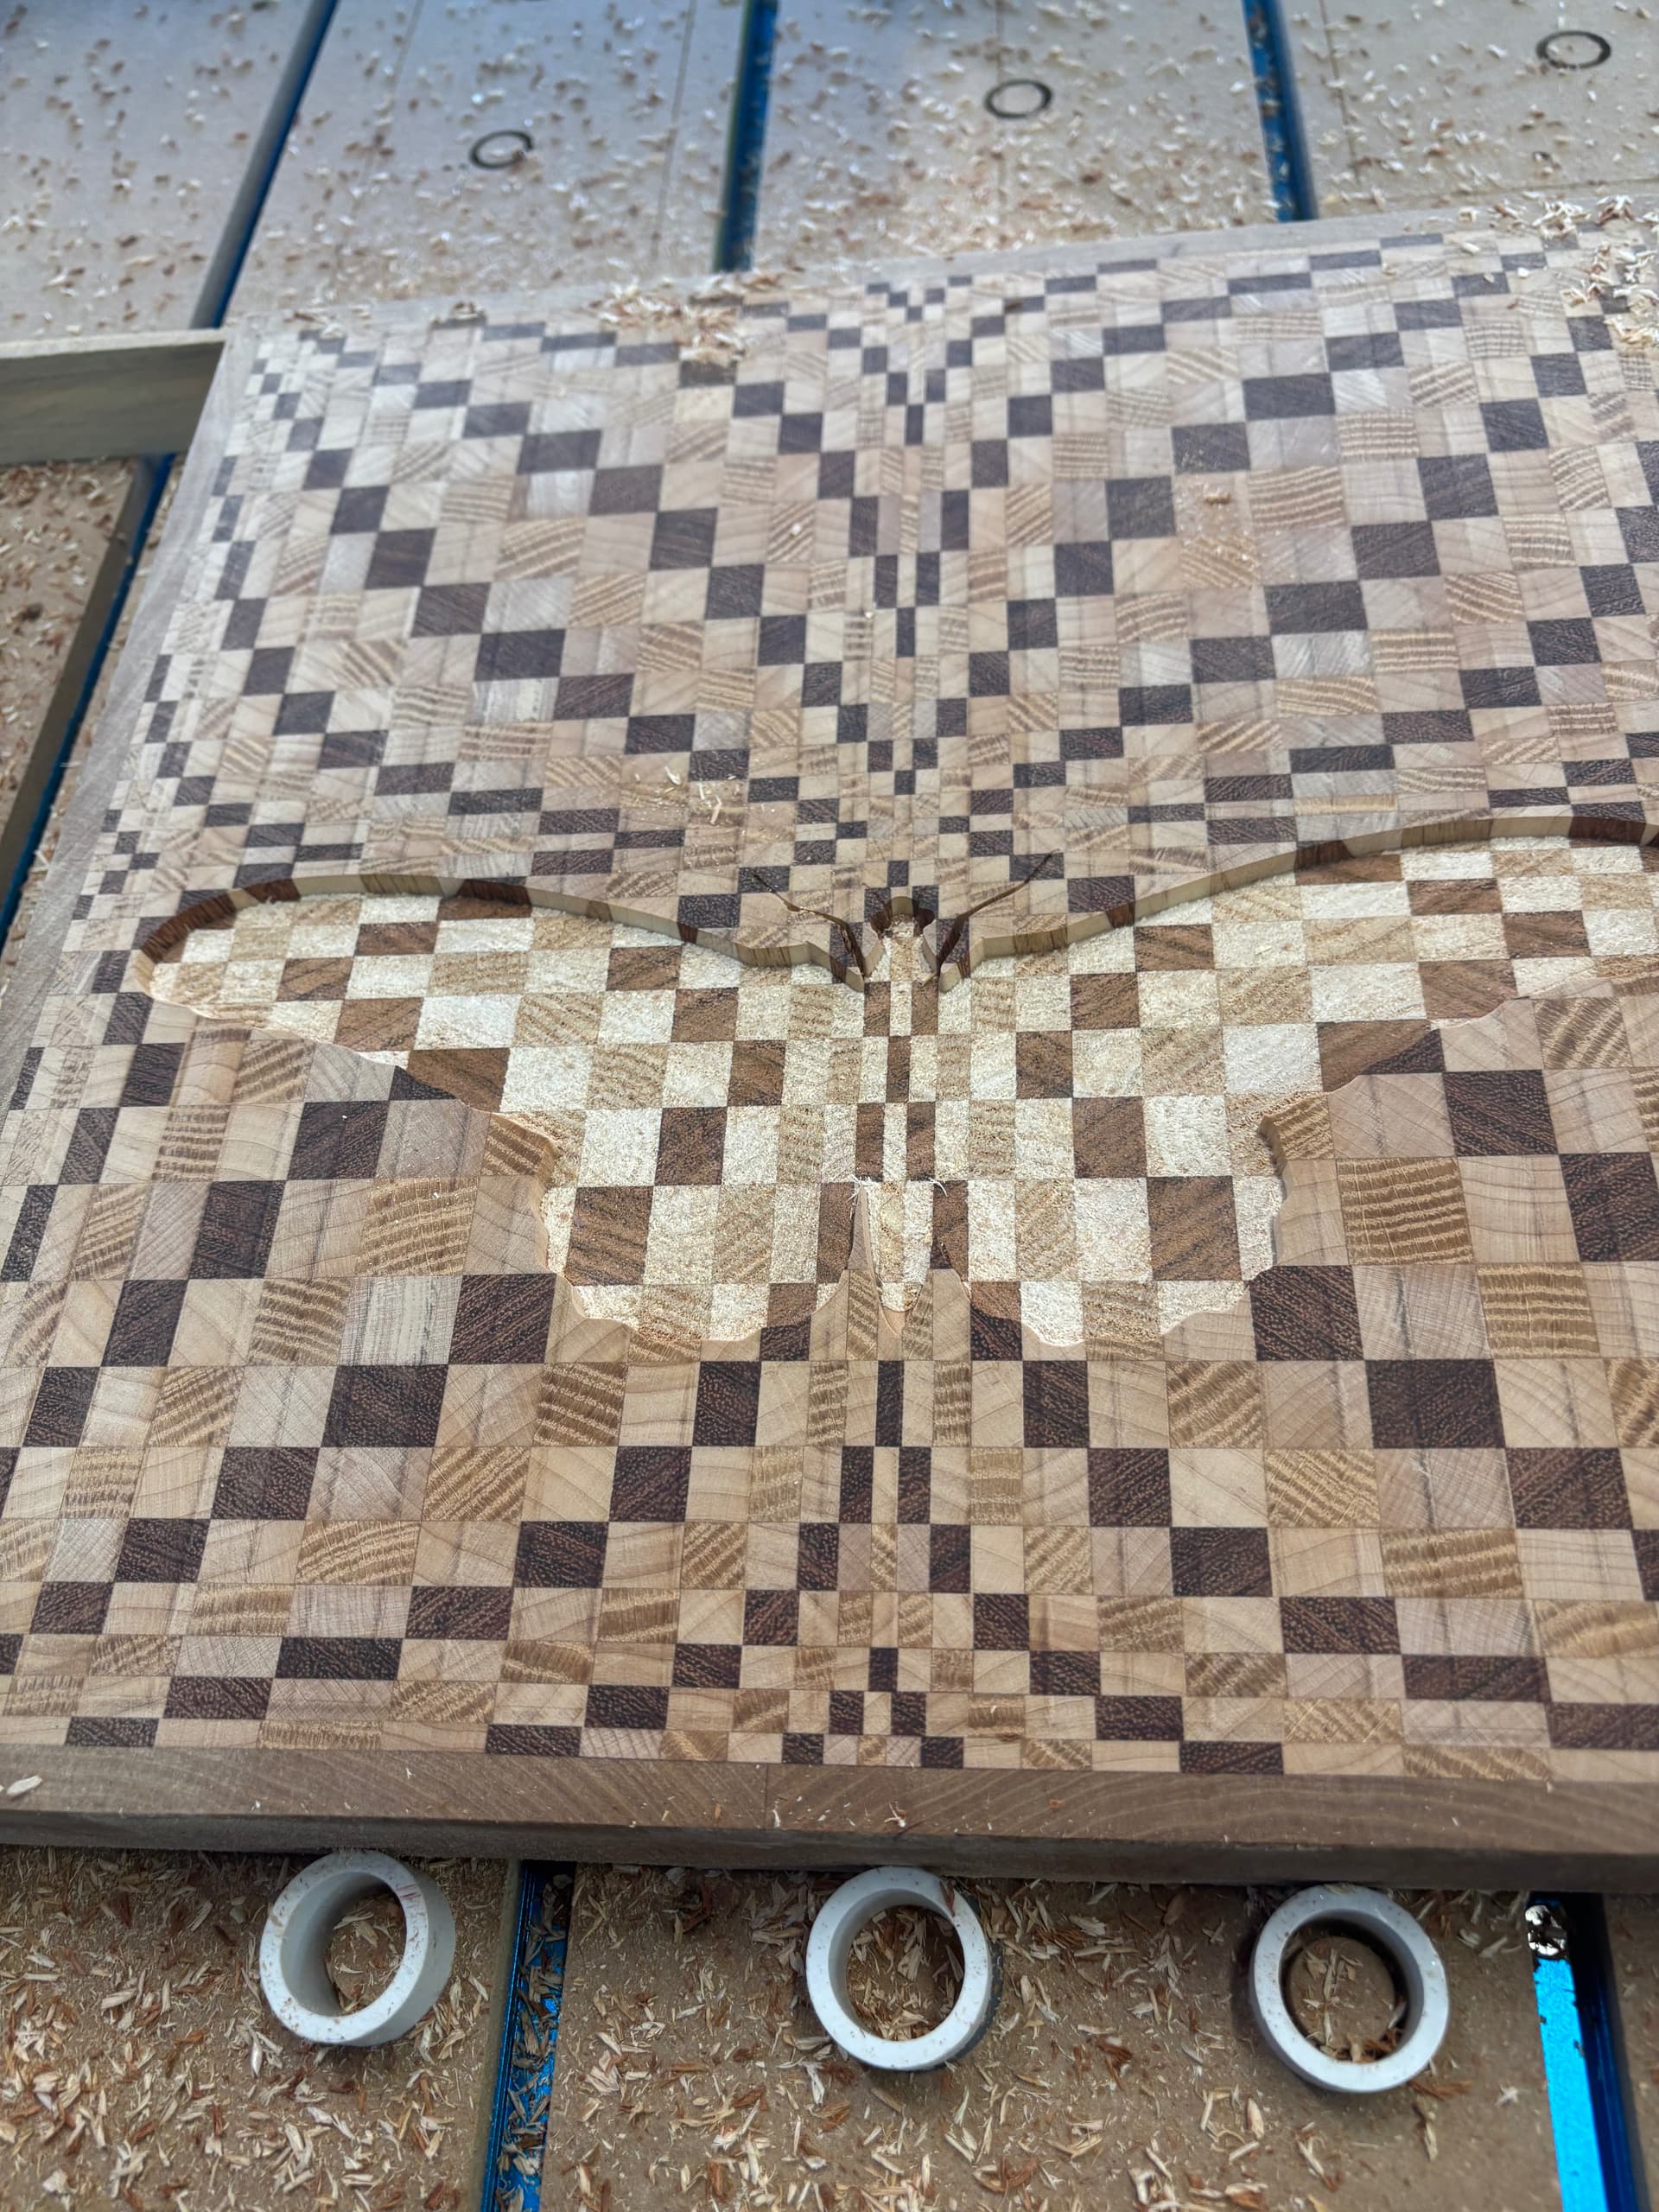
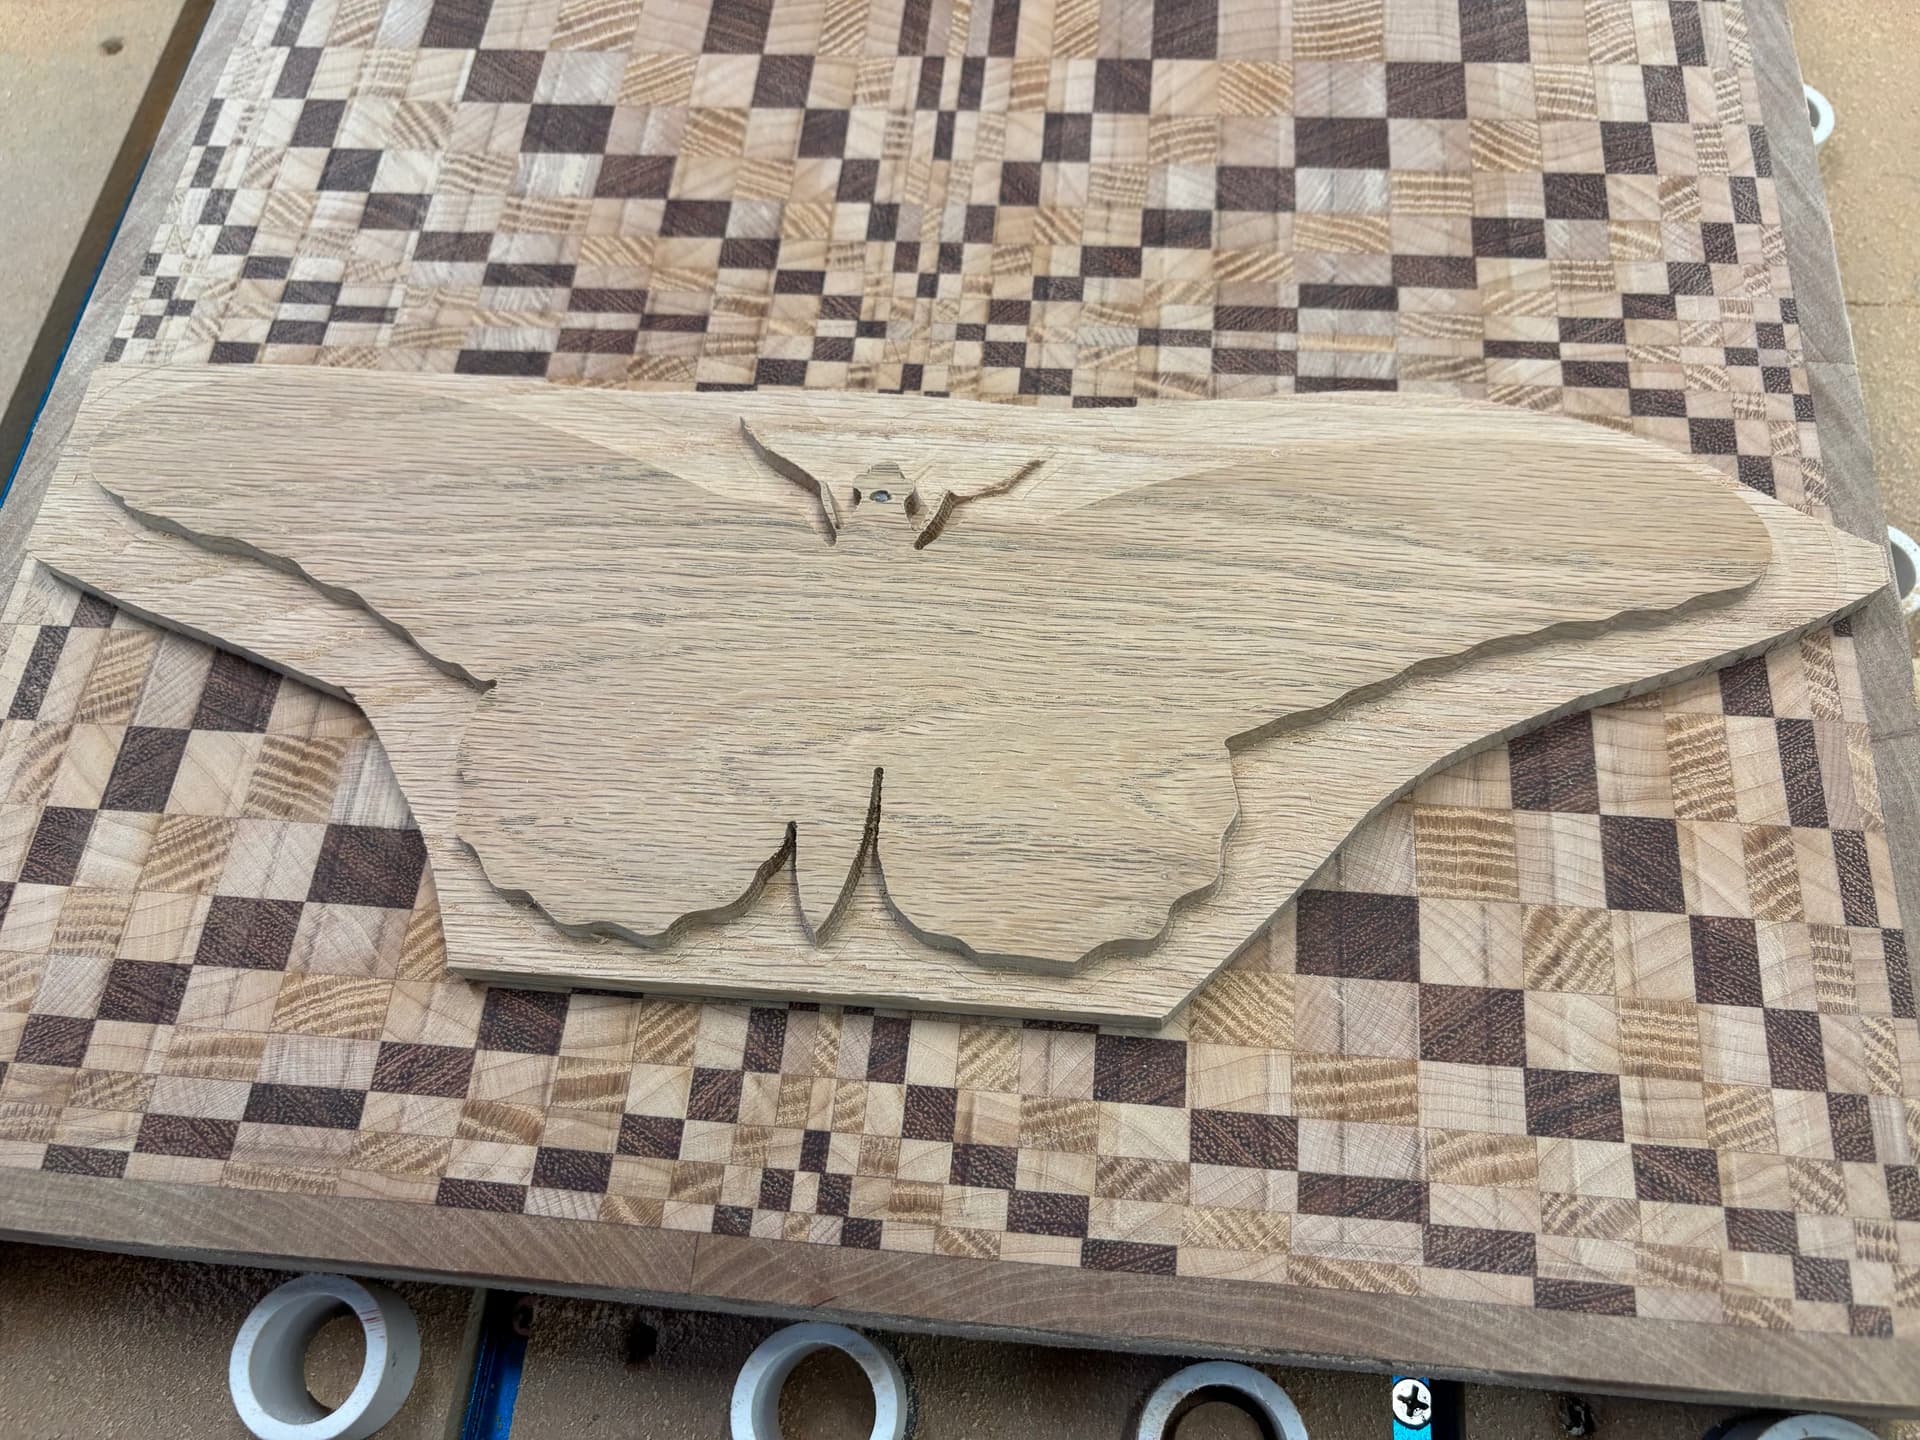
I especially like this method because it gives the inlays steep sides which allows for surfacing and sanding in the future. Pictures of the pocket and plug, pocket depth of 5.08 mm.
Learned the hard way that with fine detail do the roughing/clear path last otherwise the small details can be ripped out of the wood such as the antennae on this butterfly.
The inlay is white oak, the cutting board was made from white oak, jatoba, maple and cherry.
The board languished in mineral oil overnight and a final treatment of beeswax/mineral oil this morning and shipped off to my sister.
Cheers!
Forgot to give credit for the cutting board plans. MTMwood.com. He’s Russian and a character! The site has an English version that you can click on the union jack upper right corner on the homepage. He does some interesting stuff.
I watched his video - great outcome - but I have a question. I asked him but he didn’t really give a clear answer so maybe you can help.?
In the male section he chose pocket and I can see why.
In the Vcarve process steps it showed “Pocket 1(clear)1” using a 1/8” end mill then “Pocket 1” using the Amana bit.
However, in the video of the machining, it shows the opposite. It shows the Amana bit up first, just really doing a profile cut on the star and the outer clearance border then the 1/8” end mill comes in and clears the excess.
Is that your take on his video,; is that what you do as I noticed you mentioned doing the clear action last.
Thanks
Hi. Sorry for the delayed response, way busy. Your observation is correct. I have found that when you are cutting very detailed pieces, if you cut the intricate parts first the material has more support (less possible tearout) by doing the roughing last. Hope that makes sense.
That butterfly board is gorgeous, but I’m curious as to why you decided to mix end grain (the board itself) and face grain (the inlay)? This can typically lead to failure as wood expands and contracts across the grain as it temperature and humidity change. So in this case the board and the inlay would be wanting to move in two different planes and if there is enough movement something is going to give.
Maybe not in this case since the inlay is so thin, but in the future maybe consider matching grain direction between the board and the inlay.