Ooooh oooooh oooooh a guess the seasoner contest!! I love those.
Ehm.. taking the clues in account, I am basing my answer on the presented projects and the final picture where the presenter seems to say sorryyyy instead of cheeeeese. My answeeer issss
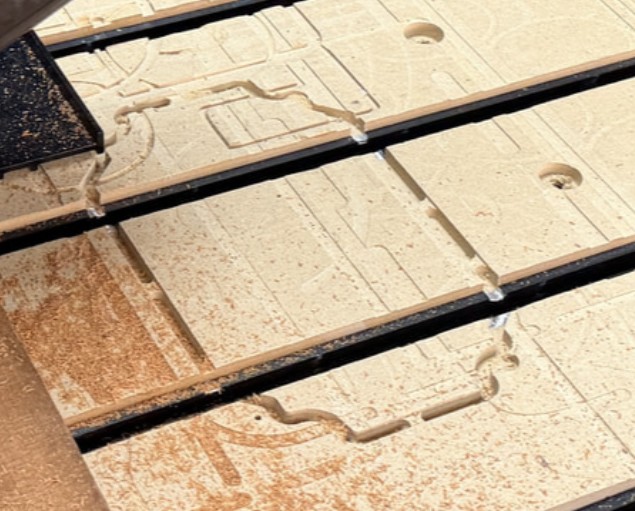
I may have measured twice and then swapped wood pieces without re-exporting the toolpath
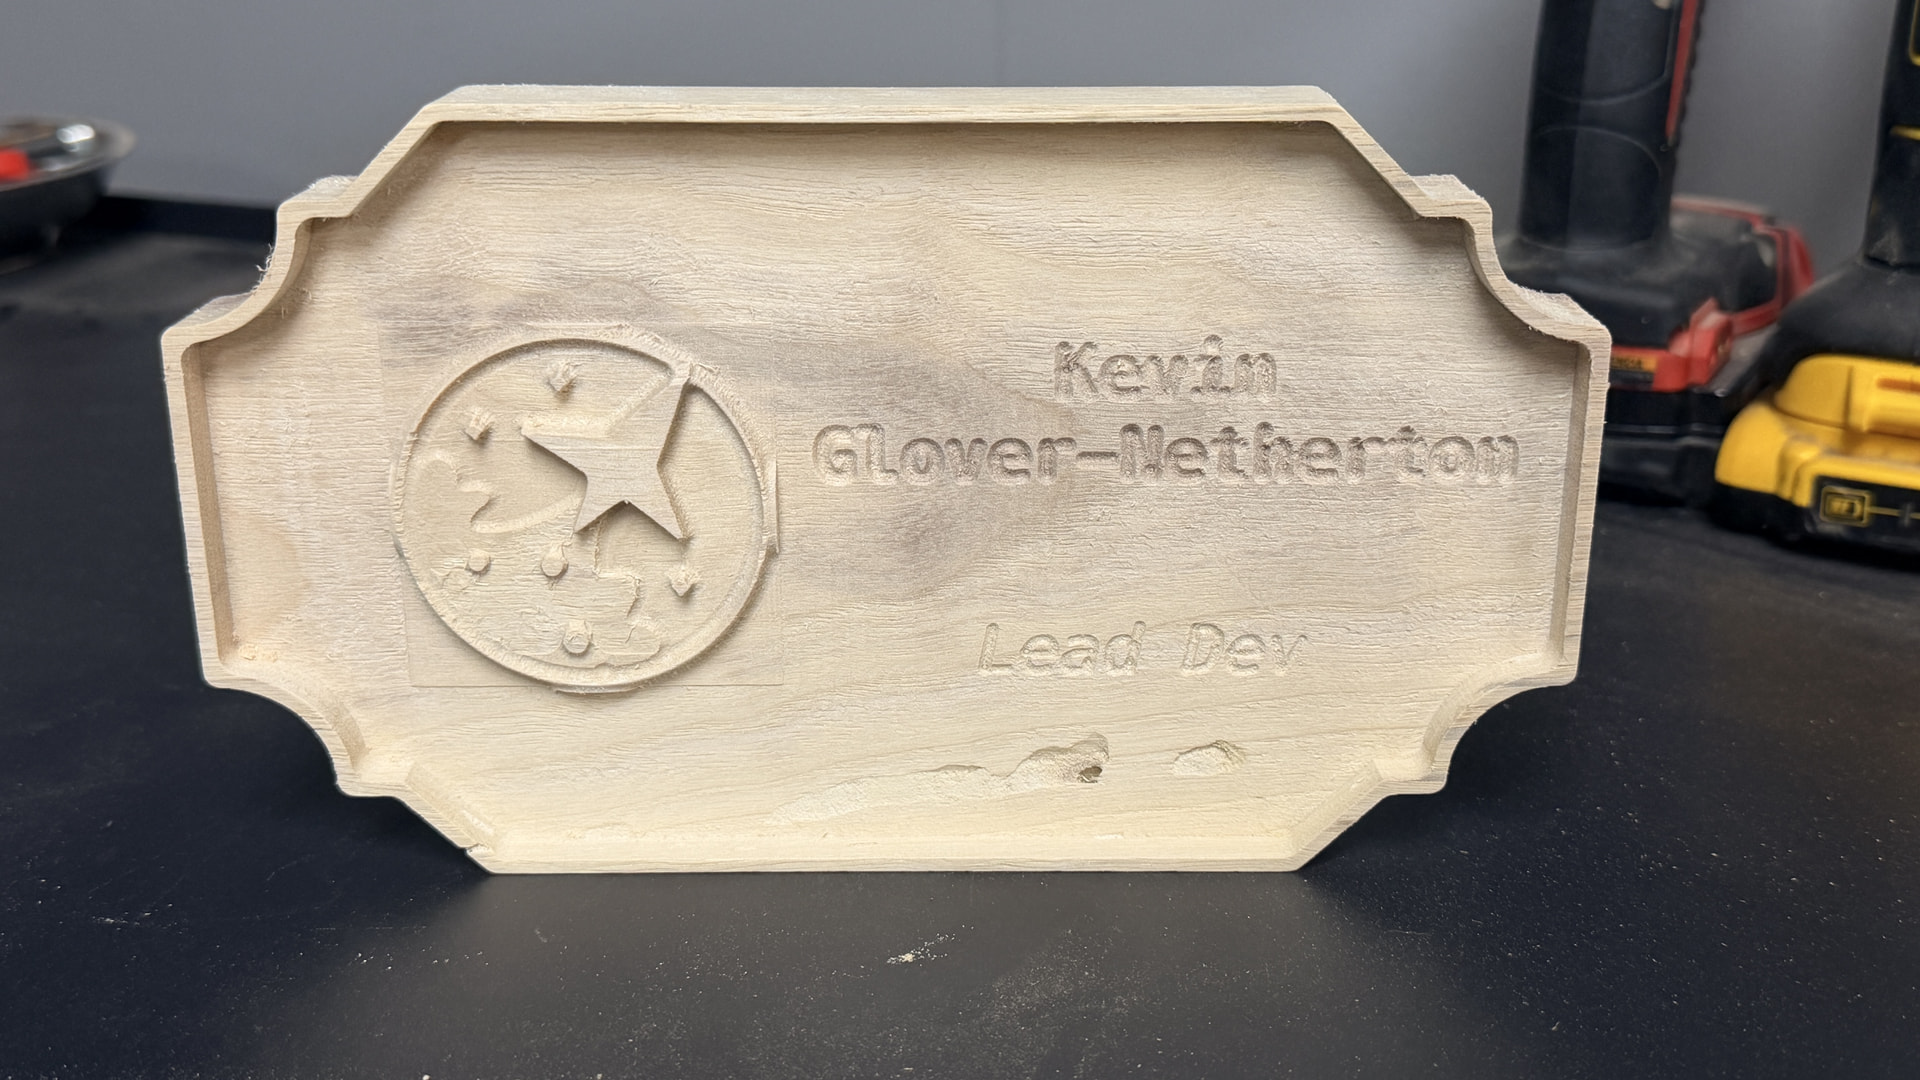
But specifically I think Stephen was talking about the bottom of Walid’s sign, because that was tool diameter related. I had a good diameter, just a bad depth.
As long as nobody gets hurt and there isn’t too much material damage, making mistakes is the best way to learn. I’ve had a few close calls but the scariest was charring of the wood from the collet rubbing against it.
This really is a nice initiative. I love your company culture. Keep that up!
I love how AI is changing the possibilities for ideation and design for people without proper 3d design skills. But the pictures of carve examples never really do amaze me yet when looking at the design and then the actual carve.
How could the elephant be carved out even more like the AI render?
Also, that checklist! Great simple thingy. Could you share a copy? A great reference to have as a beginner in the shop.
Really appreciate that. The checklist has turned out to be one of those very simple things that makes a surprisingly big difference, especially with beginners.
We have a version of the workflow here:
And here is the Carve Days preflight checklist.pdf we’ve been using for Carve Days as well. It walks through the machine, workholding, tooling, zeroing, toolpath checks and safety before hitting Start.
As for the elephant — great question. The AI render can create depth, shadows and geometry that a one-sided CNC relief can’t necessarily reproduce exactly. To get closer, we could push the 3D model/relief deeper, use a smaller finishing tool and tighter stepover.
Shilpa’s was a pretty great first experiment with the workflow, though. Now I kind of want to run the same elephant again and see how close we can get to the original render.
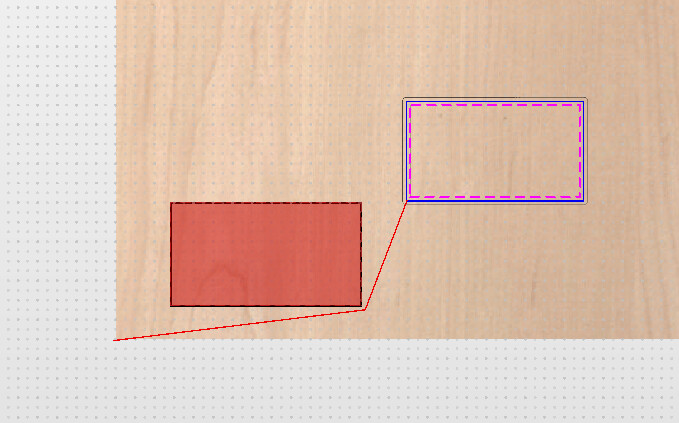
On the checklist you have “tool path will not hit clamps”.. How are you able to verify that? Asking for a friend. Unless you are just relying on side pressure clamps for anywhere a tool path may get near the sides.
Not hitting clamps can be tricky I’ve found. I’m not in the habit of using it but the outline can help. Also if I think a clamp might be a problem I’ll jog close to it after XY zeros are set and look at the visualizer to see how close it’s going to get.
The thing that’s bitten me most often is everything is going fine, the cutting part finishes and the mill makes a b-line to to XY zero and runs over a clamp. Oops should have had more safe height! Now that I think of it that’s one of the reasons I like to set XY zero in the center of most of my projects. Best advice I can give is to use plastic or wood clamps. You can also get nylon nuts and bolts. So far I haven’t had a problem hitting the bolts just the part of the clamp that is on top of the project.
@DavidB If clamps could pose a problem, you can set their location in CAM and then configure exclusion zones. It goes without saying, you have to position the clamps at the location defined in CAM.
Vectric vCarve allows exclusion zones. Don’t know about Fusion.
Please be aware that return paths in vectric are not included in the keep out zones. At least not in my older version (12). I found this out, milling an outline on a dual frame with clamping on the inside a d my xy0 centre. The keep outs were perfectly obeyed during the milling phase but the return path was a straigth line, crossing at least 2 koz.
@Spamming_Eddie Keep Out zones…that was the term I was looking for.
Hmmm, that is interesting. The move to X0Y0 at the end of the carve is configured in the post-processor. I’m guessing, that as far as vCarve is concerned, the carve ended prior to that last command being added. I’ll test it when I get a chance.
Still the same problem with v12.5. Added a keep-out zone right next to X0Y0 and while it respected the zone at the start of the job, it did not at the end.
Probably the safest solution to that is to remove the move to X0Y0 from the post-processor.
@Spamming_Eddie@Chucky_ott You are both correct. The keep out zones are not respected on the final return to XY0. As I generally use the centre of the material as XY0, it does not affect me. On those rare occasions where I use the front left corner - tiling projects, for example) - I delete the return to XY0 lines from the gcode.
I can’t speak for that fully without being at the CNC BUT I do remember thinking and probably doing a centre start point instead of bottom left as I often set up.