Has anyone incorporated a cross hair laser points into the LongMill. I have one, but don’t have the ability to write any code to control it.
1 Like
@Papabear60 Welcome to the group.’
I have a cheap one mounted on a Mk1 to set XY0 to the centre of my projects. It does not need code to control it. What sort of code does yours need? Knowing that, maybe someone will be able to help you.
Please post what machine you are using and the code sender you are using.
1 Like
Here is a video of a CNC user of an Avid CNC installing a cheap crosshair laser for about 40 usd.
Video link to YouTube

Here is a Wixey laser crosshair used on a drill press that uses a simple hose clamp to hold it onto the column . My Powermatic uses a laser cross hair close to this like this and I thought about installing it onto my MK2 CNC.
Wixey.com - Drill Press Laser It only requires the push of the on off button to use and can be dialed into zero

Who knows maybe if we users generate enough interest Sienci will make a 3D printed bracket with a easier sourced aftermarket cross hair laser to work with the MK1 or MK2
For calculating the offset. The laser pointers I’ve seen are mounted such they are a known distance in c and y from the center of the bit. The code would add/subtract the appropriate amount so the bit is centered.0
Hi, thank you for your response. Probably no code needed. However, you must have a way to feed in the fixed offset from the center of the bit to the “X” in the crosshair. I swear I saw a place in Setup or Firmware where it was asking for x and y offsets and thought that was for this purpose. Or, do you just know the offset and calculate it manually?
Thx,
Dave
@Papabear60 You were right. There are offset settings in gSender for the Sienci laserbeam.
For the cross hair laser, you can write a very simple macro that will do what you want. Or, I can write it for you, if you like.
To determine the offset numbers, here is what I did, for example.
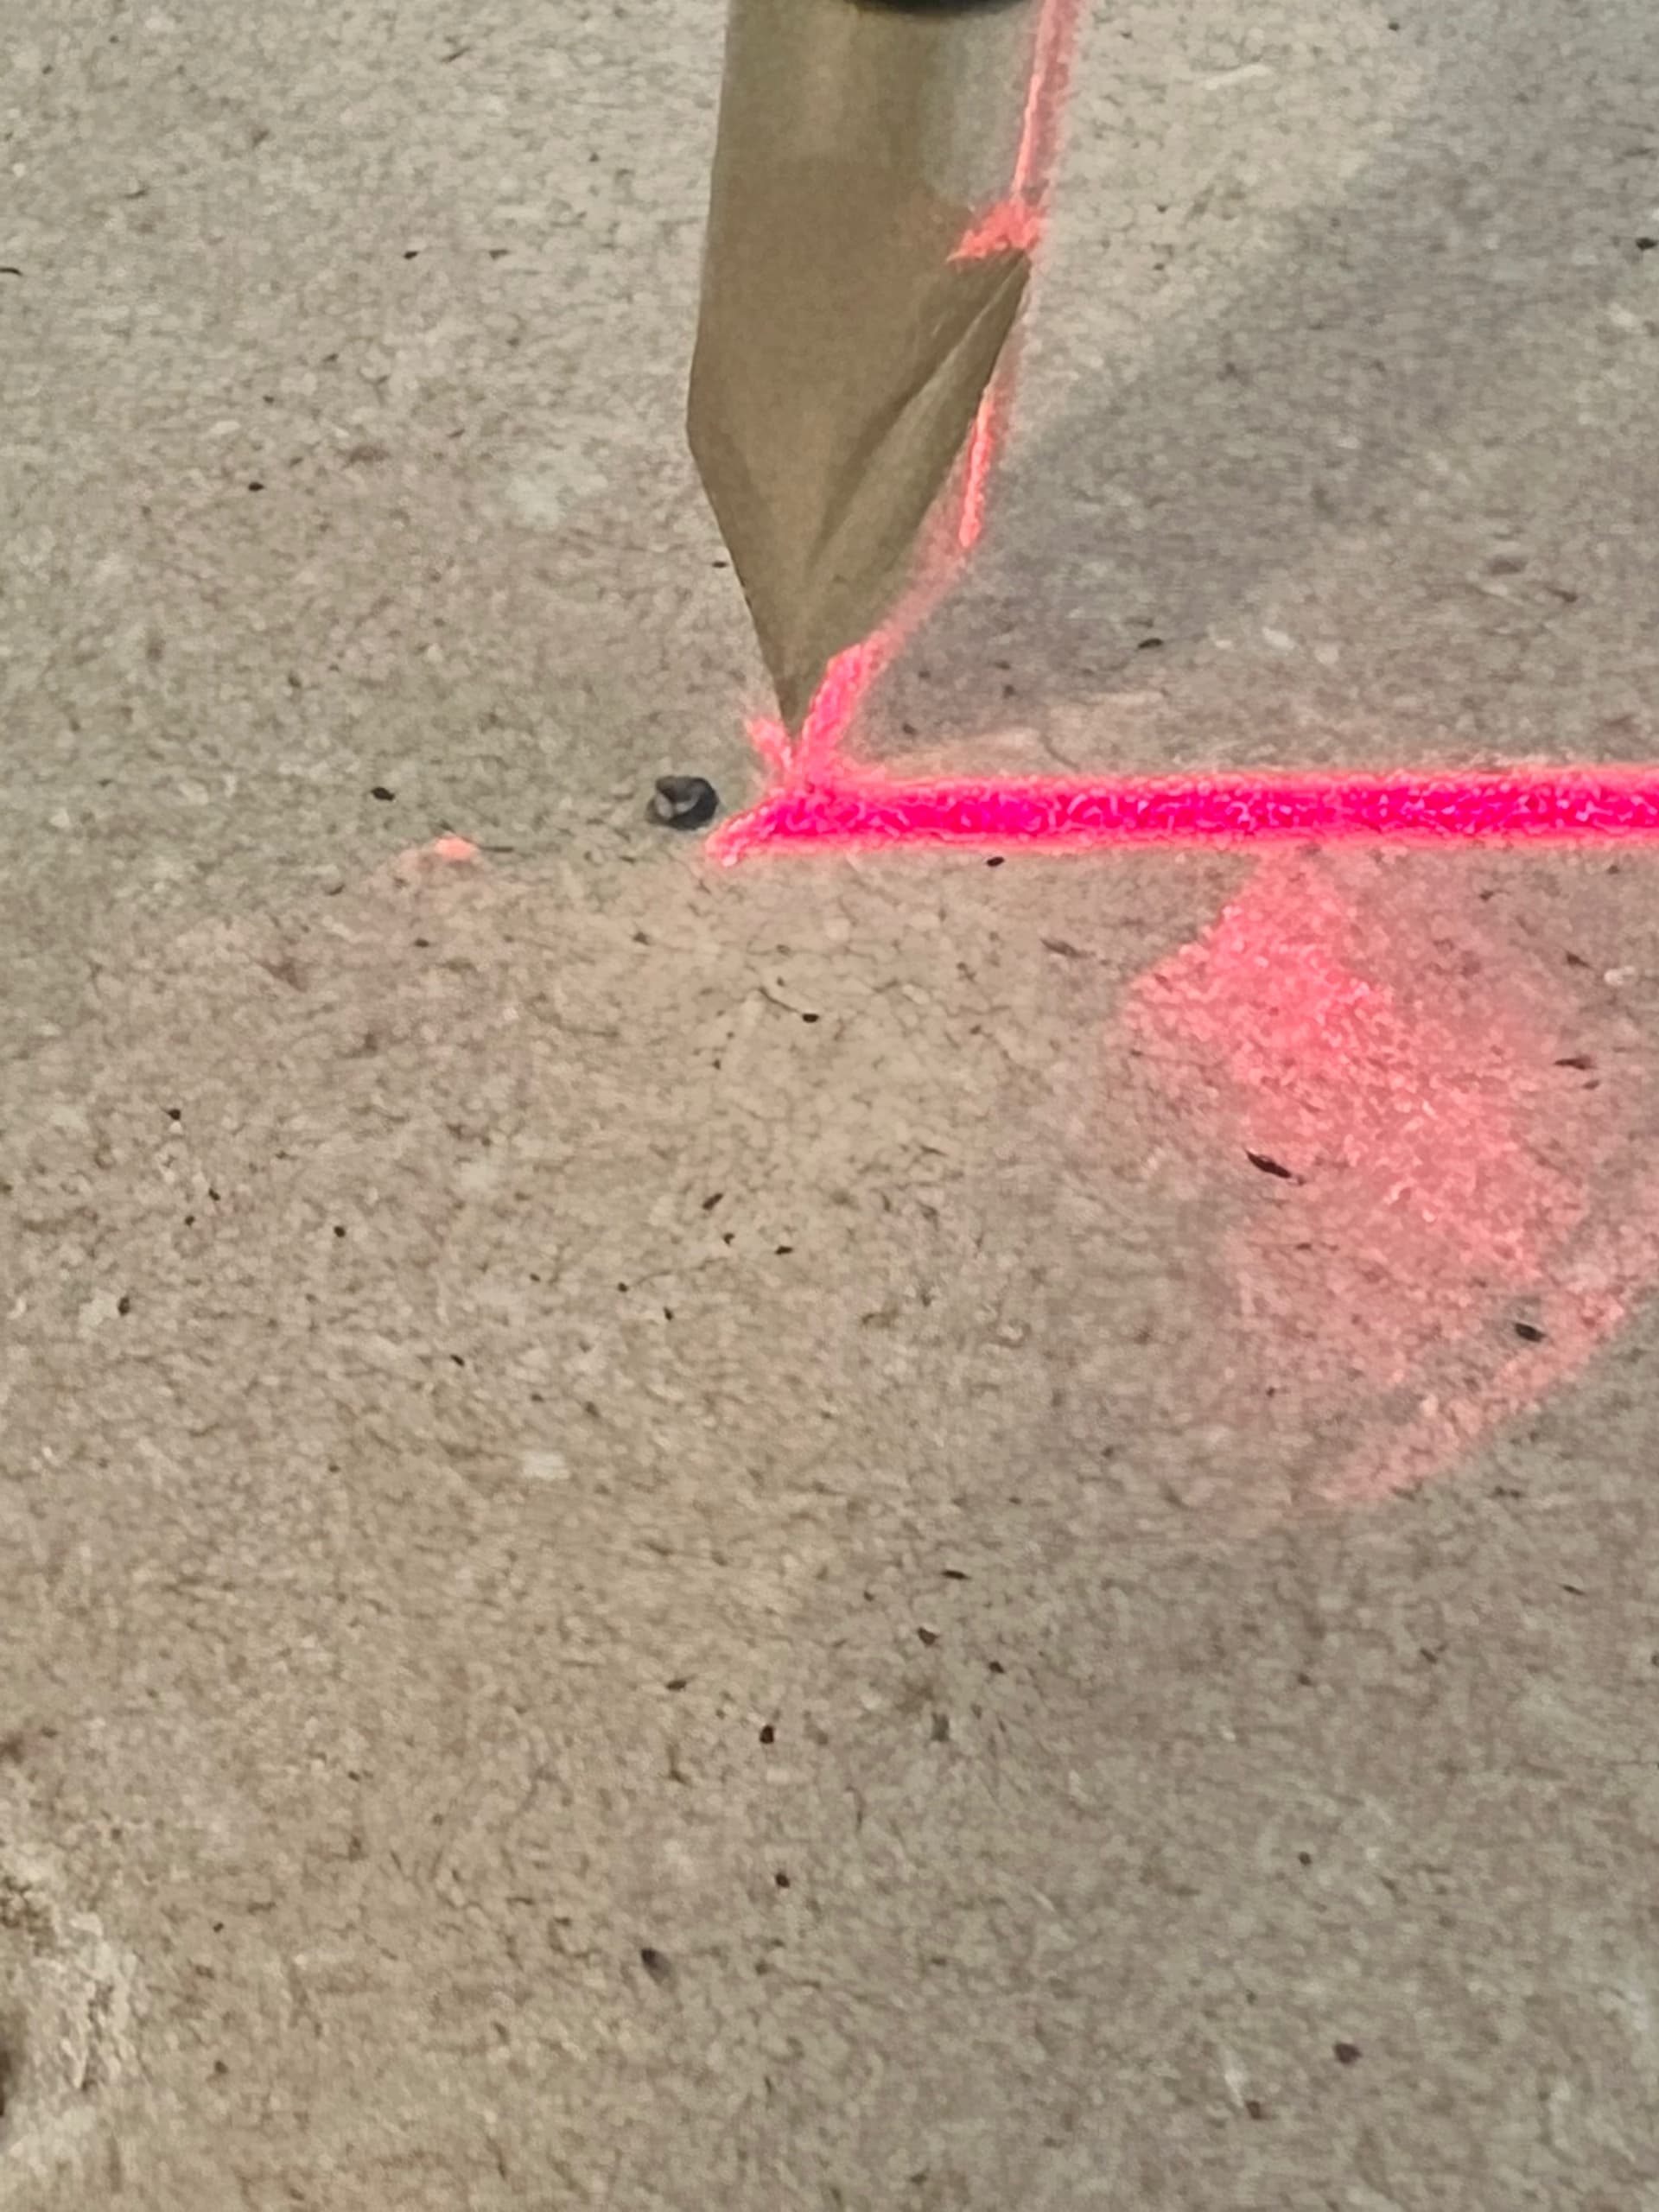
I mounted a 60° V bit in the router, turned on the router and jogged it slowly down until it carved a small divot in the spoil board. It doesn’t matter where on the spoil board you to this, but make it close to the front so that it is easy to do the next step. I set XY0 at that point. I turned on the cross hair laser and jogged the laser until the cross hair was precisely centred in the divot. I noted in gSender the new X any Y values. Let’s say for the sake of this post that the values were X -.125 and Y -.610.
It was a simple matter to write a jogging macro that jogged X .125 and Y .610 - the converse to the two negativer values.
Now, when I centre the laser on my material, I first zero X and Y. Then, I simply run the macro. It jogs the router so that it is precisely centred where the laser cross hairs were. Finally, I set XY0 again. Then run the project.
1 Like
Hmmm. Interesting. I’m ever so slightly off, repeatable 3 times.
Here are my steps:
- Picked a random point and dug a shallow divot,
- Set x0y0 at that point.
- Moved cross hair to the divot and read x and y. X-2.56 and y0.025
- Wrote a one line macro:
G0x2.5600y-0.0250 - Ram the macro
Result: it moved to a point about 0.05” from the divot.
But if I do it manually, it goes right to the point.
- Move x-hair so it’s over the divot.
- Set x0y0
- Set precise movement to 2.56 and jog x
- Set precise movement to -.025 and jog y
DEAD NUTS ON THE SPOT
Tells me I’m missing some command in the macro.
Thoughts?
So, I found something that says I should set the macro for relative move with G91, although since I have zeroed x and y, an absolute move = a relative move. But I did the following in the macro.
G91
X+2.56
Y-.03
G90
Now it only moves x to 1.01
Immasoconfused!
Thoughts?
Dave
@Papabear60 Here is mine
G91
G21
G0 Y1.90 X62.62
G90
G20
You need to change the X and Y values, obviously. Mine is dead on every time.
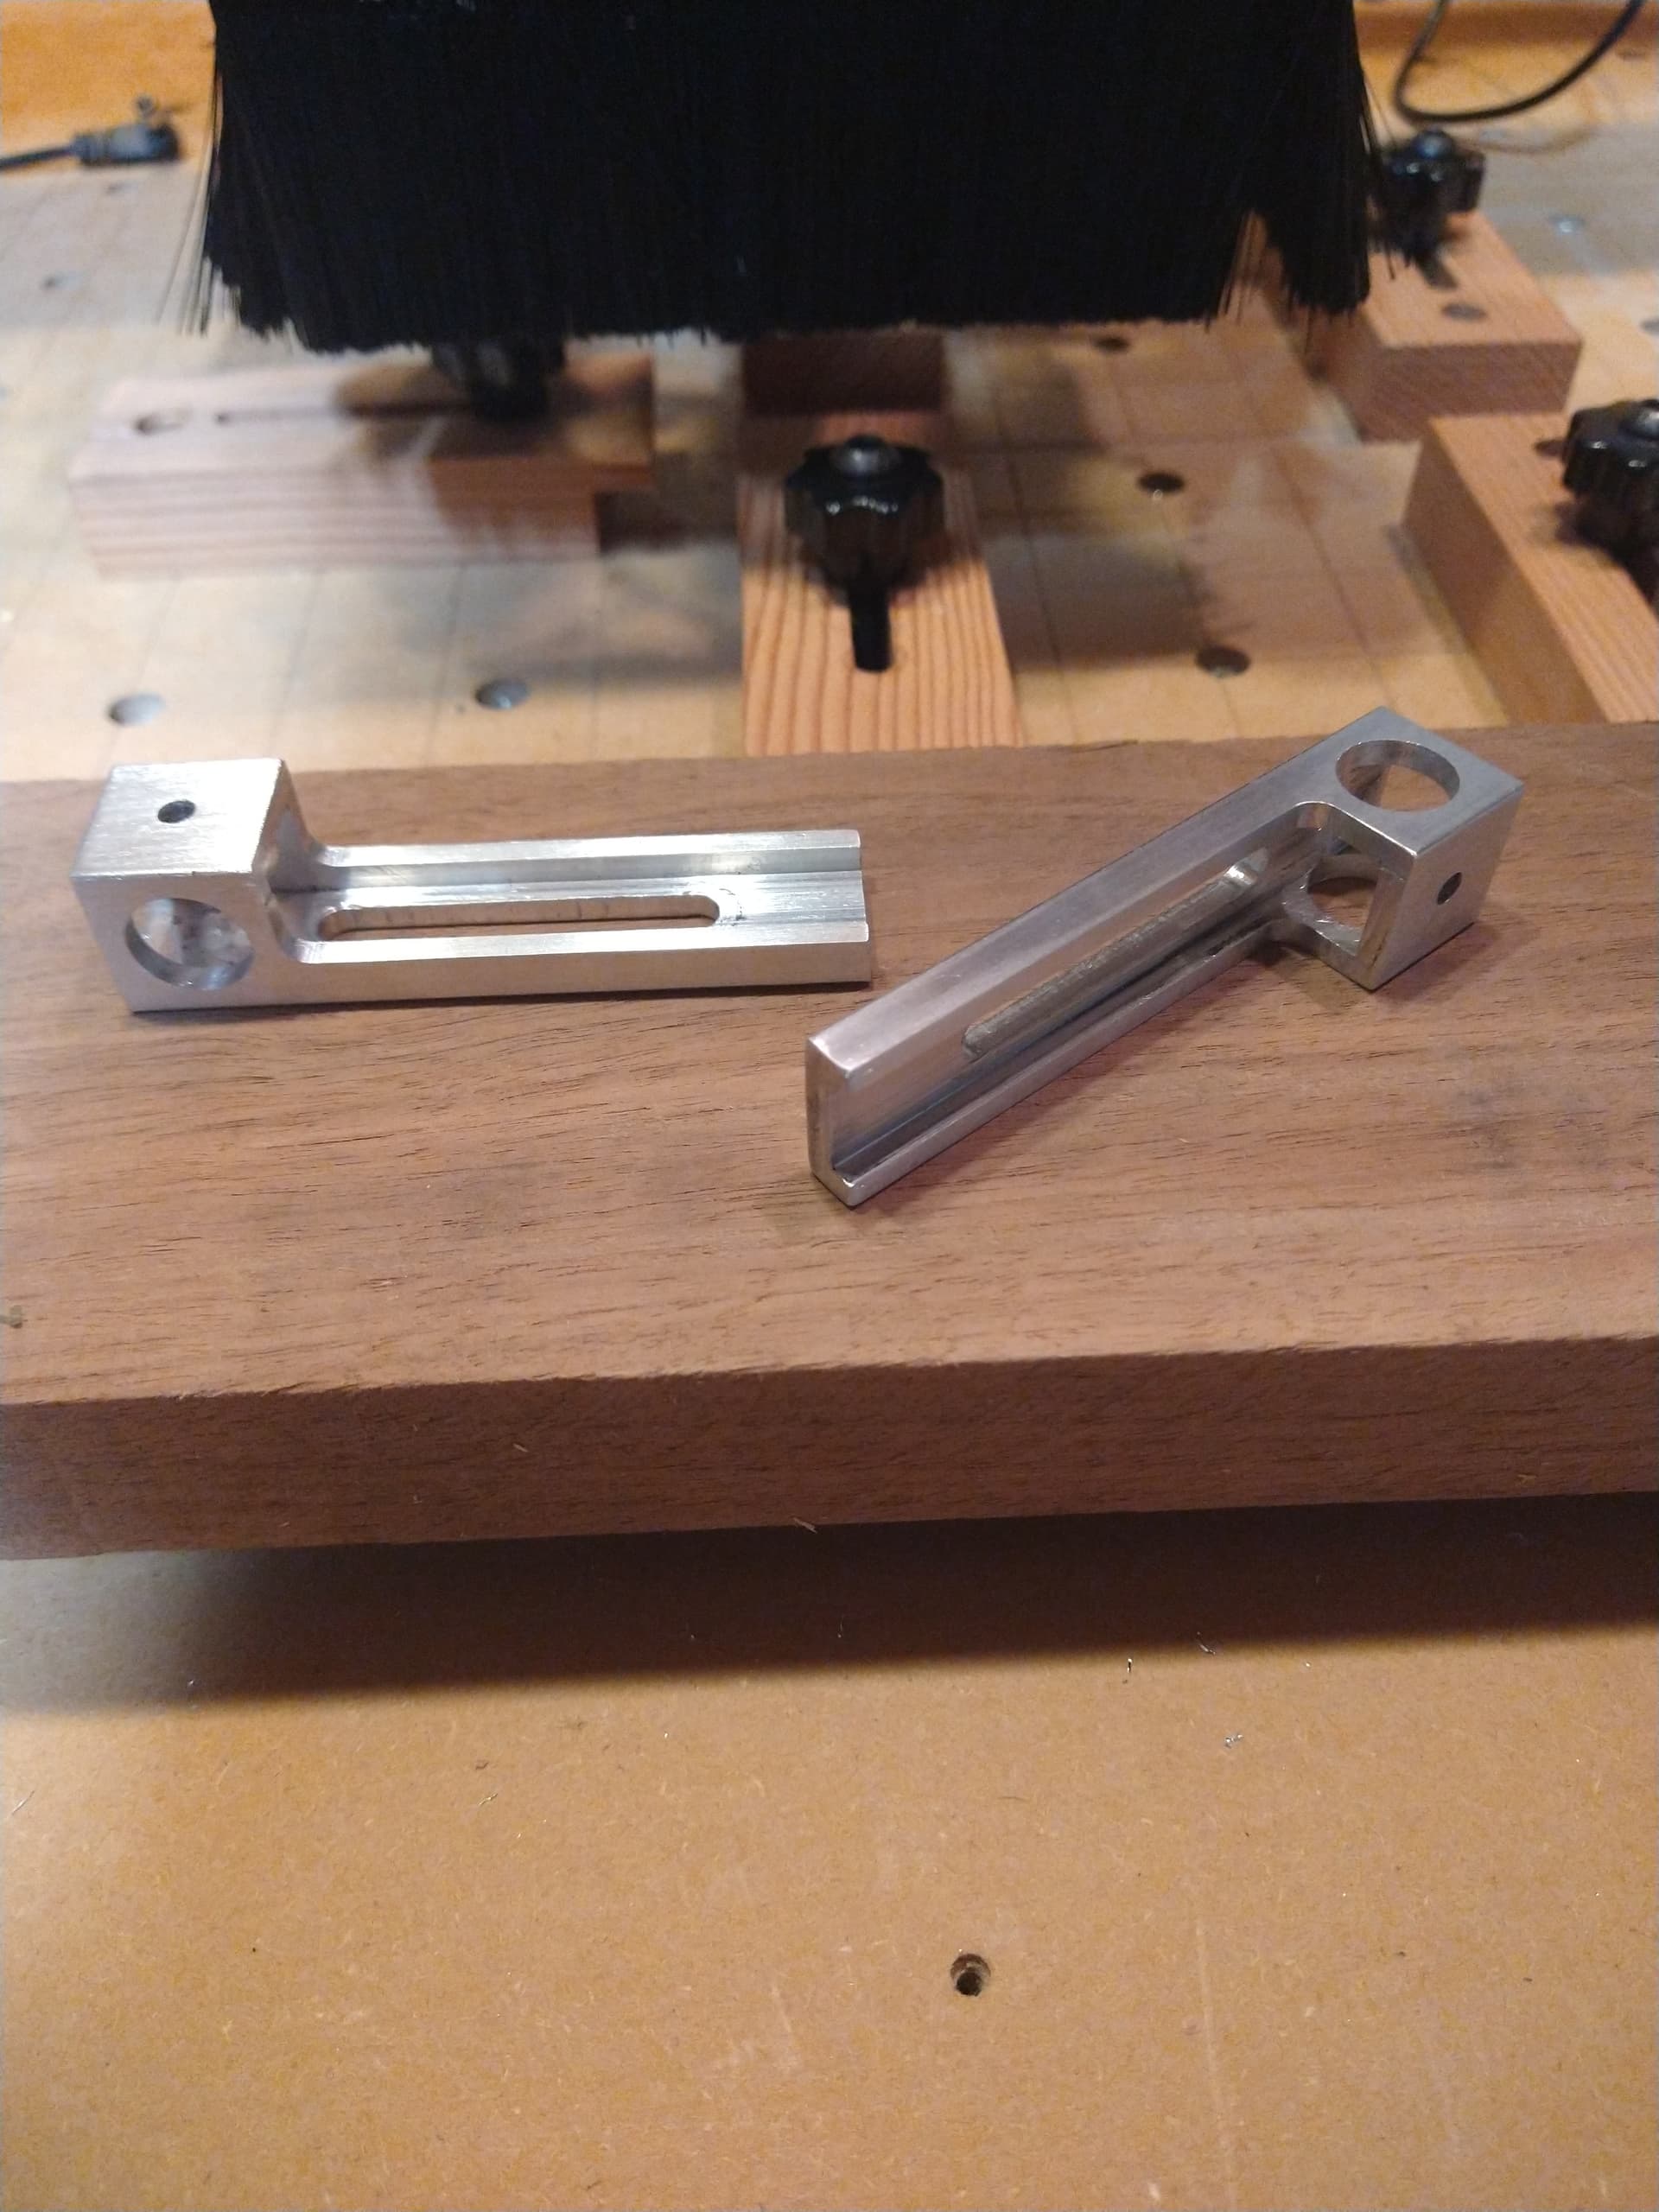
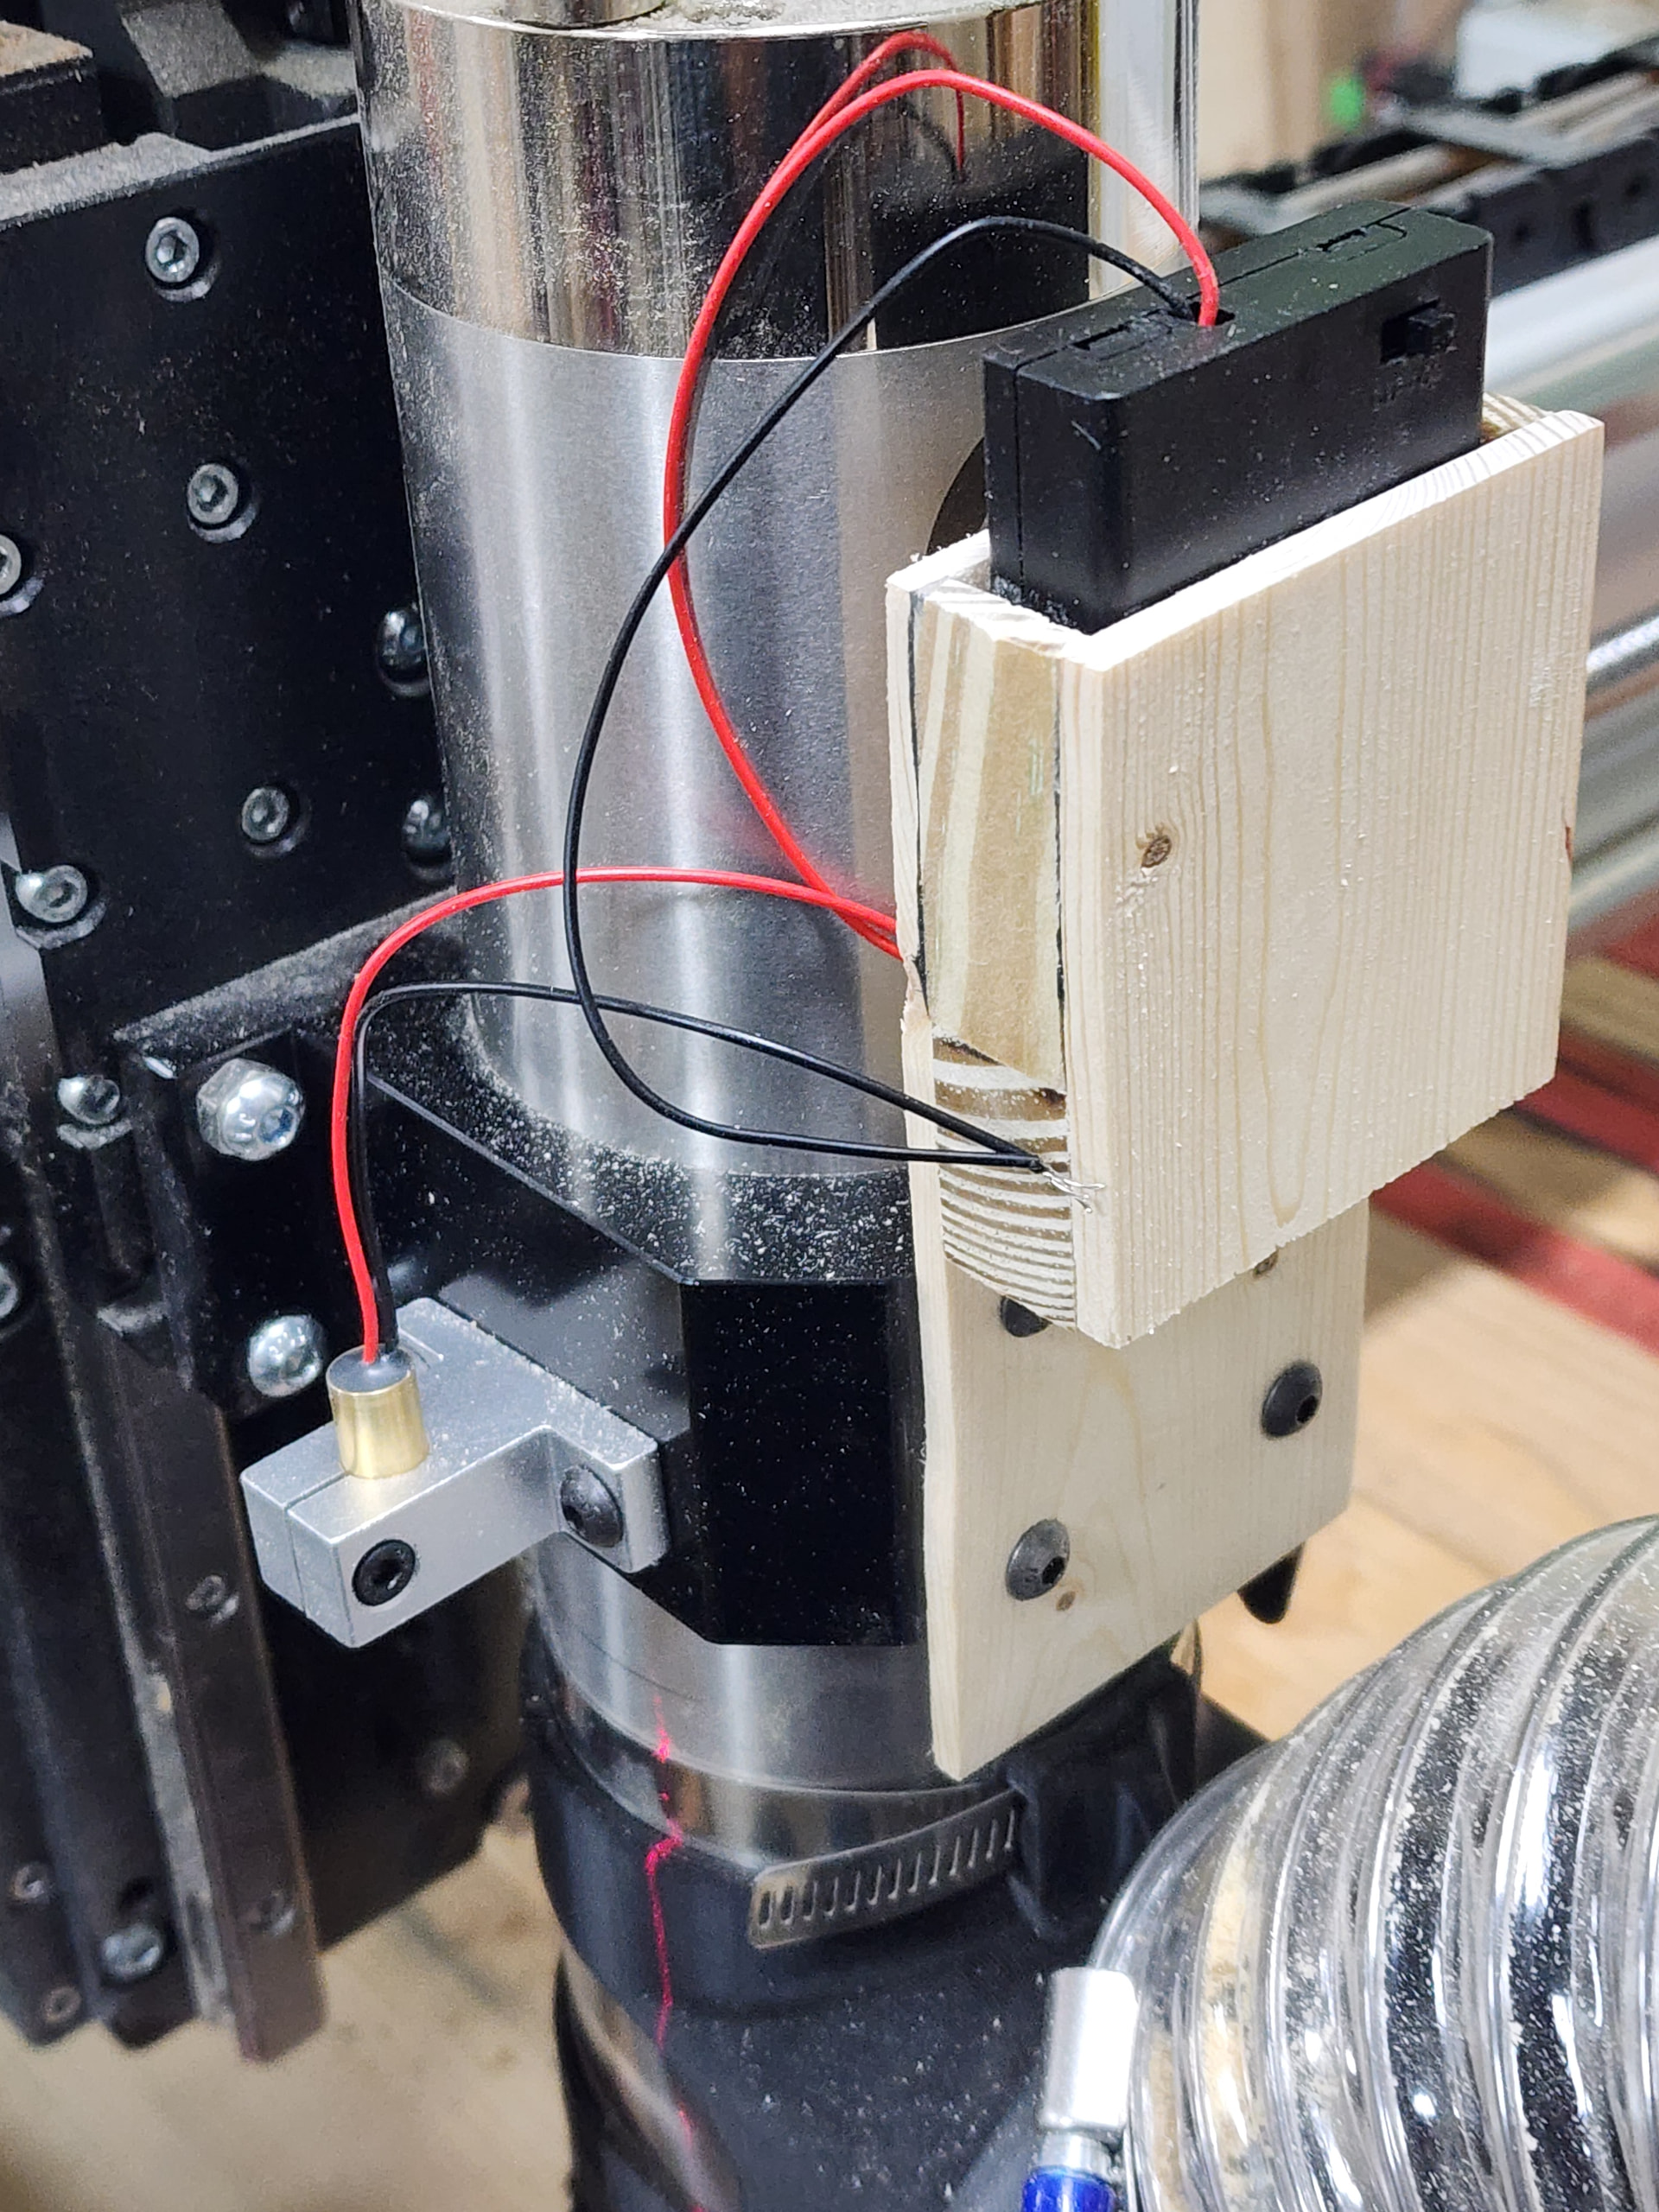
Here is my solution to adding crosshairs to my Longmill. I machined two mounting brackets out of 3/4" square aluminum tube. The 12mm lasers are powered by a CR2032 Battery Holders with Switch from Amazon.

I realize this is an older post, but it is the only post I’ve found in this forum about installing a crosshair laser. I think I found the original post (https://www.youtube.com/watch?v=8m_K9WfCiEY&t=255s), but I became confused as I viewed the post. I have an AltMill version one. I also have all of the suggested parts. The original post mentioned modifying some code in the C:/Mach folder. On my window 11 PC I don’t have this folder. I did find a Mach folder at C:\ProgramData\Vectric\VCarve Pro\V12.0\PostP\05-Wrapped and C:\ProgramData\Vectric\VCarve Pro\V12.5\PostP\05-Wrapped. I have VcarvePro v12.0 and 12.5 installed. The original poster provided a link to download the Mach code, but a lot has changed since it was posted. Also, the fix was applied to Mach3, Mach4 is now available, and others mentioned that the fix would not work with Mach4. I have no idea what version of Mach is installed. Does anyone know how I can accomplish installing a laser on the AltMill?.
thats for different controller. you are on gsender, Mach 3 or 4 are totally different
@Jgt1942 The macros that were previously posted here will work with your AltMill and the SLB-ext controller. As @Altmillal1114 said, the video that you linked is not relevant to your machine and controller.
Thanks, as a newbie, I was not aware. lol
OK, Can I create a button for gsender? If so how?
I just reread this thread, and it is more meaningful now that I know a bit more, but I’m still having an issue modifying the gsender.
I see you posted the code for your machine as follows:
G91
G21
G0 Y1.90 X62.62
G90
G20
I’m at the stage where I’m about to mount the alum holder to the spindle holder.
I just found gsender info at Compile gSender - gSender , and my brain went up in smoke.
@Jgt1942 John: this has nothing at all to do with compiling gsender, so forget about that.
You have not yet mounted your cross-hair laser. Do you have one yet?
Scrolling up in this thread, you will see how to determine the offset distances in X and Y from your spindle/router bit. Follow that process and send me a PM with the values in X and Y that you find. We can go from there.
PS: I’ve improved the macro since I posted this code, so I suggest you wait to try this until you send me your offsets.
1 Like
@gwilki Sorry to be soooo slow but I’ve gone down numerous rabbit holes, all of which took a LONG time. I’m in the process of mounting the crosshair light bracket. I noticed that as I adjusted the Z height the X line was moving about 4mm max. I had the bit touching the wood and then raised it to the max position.
When I rasied to the Z-max, gSender issued a lock, and the SLB had one solid red light (bottom right area) and one light blinking red/green (upper left area).
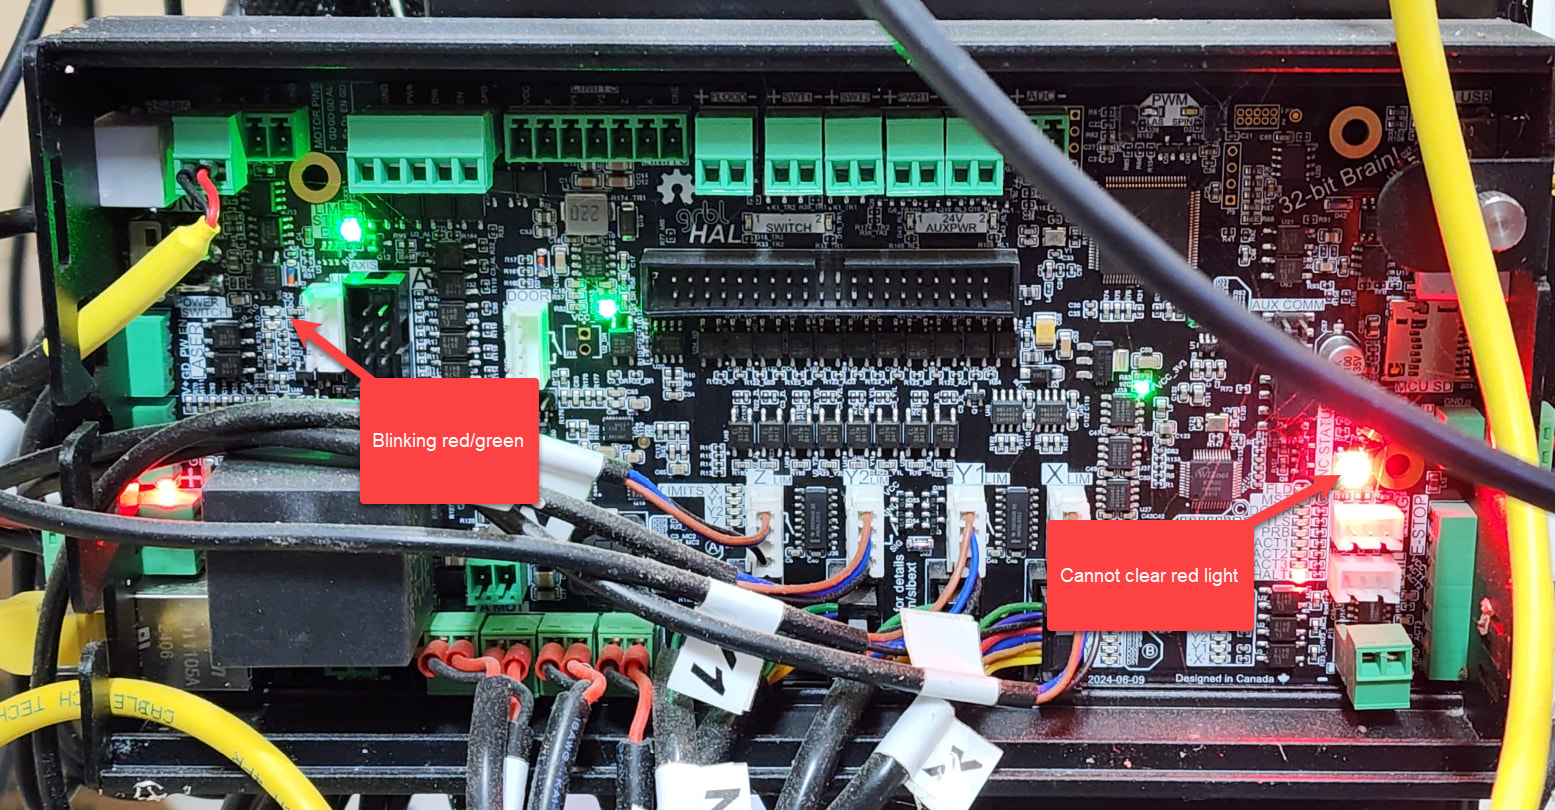
At this time, I cannot clear the solid red light. Until the light is cleared, I cannot proceed. I’ve tried resetting the Red Emergency button. Normally, this will clear the lock. In gSender I’ve clicked on the red error message numerous times.
I have some other gSender issues and will create a new thread.
@Jgt1942 No need to apologize for the delay, John. Life has a habit of interfering with our fun from time to time.
WRT to the laser moving in X, it can be caused by two things. One is that your gantry is actually not moving perpendicular to the table top. Unlikely, but possible. The other is that you laser pointed is not perfectly perpendicular to the table top. If it is not, as you move up and down, the cross hairs will move in X and/or Y.
As to the controller issues, I have no reply. If I were you, I would power cycle the controller.
This may be a silly question but … I see the laser emitter is mounted on the spindle bracket which is between 50-60 mm away from the point of any bit that you might have installed. The only thing I can think of doing would be to find center point with the laser and then move the spindle by the necessary amount to compensate for the offset.
Seems like this is a lot of effort …
I suppose once the offset is established you could make a macro that automatically moves the spindle but it still seems like the laser doesn’t seem to be simplifying things by much.