I received my MK2, the instructions were easy to follow and everything fit together great. It looks really sturdy. But I am having trouble mounting it. I mounted the right side per instructions and then attempted to get things square. I am using the g sender tool for alignment and have gotten as close as .33 inches which is not close enough. When I go to move the left rail it is very hard to move and I feel like I am forcing it into place. How much force should a person have to use to move the left rail? Is this normal?
I hope someone can chime in to give you your answer. My machine will hopefully be sent out this week so hearing all these questions I’m sure I’ll have as well later on.
If I can ask, about how long was your shipping from the time it was sent out to your arrival? Never ordered anything from Canada so I don’t know their shipping times.
I am in Wisconsin and it took about 3 days. There was duty owed on it, about $95.00 US. I was a bit surprised but then went and read about shipping on the web site and it does say there would be a duty due. I was glad I was home when UPS delivered it or it would have been delayed longer.
The assembly was an enjoyable process, the instructions are very clear just take your time and enjoy learning about the unit as you go. I also ran the wires needed for the laser when I was putting it together, seemed like the right time to do it.
As far as squaring goes I hope there is help here. I am very mechanically inclined but I’m stumped on this one. The M5-16mm bolt on all Delrin anti-backlash nut are not touching so that’s not it. I’m wondering if I should back off the bolts holding the Delrin anti-backlash nuts on and re tighten when aligned. I’m just not sure, it really seems to me that the force I need to move it as much as the g sender procedure say is a bit much.
2 Likes
Hi MikeH - can you point me to the procedure (and step of the procedure) you are following? I set my MK2 up using MK1 instructions (because it was beta), and had no issues - I don’t know what step you are describing. Hope I can help - you’re so close!
1 Like
Thanks for your help elbarsal. Here is the link. Additional Features - gSender Docs I am also going to re read everything just in case I missed something.
Hi @MikeH I think you might have skipped ahead a little - that procedure is for fine-tuning. Just to confirm, this is what I did (and what the instructions mention, but it’s a bit unclear) before trying for finer squaring:
- Anchor the right side as described
- Drive the gantry all the way to one extreme of the Y direction, until both motors stall (sounds bad, but isn’t)
- Anchor the outside screw of the left side foot nearest the gantry
- Drive the gantry all the way to the other end of the Y
- Anchor the outside of the other foot
- Check for squareness by measuring the diagonal OR using the gSender squaring tool
- Anchor the middle feet and inside screws
I apologize if you have already done these steps - the instructions mention the gSender squaring tool kind of in the middle - but if the gantry isn’t fully one way, then fully the other, things can be crooked.
Hope that helps - let me know if it does (hopefully) or doesn’t (if not, on to a new idea).
ed
2 Likes
Boy, I’m glad you reminded me of that duty fee. Been so long since I ordered it, I forgot. UPS just collects on delivery then? I’m in Kansas City, so mine will probably be a few extra days. I appreciate you letting me know.
Hopefully the advice above sets you in the right direction. I’m sure it’ll help me out as well.
Happy Easter!
1 Like
thank you. I think I did miss a step. I’m out of town till Tuesday, watching Grandkids but Tuesday I’ll get back on it, I’ll let you know how it goes.
2 Likes
Wow elbarsal, I sure did miss a step. I reread everything and I got sidetracked at the g sender procedure the first time. When I saw what I did I kinda had to laugh at myself a bit. Things went better this time, I’m at .033. I’m not sure if I should try to get it better or not. Any thoughts?
And thanks again.
1 Like
Hi @MikeH you are very welcome! I’m glad you got it sorted.
As to .033 out - checking that on my calipers, that’s a pretty small amount - might be hard to adjust that out. You could try some gentle “persuasion” before cinching all the screws down.
Where you might find that too big is if you intend to do any large two-sided projects; when you flip a part over, the out-of-squareness gets doubled. I managed to get my setup really dialed into square by sacrificing a piece of thin MDF to drill repeated holes to get flipping bang-on.
I should write that procedure up - it’s a bit more involved (and includes gently turning one of my lead screws a very small amount).
Short version - you’re in great shape - if you don’t intend to do large sized flipped projects, you’re there - if you want to do large-ish two sided work, it is possible to get tighter.
I will be doing some small two sided work but for now I think I’m ok. After I get the hang of how everything works I may tweak it a bit.
@MikeH It looks like you have been well taken care of my @elbarsal . I would only add that if that .033 is mm, you are talking about about a thousandth of an inch. Tryin to move the rails that much will be a real exercise in frustration, I would argue.
One question. When you are doing the calibration, how far in X and Y are you jogging? If you are out .033mm at 4", that’s one thing. If you are out that same amount at 20", that is something quite different.
My machine is out about .04mm at 28". I do double sided carvings more than anything else and I have no issues with alignment at all. I would bet that, on some of my carving, the wood moves more than that between carving the top and bottom sides.
gwilki It is .033 inches over the full length and width of the MK2. I ran the unit to its stops, left to right and front to back. When I got to the stops I backed it off 1/8 inch for both X and Y and used those numbers, so what is that, 32 by 34 inches. Those were the numbers I used in g sender. and that got me the .033. Thoughts?
@MikeH I think you need to do what you are comfortable with, Mike. (How’s that for a non-answer? ![]() )
)
For us fraction guys, the tool is telling you to move one of your Y rails by about 1/32". If you have screwed your feet to your table top, moving them by that small a distance will put the screws right back in the same holes. So, assuming that you want to get it more accurate, you have a few options:
-
you can remove all the screws, shift the rail temporarily, fill the holes, then re-install the rail in the new location;
-
remove all the screws from both sides and move the entire Mill so that all the screws will be in different places on the table: or
-
remove the mill from the table top, mount the feet on strips of MDF and attach those strips so that the Mill is square. This is the option that I went with. The strips on mine have slots in them through which I ran 1/4" bolts through the table top. I can slide the strips back and forth. When the Mill was square, I tightened the bolts. Even doing this, I am out by .04 MM. I can live with that. Theoretically, it should be possible to get the Mill perfect using this hold down method. I was/am prepared to accept what I have. YMMV.
As I said previously, I frequently do double sided projects in hardwood. I would be amazed if the wood did not move more than .04mm from the time that I start the carve until it is finished. It’s just the nature of wood. During these carves, the moisture content of the wood is changing, the stresses in it are being affected by carving away wood on one surface before carving away on the flip side. On carves lasting several hours, the humidity and temperature in my basement shop changes noticeably. All these factors will cause the dimensions of the piece to change - in my view, likely more than any offset between the top and bottom caused by my Mill being out of square by .04mm.
Yours is out by more than mine. However, I would argue that wood movement MAY still be a bigger factor than your out of square number. That said, if it bugs you, look at one of the options that I am suggesting - or another option - and fix it. ![]()
Before doing anything, just to save you some grief, I would suggest that you do some projects. If they come out fine, you are home free. If they don’t and you can attribute the “offness” to your out of square situation, play with the squareness (Is that a word?) Certainly, you will not be causing any harm to the Mill to run it as it is now, so you don’t need to do anything right away.
Obviously, these are my opinions and my opinions only. I’m sure there are others here that will either agree or disagree with me.
What are people using for measuring tools? That might seem like a strange question but my old tape measure I don’t think is up to the task. Or maybe I need a big print version. I went to adjust my unit and moved it just 1/32 of an inch and now I’m off by .24" ;(
Ok, my wife saved the day with a tape measure in mm from her sewing stuff. I also put slides down so I could move it easier. I am now at .02mm. and I think I’m ok with that.
I am wondering if I am misunderstanding something with g sender. After I got everything redone and used g sender to check for square it was off by 1.22mm and it said to move the left side forward or the right side back, when I moved the left side forward and rechecked it I was 2.3mm out of square. This made no sense to me so this time I moved the left side back 3.53mm and checked it again and this time it came out to .02 but I had to move it in the opposite direction that g sender told me too. I’m I looking at something wrong?
Here is a couple pictures from my setup. the groves worked great, highly recommend it.
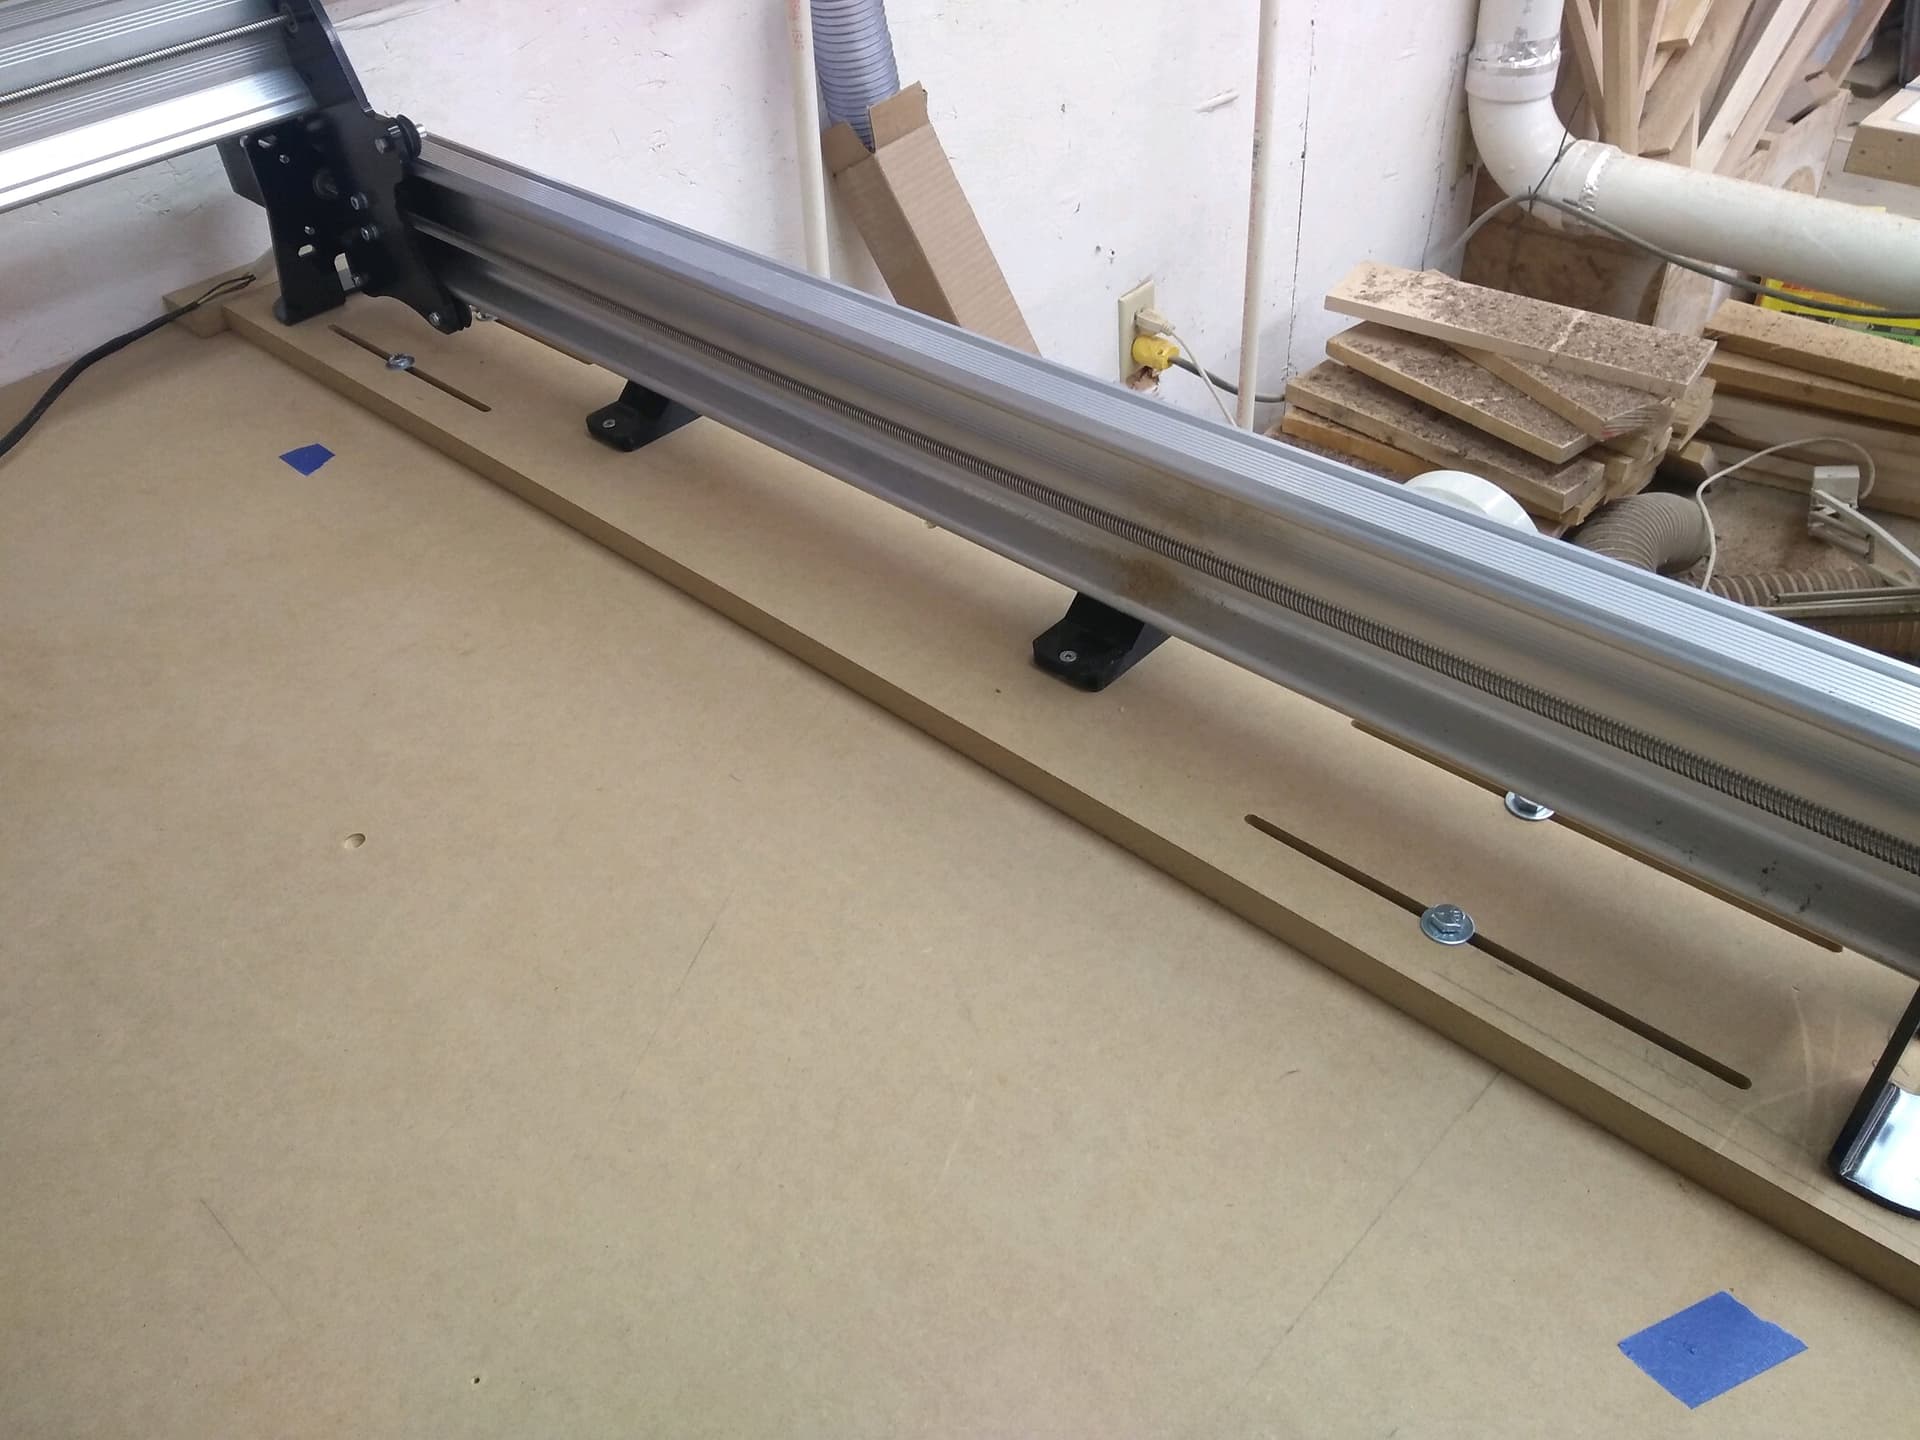

2 Likes
@MikeH I’m glad that the slide idea worked out for you Mike. Since your issue is resolved, I’m closing this thread.
Have fun. Make something nice for your wife. ![]()