Hey everyone!
I hope y’all are having a great start to the weekend! A couple of weeks ago, I received the CNC machine I’ve been eagerly waiting for, and I’ve been itching to share my experience with you all. I’ve been researching and planning for weeks to make sure I get the perfect setup for my workshop. Now that it’s here and assembled, I couldn’t wait to tell you about it!
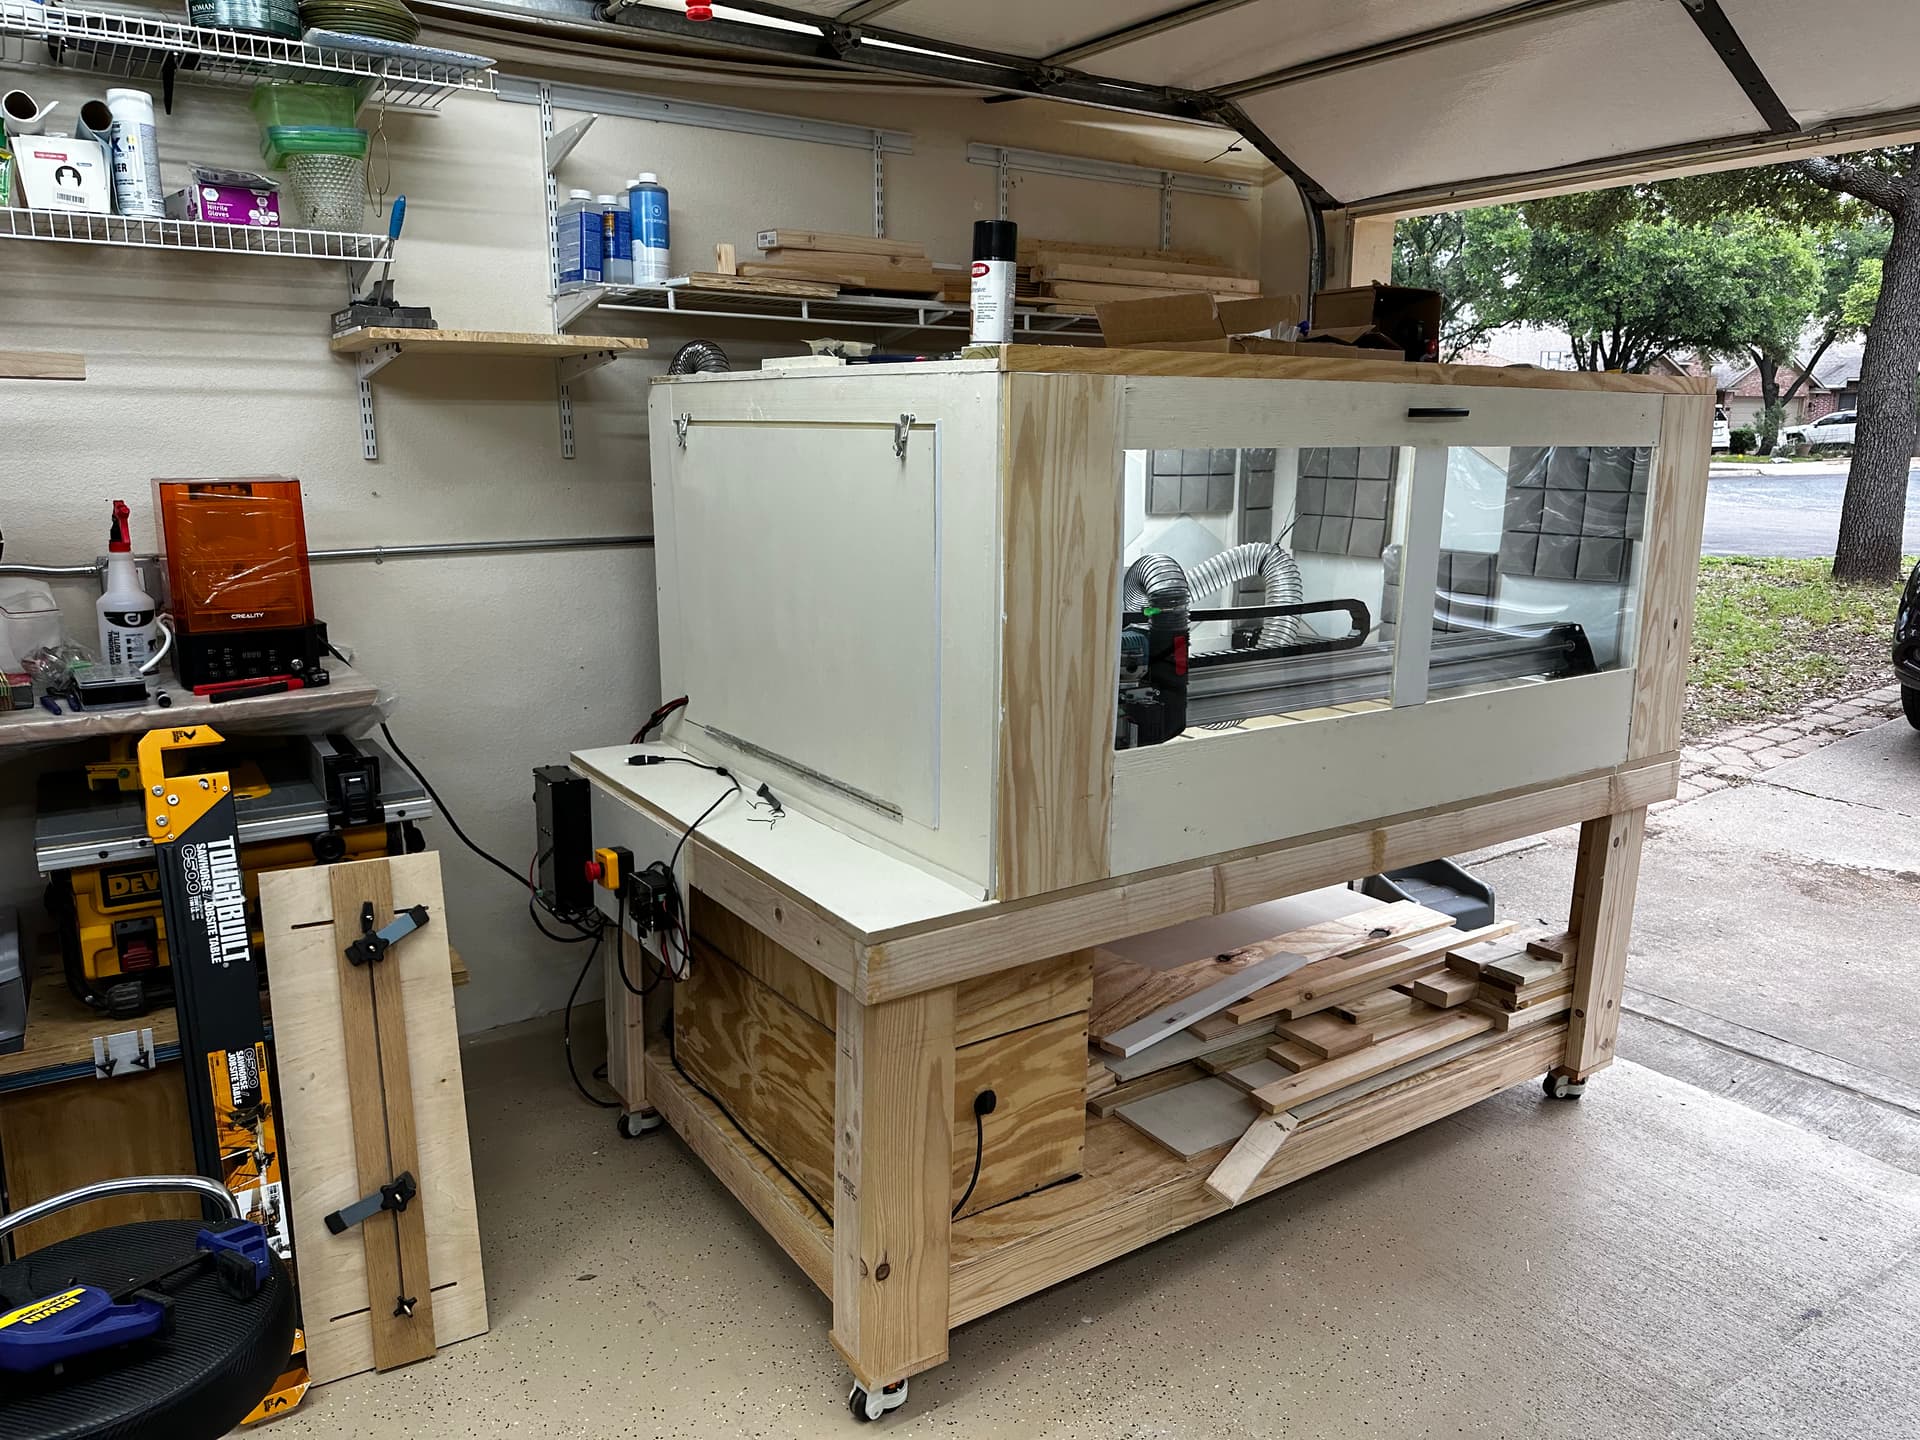
To prepare for the big arrival, I had already built a sturdy table designed to support the weight and precision of the CNC machine. As you can see in the attached picture, it has a robust frame, a level surface, and adequate storage.
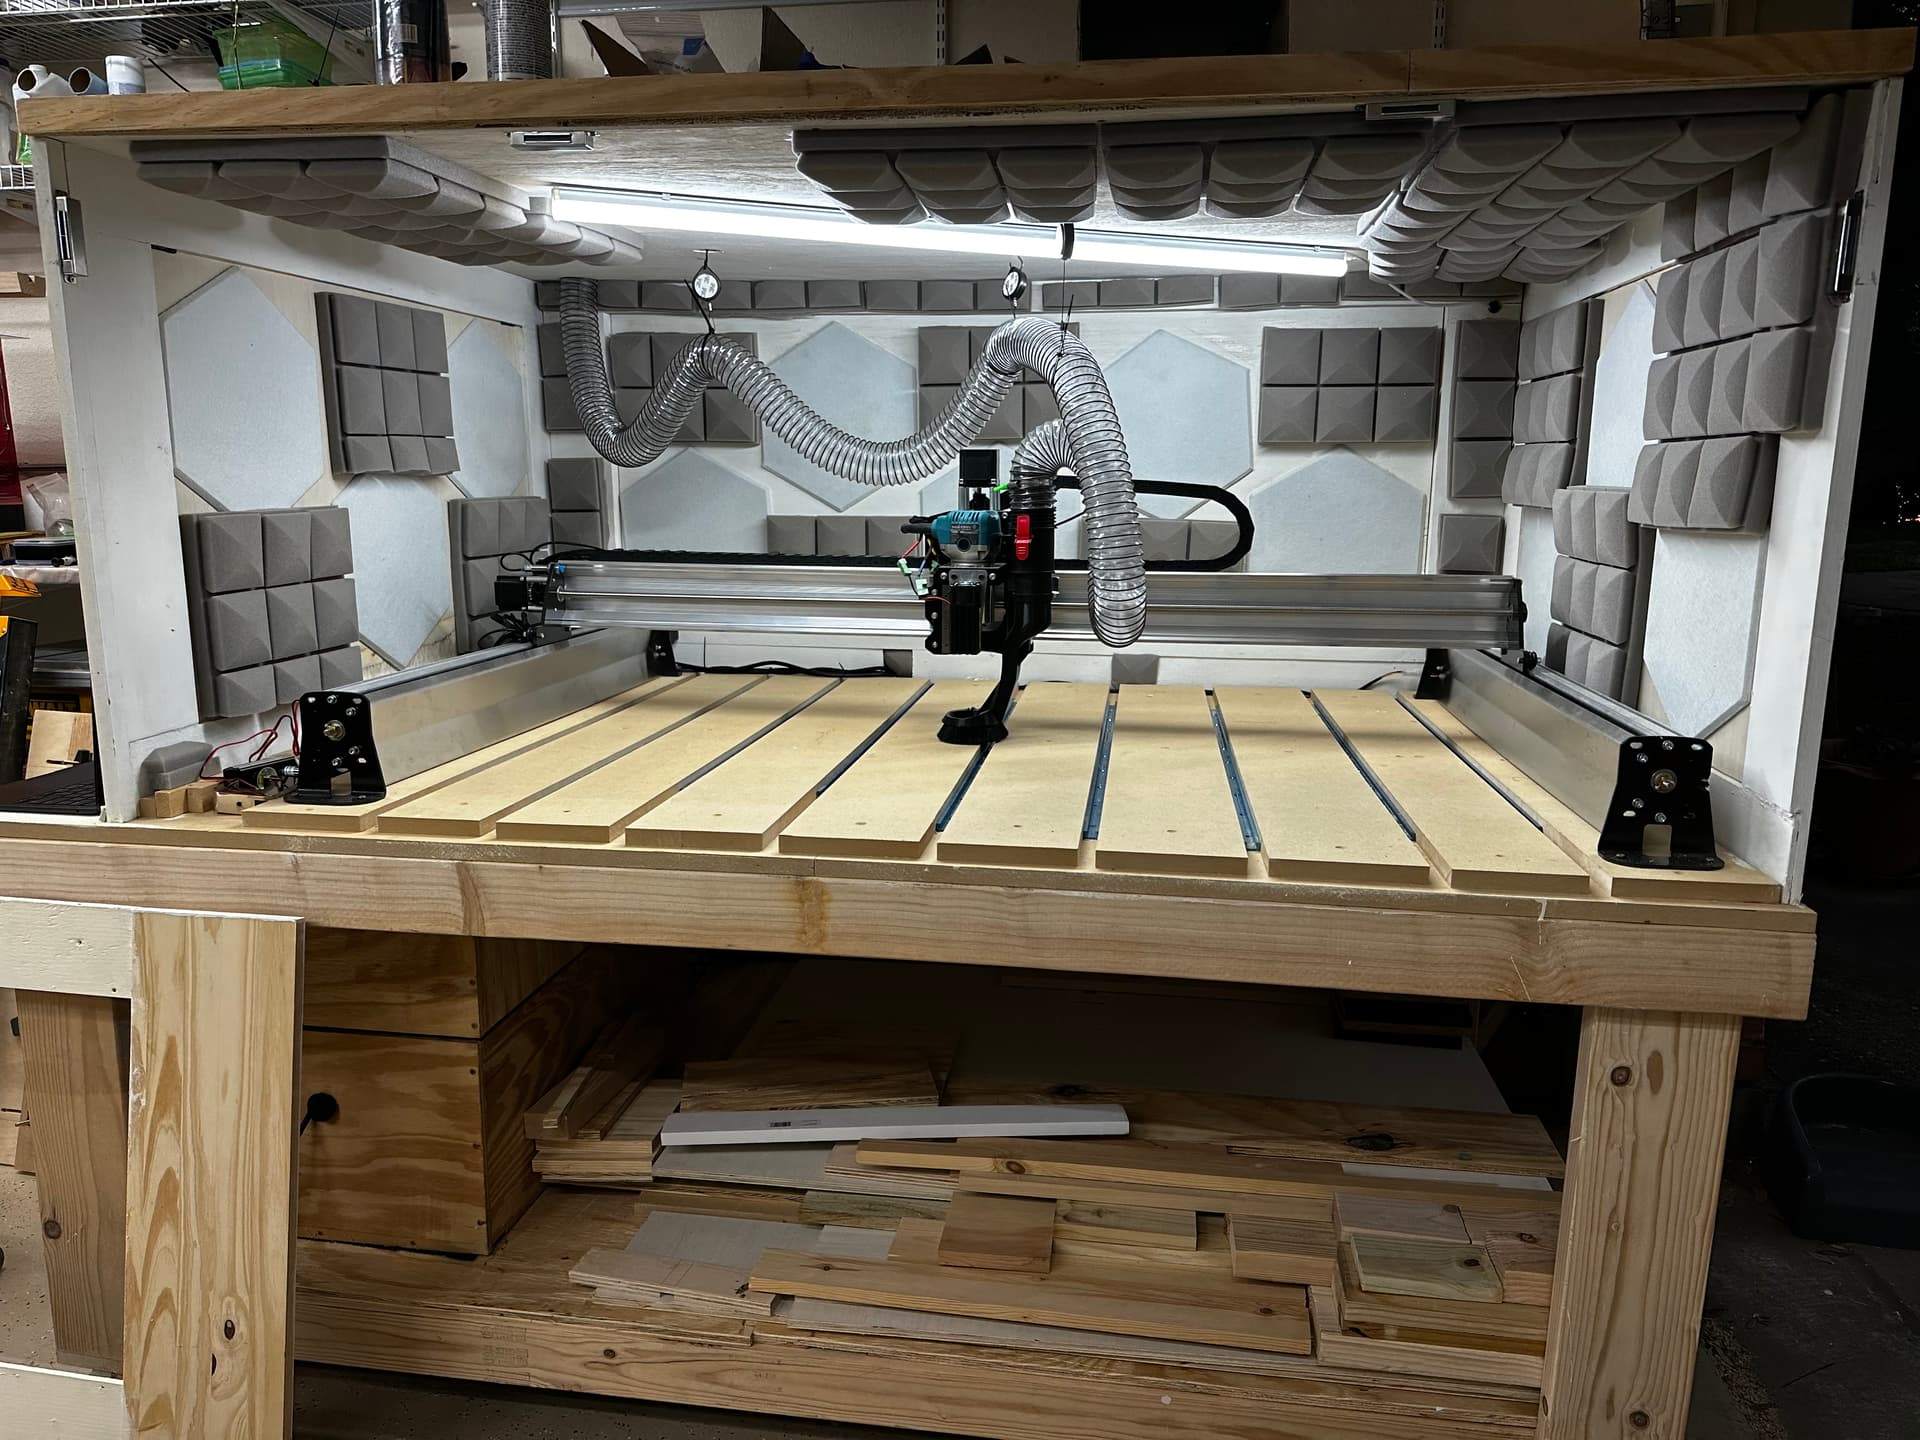
Now, onto the main event - assembling the CNC machine! The anticipation of unboxing it was palpable, and it didn’t disappoint. Everything was well-packaged, with clear instructions and a full inventory of parts. I spent hours carefully assembling each component, ensuring everything was properly aligned and calibrated. The attention to detail paid off, and by the end of the weekend, the machine was fully operational!
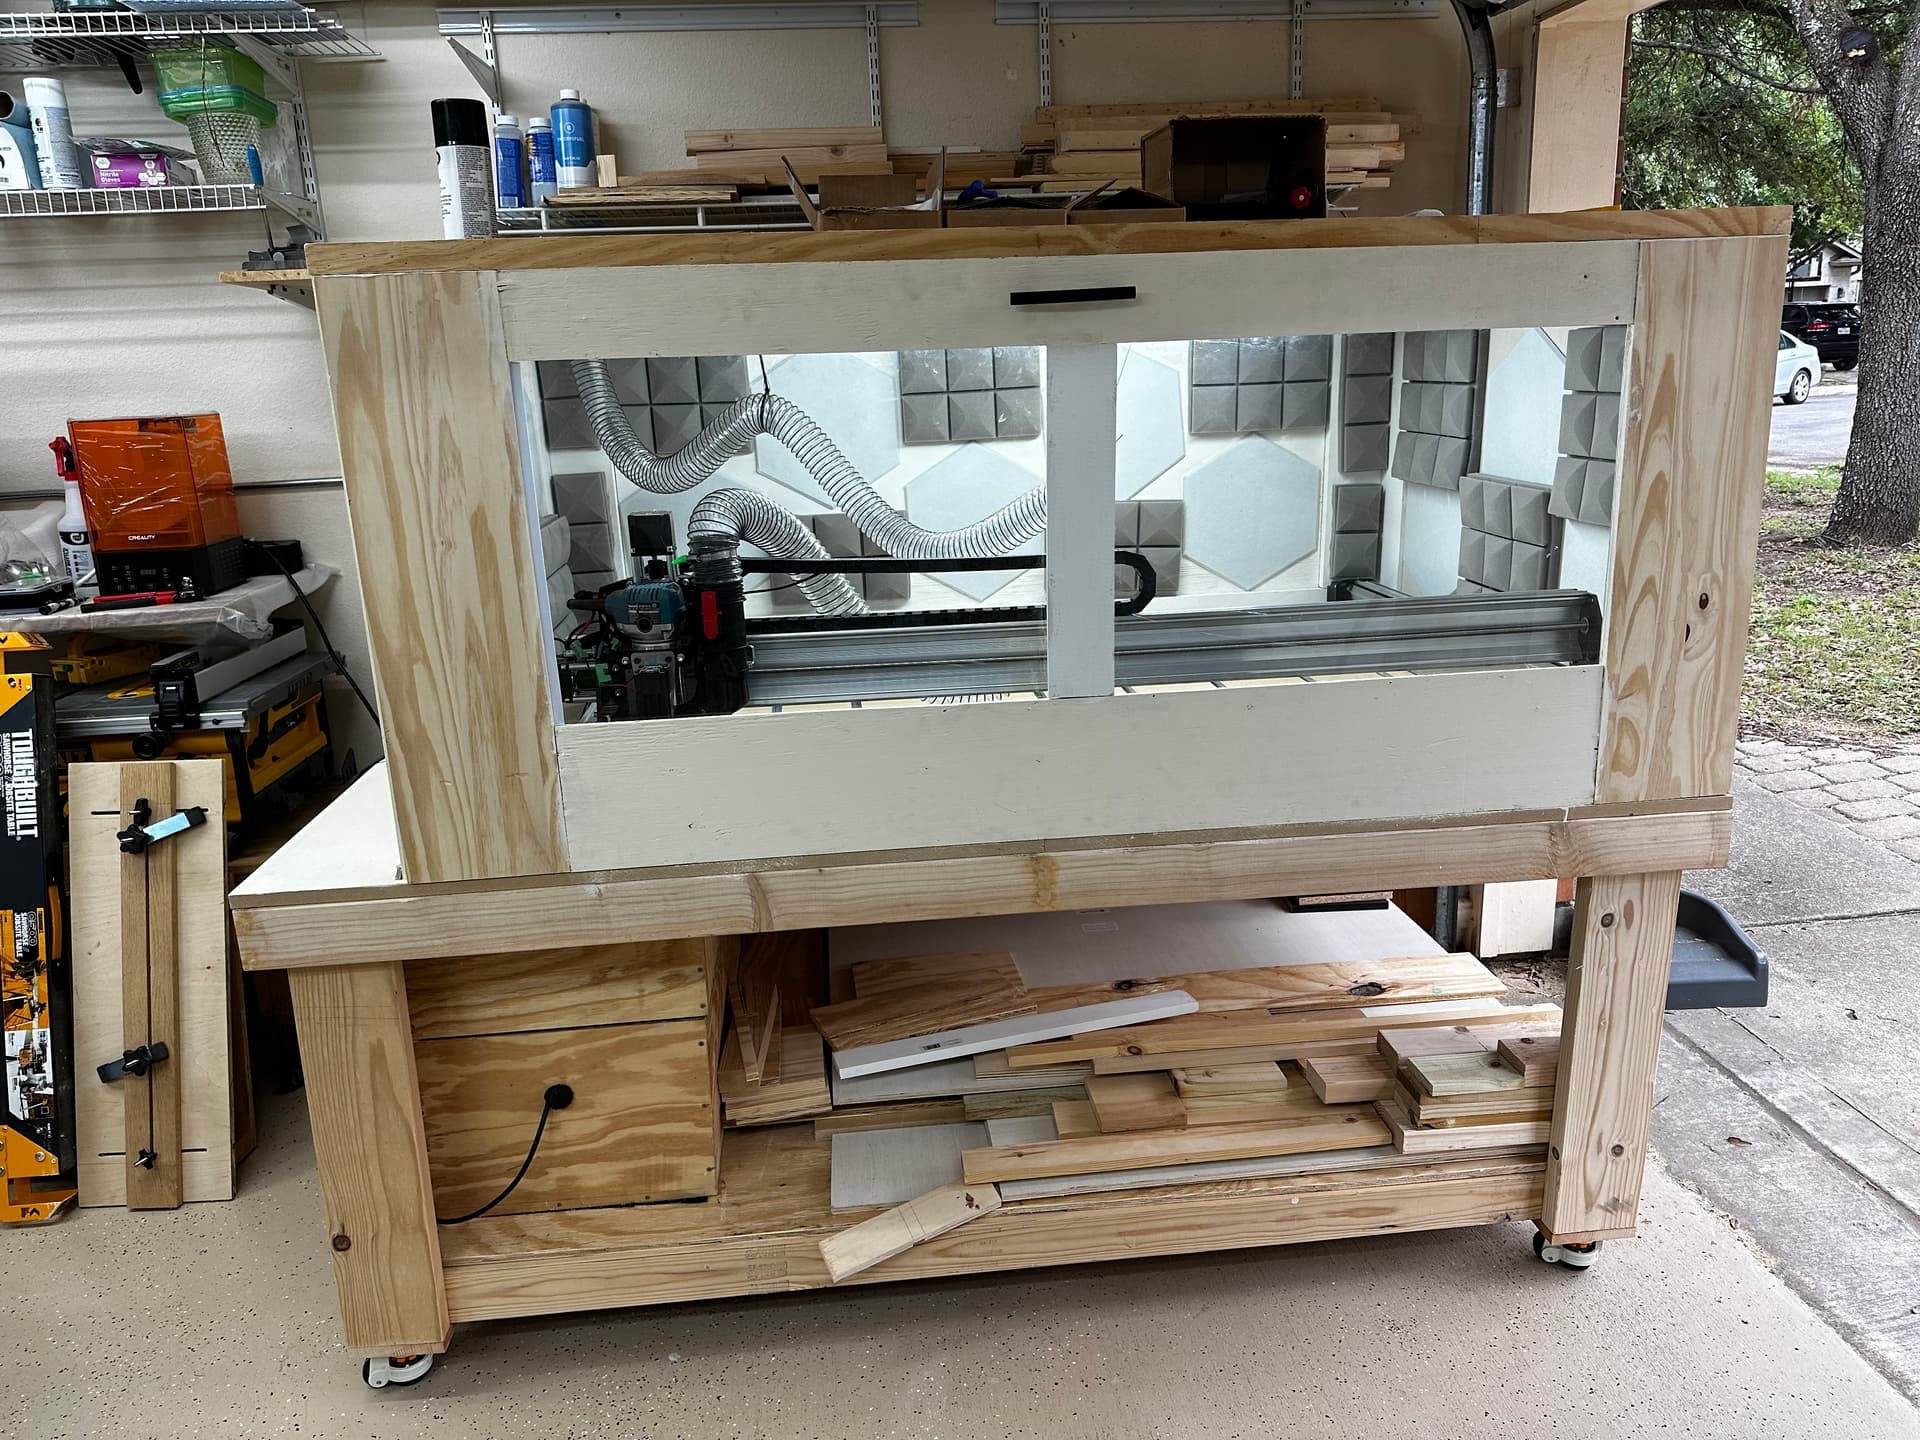
One of my major concerns, however, was the noise and dust generated during the machining process. To mitigate this, I worked on an enclosure for the CNC machine. This will not only help with noise reduction and dust containment, but it will also provide a safer working environment. I’ve laid out the frame and added sound panels to the walls and doors. I’ve made sure to make it accessible from all sides in case I need to do some debugging or accessing some parts that are hard to reach from the front.
As the CNC machine roared to life for the first time, I couldn’t help but feel a sense of accomplishment. This incredible piece of technology has opened up a world of possibilities for my creativity and craftsmanship. Stay tuned for more updates as I dive into my first projects and explore the capabilities of my new CNC machine!
In the meantime, I’d love to hear your thoughts, experiences, and tips on CNC machines, enclosures, and workshop setup. Feel free to share your stories and advice in the comments below!
Happy machining! ![]()
Ali T