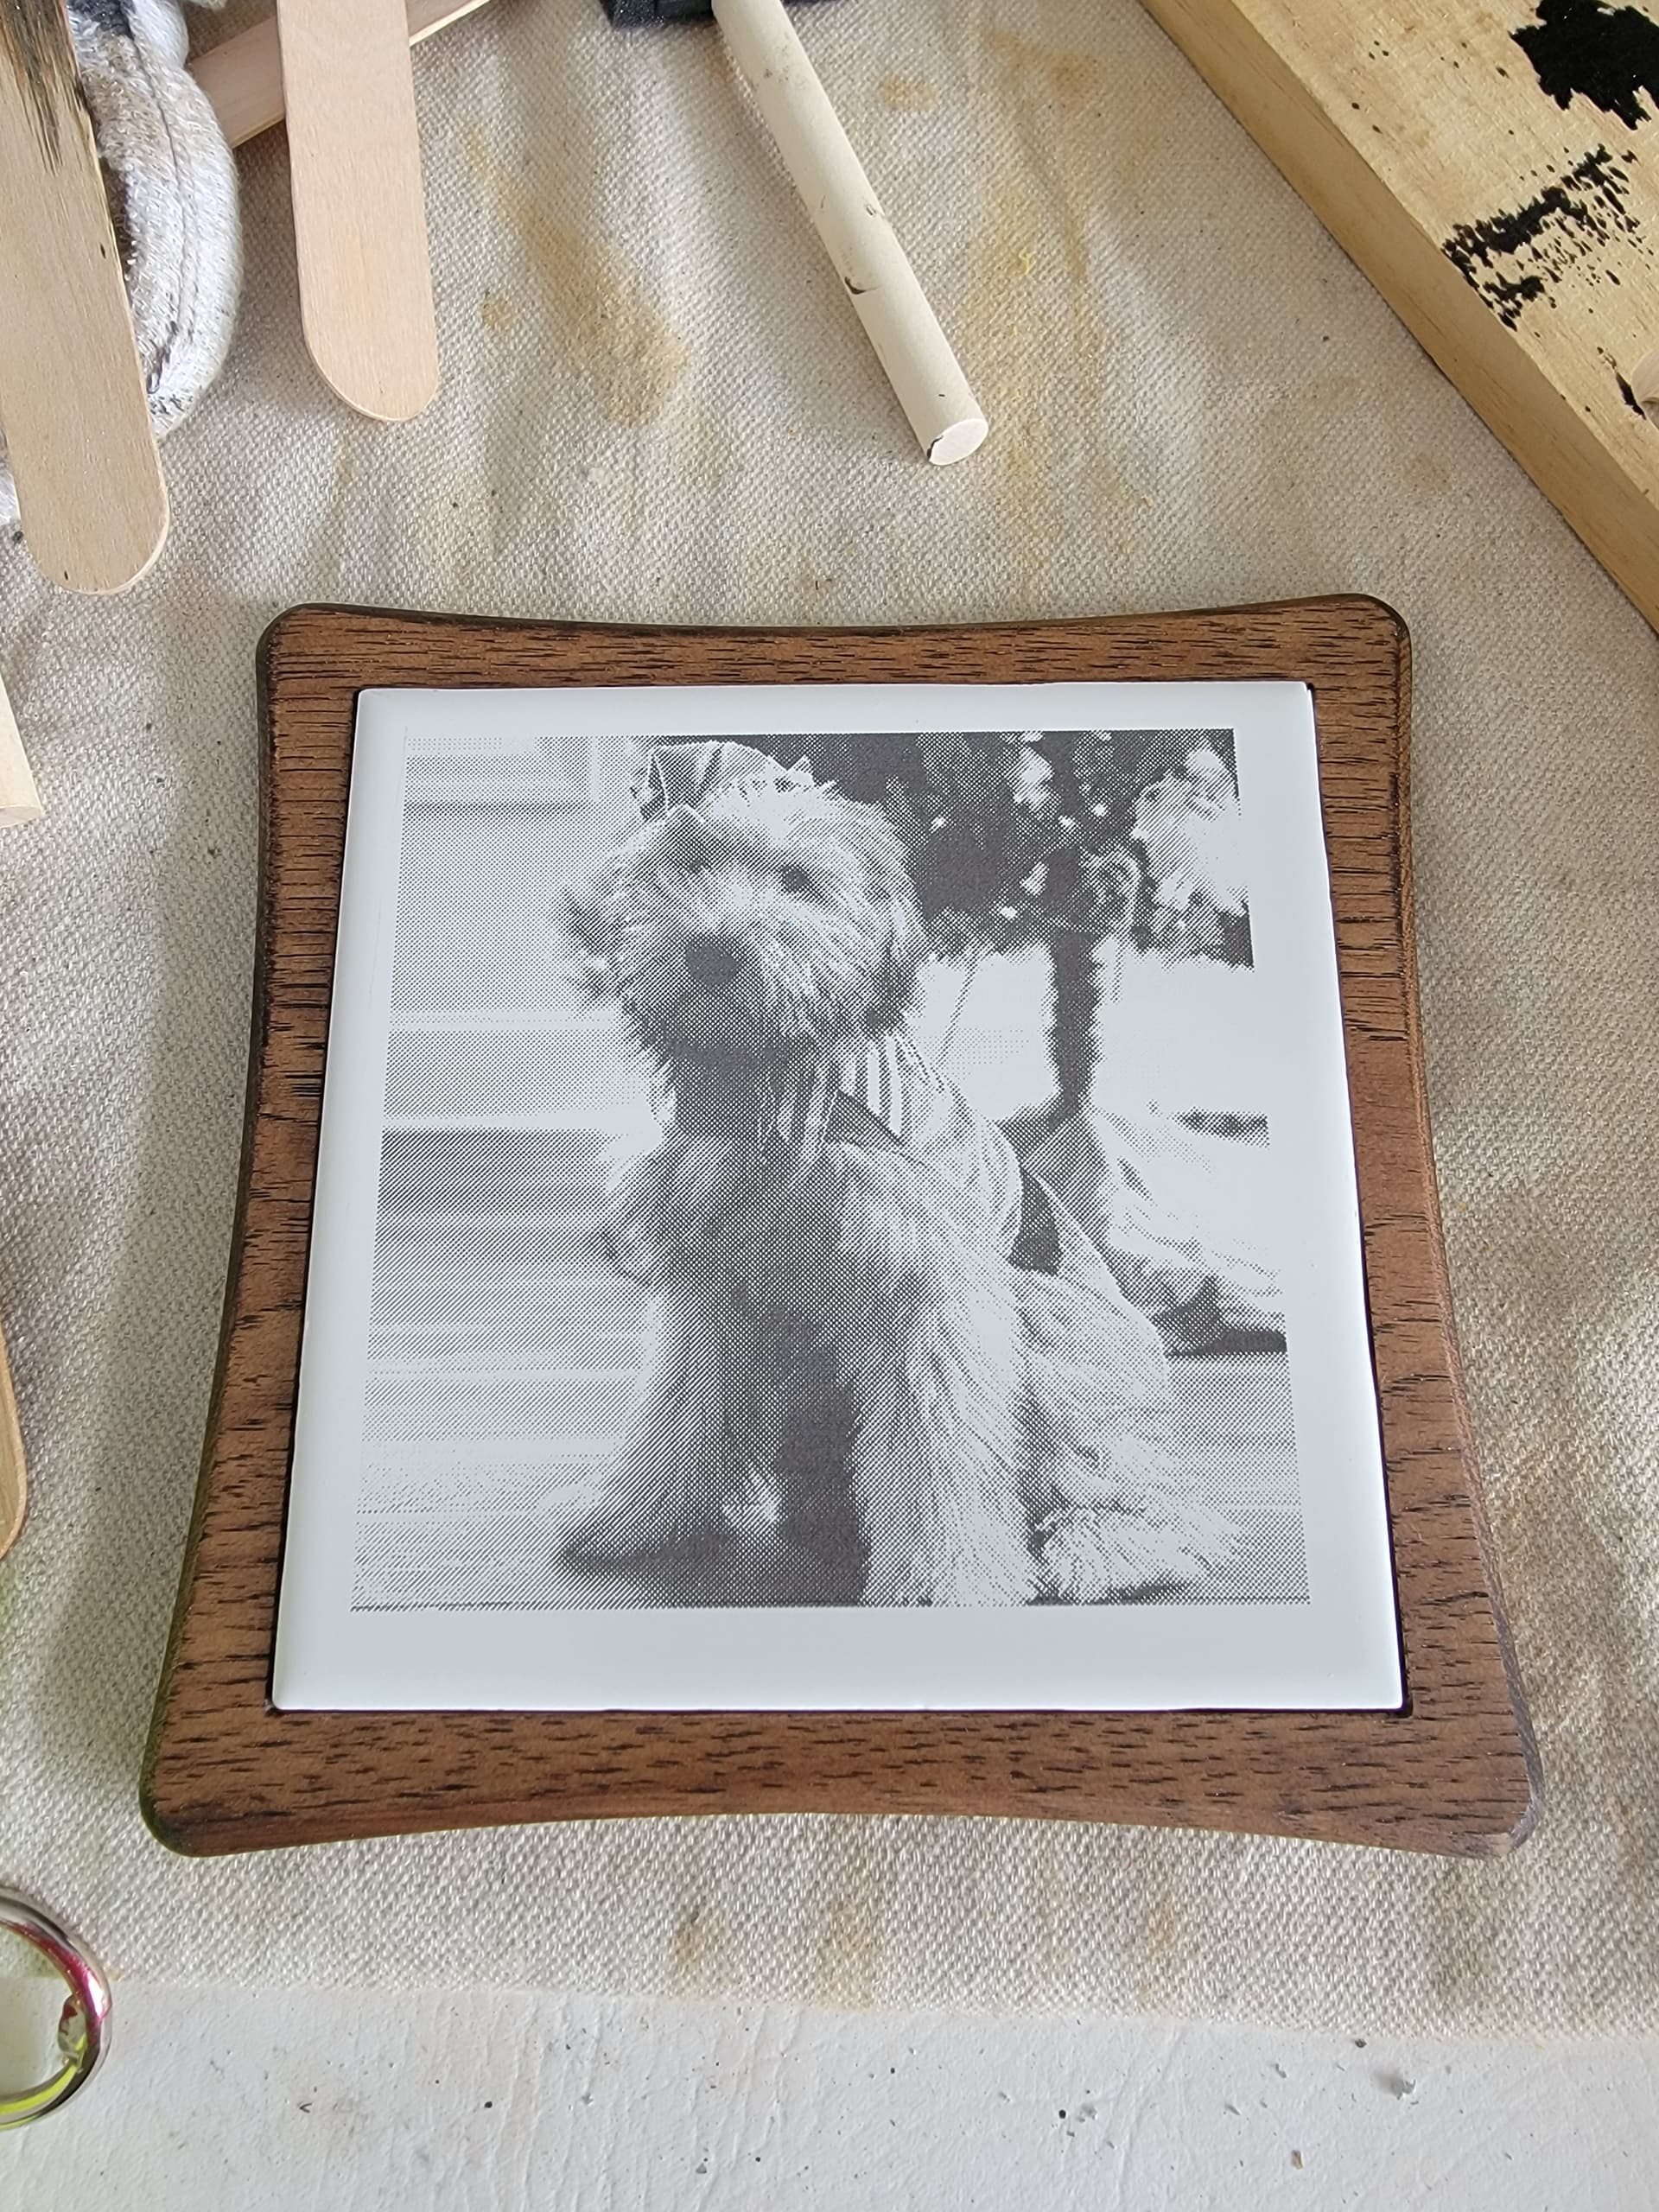
After a handful of failures I think I’m finally getting this Norton White Tile Method dialed in. Sharing what worked for me…
Longmill Mk2 w/ Laserbeam
3 Element lens
1600 mm/min
60% power (dip switch 5)
Lightburn Software / “newsprint” setting for the pic and some minor tweaks of contrast/brightness
Rust-o-leum Painter’s Touch 2x Gloss White paint
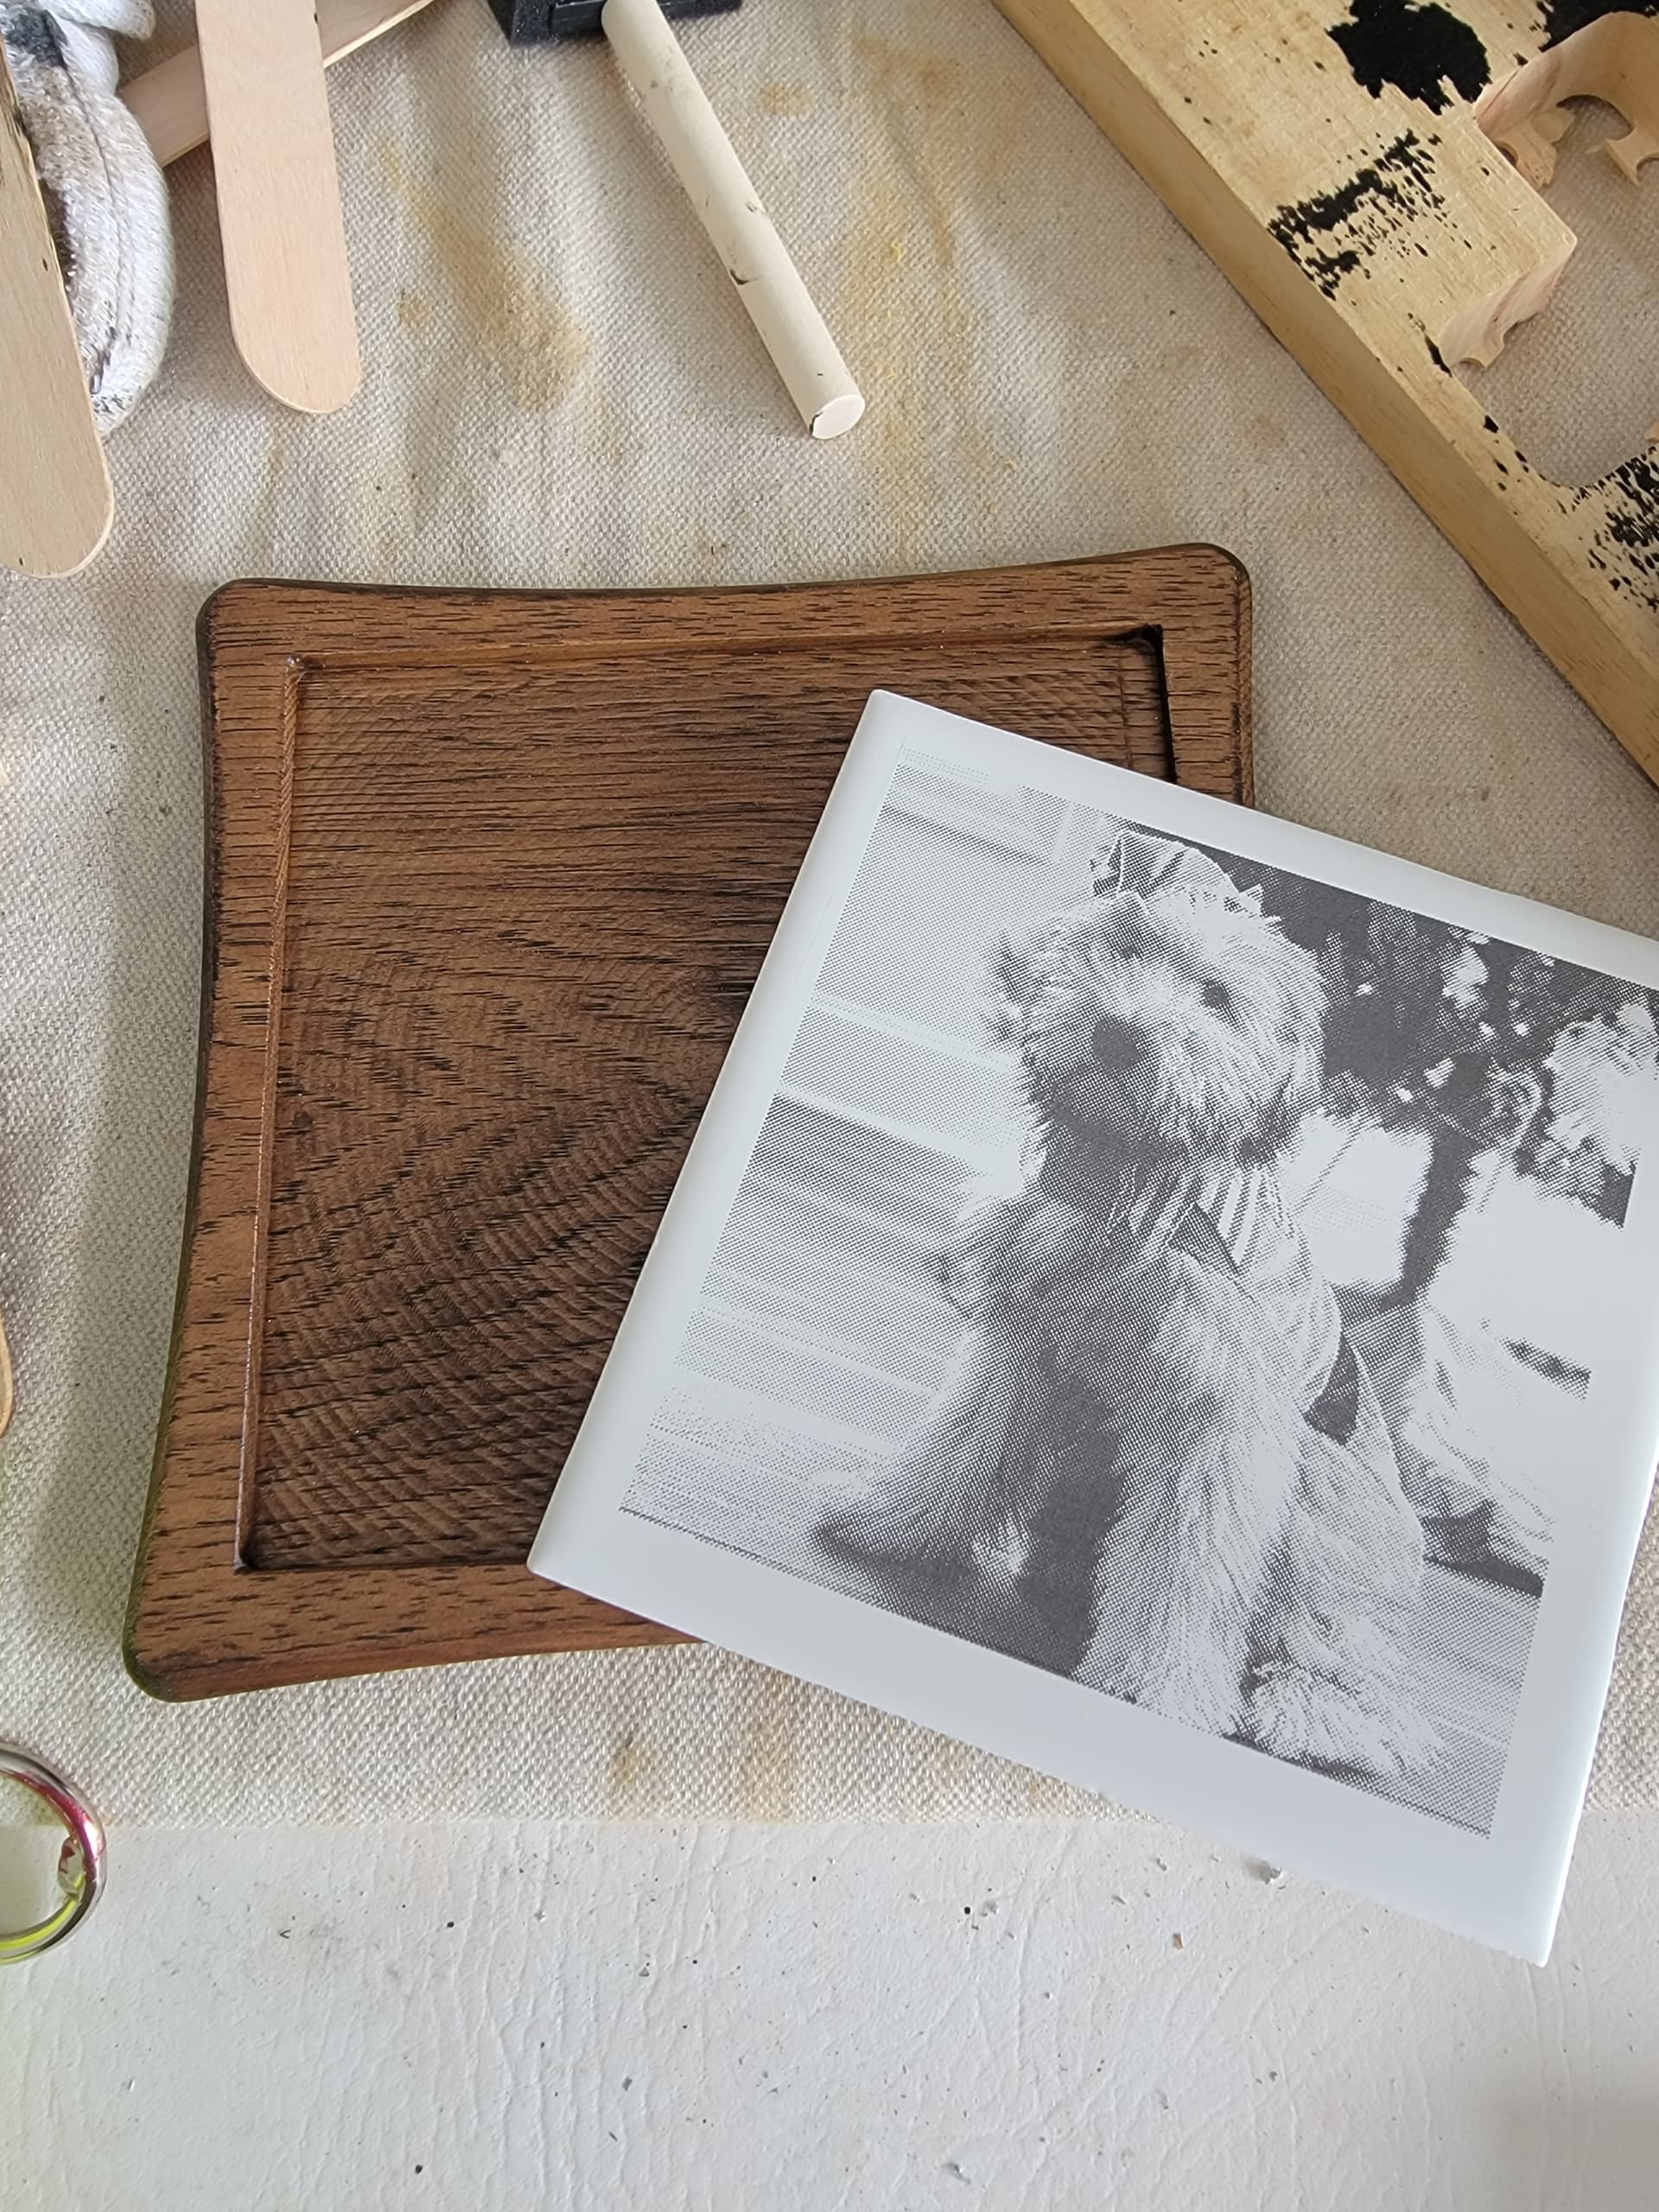
6x6 white tile from Lowes
~1.5 hrs burn time
I think that about covers my setup and what I used. Failed my first few attempts, which I attribute to the wrong paint. Thought I could get away with some Krylon white because that’s what was available at Lowes, but it didn’t work after several tries. Found the Rustoleum at Tractor Supply. It’s the amount of Titanium Dioxide in that specific paint that makes it work so well. Lots of info out there on the Norton White Tile Method, but not a lot specifically to the Laserbeam, so wanted to share what worked for me.
@smittycm Wow, very nice indeed! As soon as I make some money, I’m going to need to expand into lasers! I am very impressed. Thank you for sharing this! A quick question, did you clear the tile after burning in the image?
Jake
Thanks! No, I didn’t clear the tile. This is the first tile I’ve done (that worked), but my understanding is there is no need to clear. I scratched at the surface with a screwdriver and for sure that image is embedded. It’s not coming off.