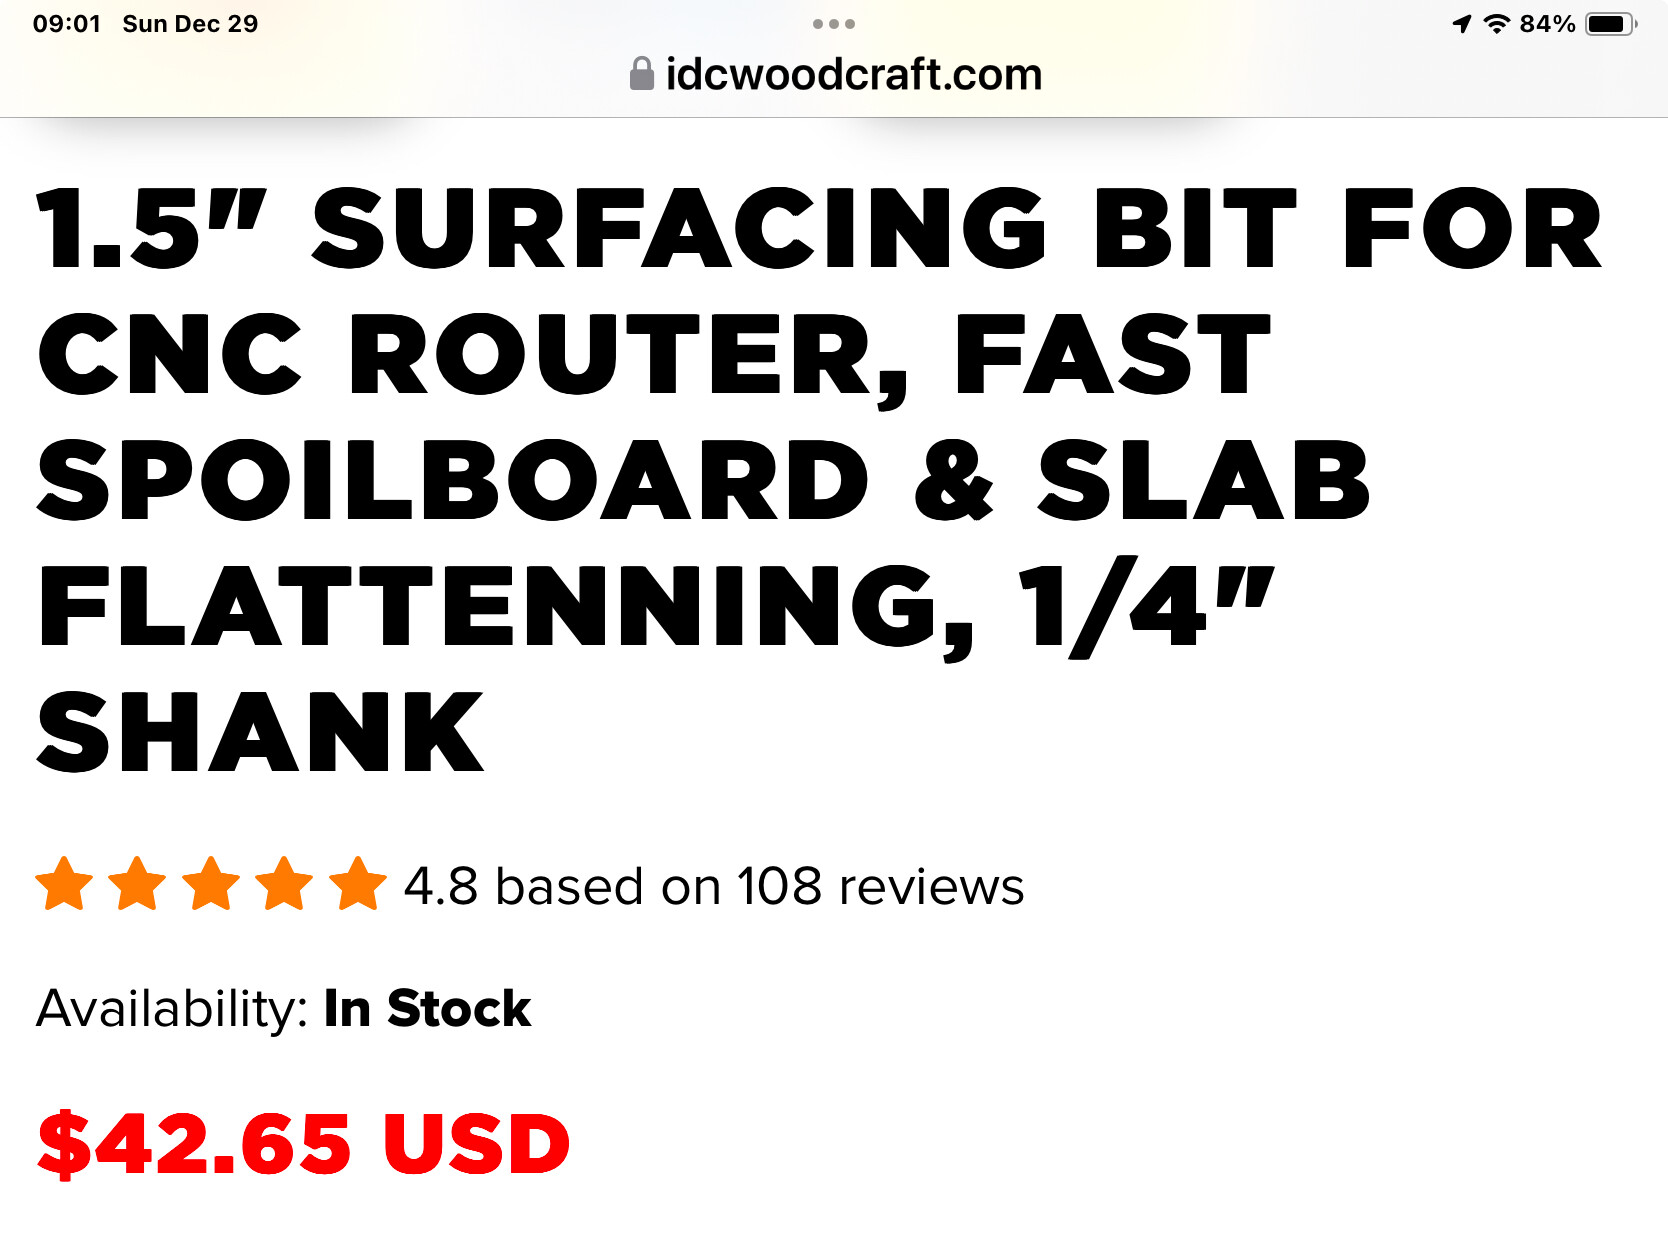
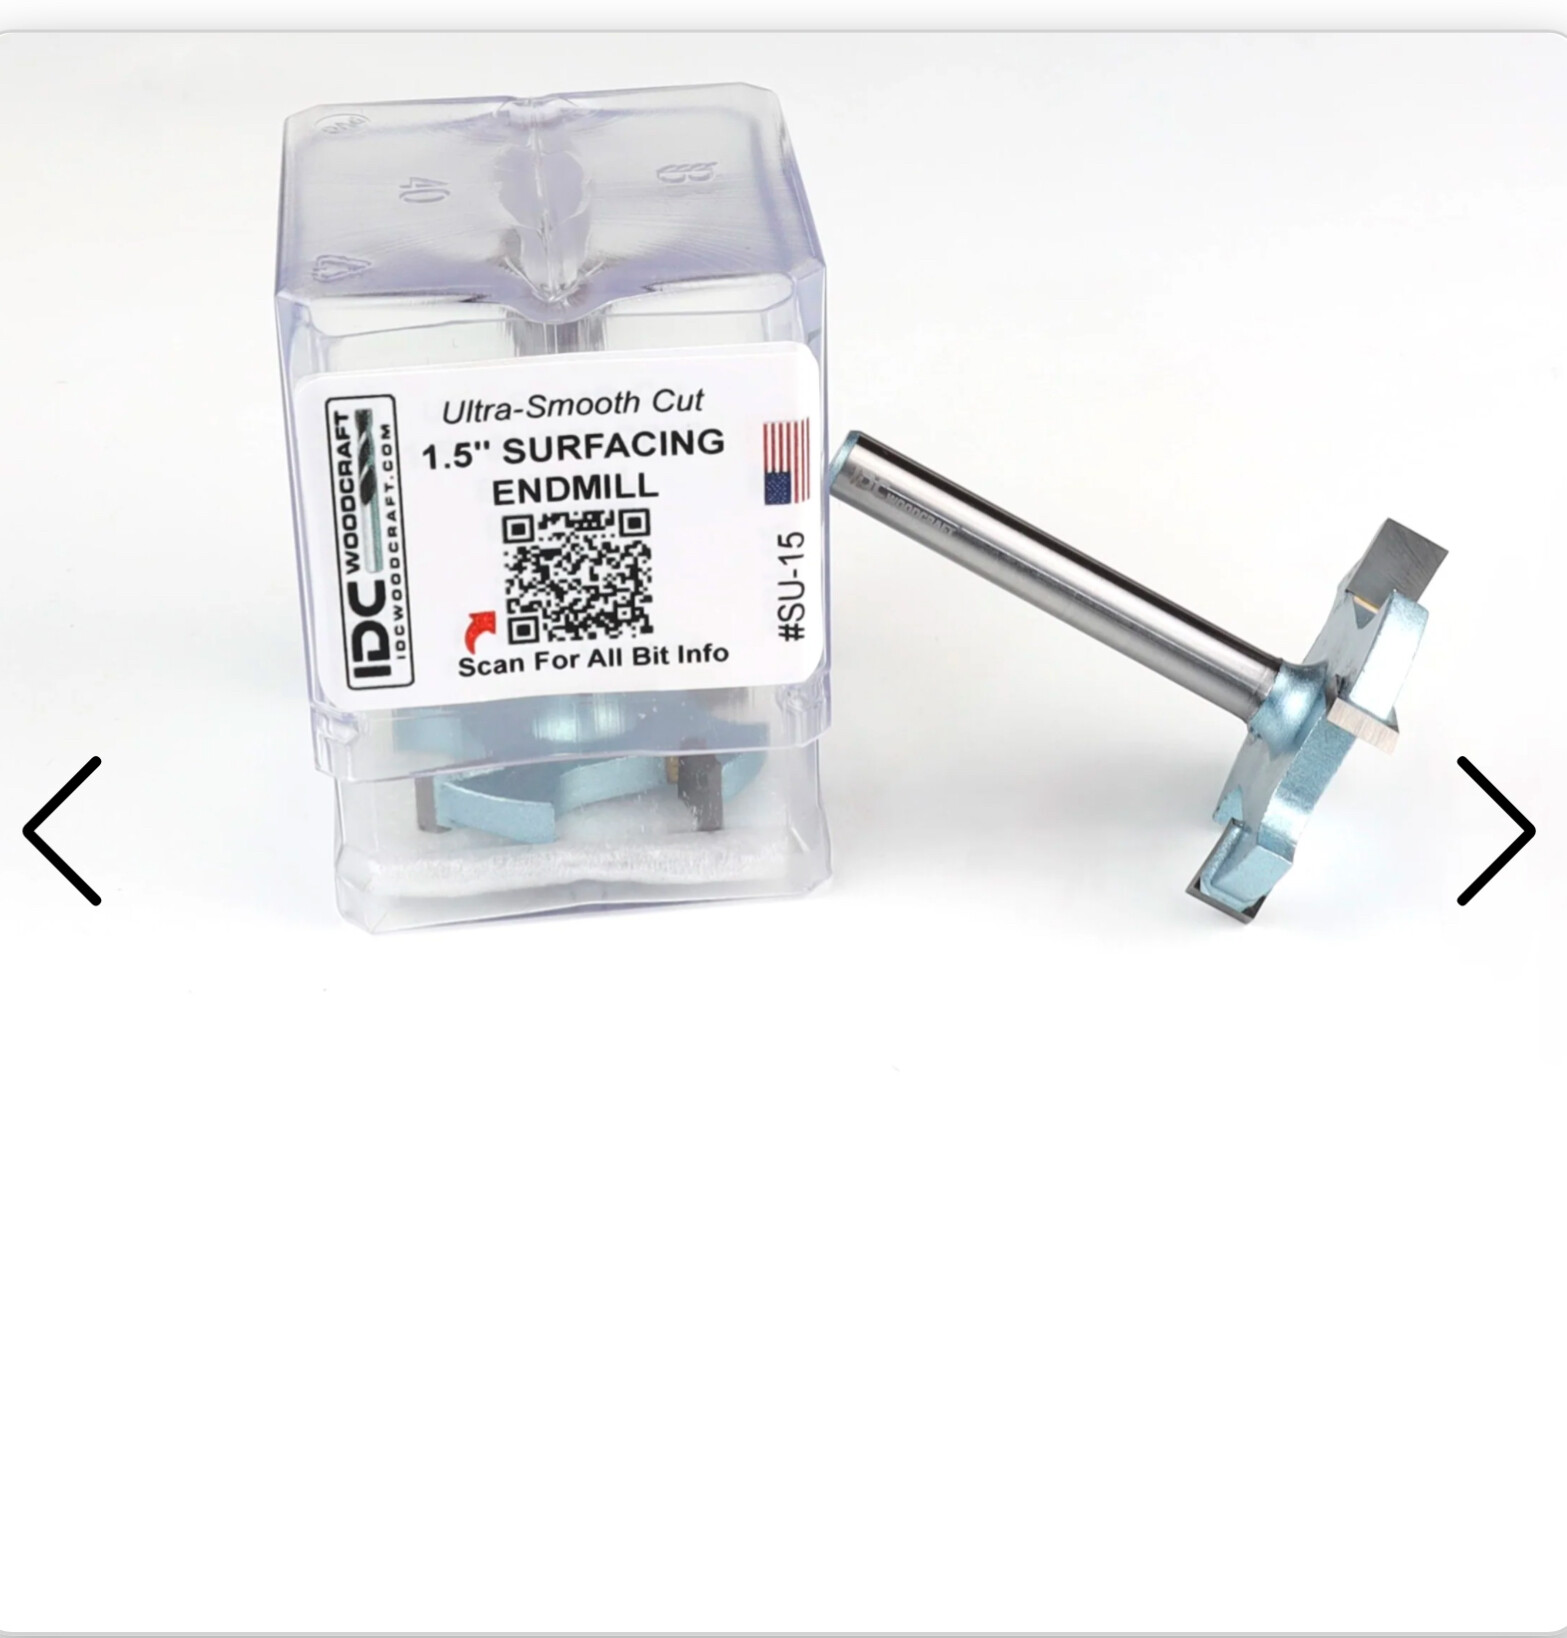
In my work flow, I have a rough piece of wood that I have surfaced with my surface planer. I secure the piece of wood to my table with CA glue and painters tape. I then surface it by taking off .05 with my 1.5” surfacing bit. I have found it to produce the cleanest carve.
Hence my problem. I cannot use my dust boot when surfacing, due to the size of the bit. It makes one heck of a mess. What are others doing to minimize the clean up?
Most of my wood is rough cut, surfaced in one edge and about 1” to 1 1/2” thick. The surface planer is fairly well dialed in, but rarely if ever is the wood perfectly flat. The step I use of surfacing in the machine has produced a very good carve for me, except for the mess.
Thanks as always, I’m sure the answer is quite simple, I’m just not seeing it.
I’m with you - when doing large stock or trying to use hold-downs, the dust boot is simply too large.
I’ve wondered about alternative designs for the dust boot that will enable more usage while still capturing a majority of the dust & such.
I’m even okay to have 2 separate dust attachments - 1 for general use and 1 for when spacing is an issue.
@Jake Could you not go with one of the shoes that clamp to the router body when using these big bits? They are Z dependant, of course, but given how little you are taking off, I would not see that as an issue.
Check out PWN’s dust boots. I use their V7. If you have access to a 3D printer, get the makers files plus the hardware kit and print your own for a very reasonable price IMHO.
I’ve been hoping that someone with a little more creativity and skill would design something - if not then eventually I will but it might be crude in comparison.
I’m thinking slimmer at the bottom of the spindle then as it comes up expands to just large enough to clamp onto the spindle.
Have a magnetic attachment for the hose that attaches at a sharp angle in the spindle area…
@Jake Sorry, Jake. I misunderstood. I thought your issue was that the Sienci dust shoe cannot accommodate the large bit and that using no dust shoe creats a mess. I was suggesting using a shoe that can work with your bit. My mistake. Good luck. I’m sure that you will find a solution.
You didn’t misunderstand anything @gwilki! It is such a quick thing to surface, yet it makes more mess than the actual carve does. I’m seeking a solution as my stock dust boot won’t work. @NeilFerreri, the diameter of the bit won’t fit inside the dust boot. It hits the side of the boot, where the bristles are.
I’m sure there is a fix, just not sure what it is. Hiding in plain sight? Possibly! Maybe it’s as simple as using a 4” dust collection hose when running the surfacing tool path? Haven’t tried that yet. I wanted to see what others were doing.
Thanks Bruce! I appreciate that! I hate to open it up as it works remarkably well when carving. It picks up like 90% of all dust when carving with a v bit!
I mostly run my cnc raw, without dust collection. I reside in anotner room and I don’t see any plus on removing chips during vs after some cutting(s). I sometimes run multiple projects without cleaning the bed and as long as the piles don’t spill over my make shift y-guards, I’m good.
This is with wood. When doing MDF, and this is only when resurfacing my MDF spoilboard, I can no longer get away with raw milling and will use my magnetic dustboot with a temporary makeshift construction supporting the hose. I hate MDF for that and am slowly stearing away from any spoilable jig to be out of that material.
Chips stay mostly on and near the killer, mdf gets everywhere and will stay there untill you have a fresh paint job drying overnight, then and only then it breaks lose and sattins over what was supposed to be a high gloss finnish.
There is one other ocasion, I take my mitersaw dust collection off and use it on the cnc. When I am milling a cutout in ply and I see the chips cant find their way out of the cut. In that case I don’t bother construct the construct and install the boot. I just hold the hose flat to the makita and keep it there by hand, trailing the mill.
So… after all those words, thats my tip. Stand by your surface jobs and catch what you can catch. Or… do it after it’s done.
Or use a normal surfacing bit. Where did you find that beast anyway!?
@Spamming_Eddie Hello!
I got this from @IDCWoodcraft. It is a beast of a bit, but does an amazing job. Messy? Absolutely! Hence my post. This beast out performs my miter box saw for mess making, easily!
I am trying to cut down on dust in my shop. Many prominent people in the woodworking community say really bad things about wood dust. It is said the time to capture the dust is when it’s created. My dust boot works very well during the actual carve. Easily, it picks up 90% of the dust from doing V carving.
I went a good 2 yrs before actually connecting my CNC to dust collection. I ended up using a rubber boot to go from the supplied 2” to my 2.5” hose. I have a cyclone on my single stage “chip collector” that actually makes it a very serviceable dust collector.
I have 3 “dust related” projects on my horizon. Project one is to get rid of the tripping hazard I currently have with 4” hose everywhere. I am going to use metal ductwork and have drops to my machines. Obviously, the drops will be flexible hose, but the hope is to make the raceway a bit more efficient. The second one will be the addition of an air scrubber with a sensor to identify when there are “floating” dust particles. Lastly, I’d like to get rid of my dust collection bag and put an actual HEPA filter on it. I believe my current “chip collector” is adequate for my one person shop, using a single tool at a time.
Anyhow, Happy New Year to you sir!
Respectfully,
Jake
After a discussion off the thread here, I totally get what @gwilki was saying! I took a look at the “sweepy” from a competitor’s website and think that would do well or at least worth a shot.
I sometimes forget there are options out there that are not made by Sienci Labs. I have stayed away from most just because I didn’t want to have to chase around if I have issues. This, obviously is not the case. Something simple and potentially game changing. Oh heck yea, I’ll give it a try!
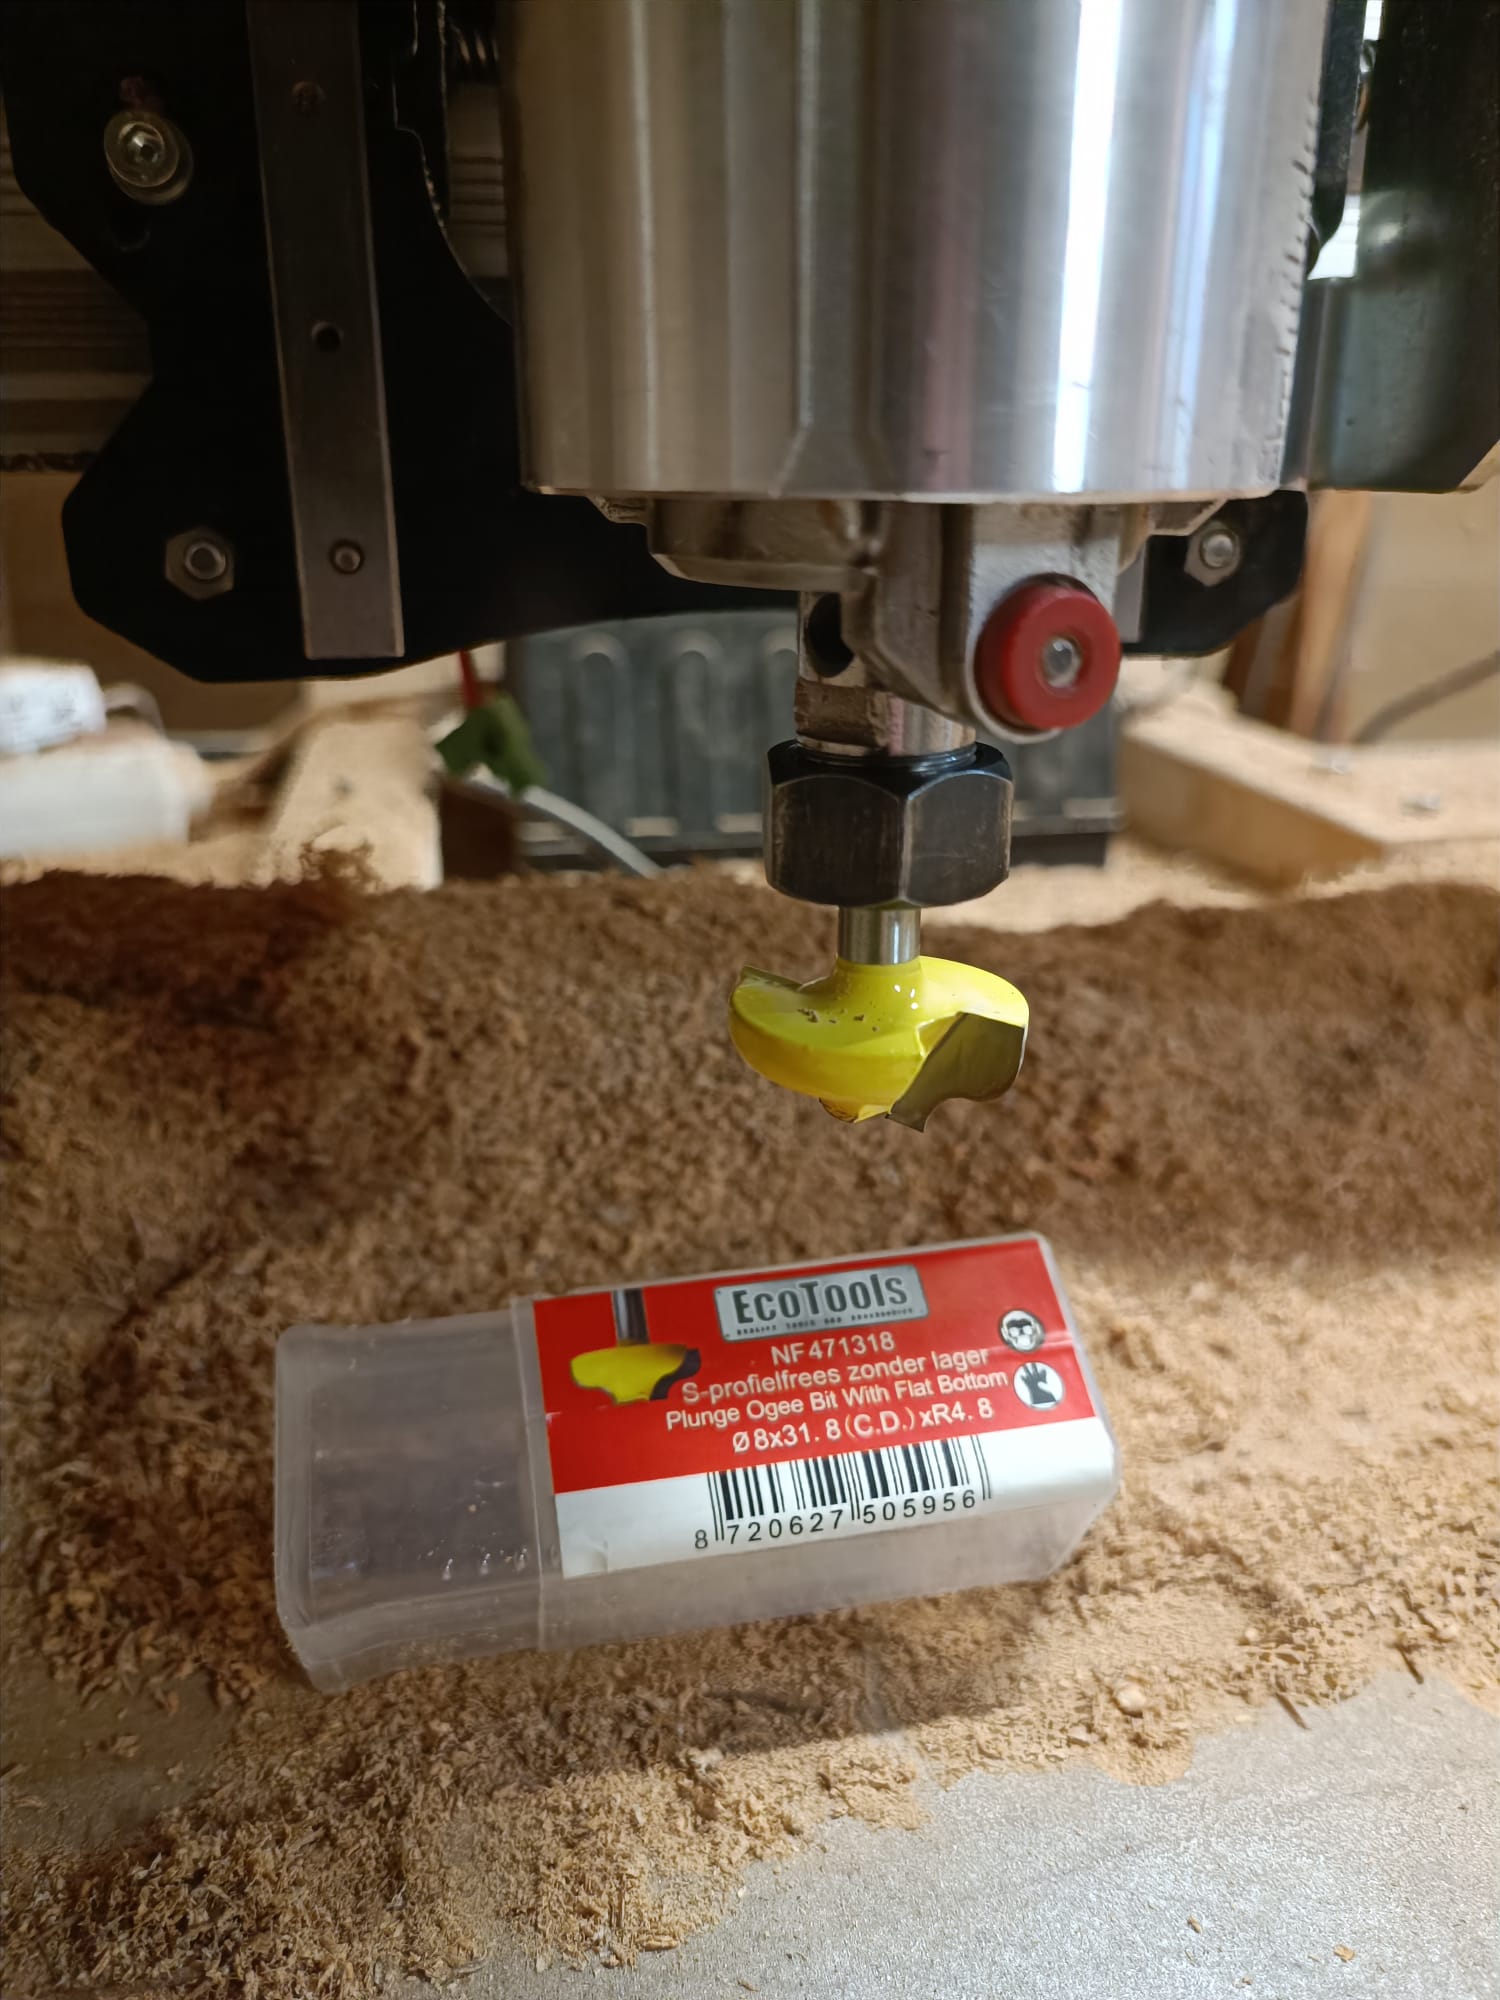
Daaaim Jake, I just converted to metric, just to see if I could top that bit. My largest bit I run on the killer is a 32mm S-Profile with a 22mm flat bottom. It has a 8mm shaft. One of the perks of an European makita is having a 6 and 8mm (0.315 inch) collet. The downside is getting only metric collets, so the 1/4 and 1/8 collet I had to import. That said, there are some local bit sellers that have awesome 8mm shaft bits that I cannot find overseas. Finding inchling bits is problematic so I am slowly building a metric bit library besides the Inchy ones.
Another problem is that besides the vectric toolbase, there isn’t much ready to use feeds’n’speeds library and it took me a while to be confident enough to dial in such a large bit with its weird form. It too is a beast in its own right.
Anyhow, I get why you want to be able to use the dust boot. I have found it to be impractical. Especialy with the smaller projects, like desk signs. And since I am not near the machine throwing dust, I ditched it from my workflow. These kind of projects don’t allow much space. It’s often difficult enough to keep the bit from hitting clamps, let llone needing to design in room for the dust boot. So it went, pretty early in my journey.
So without sounding like a commercial for @IDCWoodcraft, he does a fantastic job of providing feed rates and speeds with all his bits. It actually is one of my reasons for buying from him. Plus his customer support is stellar! Where else can you get M&Ms with a bit order?
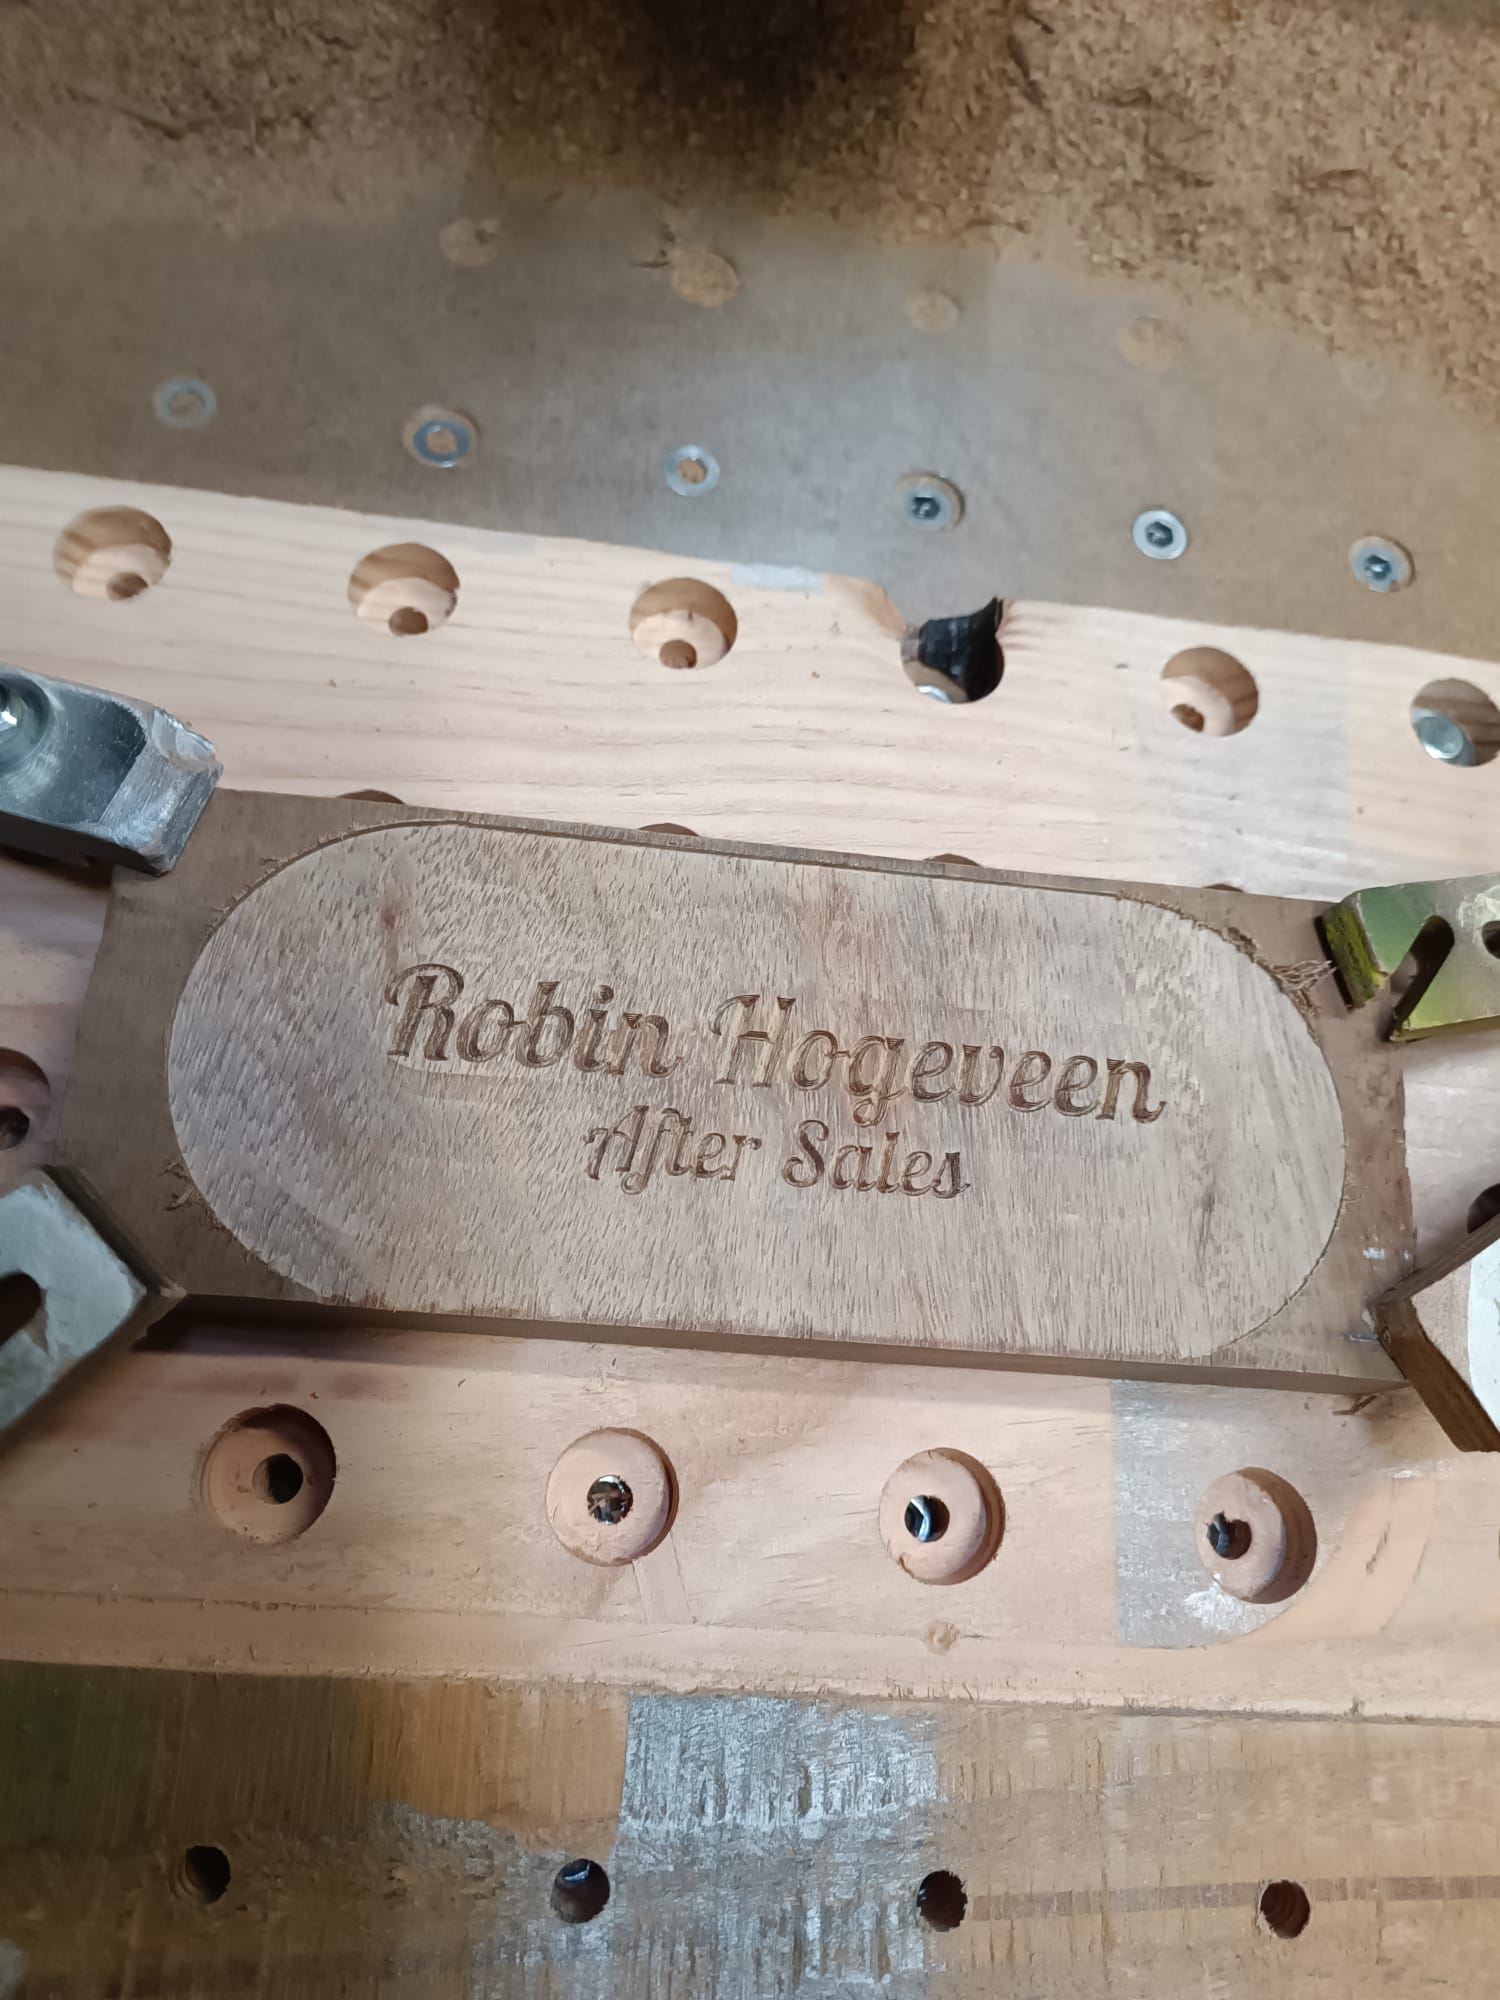
Getting off topic, I have gone to CA glue and painters tape exclusively for my small to mid size plaques. Gone are the days of worrying about hold downs. I’ve even used scrap plywood held down by clamps and CA glue to hold the work piece if I’m cutting it out. Seems to work rather nicely.
Off to the shop, I got two plaques to paint. Both are two sided and I get my best coverage by hand painting them.
I used the dust boot with the IDC 1 1/2” bit. I just raised the bit, put the dust boot on and then turned on the spindle and slowly lowered the bit cutting through the clear plexiglass on the dust shoe. It doesn’t take much off at all but it does clear now. I haven’t used the 1 1/2” bit in a while and I can’t tell less suction when running the machine.