I do most of my milling with Z zero set to the spoil board surface and I had an idea of how to make that workflow a little easier for me.
I had an old Z only probe block that I think came with my first CNC, a Chinese 3018, and I wanted to mount it somewhere to use kind of like a Shapeoko BitSetter. Here’s what I came up with.
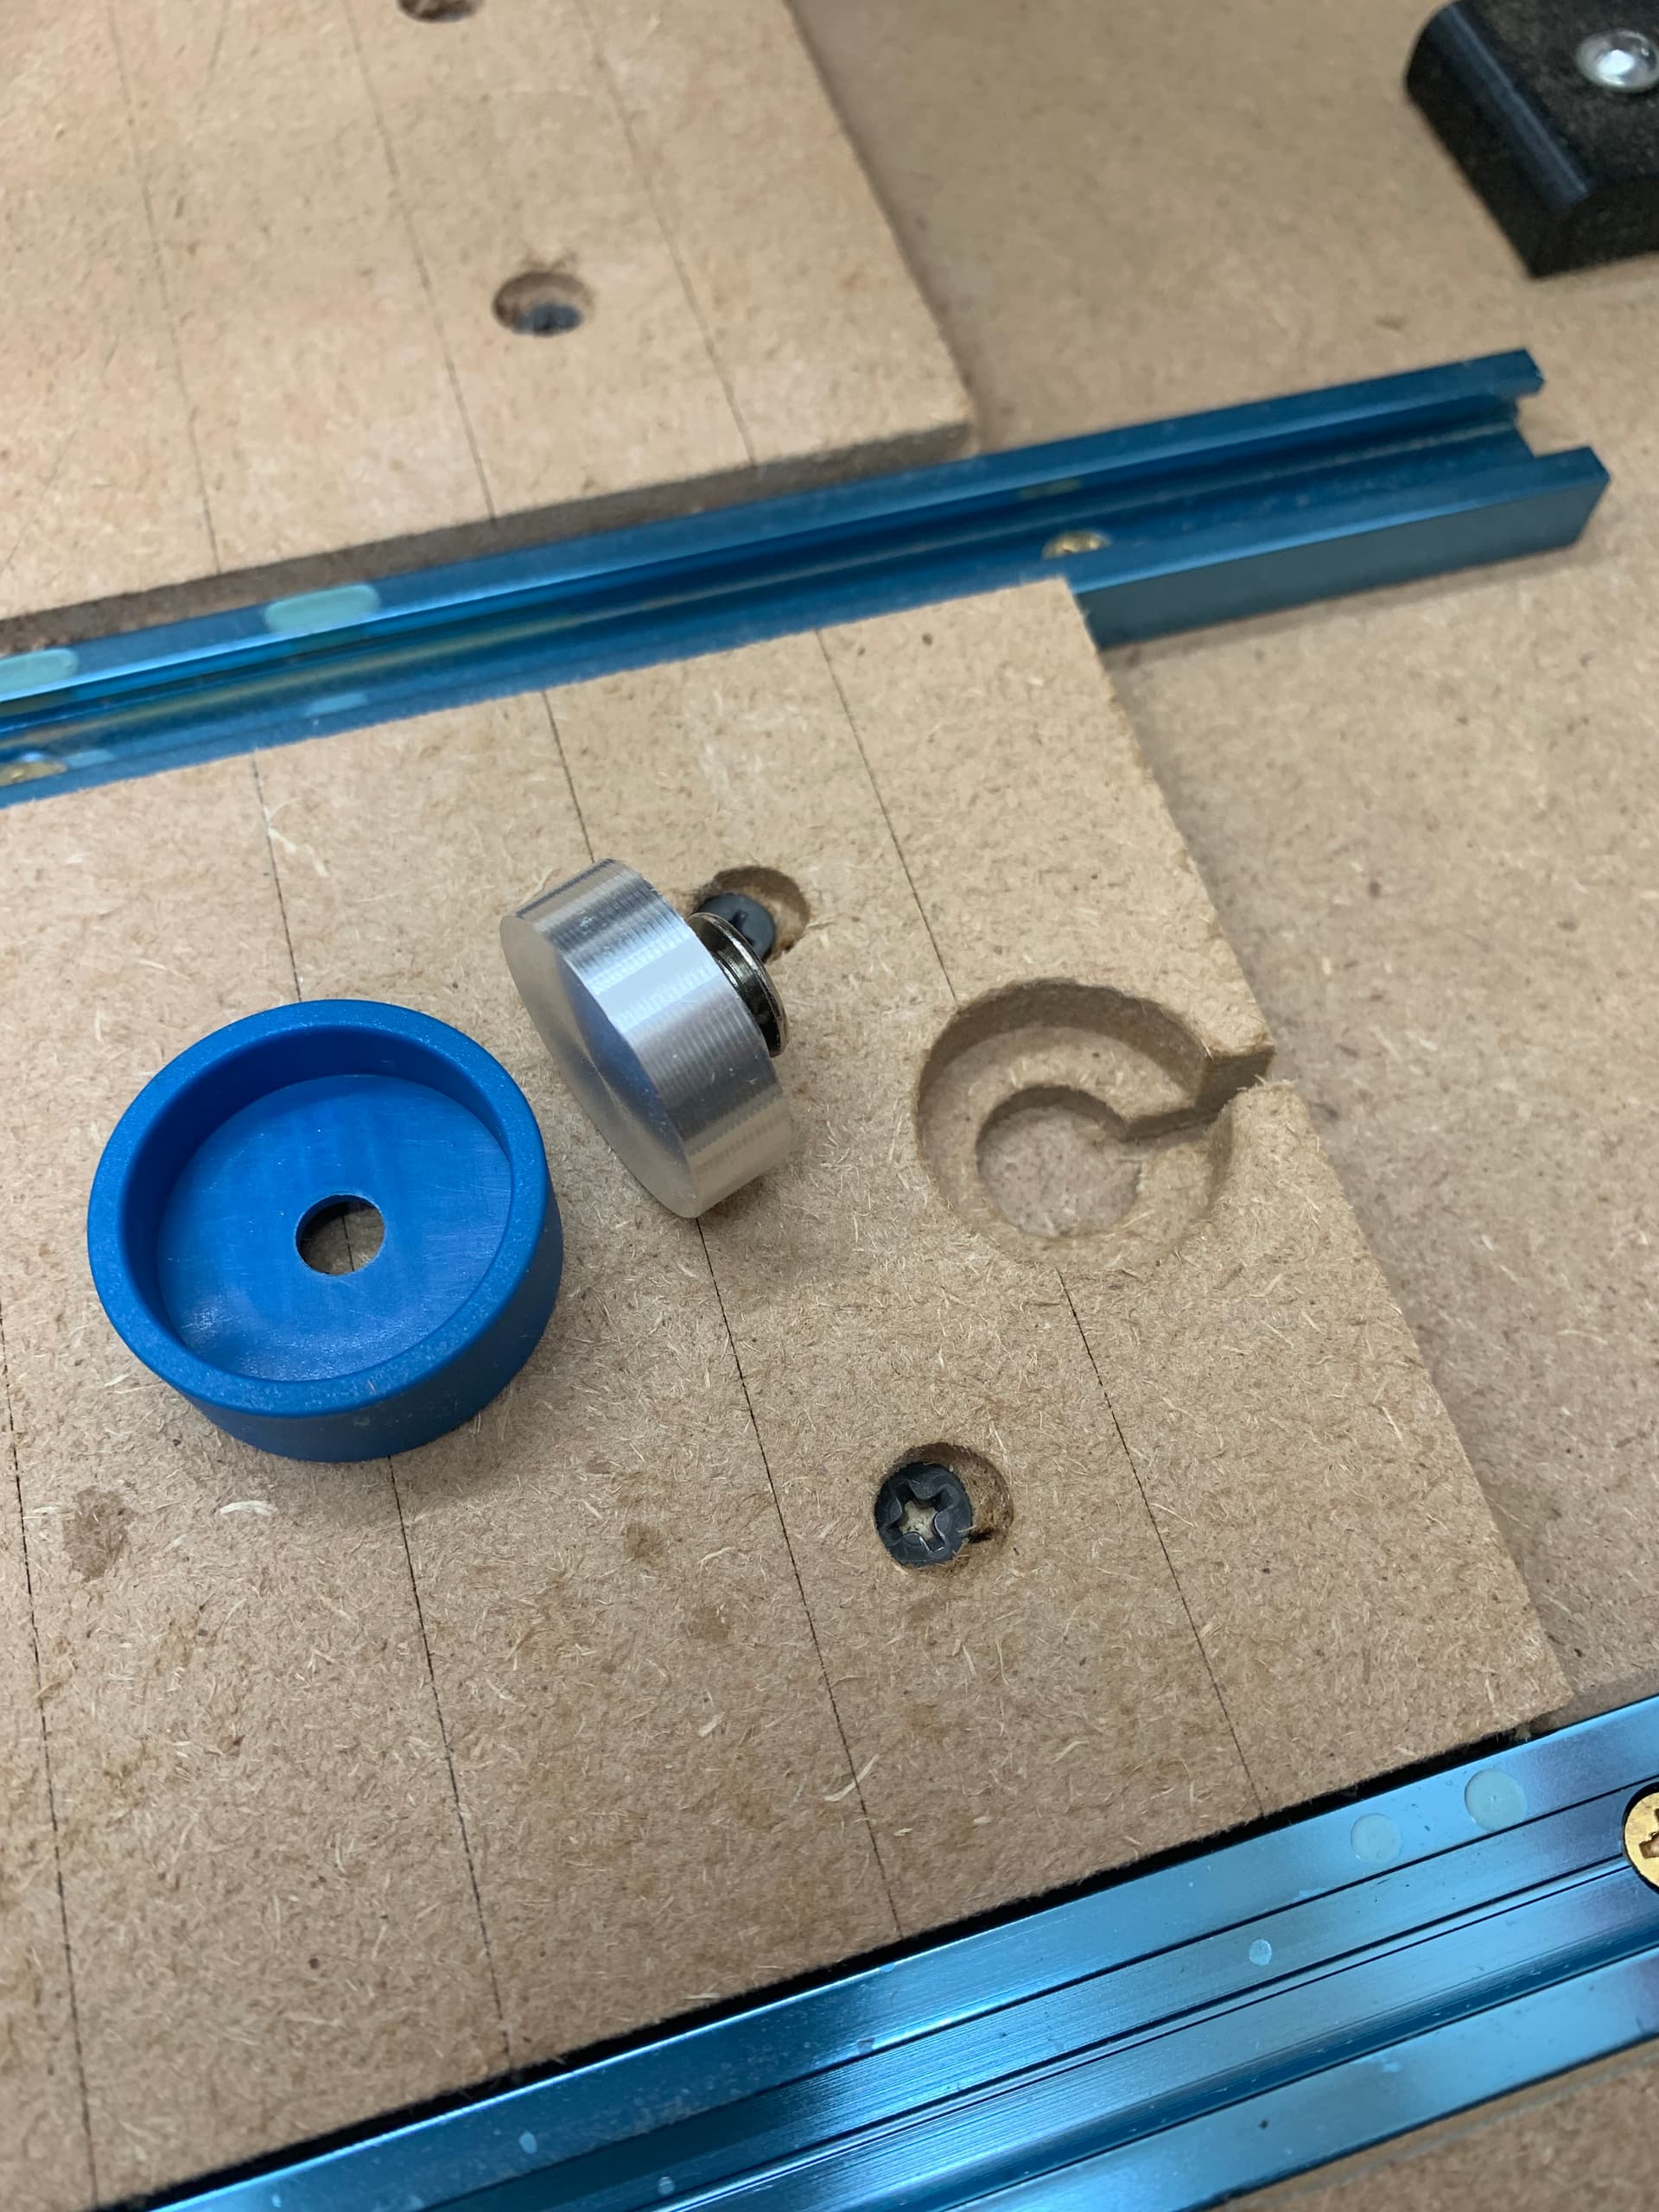
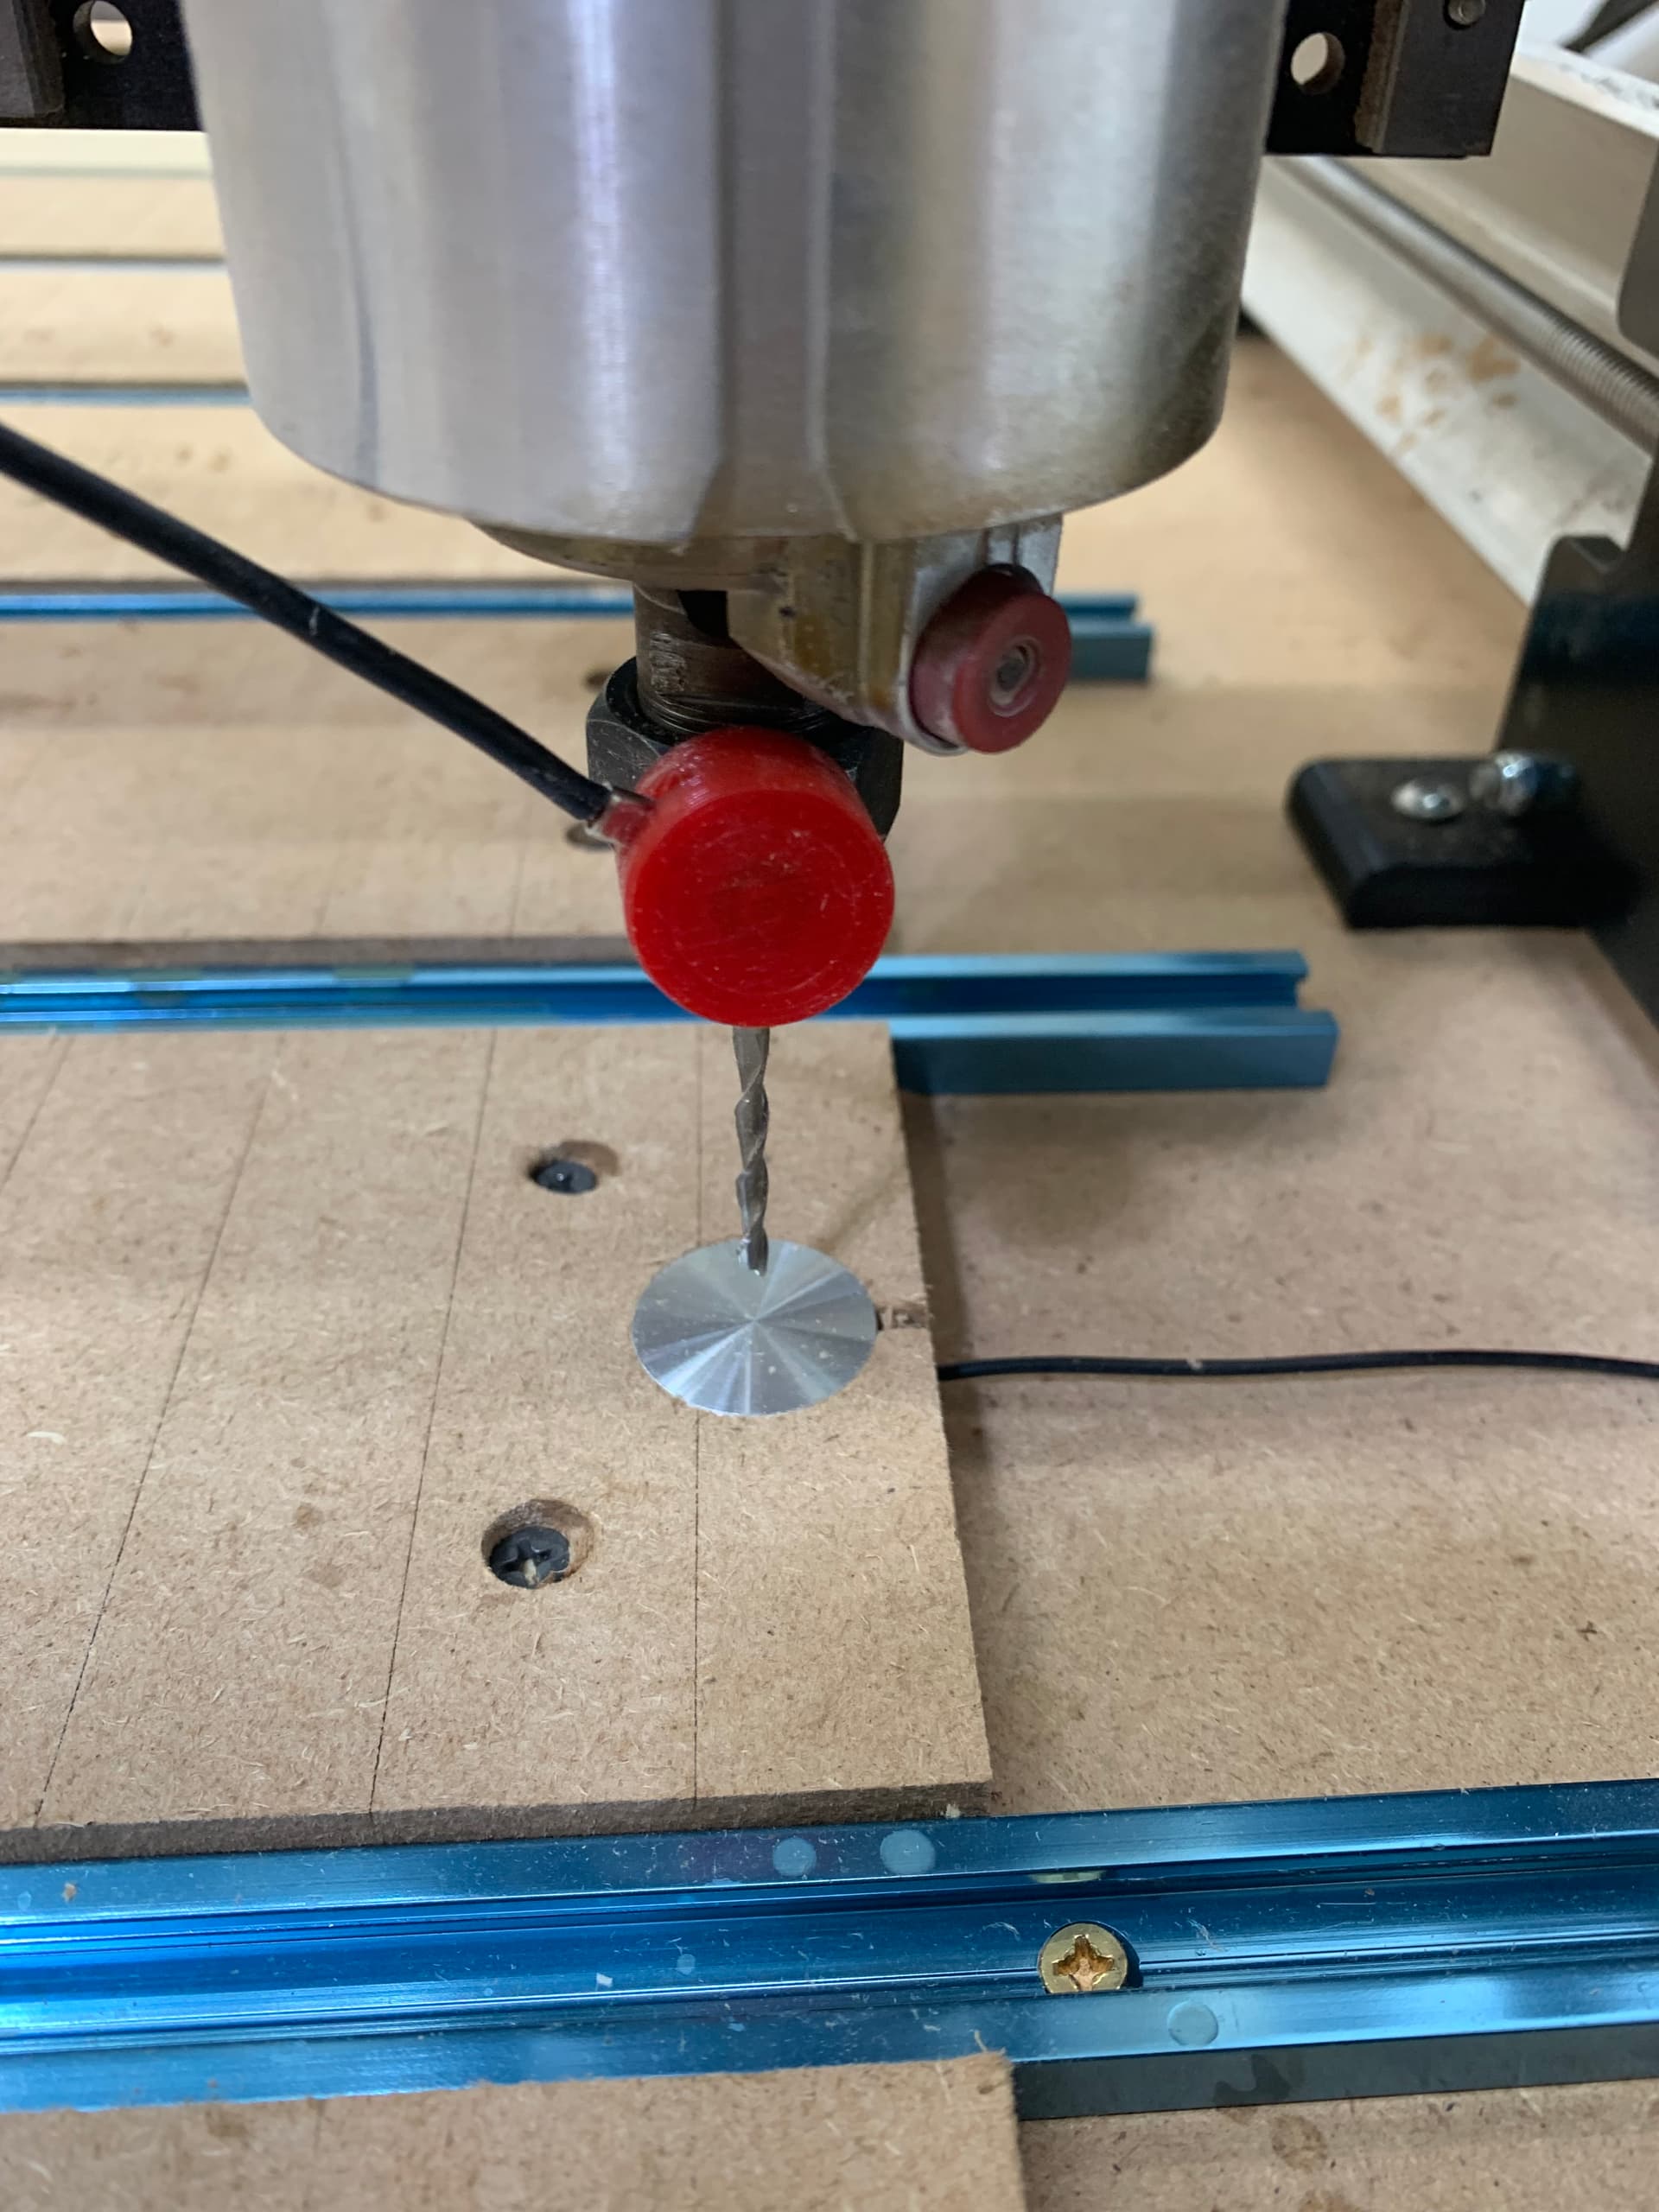
As you can see from the photos the block came apart and I was able to make a nice snug pocket for it to be pressed into. I tested on scrap MDF prior to milling my spoil board.
For the wiring I routed the negative wire with the magnet through the LongMill’s cable chains. I needed to use some new wire to extend the length for that. Then both the new Z block and my existing XYZ block are both wired to the positive side of the probe connector on the LongBoard.
Then I did some connectivity tests to see if the wiring was okay. That was a little bit of a pain because you can’t move the router when gSender’s connectivity test window is open but I got it done by creeping down and rechecking.
After the setup seemed okay, all I needed to do was write my first macro. The macro raises to the maximum Z, travels to the block location and does the Z probe. The Z probe is kind of slow because for safety I chose to raise the router all the way up. After the probe it sets the top of the block to a variable defined in the beginning of the macro. The variable is how far above or below the spoil board the top of the block is. My milling came out really well and I’m using 0.0 for that value. Finally, after setting the Z, the router is raised all the way up and moved to XY zero.
I would like to thank @RobLM for sparking the idea in my head and @NeilFerreri for his BitSetter macros that I used as a reference for writing my macro.
Speaking of the BitSetter I don’t see why this couldn’t be used for that as well with the proper macros but I don’t use multiple tools in one file and have not tested it that way.
Here is the macro!
SpoilBoardProbe.txt (916 Bytes)
As always comments, constructive criticism, and especially safety concerns are most welcome. I don’t know what I don’t know!
EDIT: Okay here is version 2 of the macro. I added a variable in the beginning section for the maximum stickout of your longest bit. That is used to compute a safe rapid Z down before the probe starts. It speeds up the probing by quite a bit especially when using a long bit.
SpoilBoardProbeV2.txt (1.1 KB)
I also recommend you have a hand on your E-Stop button when testing a new macro in case you or I have made a mistake. If you put a bit in longer than the set max stickout or the Z max travel is not set right you might crash into the block and we don’t want that! Also need to remember to put that magnet on before pushing the macro button.