OMG - covet covet covet
1 Like
I’m just jealous of the sheer space
Here in Santa Fe it is really dry in the winter. Good bit of snow, but very dry and therefor plenty of static. We ran a bare grounding wire going through the flexible 4” hose to metal pipe on the CAMaster I use for the CNC class I teach at the local community college. Worked great until it snapped and by then we couldn’t see it with all the caked on dust. Caused all sorts of ghosts in the machine until we ran another.
I’m a big believer in properly grounding CNC machines.
2 Likes
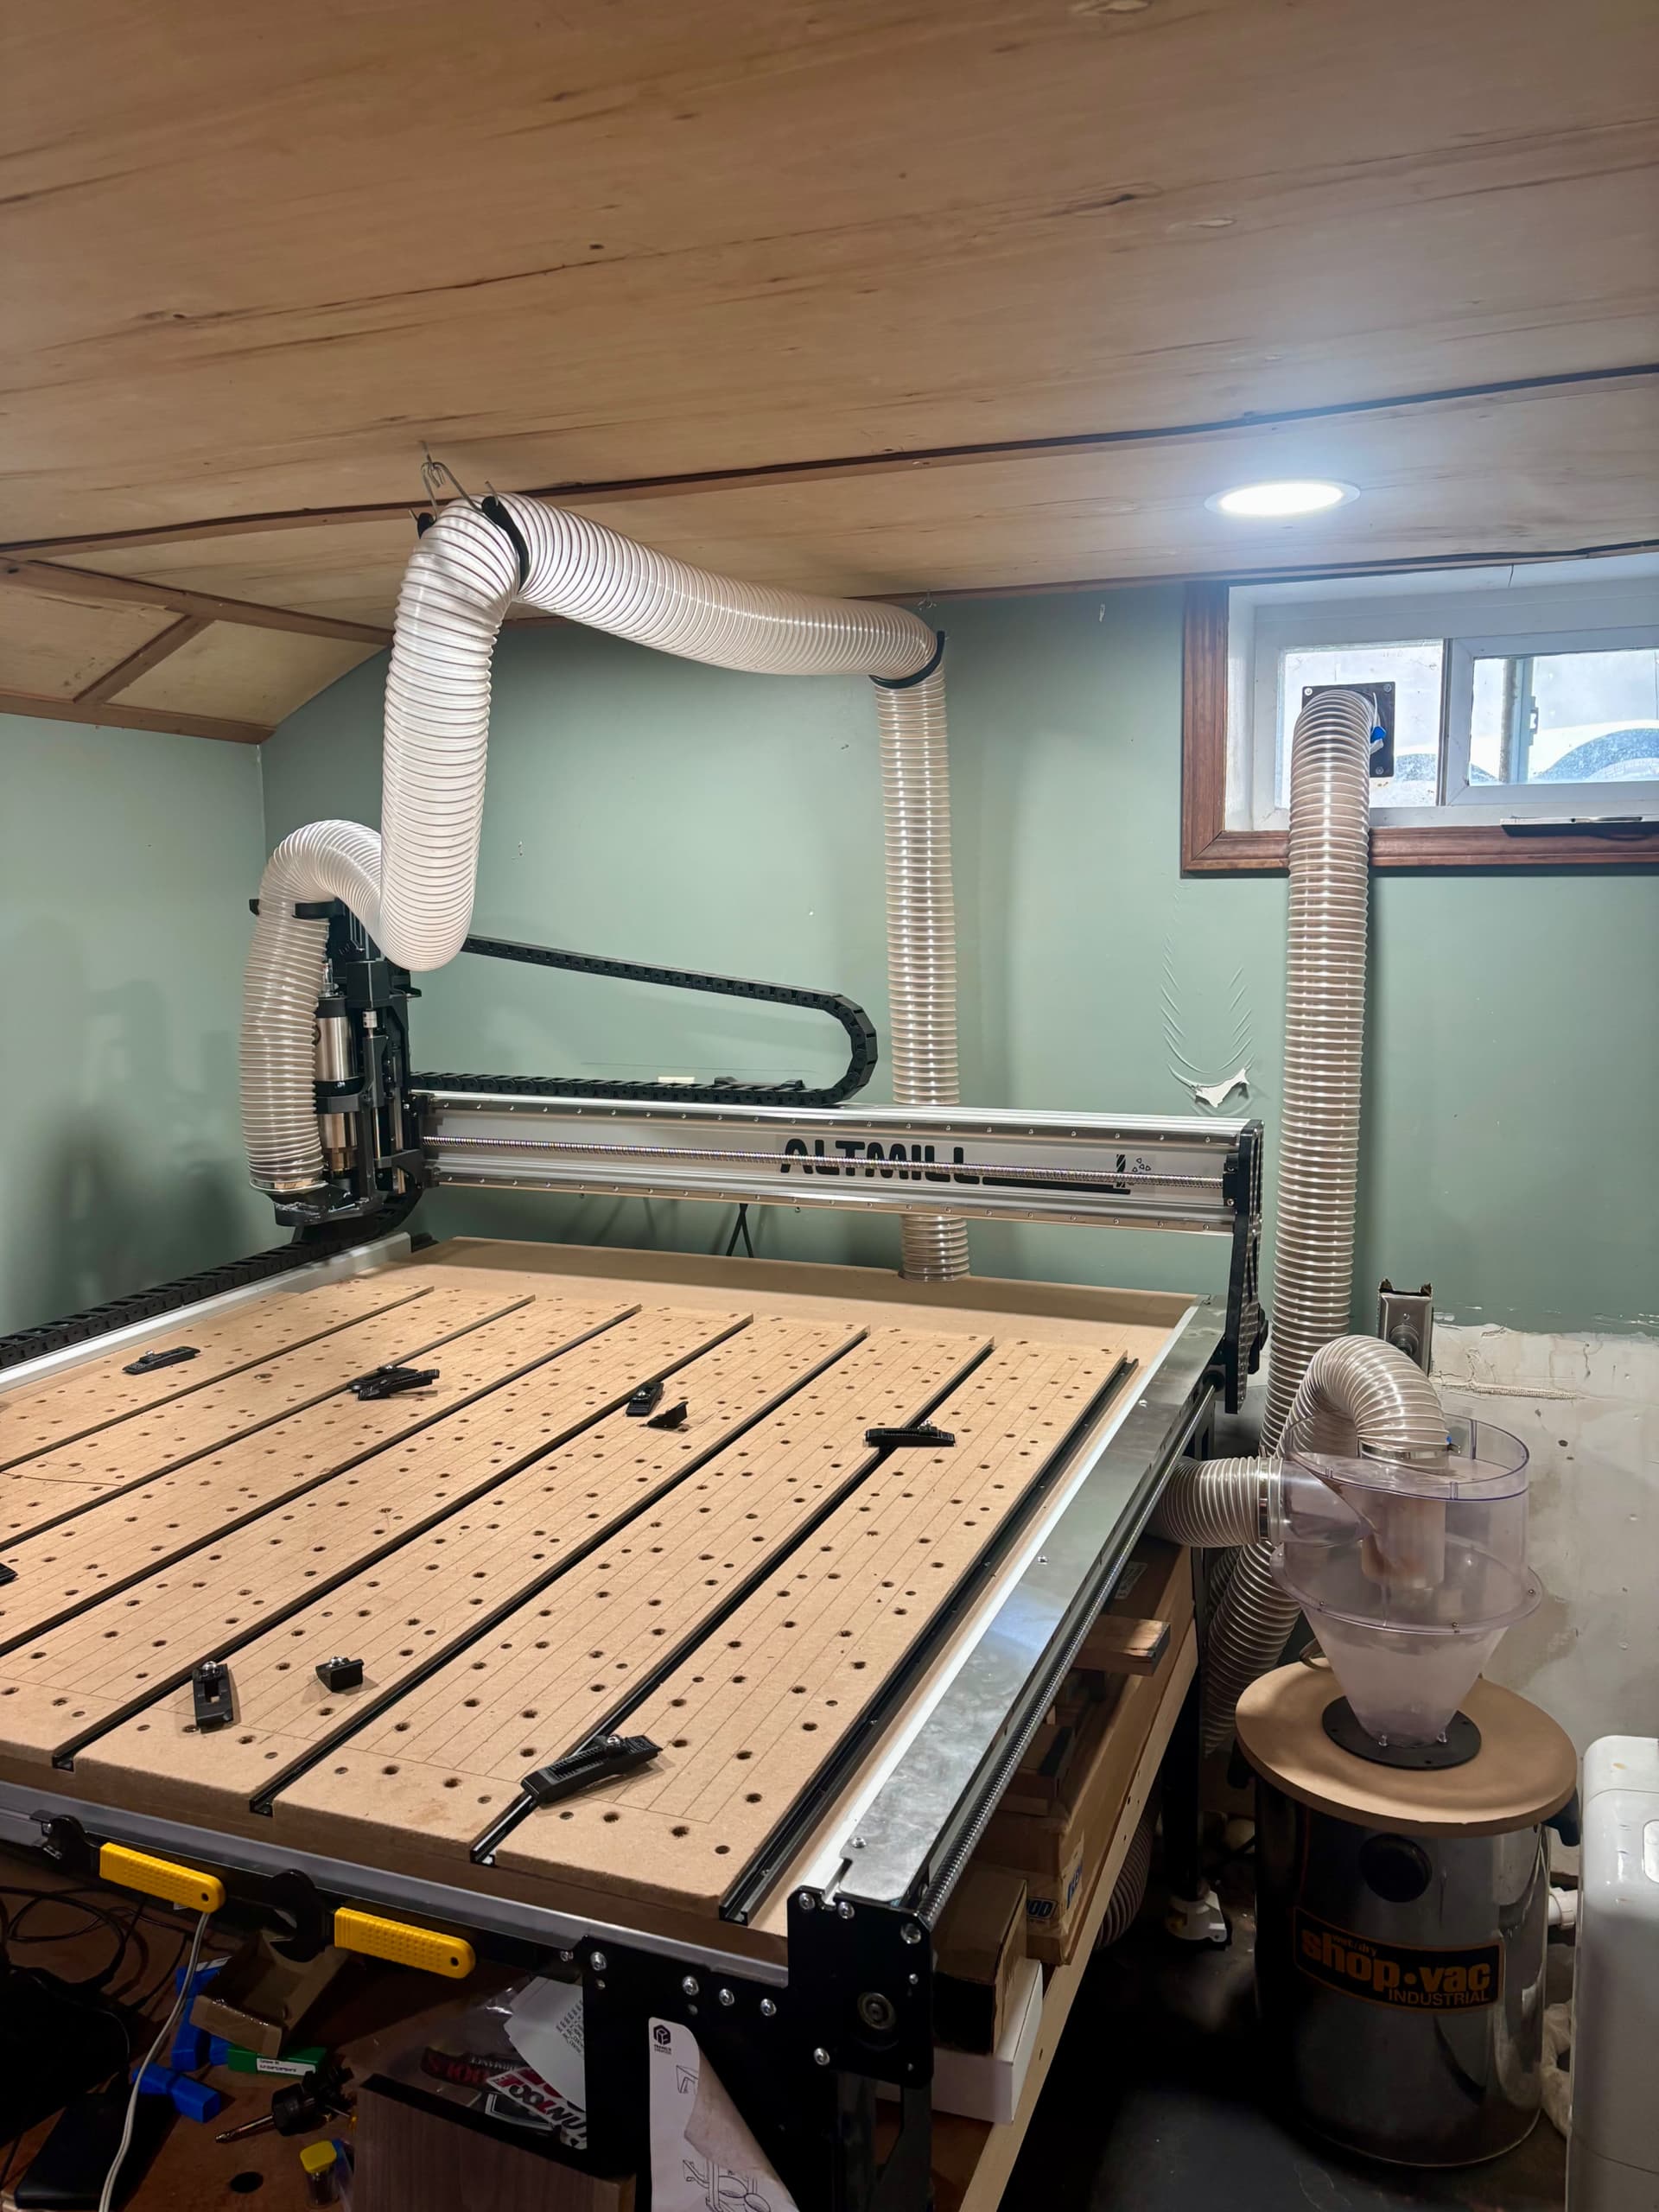
Here’s mine. Located the drop mostly in the center of the machine. Cut the hose to reach all 4 corners.
2 Likes
Super clean install!
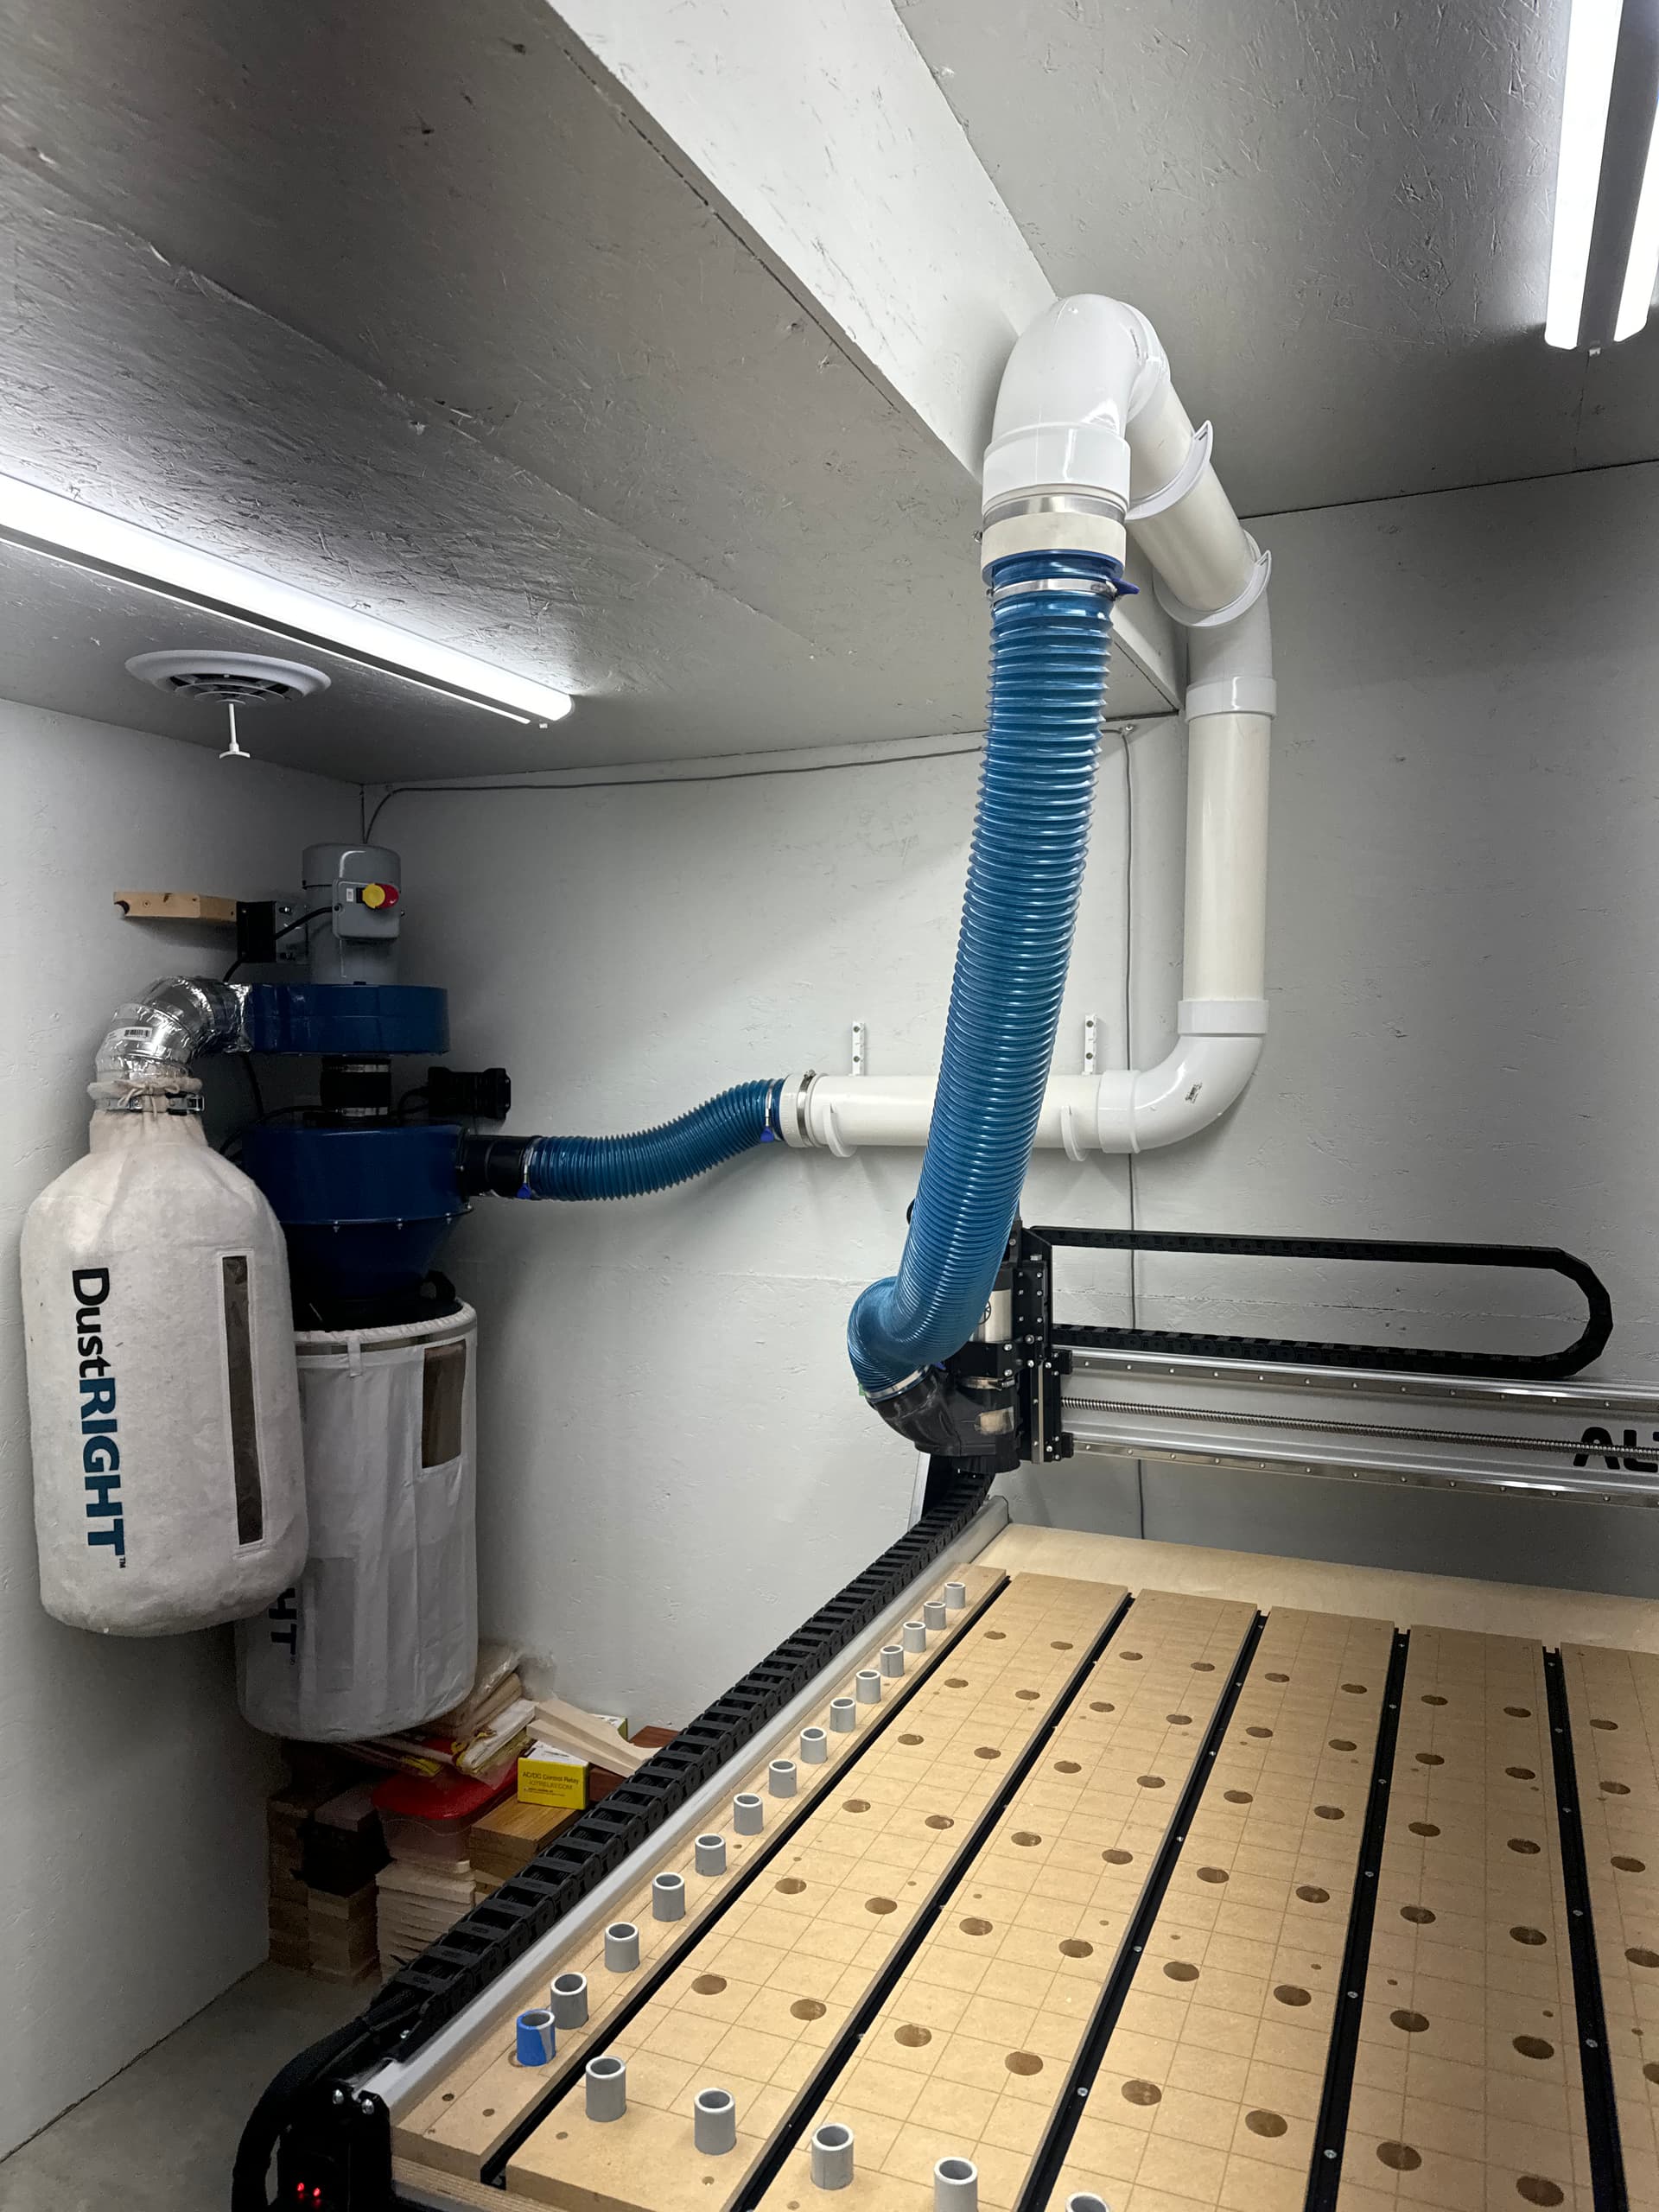
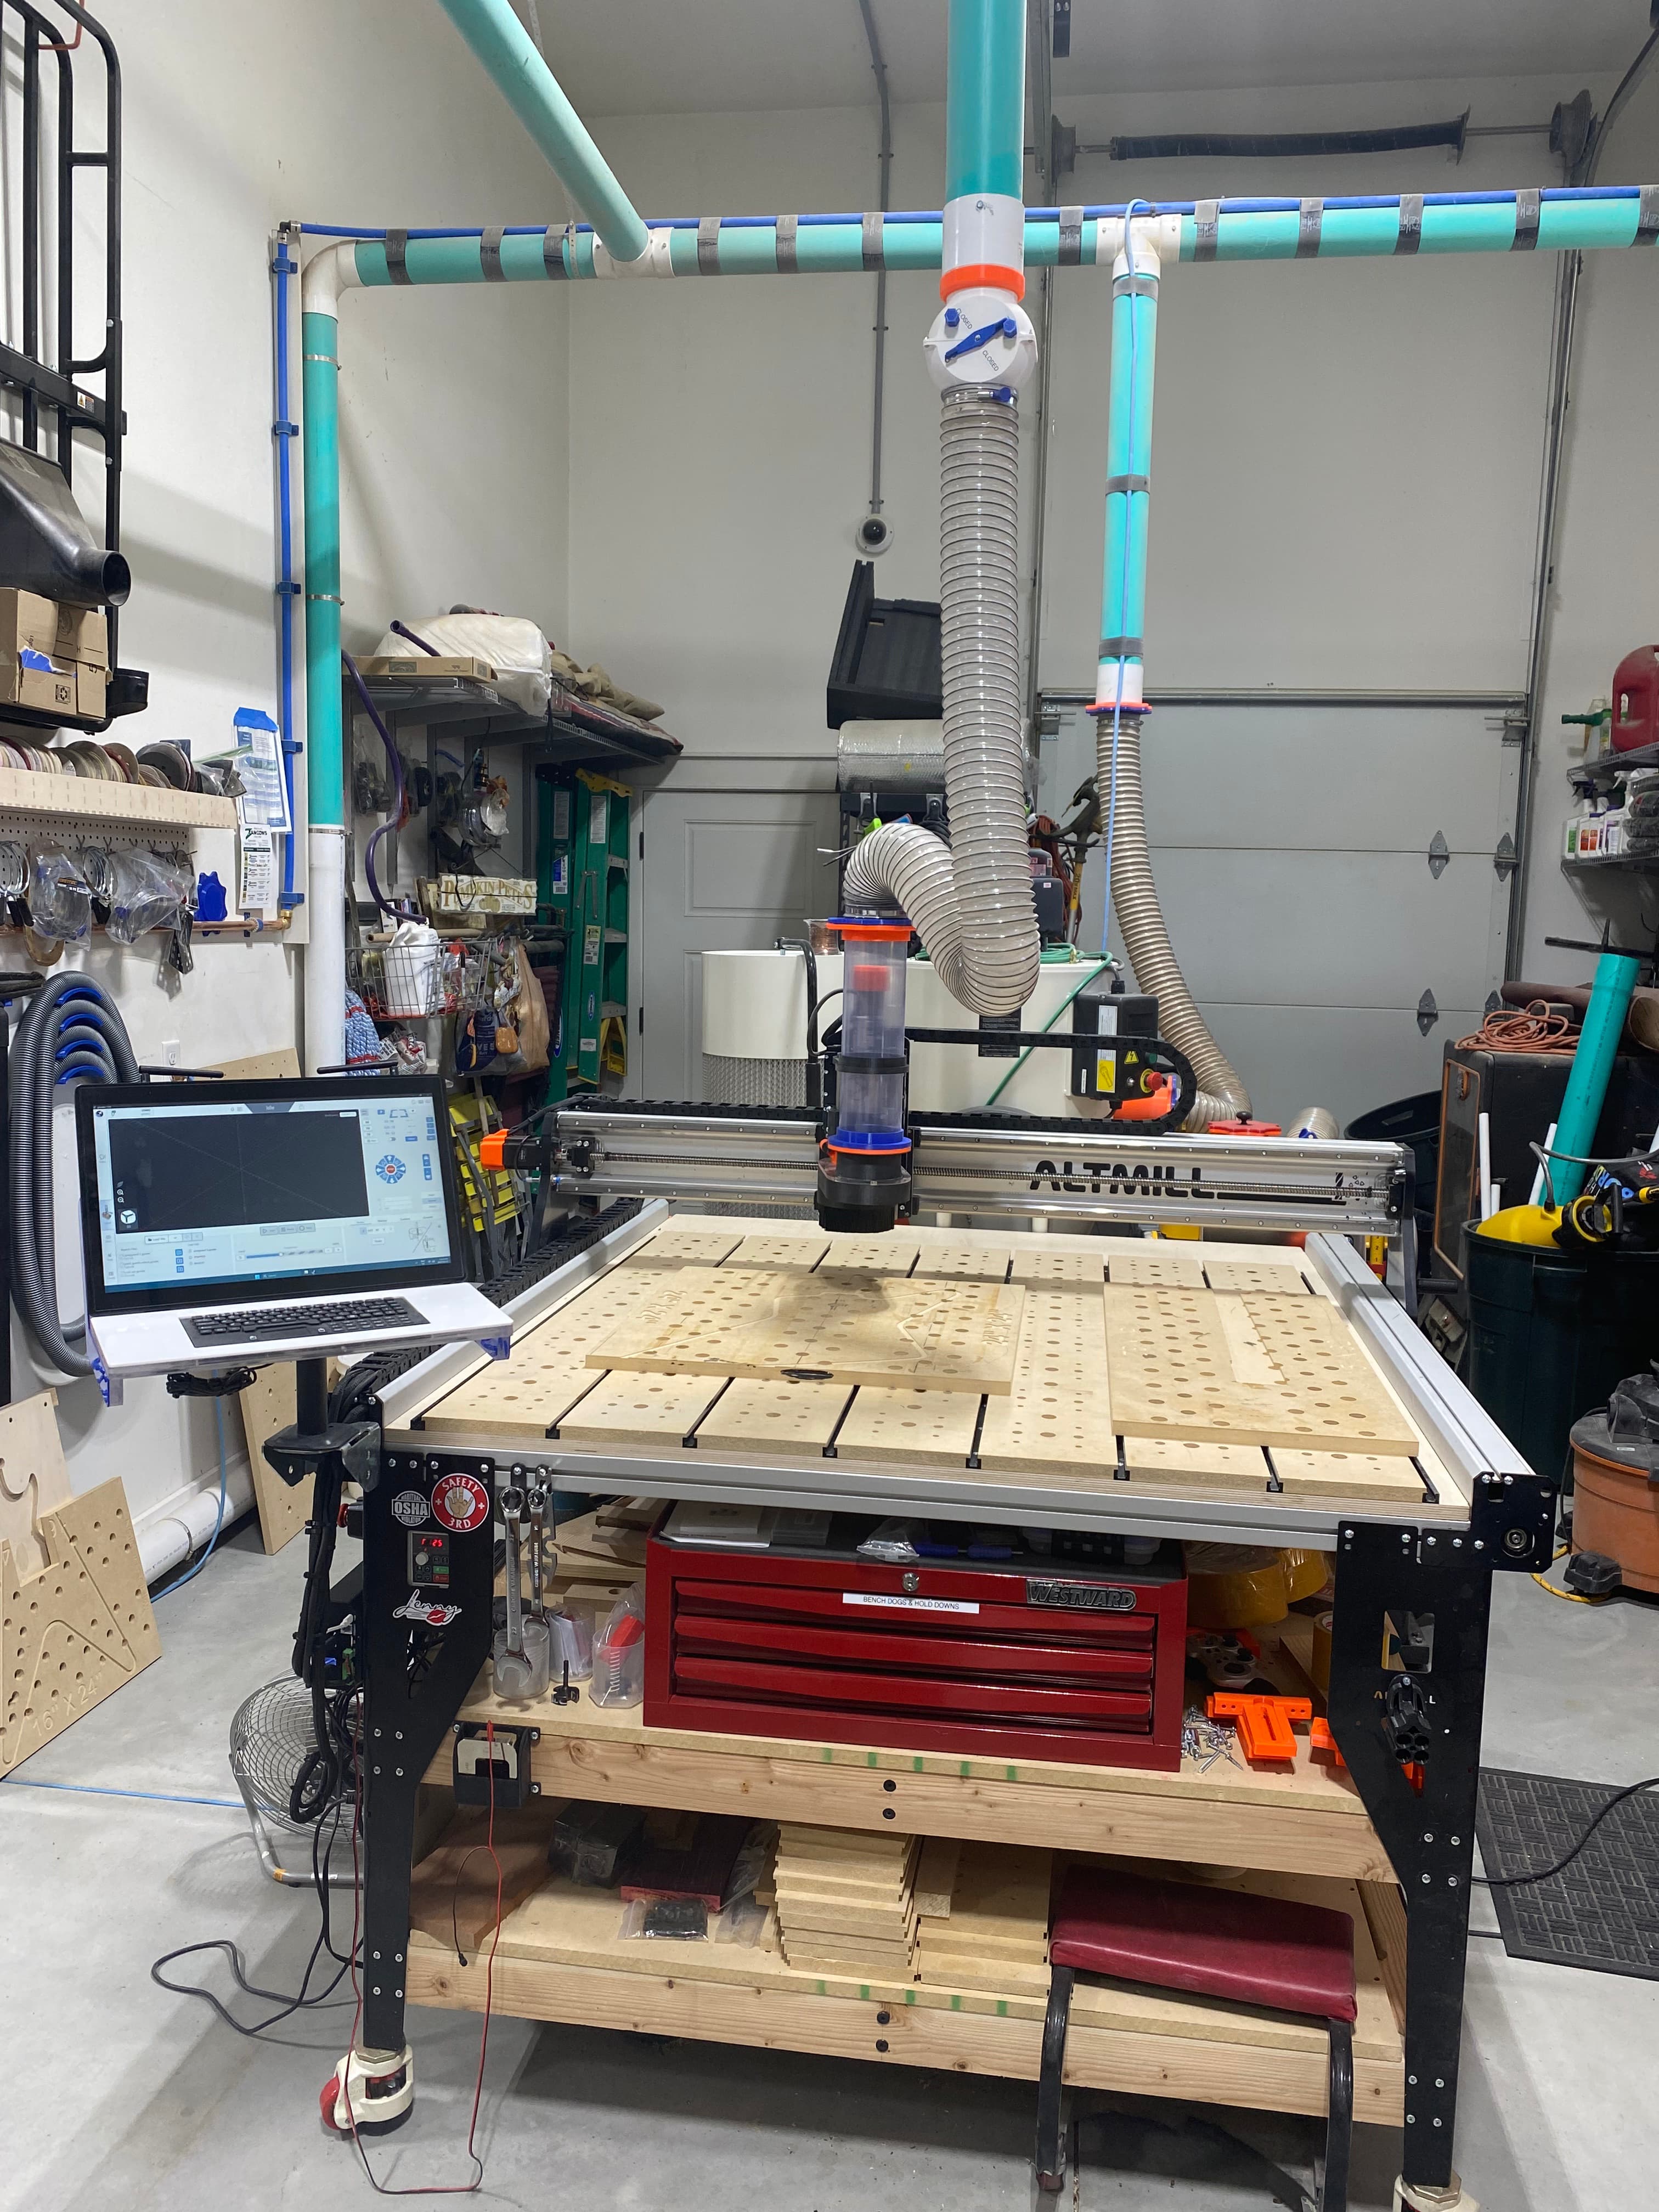
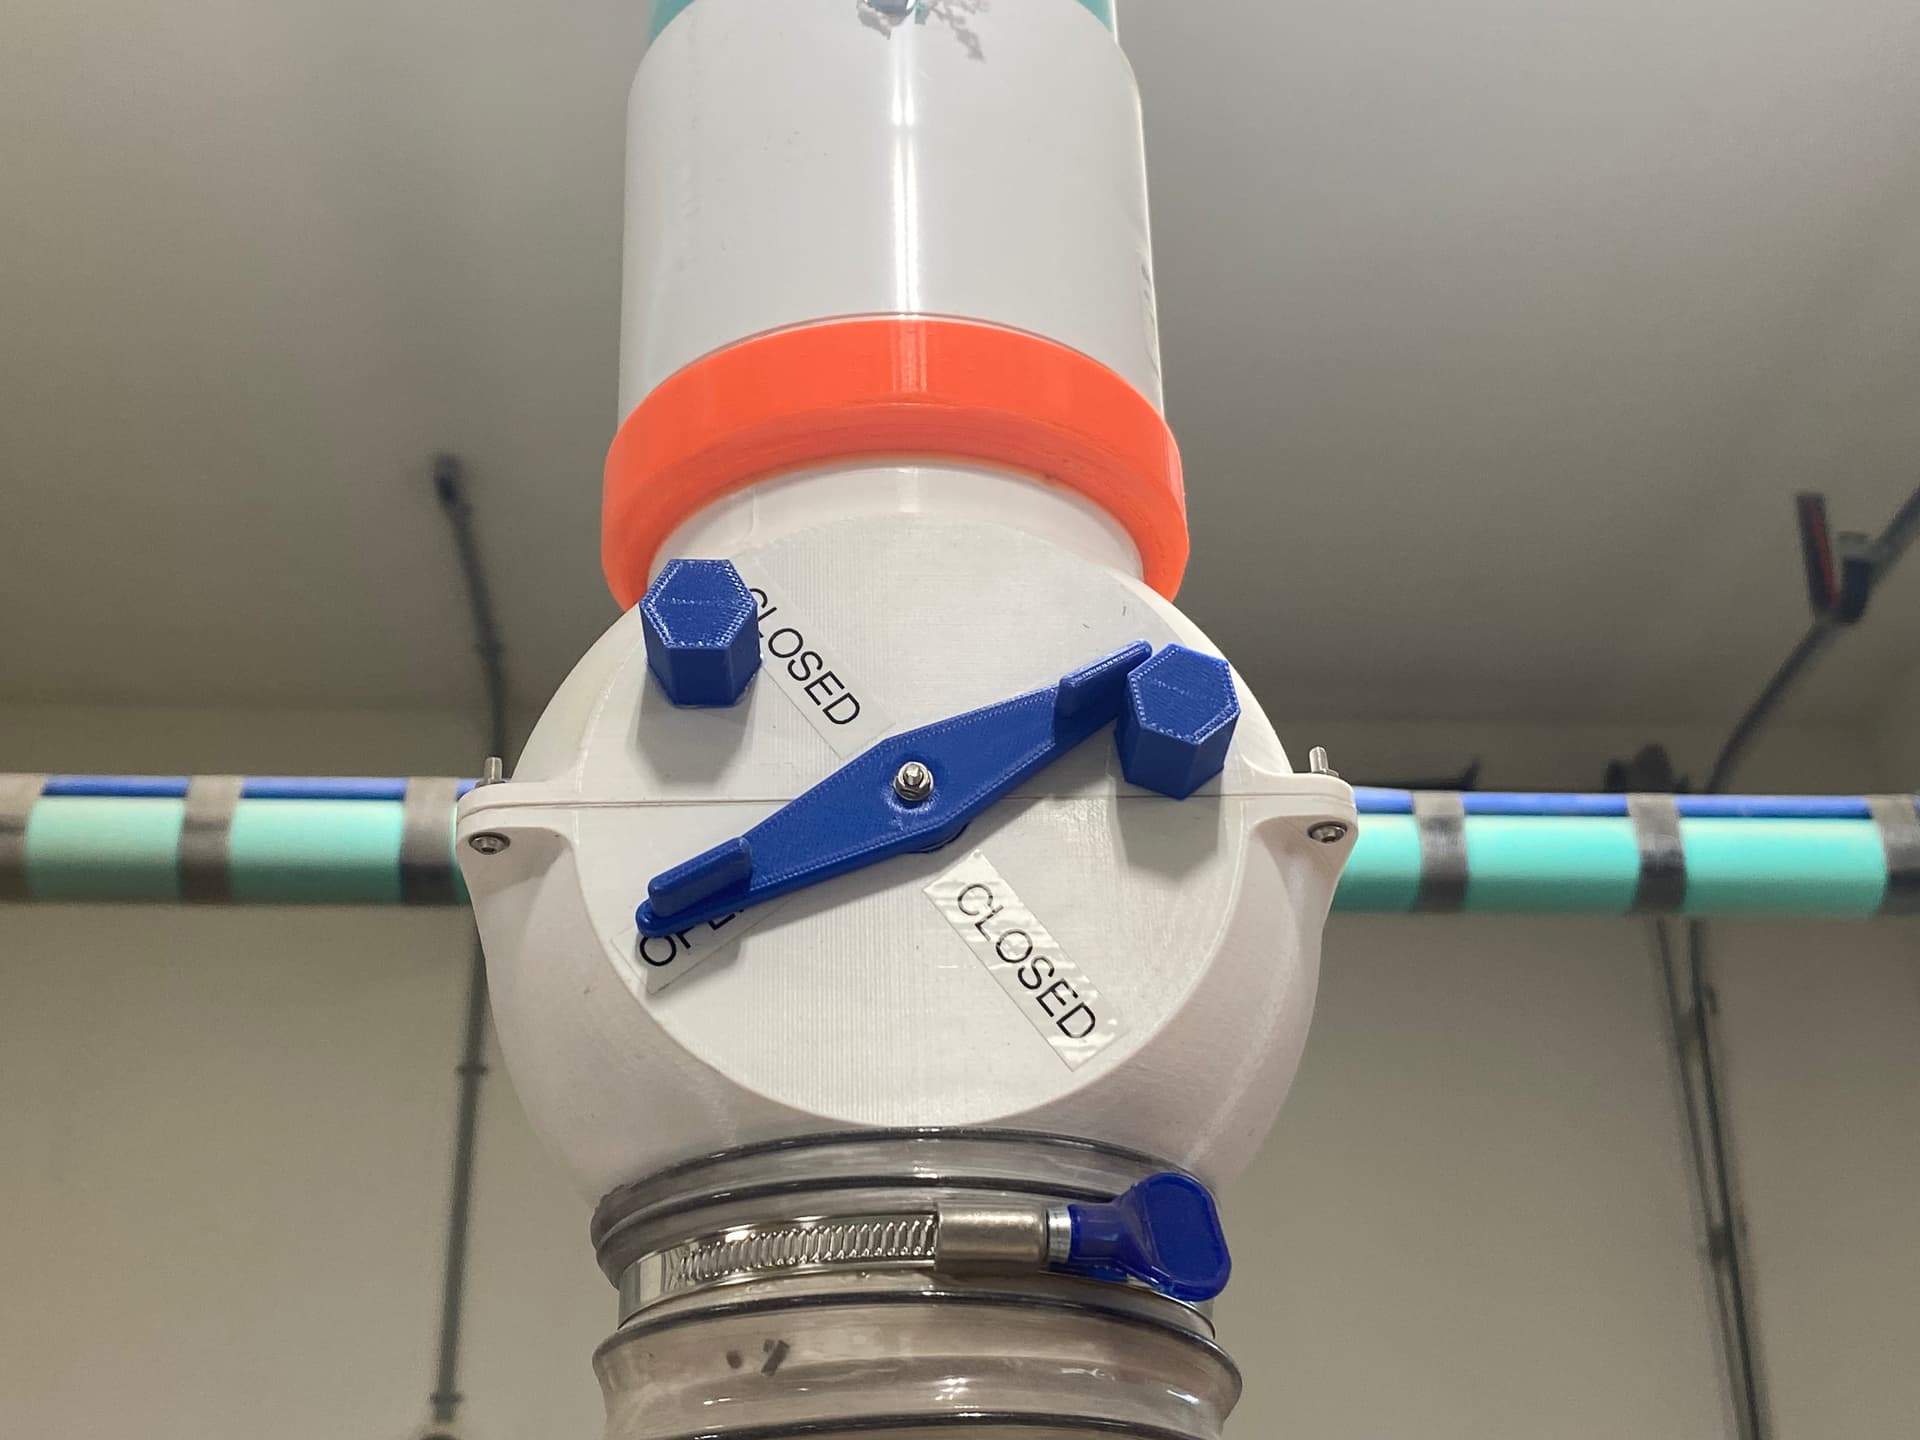
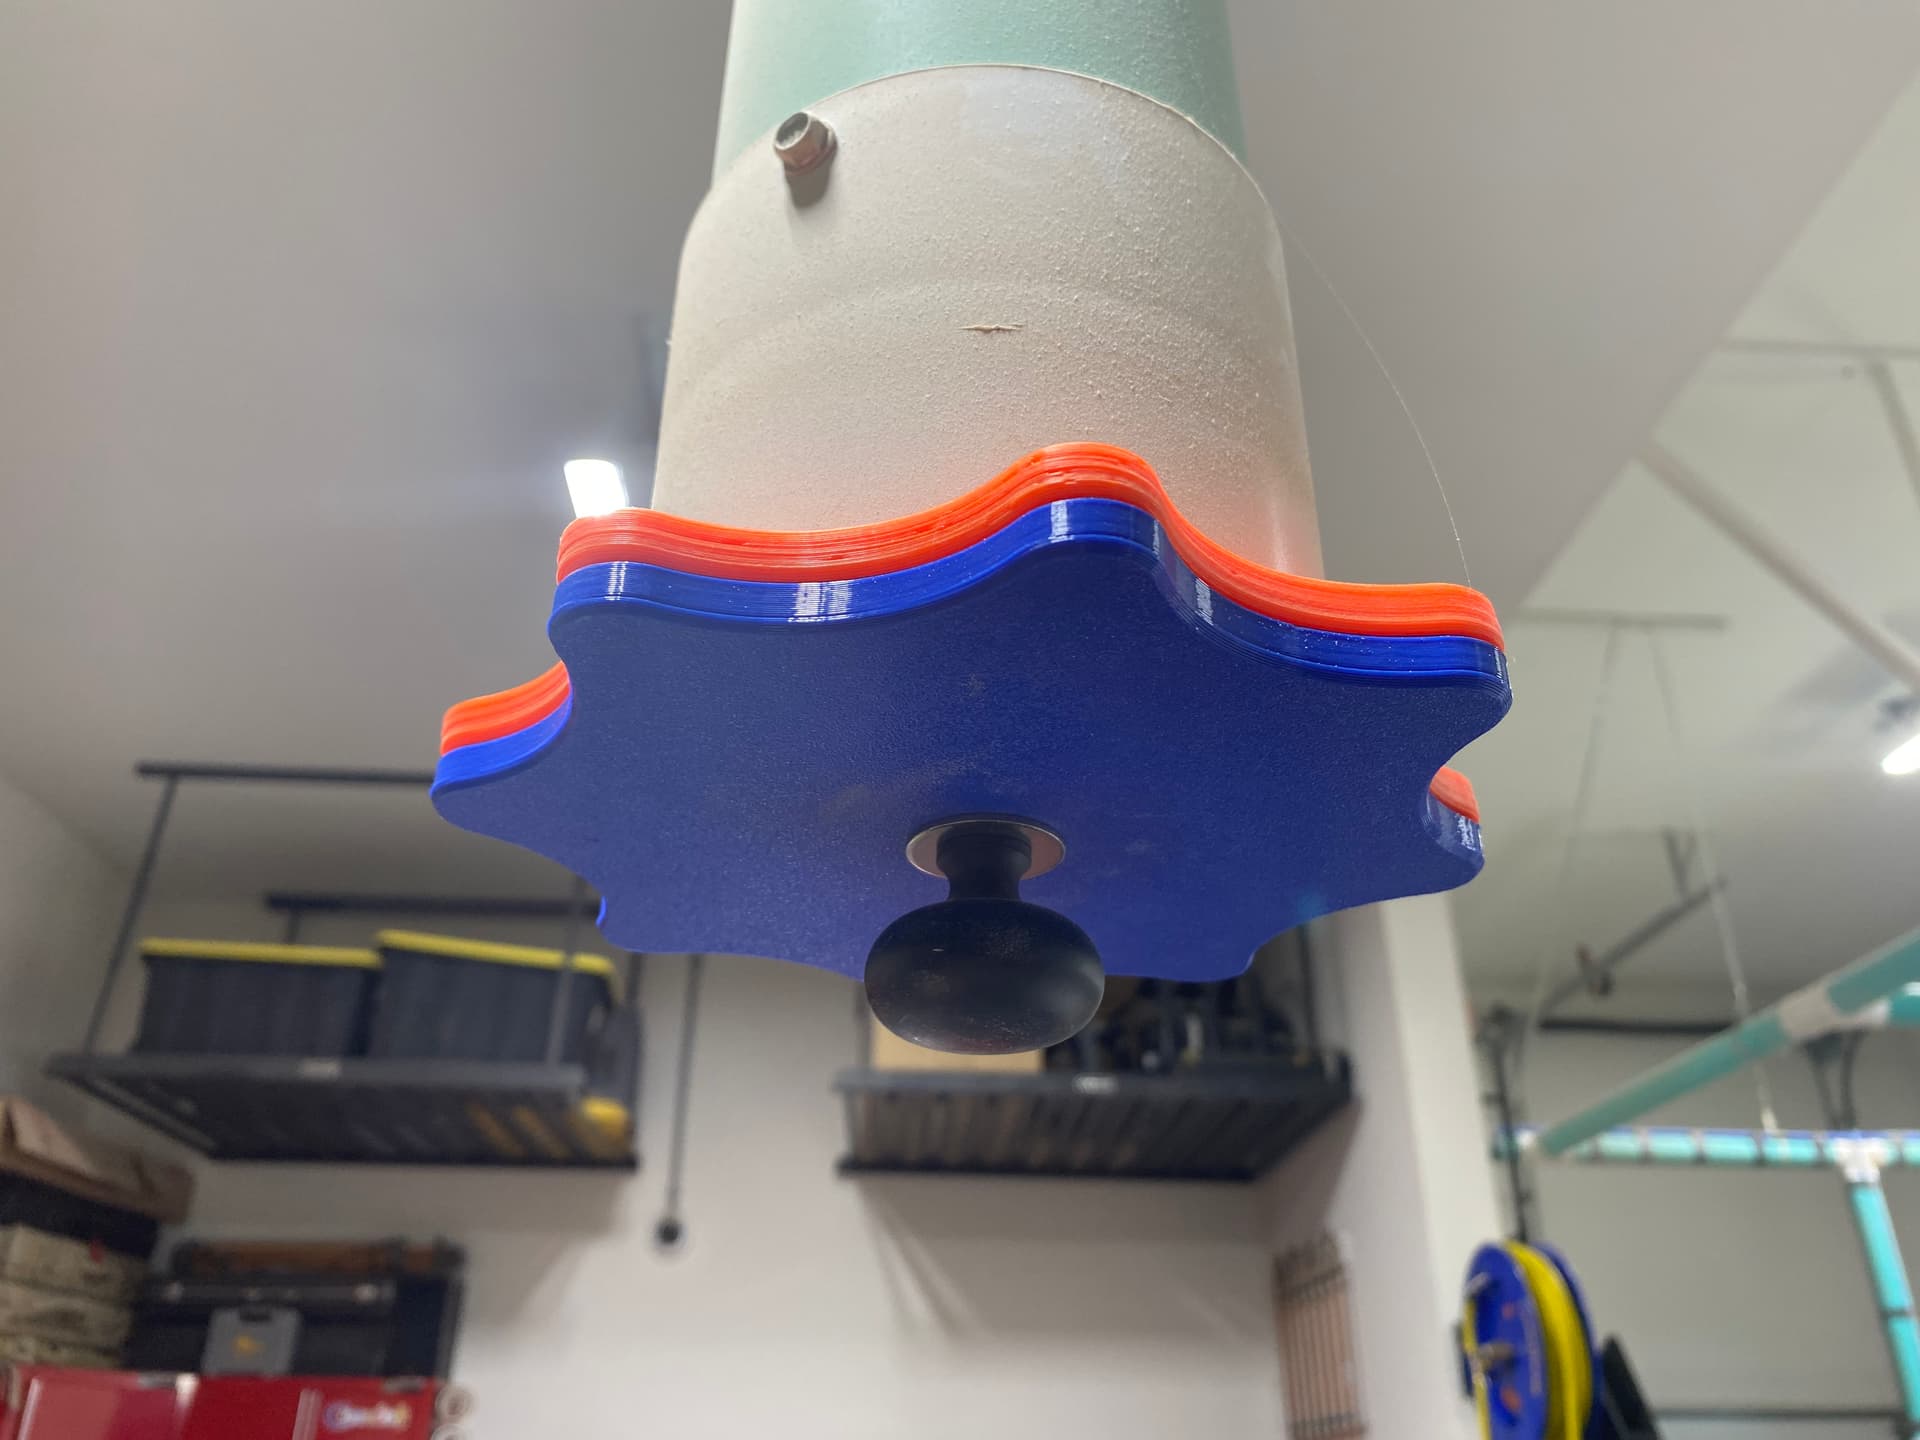
This is my attempt at a dust control system. Besides the Altmill, this picks up dust from the table saw, bandsaw, joiner, osculating sander, a 36” thickness sander, a thickness planer, chop saw, router table and a slide out drawer that has a perforated top and is used as a sanding table. There are only 4 openings for the 4” pipe and everything connects with one of 5 flexible hoses and magnetic fittings. If the outlet isn’t being used it’s blocked off with a magnetic plug or an articulated ball valve.
If it’s white, orange or blue, it’s probably a 3D printed part I made using PETG filament. If it’s black, I printed it using a PETG/Carbon Fiber filament.
4 Likes
Does the hose tug on the boot at all?
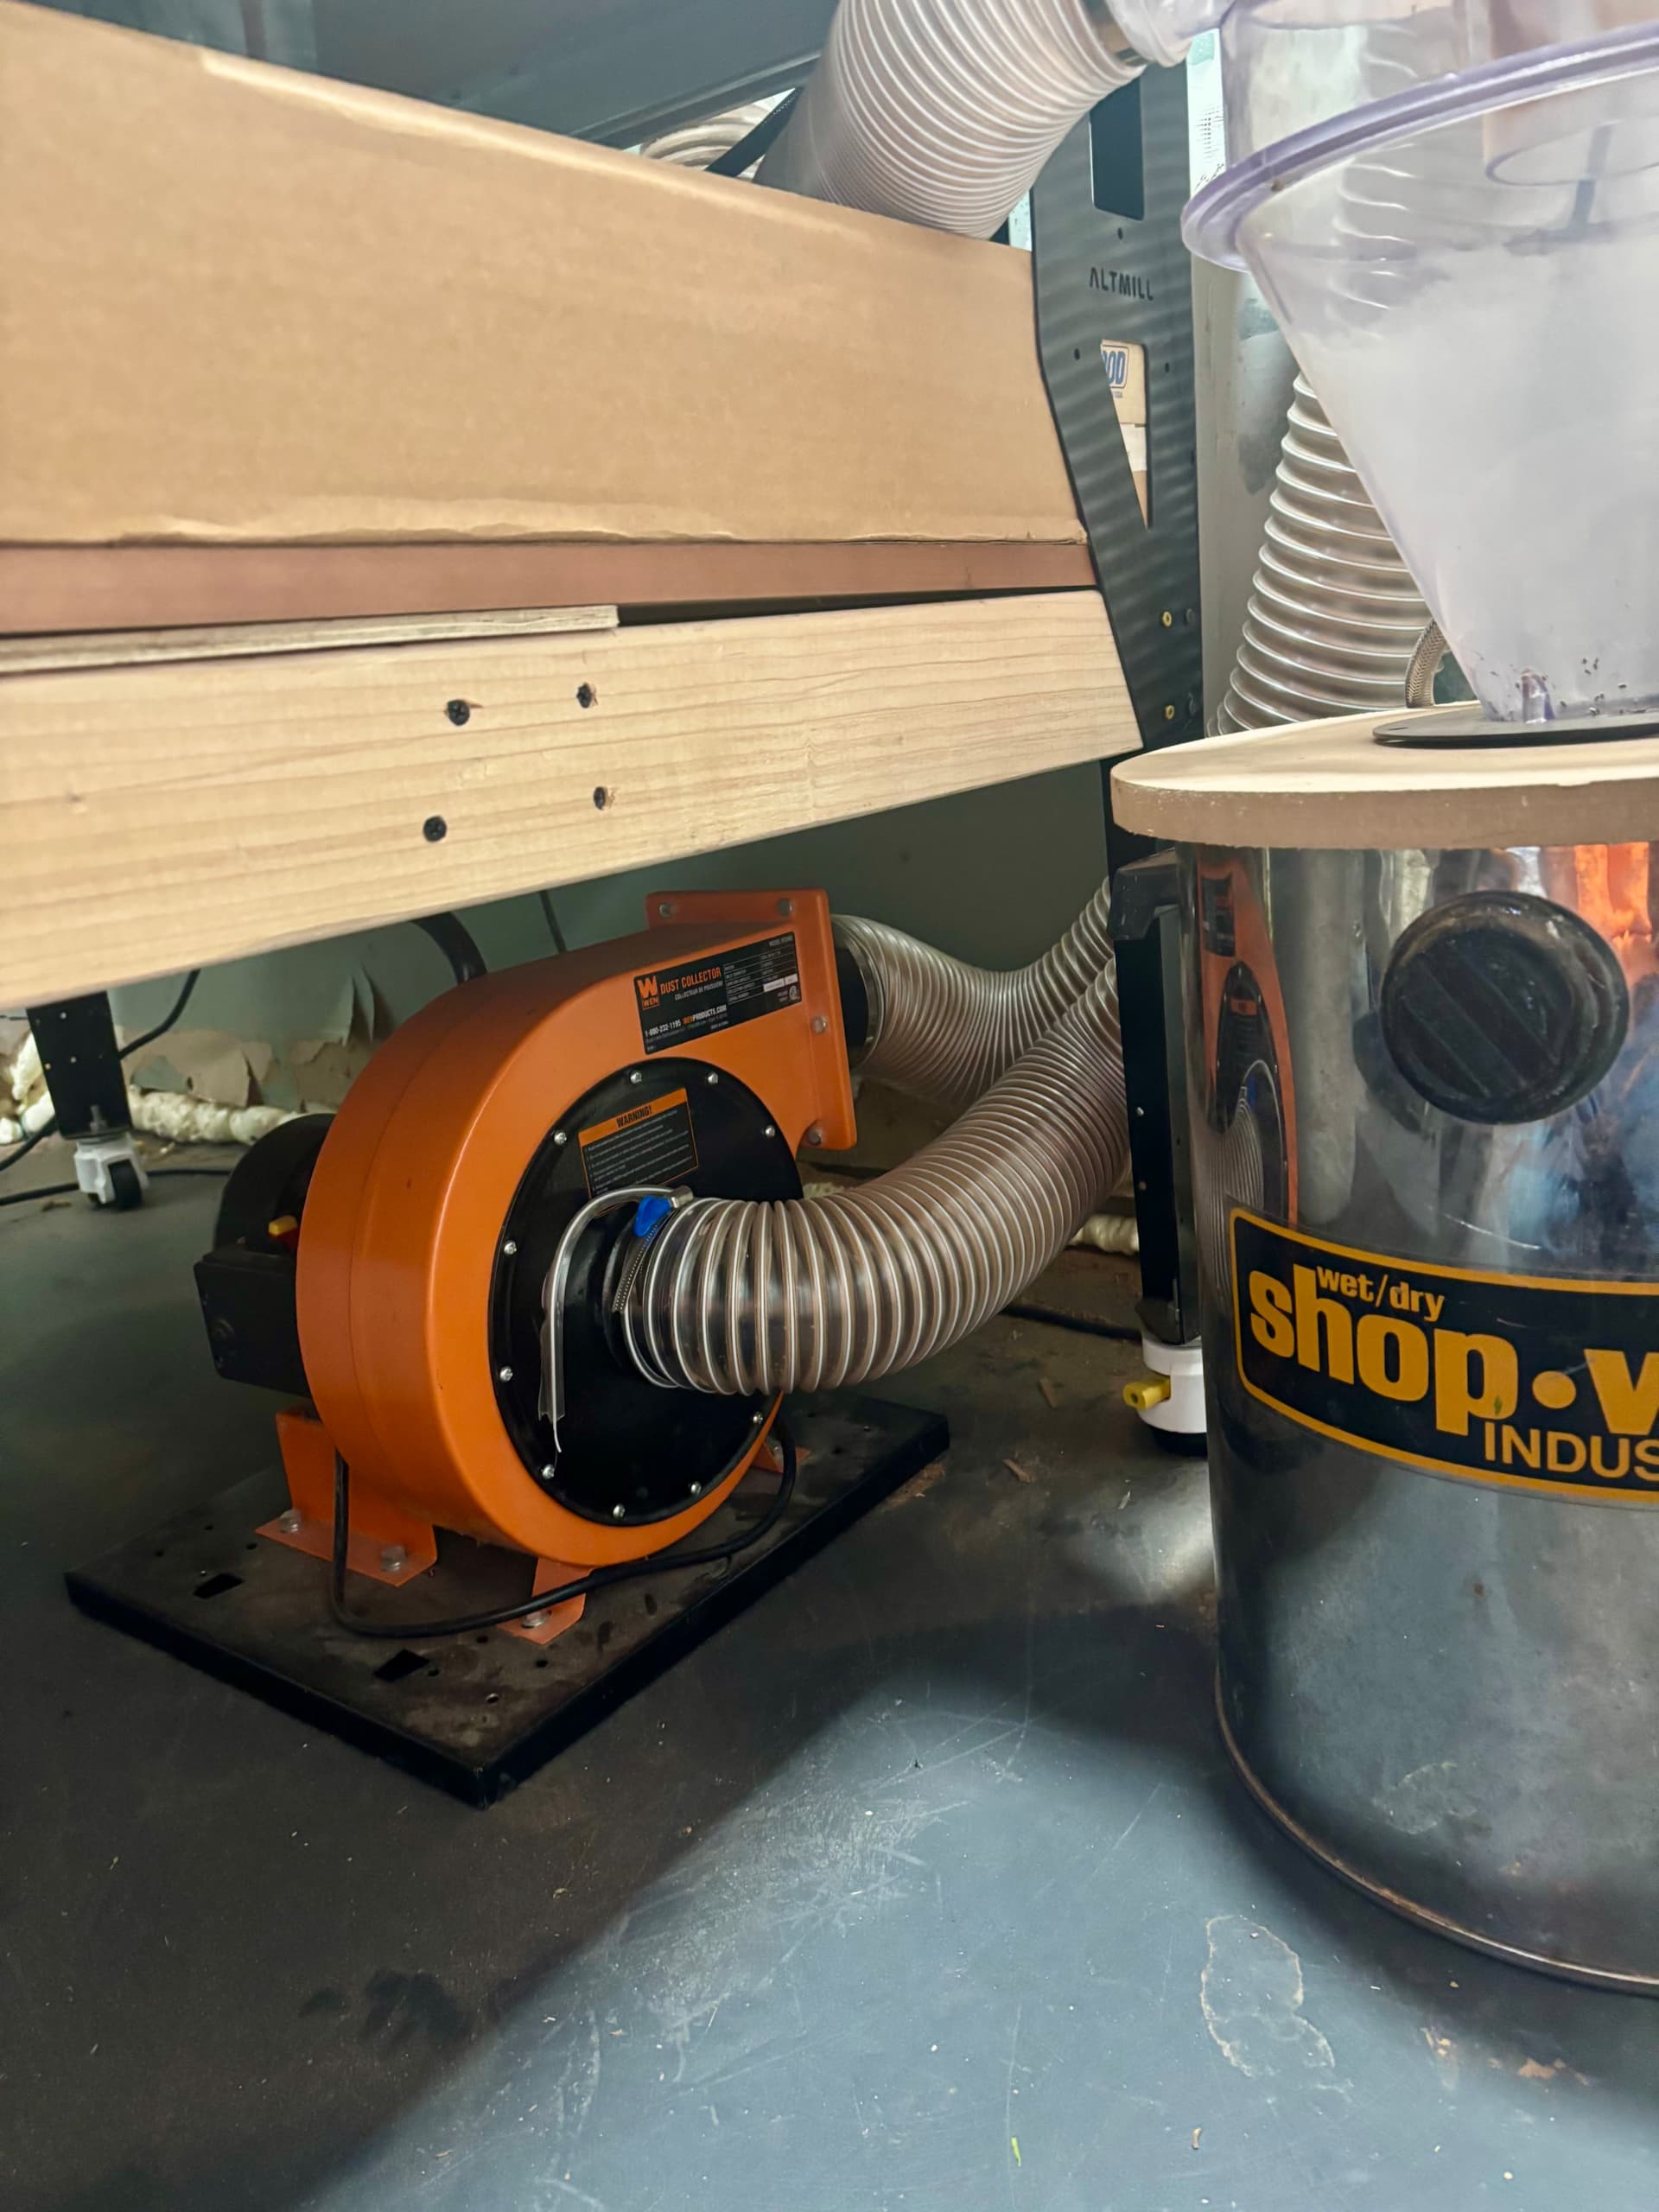
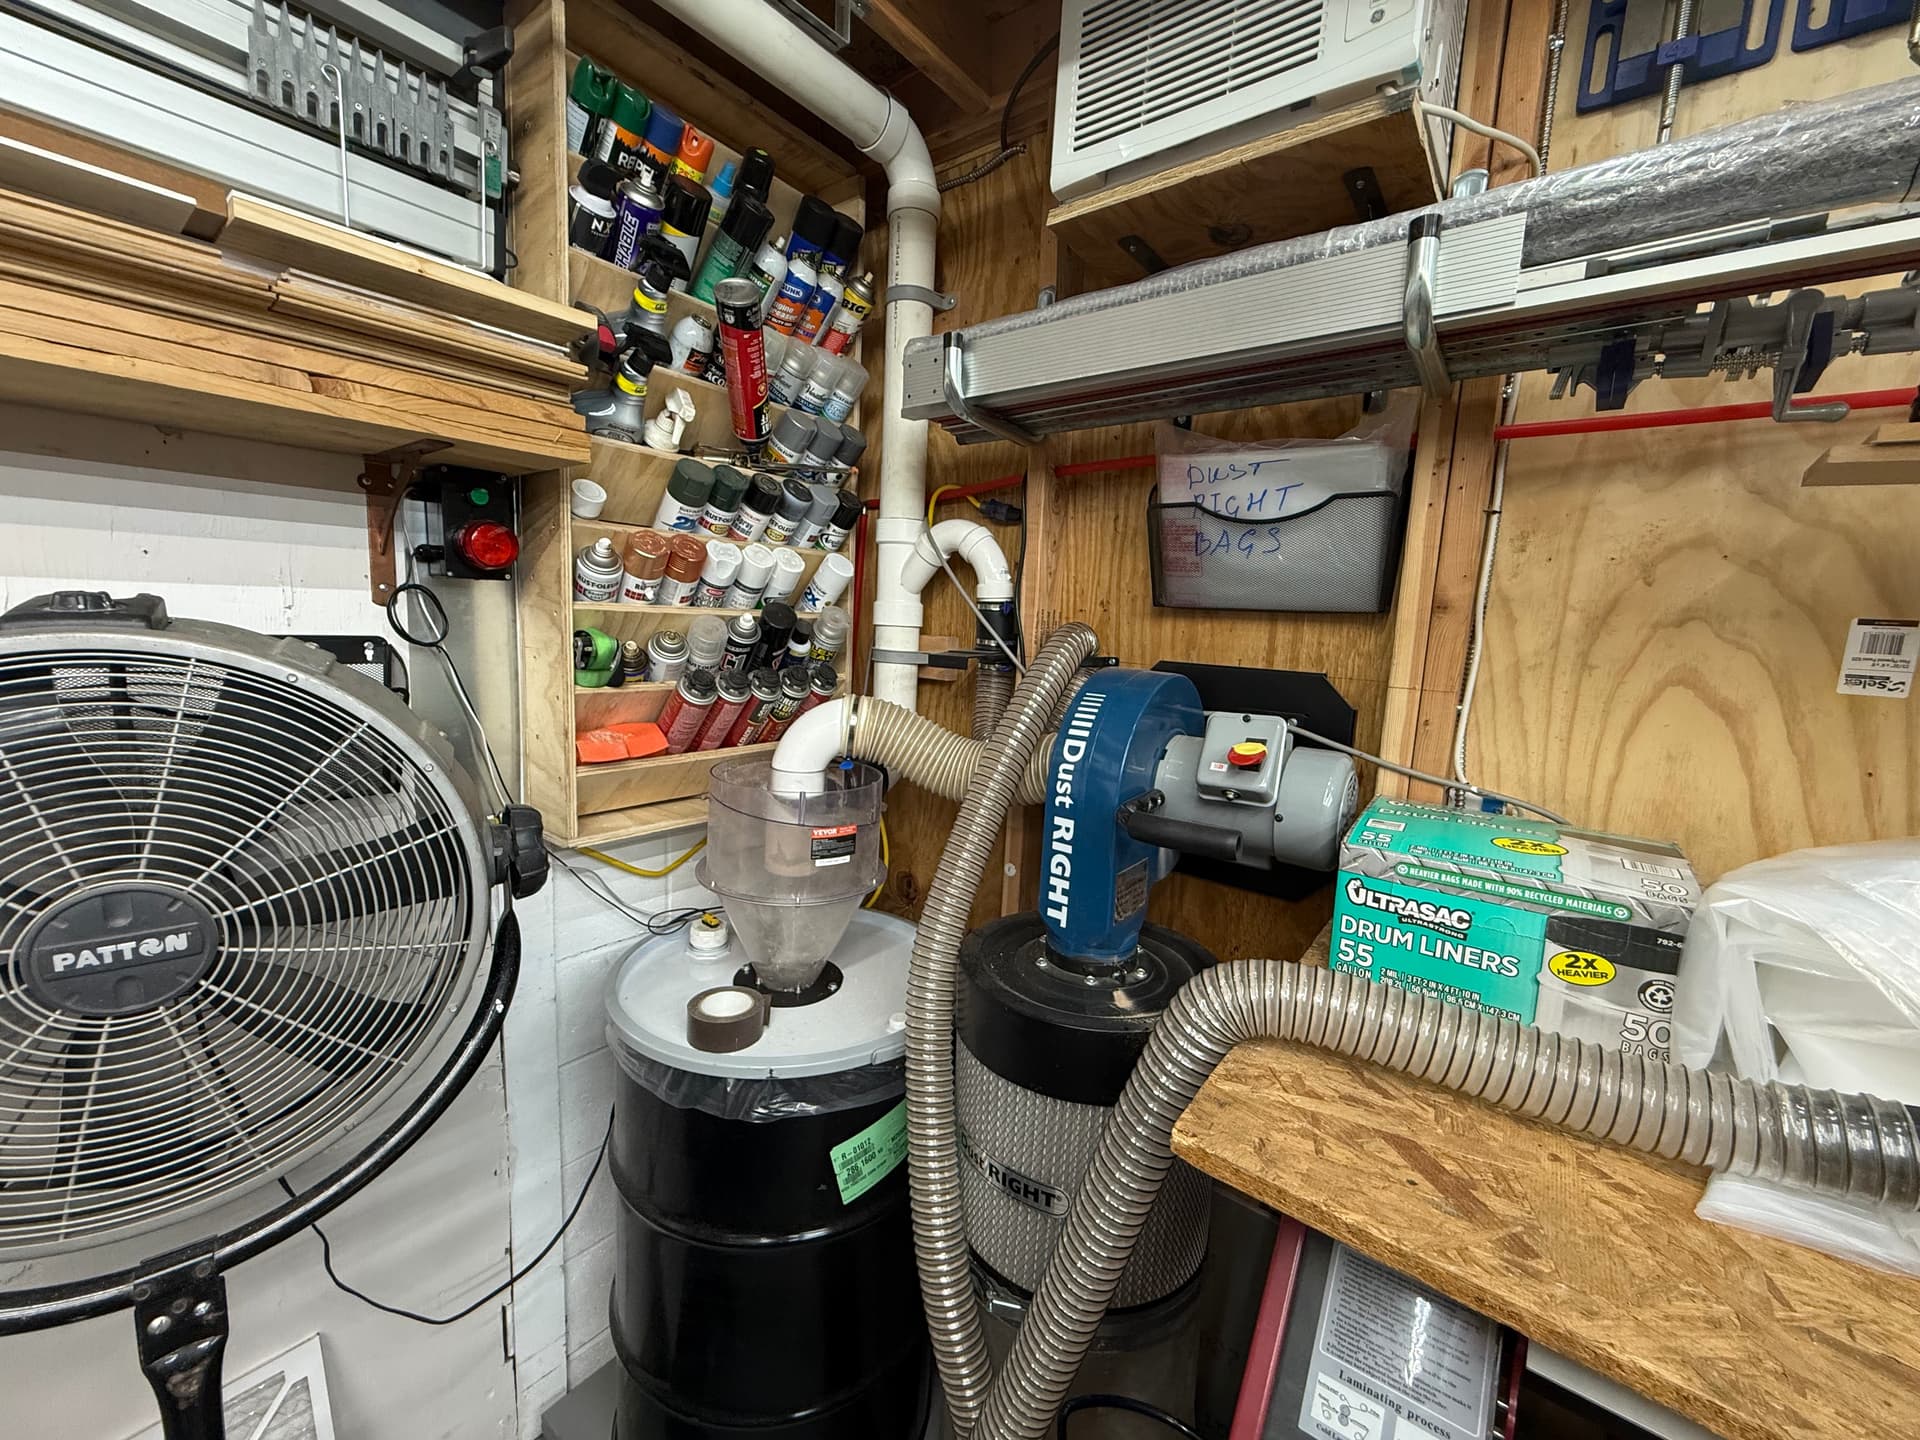
My dust collection system, maybe is not best but works perfectly for me. At first one I use JET Vortex Cone Dust Collector and NOT happy with this brand, to many leaks around bag and canister filter.
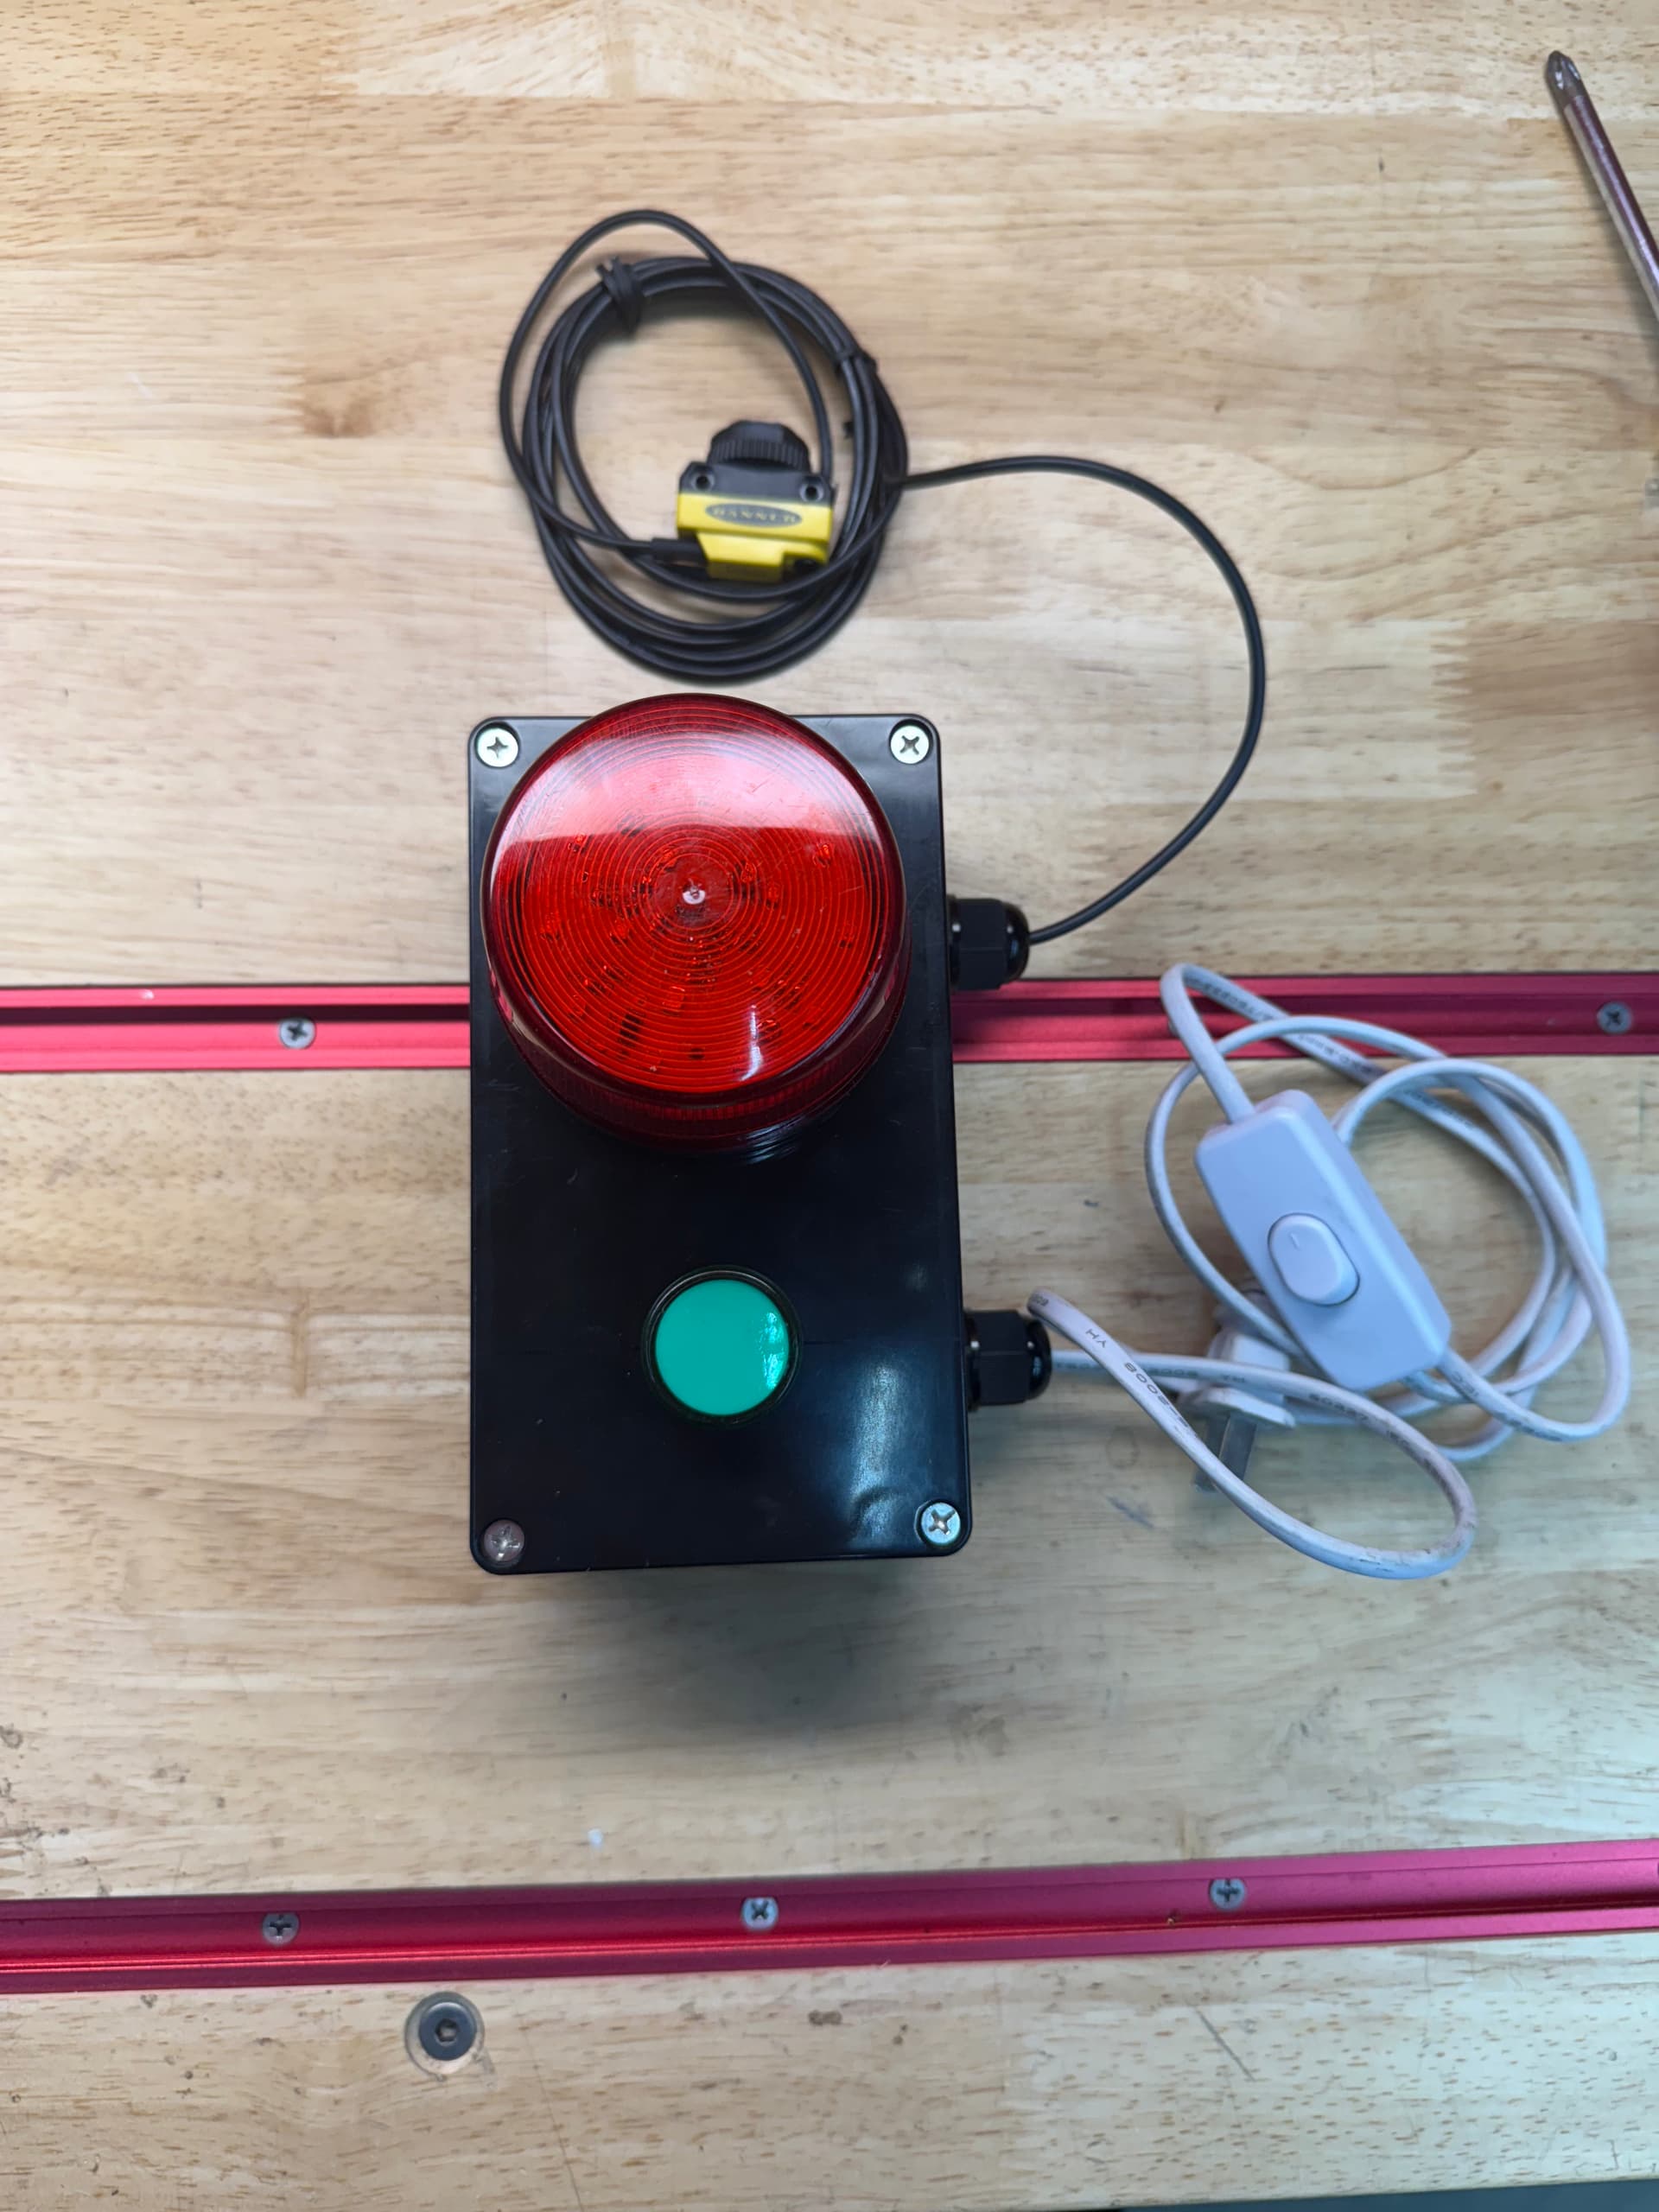
This my second design with ROKLER Dust Collector with 55gal drum and cyclone separator, also I use Photoelectric Sensor with Green and RED lights to protect drum from overfilling.(sensor I make by my self with YouTube help) Dust collector have simple designs with couple 3” PVC fittings.
Don’t take look please to vacuum table in CNC, this trial version (not good) made from MDF panel which will be replace soon with better designs and 1” HDPE plastic.

2 Likes
… and here I thought that I was working in a cramped space …. not compared to your setup. Great idea about the dust collector sensor - I should incorporate something like that as my collection point is outside and only checked when I happen to think about it. So far this hasn’t been a problem but sooner or later it will bite me in the behind.
What are you using for a suction on the vac table? It looks like you are sucking from the bottom - did you end up putting holes for the vacuum feed into your base table? Got any pictures you care to show (maybe in a different thread so as to not hijack this one)?
Dust sensor part I ordered from Amazon and it’s cost me :
Red Flashing LED Alarm Light - $8.89
L22 22mm 12V DC LED Pilot Panel Indicator Light (Green) - $5.95
#1pcs New QS18VP6D - $21.38+TAx & Shipping=$50.43
Total cost: $67.00 plus time to put togeze.
Photoelectric sensor works perfect but need to set up when you start use them, it’s setup screw for flat screw driver in top of sensor .
Vacuum table suction pump - I use FUJI ELECTRIC Regenerative Blower: 1.0 HP 220 volt which is expensive (price in Grainger Supply is $1,068.59 + TAX) but I see in YouTube that lot of guys use 1 or 2 central vacuum motors from Amazon and cost for this motors is much chipper between $120 - $300 but I don’t try and have no idea how good the is, in my previous machine I have same motor just more powerful and that motor works with no problem for 8 years.
Vacuum table - yes II have holes through the table and all my piping is under, if you want I can send you Vectric designs for my new table with 4 suction zones (this one have 3 and not good for me) , I have no problem if you do same table that my, it’s ok for me. I can send you pictures when I finished new table then you try to do same or similar.
1 Like
Thanks for the offer for the Vectric file. I do not use Vectric so no need. Please post a picture when you have your setup completed.
Beautiful setup! That’s the idea I had when I did mine but did not turn out nearly as nice. Great work!
Sorry it took so long to respond Eddie, I was off camping in the wilderness. We in Maine often feel compelled to enjoy the summer while we can before winter comes to kill us again.
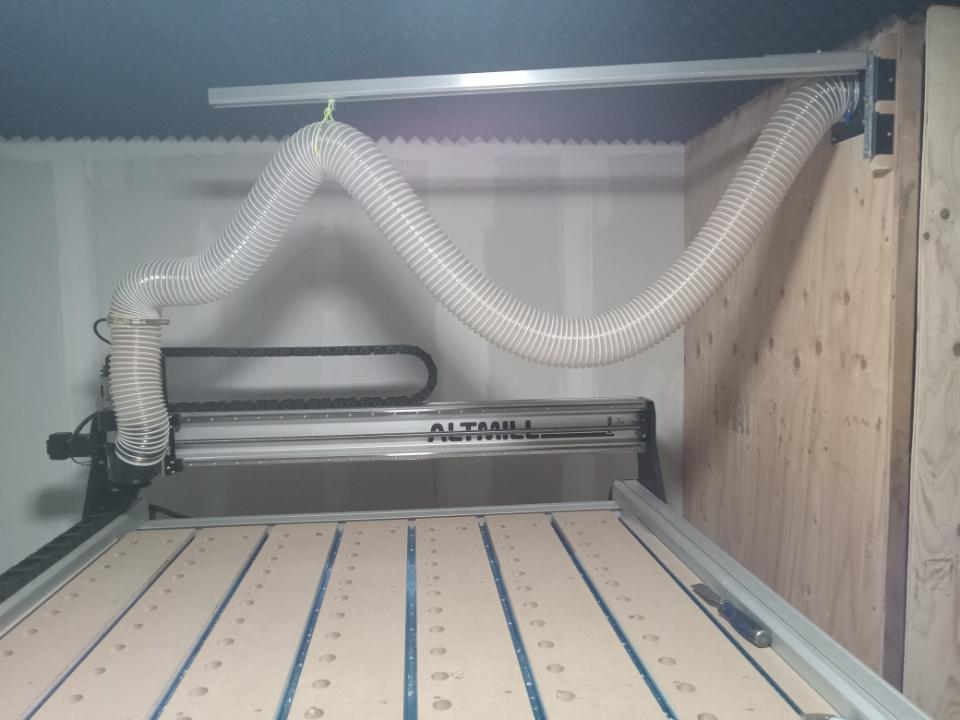
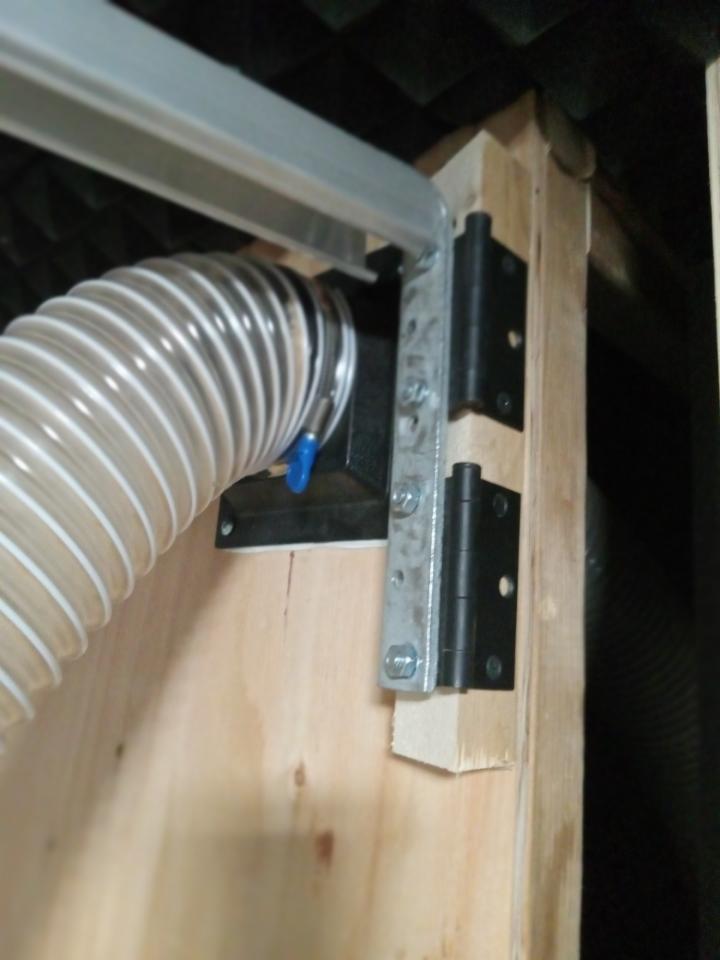
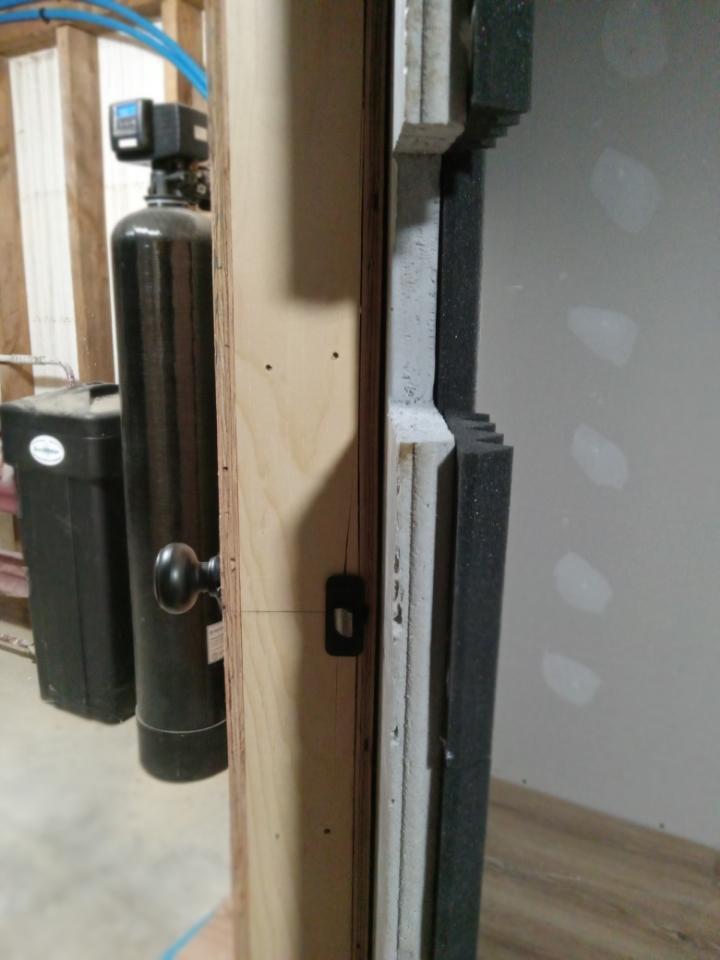
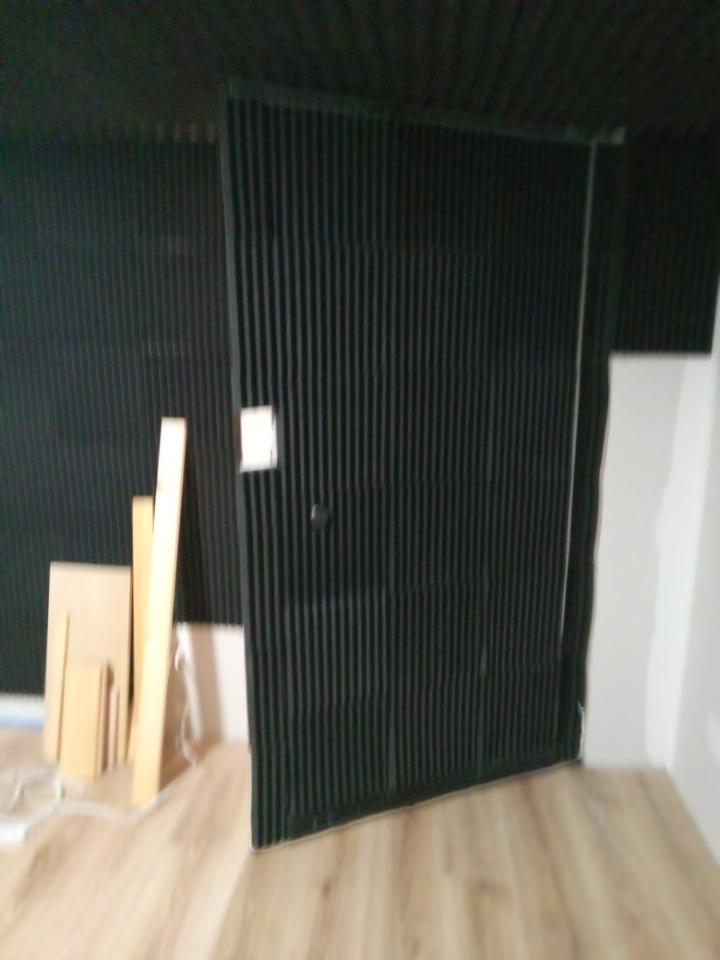
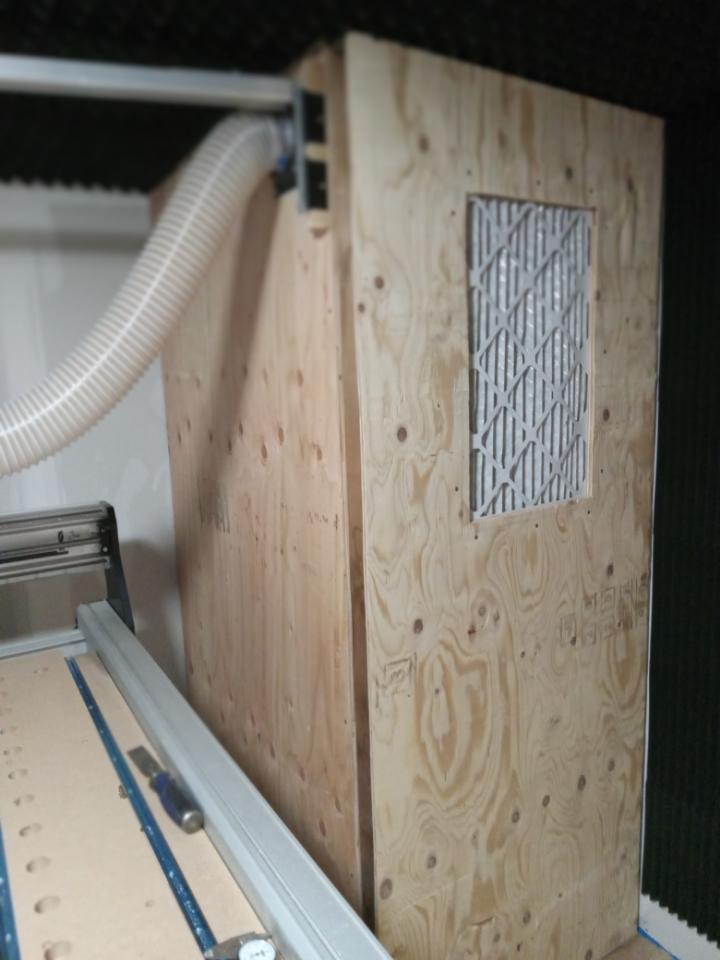
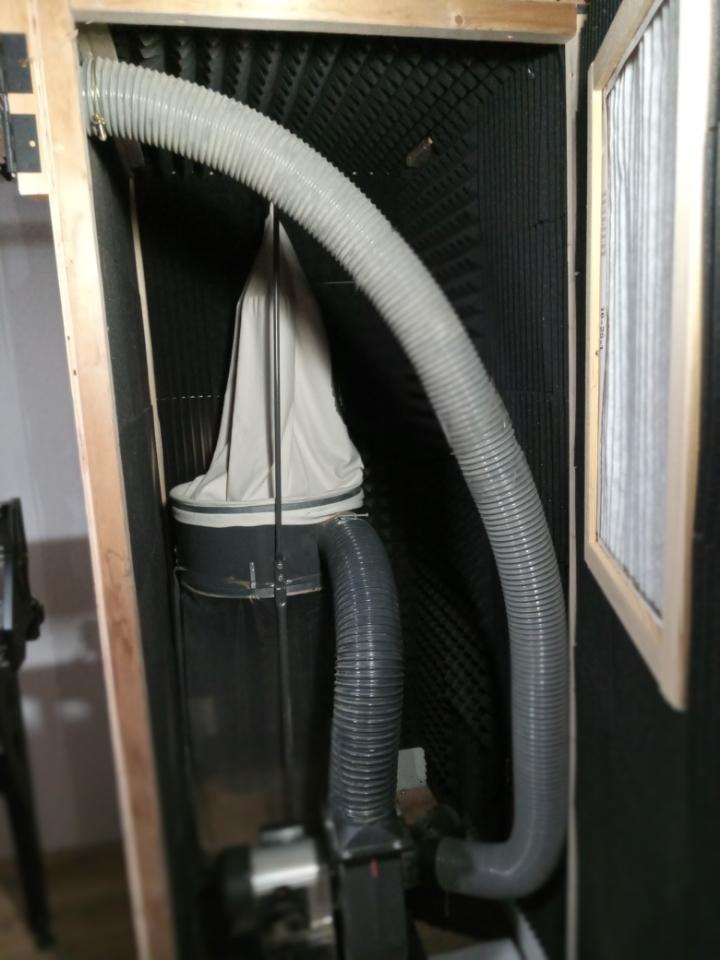
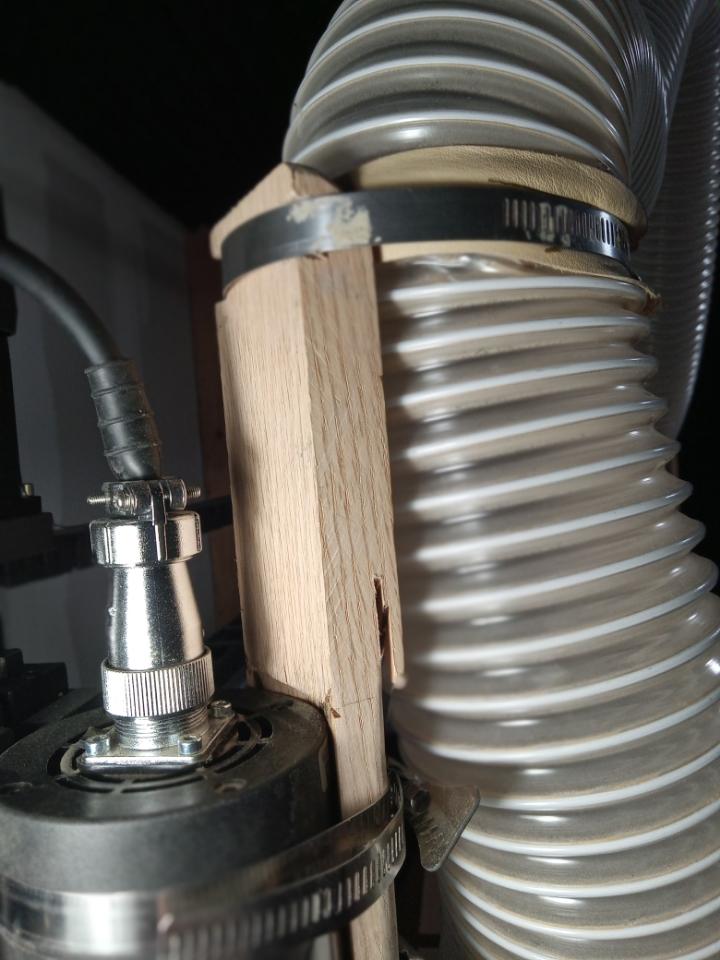
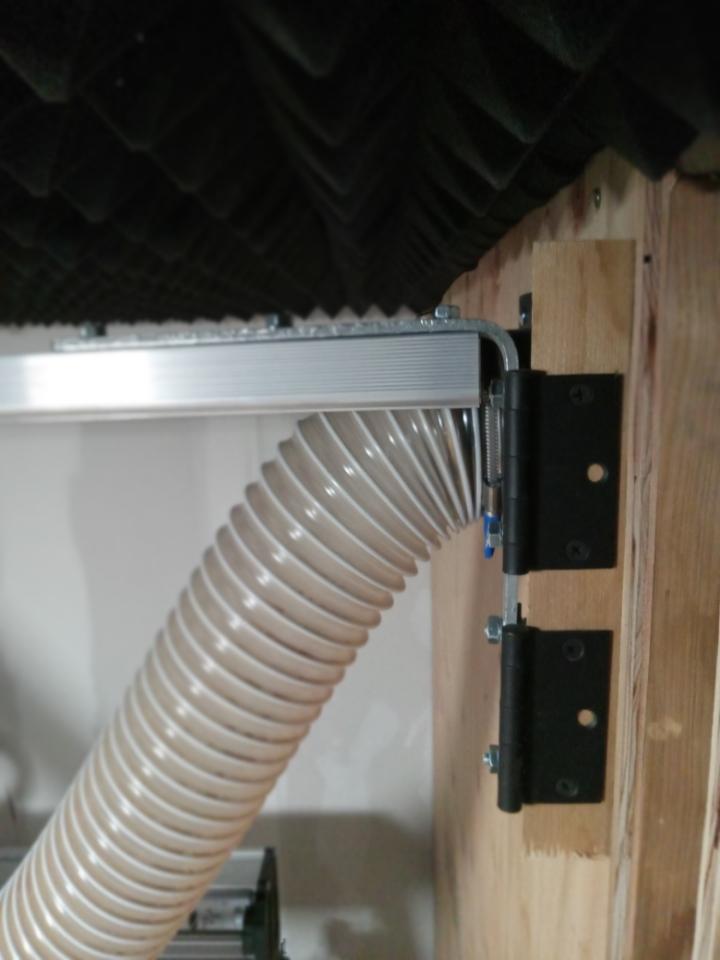
My CNC room has limited height as you can see. The distance from the floor to the bottom of the acoustical foam on the ceiling is 77.75". The distance from the top of the Z motor (while in the home position) to the acoustical foam is only 20". The pocket door track and the angle bracket that is bolted to the right end of it, and the door hinges that mount it to the wall were all bought at home depot for about 60 bucks. The pocket door hardware kit of course comes with two of the little upside down race cars to go in the track but I only needed one. It is attached to the hose with string and a strip of leather around the hose to prevent chaffing. I know the string is crude but it works and can easily be replaced with something better some rainy day. For the attachment to the spindle, I used a piece of oak board furrowed out so it would lay on the spindle and not slip once it was strapped down. I put the dust collector itself inside a phone booth like closet with a 6$ furnace filter in the front to help stop any fine dust that makes it though the cloth bag of the dust collector. This extra filter works great actually and definitely helps keep the air in the room dust free. However, the extra sound proofing I added inside this closet is mostly ineffective. The entire room is directly beneath the living room in my home and is soundproofed to the point where you can barely hear anything upstairs. The ceiling has 2" of acoustical foam, then 1/2" drywall, then 6 inches of rockwool. I framed the door with 2x4’s and filled it with rockwool, then 1/2" plywood on both sides, then 1" closed cell foam, plus 1" acoustical foam on the inside. It is a total of 7 inches thick. I call it my nuclear blast door. For the knob and latch I had to get creative…
I am glad that anyone might find my ideas useful and I am happy to share.
Let me know if anyone wants any more info on anything.
BTW, I made a video of it in operation but it wouldn’t let me upload it (limit is 10MB, my video is 50).
4 Likes
1” polyester webbing - the kind you would find on hold down straps - is great to hold the 4” hose without cutting into it. And you can use the quick release clips as well.
This is how you flex an Altmill.
I like the use of the “curtainish track“ rail you have come up with. You seem to put function over looks and I always like it when I see that. Crude, makes my heart beat faster.
The machine looks a wee too clean, but returning from a summer break.. oke.
Does the foam do anything at reducing sound outside the shop?
Oh yes, the foam helps immensely. Like I said, upstairs you’d hardly know the machine is running. Two of the cnc room walls are just drywall and have no acoustic foam…that’s because those walls are ICF (5 inches of closed cell foam plus 6 inches of concrete…no further sound-proofing needed there!). The 2” acoustic foam was well worth the money. I was far less impressed with the 1” acoustic panels.
1 Like
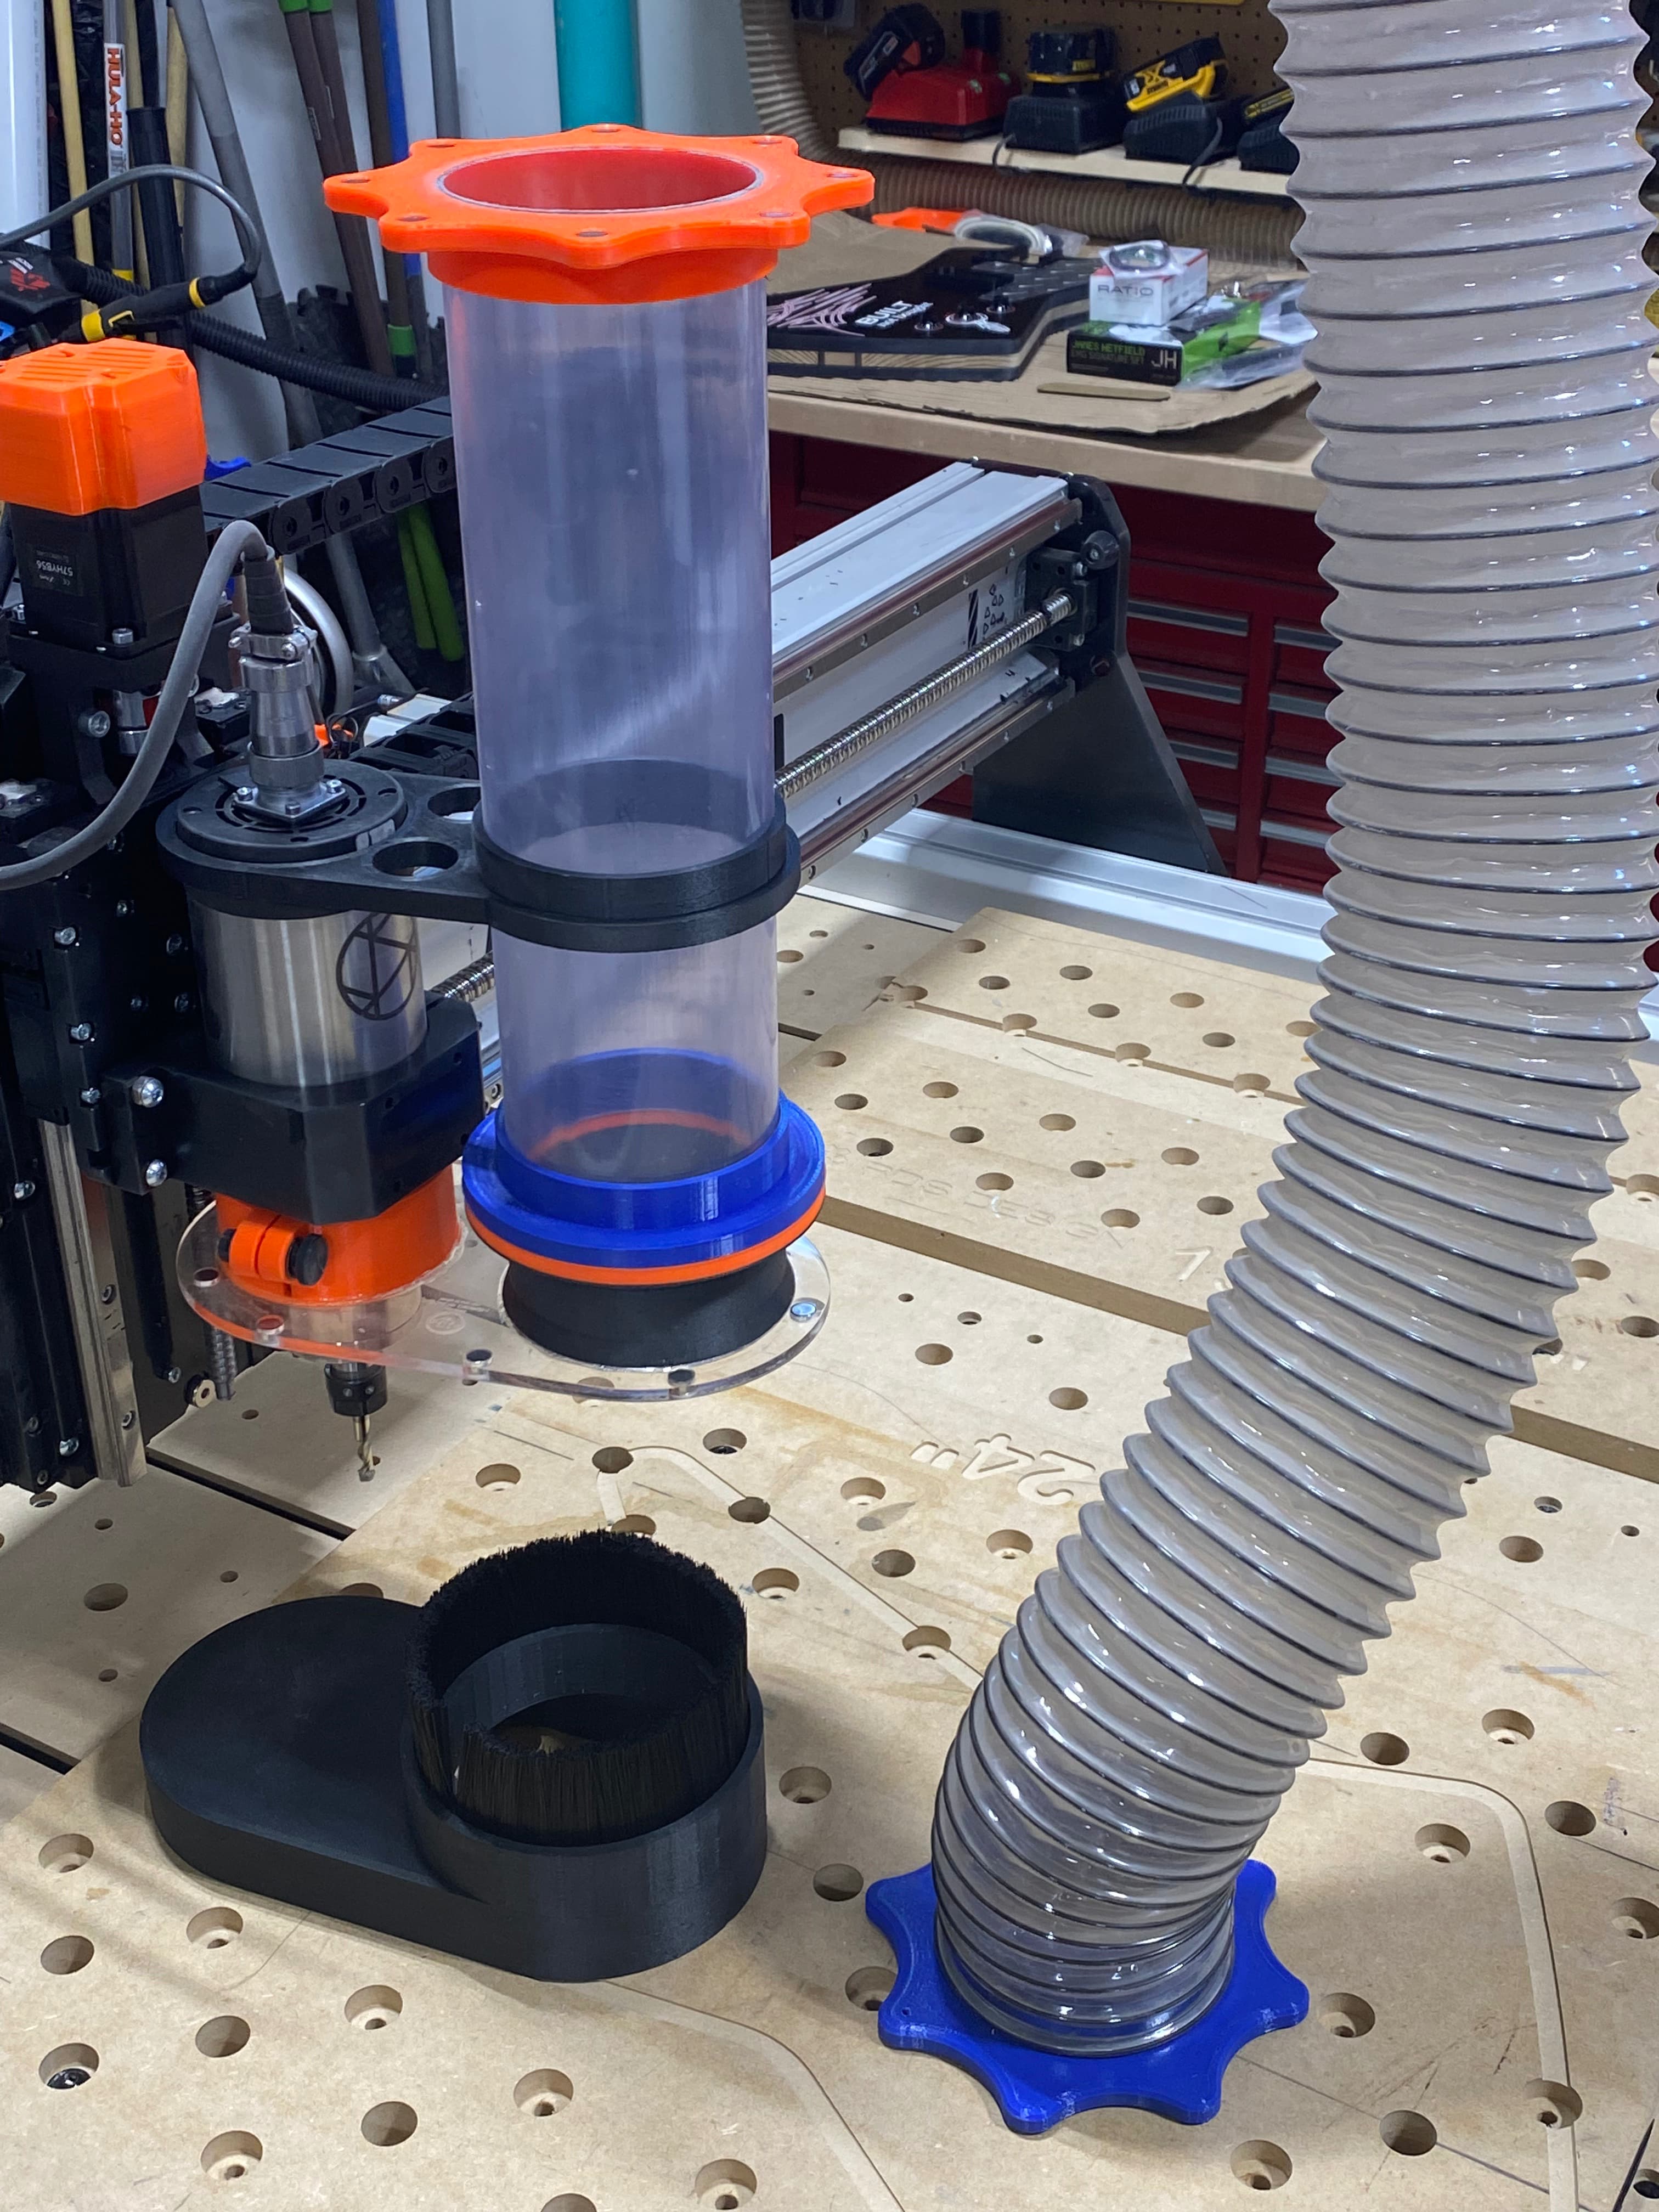
I use a self-designed
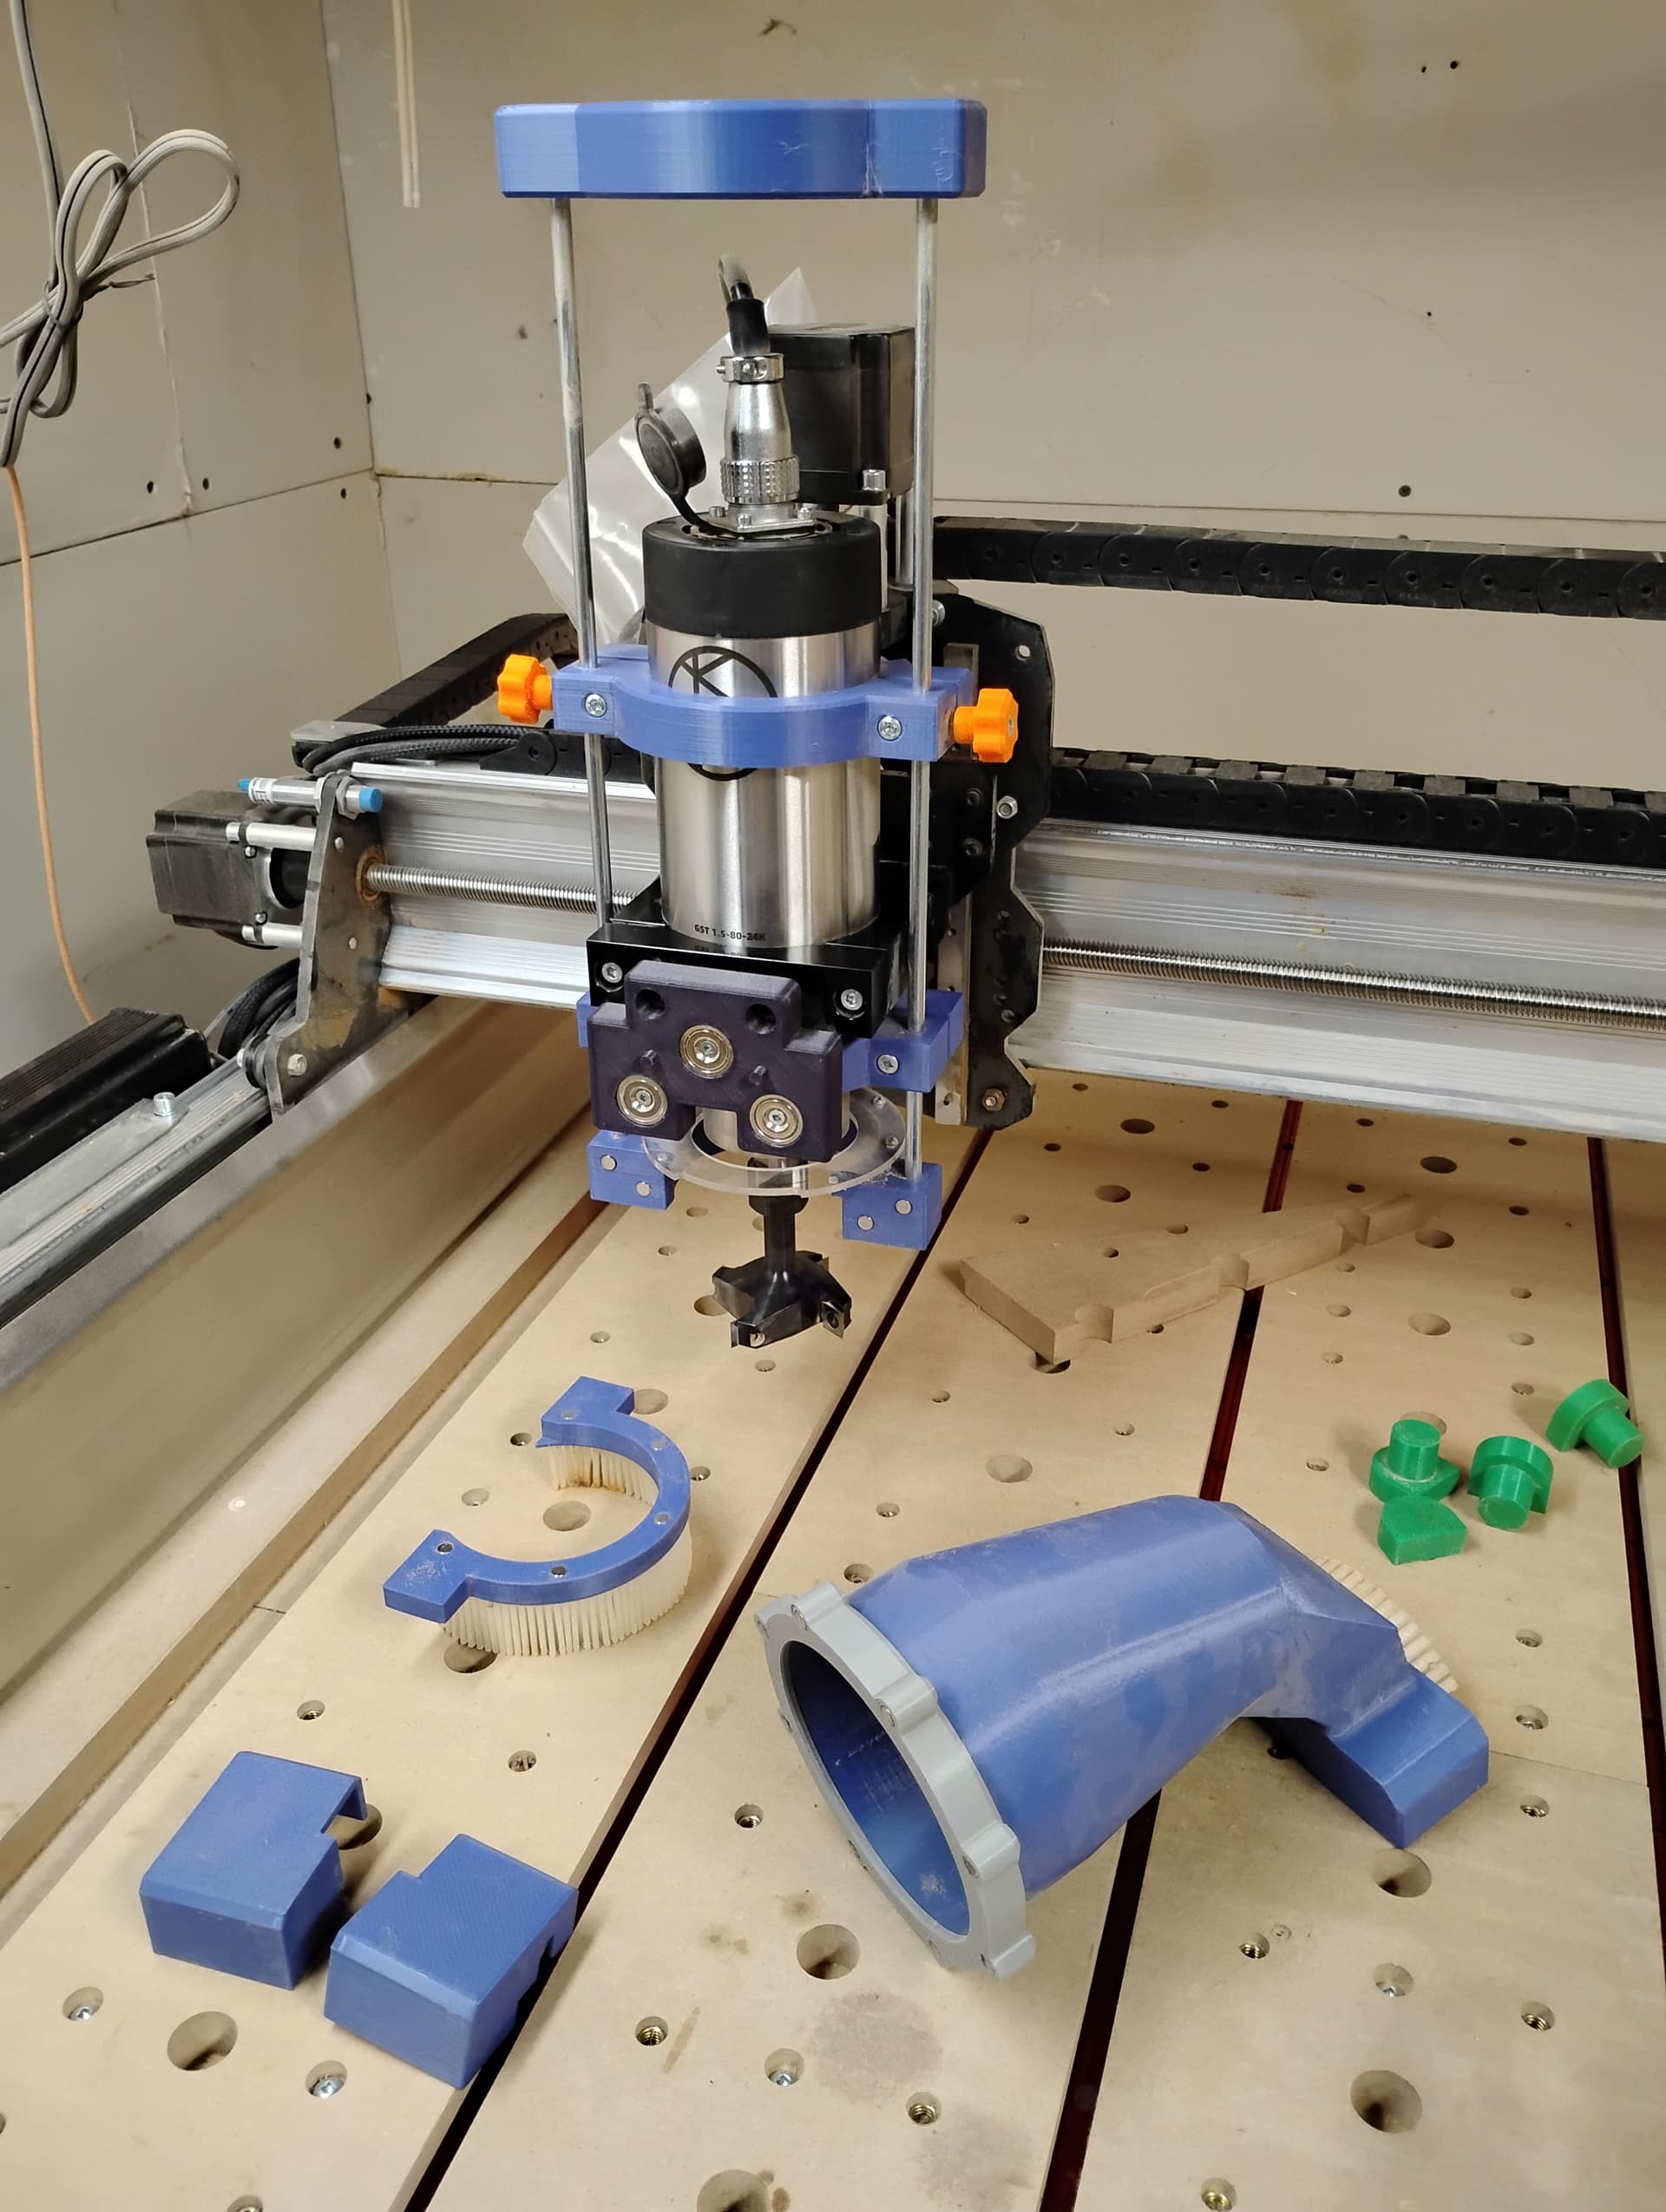
3D printed shoe (independant Z axis) that allows me to change bits easily without having to remove everything. I have a 1HP collector on a 4” hose to runs up to the ceiling. I have it suspended on bungee cords at the moment, but I am installing ridgid pipes to get better air flow.
Flex piped are convenient, but they reduce flow. I am designing a cyclone that I will print as well.
3 Likes
@gmckeown That looks great. How is it attached to the machine?
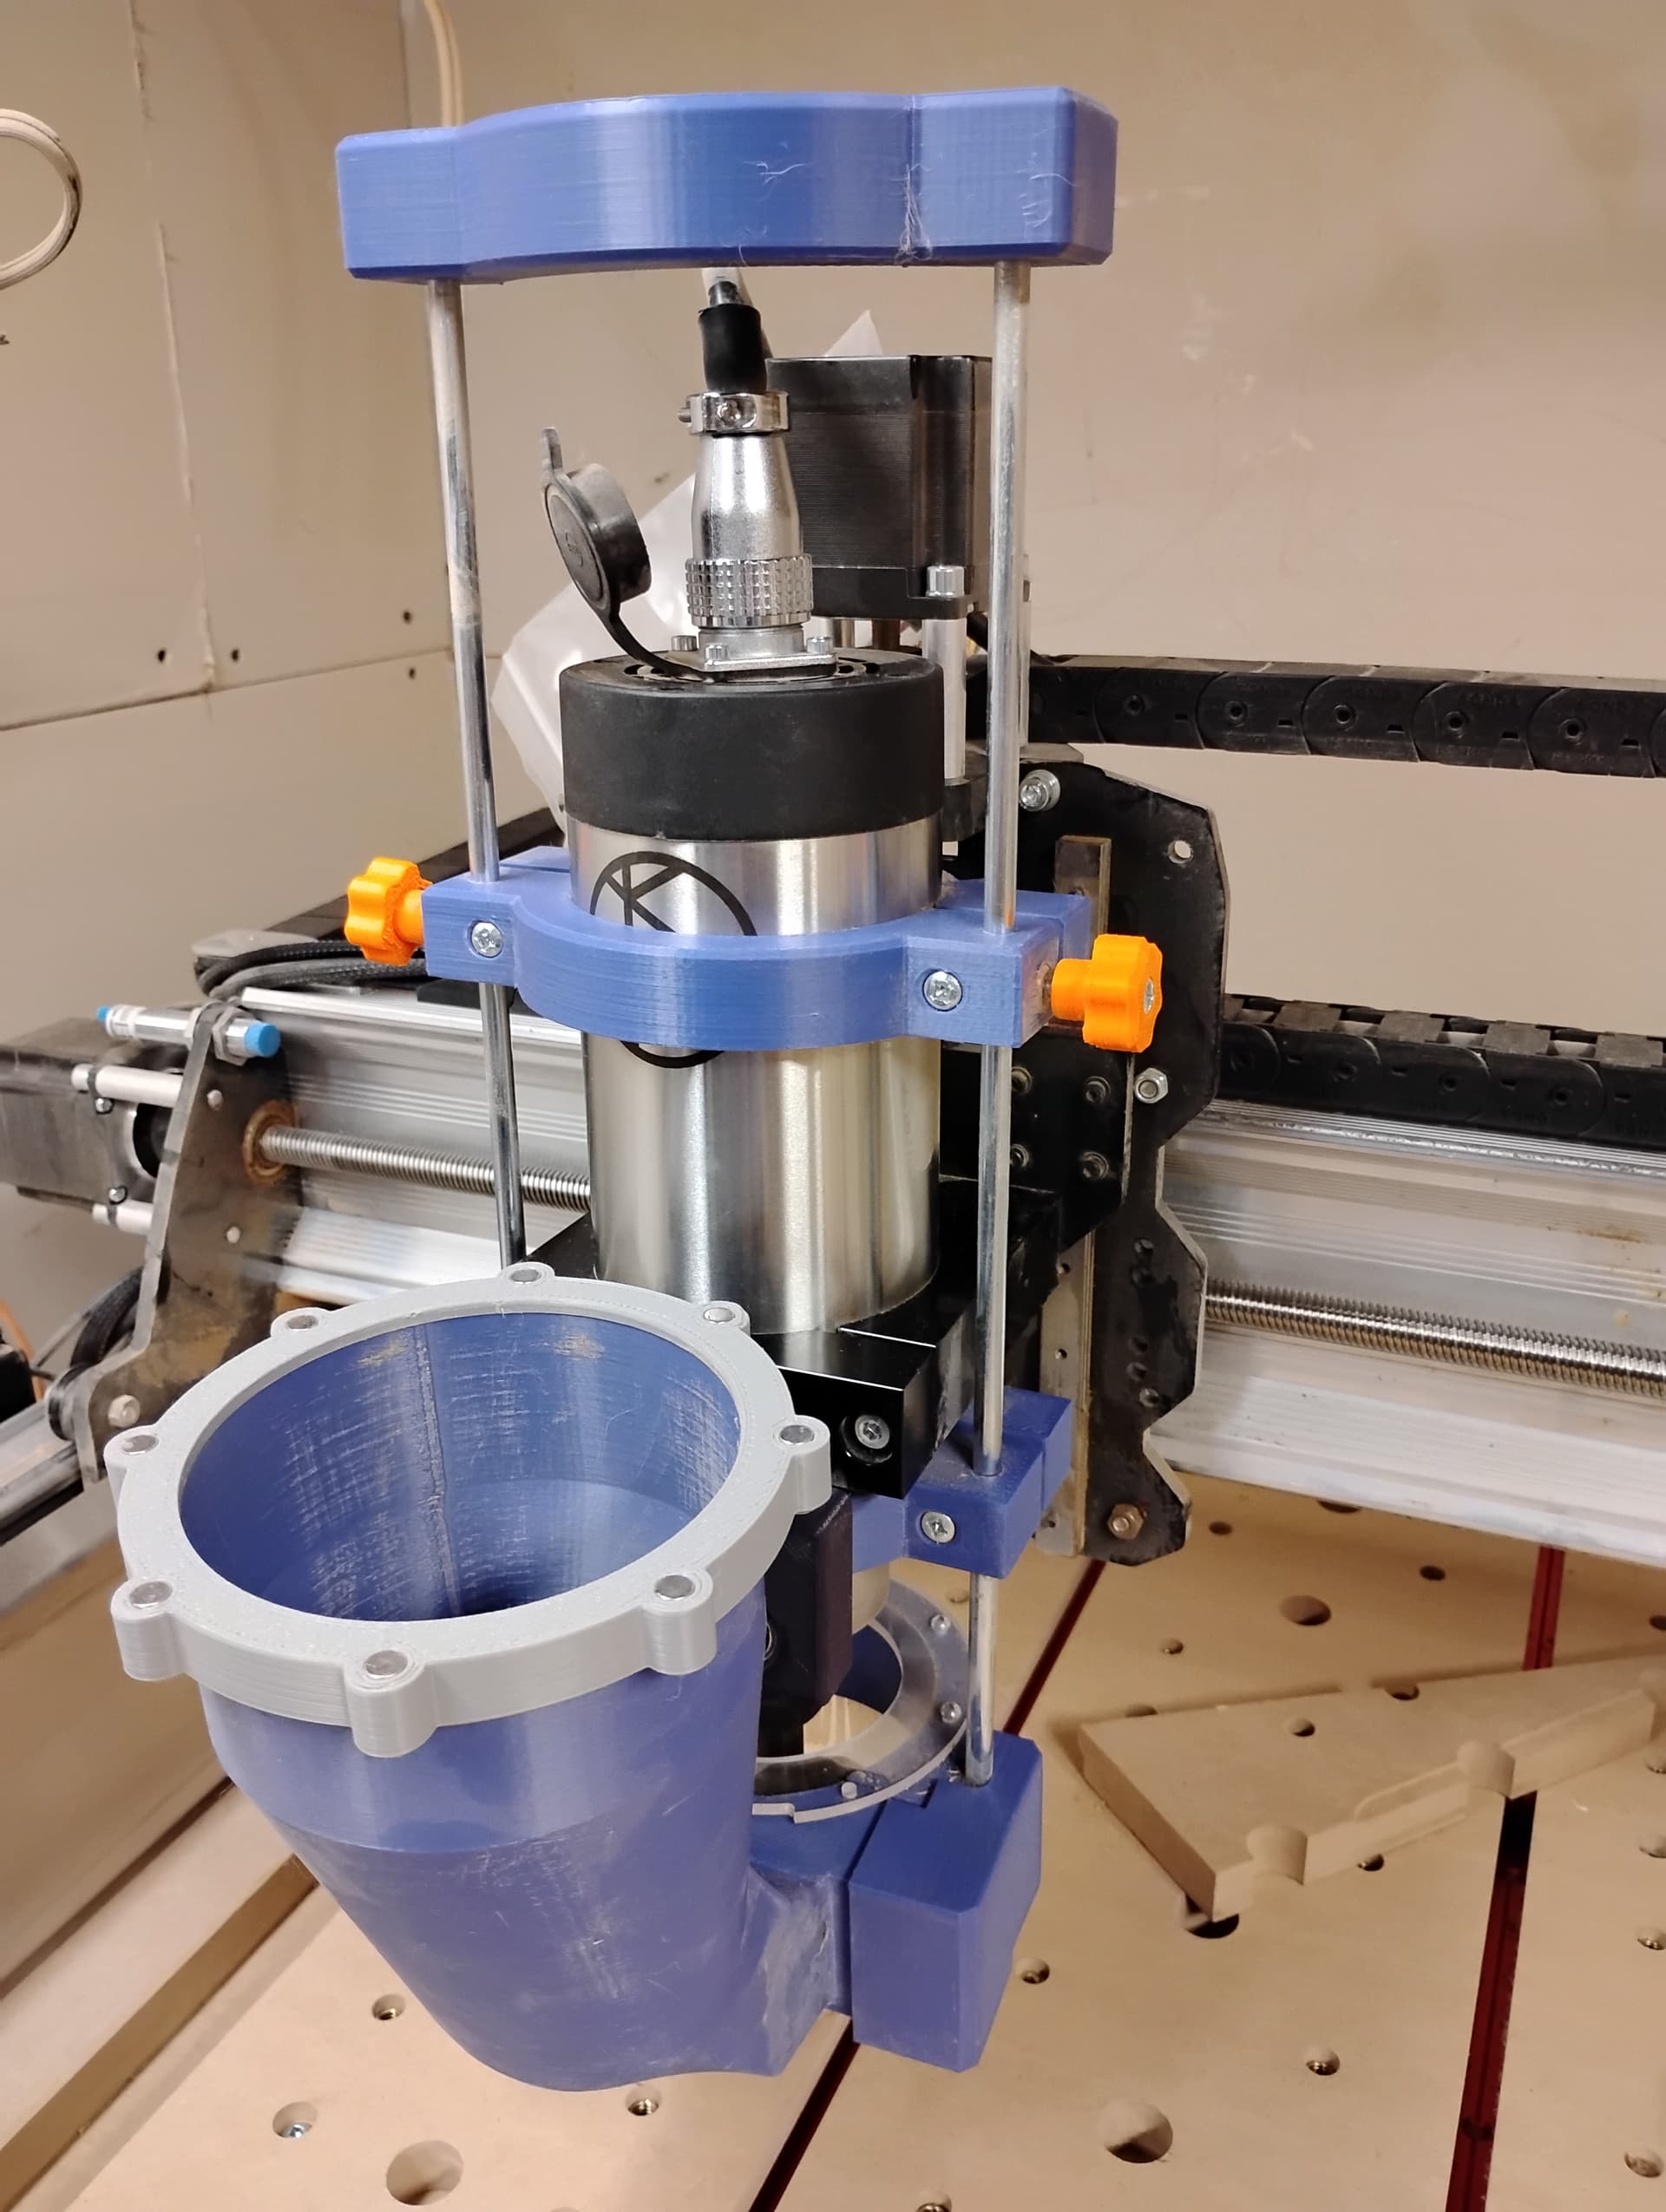
The 2 collars are attached to the spindle body, not to the gantry.
The first iteration I made was attached to the gantry. It was okay, but not ideal. The current method is simpler and works better, especially for uneven boards. The brushes ride the surface as the thickness changes if the locks are loose.
The 1/4 rods are threaded into an insert on underside the upper shoe. I use a 1/4-20 die to thread it. The part with the brushes is magnetic (first photo). It works quite well. I use 2” and 2 1/2” surfacing bits and the suction is plenty good to keep up.
The dark block in the disassembled pic is for my Laser so I don’t have to keep Screwing it/unscrewing it when I need to use it. I have a STL model of the laser mount if you want it.
1 Like