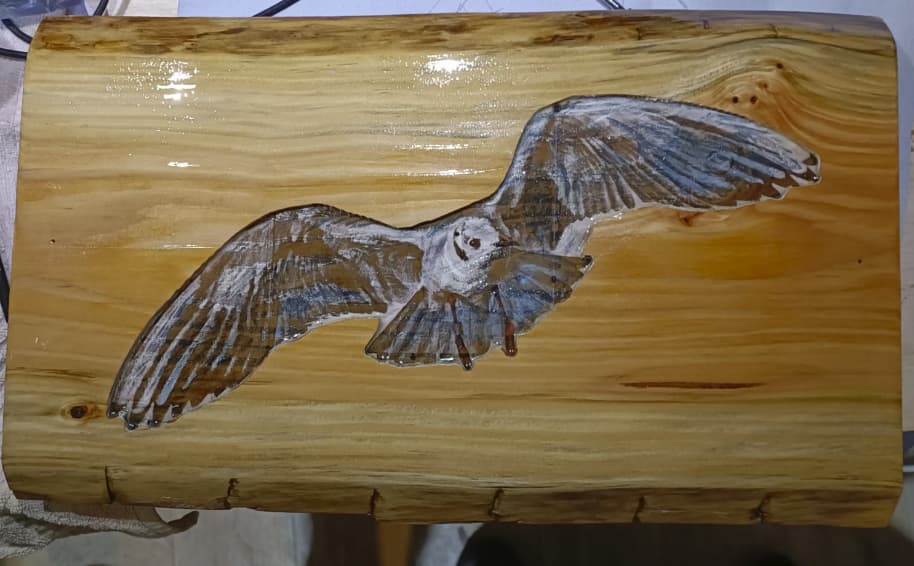
Revisiting early experiment

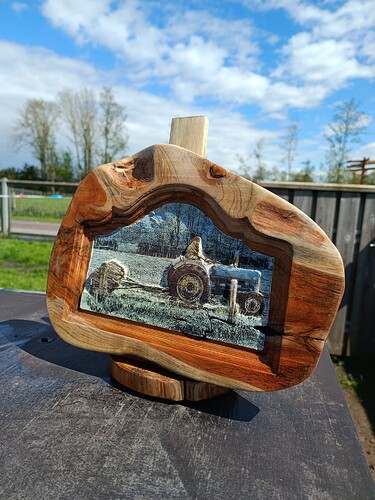
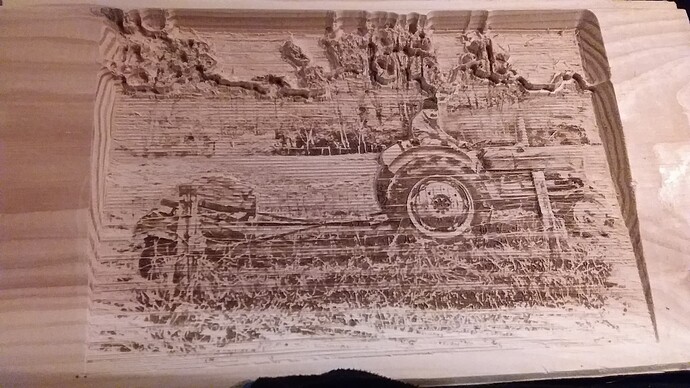
When I just got my Longmill, about a year and a half ago, I was trying to combine grayscale carving with laser etchings. I used a picture I took of a neighboring farmer and some scrap pine. Much went wrong, but it proofed the concept, even though it was wildly difficult to line up the etch with the carvings.

The neighbor ended up buying it even though he could have gotten it for free, for it was only an experimental piece with no other intention than to fail without loss. He didn’t budge and bought it at a way too high price, leaving me stumped and hyped at the same time.

Now, after much practice with the machine and tweaking with my setup, including adding a camera for quick designs and line-ups, it was time to revisit that first attempt and do justice to the kindness of that neighbor.

I gave this one for free, and this time I didn’t budge. He later told me this piece will end up on his coffin, if I was okay with that.

What an honor!
10 Likes

Whoa! You can’t just leave us hanging! Please expound on your technique and experiences. Please?

1 Like

Absolutely gorgeous work!

1 Like

Hi CrookedWoodTex,

Sorry for the late reaction. Ive been cracking my head on how to lay down the process enough to satisfy curiosity, but not by writing a novel.

I could go into how to get a depth map out of a photo if you like, but that isn’t the crux of how to get the end result, because the real trick is how to align both the carving and the laser etch to get them perfect, even with removing the project from the machine bed for the paint job.

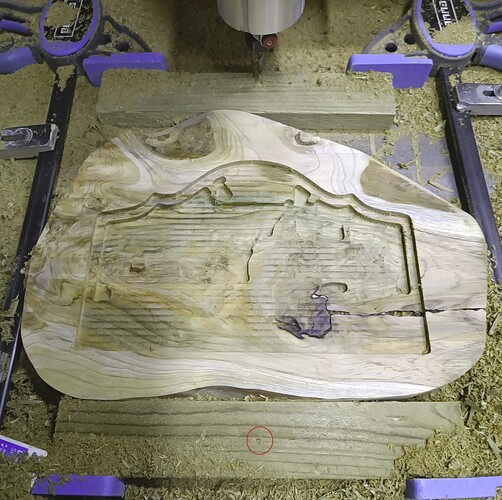
A webcam, a weird way of clamping, and dedicated markings are what make me able to get these kinds of irregular-shaped projects going.

The rest is pretty much an ongoing experiment, started one and a half years ago.

So besides creating a 3D model, combining it with VCarve clipart, deciding what paint to use, and what settings for the laser etch, here’s the secret:

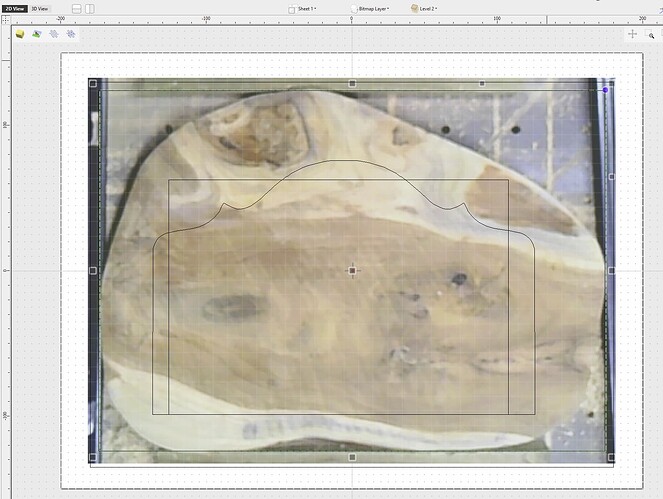
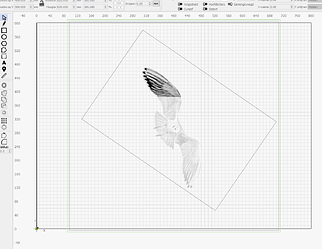
The camera above the machine bed can be used to get an exact picture of the raw project in Lightburn. Including a box with known dimensions helps you import it into VCarve, and fitting it on a box with the same dimensions gives you a template to project your design into.

This is a great tool to pretty much accurately fit your design into the problematic shape.

The point dipped with the tip of an V60 bit on the clamping wood below the project has a known Y position (in this case 150mm) and a x = 0. When switching between carving and using the laser, I set this point to zero. It comes in handy when encountering a gsender frees too, for it holds both x and y coordinates to re-zero your machine (even after removing the project with the glue clamping still attached, provided you have a fixed fence present on the machine to ensure the correct x position).

If you would like me to go deeper into other elements of the process, please point and ask. I will be happy to jump in, but to include all of this in this post is a bit much.

1 Like

Your handle should be “Tricky_Eddie”. :smiley: The summary is a good explanation for me, but it doesn’t do justice to the effort involved.

  • Get a good photo. Edit it so it makes a good input for an image-to-depth map conversion.
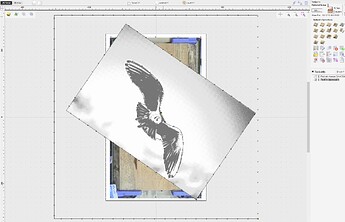
  • Align the laser etch image to the depth map using a webcam for input.
  • Project the laser toolpath onto the 3D component.
  • Add appropriate paint and finish.

What caught my eye was the colors (and intensity of them) you chose to use. Perhaps you thinned the paint or used a milk paint?

In any case, its a +1 from me.

PS.

I’ve been adding the 3 dowels for positioning to the back side on my irregularly shaped projects.

1 Like
  • Jup
  • I align the laser with a profiling toolpath with a single pass of the outline of the position of the picture boxed in a known dimensioned square, saved with a.nc extension. Lightburn will open that file and import it as a single toolpath. Resize it to its known dimensions, convert it to a bitmap, and trace it to get the separate toolpaths. After that, you can mask your actual picture and have it aligned perfectly.


In this project, I opted to add the color after lasering the base layer of titanium white water color paint normally used on canvas. I deluded it with quite some water, but it still is a bit too heavy for my taste.

For the tractor one, I added my color to a terp-based ground paint while still wet. I used just a wee. The problem was that I had to guess where to put the color. The different depths helped, but I am not always going that route.

Using the water color helps get the wood back into the picture, where it burns off completely. An effect I really like.

1 Like