I suppose most here have solved their issues with the original side mounted Scienci Dust Shoe, but since I still use it I thought I’d share my fix for it.
After having the plexiglass part brake a second time due the opening on the back side, and since it allowed way too much blow I thought I could make my own without the cut out; simple.
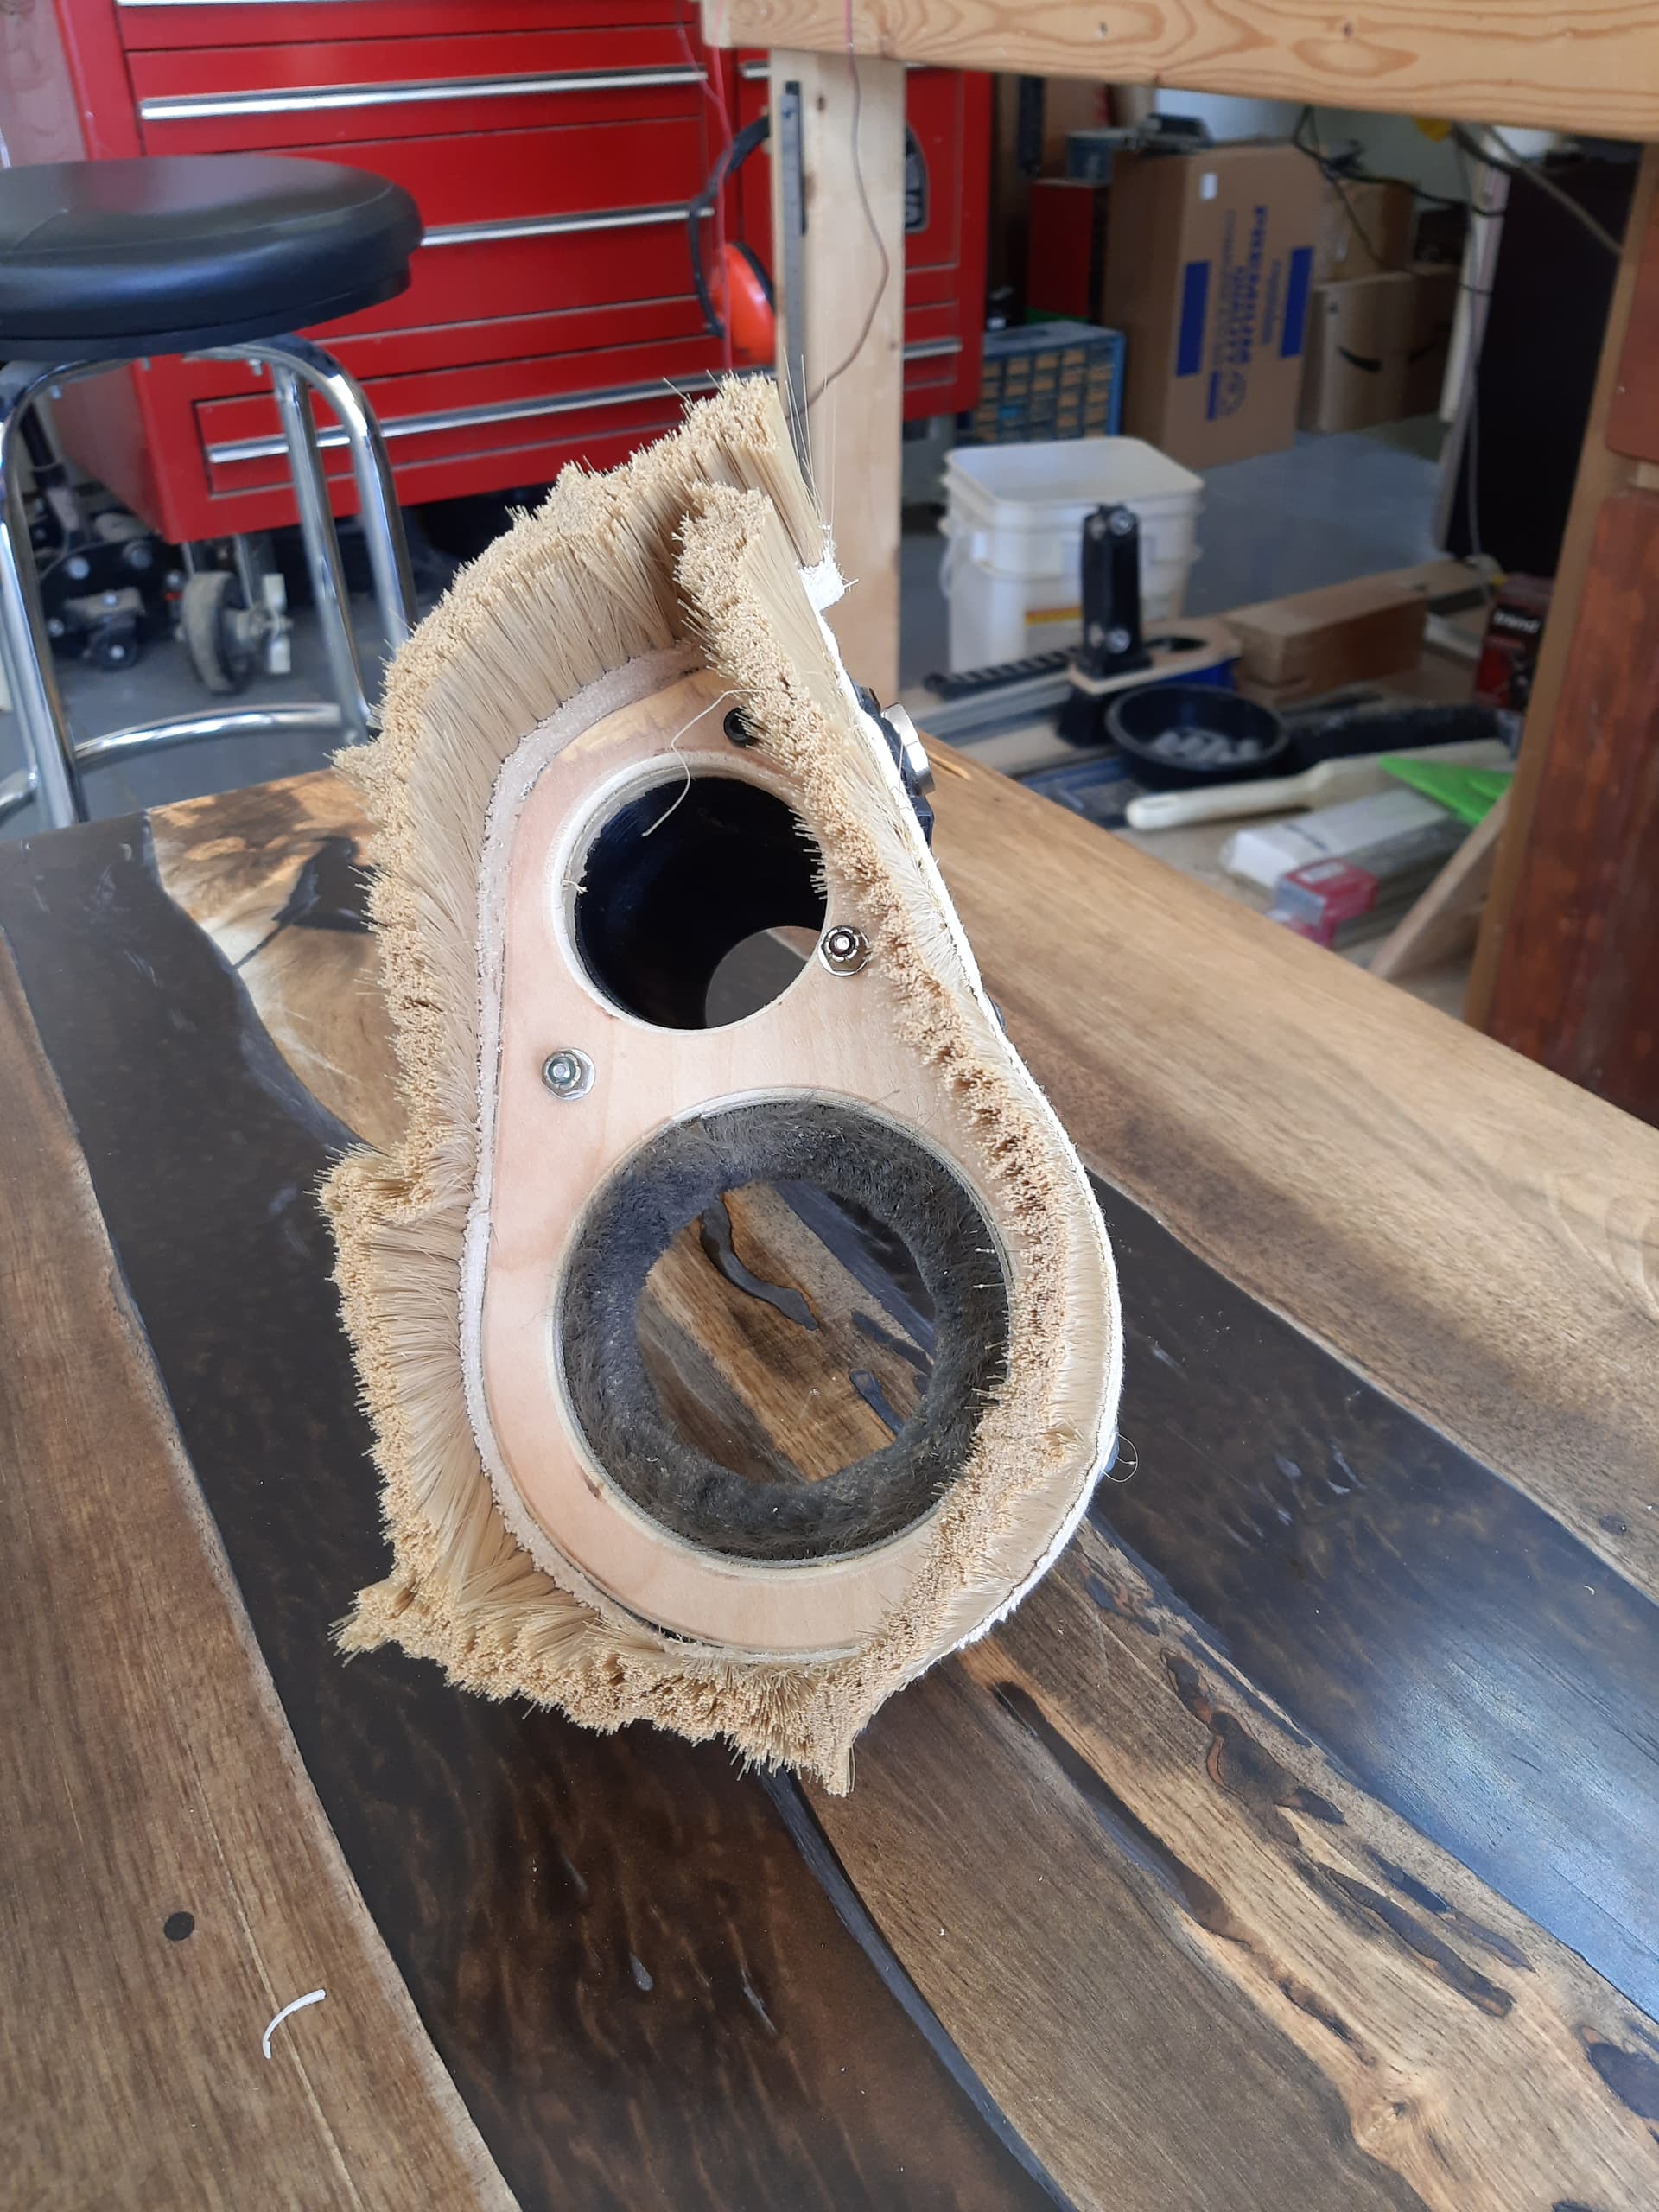
My prototype shown is using 3/8" plywood to make sure I got the vectors correct and they are. Not sure how to fasten the 2" brush onto plexiglass yet, but the plywood version is working great.
Not sure if the pictures show up or not, hope they do. Also added my Desktop Pro File.
Bruce, the slot in the rear of the original one allows you to readily remove and reinstall it as necessary (when changing mills, for instance). How do you get around this with your version?
What I’ve resorted to doing, is applying a piece of tape over the opening after I’ve got the dust shoe in place. I’ve been thinking that perhaps I could create a hinged door or one that is held with magnets in position, to make changes quick and easy.
@FBWoodcraft Looks good, Bruce. Like you, I wanted a design without the opening in the back and I didn’t really like losing all the X travel of the newer Sienci version. So I designed my own to address those issues. FWIW, you can attach your brush to acrylic in the same way you did on the plywood. Just predrill and use metal screws rather than wood ones. The finer threads work better in acrylic.
@FBWoodcraft “Fix”
Those Makita routers blow some air!
Do you have a 3D printer?
Working on a new 3D printed dust shoe mount that lines up with the Z axis rails. Used a partial profile of a different (way bigger) extrusion downloaded from a place in US that makes ? them.
Standoffs and whatnot, still working on those.
No openings and the 6.5 or something horse shopvac currently sucks up the bristles too, so they need to be farther away from the vac inlet. Yep, I wear hearing protection. Still tinkering with the bristle rails but have the profile to print it so no glue required…
Good tip @gwilki use mm screws with small thread pitch in acrylic.
Bikers use bungee chords for everything so that is what’s holding my vac hose from the basement ceiling. Center pivot! That part works great. So far anyway…
@RickW I do not have a 3D printer. My shoe attaches with magnets to brackets that I made. I lose about 1/2" of X travel. As a biker, I, too, had my dust collection hose supported from the ceiling by a bungee. Now, though, the rigid PVC extends to the centre of my table so the flex hose does not need any support. My DC is just a 2HP, but it does the job.
As for the Makita blowing chips, I addressed that by attaching a diverter to the bottom of it. Essentially, it is nothing more than a disk that I epoxied to the bottom of the router. It diverts the stock down draft to the sides. It makes a huge difference and does not seem to cause any heating issues with the router.
@gwilki
Bungee is in the center of the table most of the time.
Bungee and duct tape fixes everything. I just got a 20 foot flex hose (not for metals) and it still works. You got all fancy.
Yes, including magnets for quick changes or OMG but I think the magnets I got are too strong.
If it actually works out, I’ll send you a printed one. Still working on the limit switch stuff too for X and Z.
Do you have a pic of your diverter? Could include one of those too.
Had to replace the original Makita after baby Rubie Rottweiler took it outside, couldn’t get the tram close, too much sanding to get rid of the divets.
Bruce, yes, I understand that I could do that, but it’s a bit of a pain when I’m resetting the height after swapping out a bit. But then, hey, I have to remove the shoe when replacing the bit, anyways, so I guess it makes nil difference either way.
I designed an MK2-style dust shoe for use with my MK1. It’s a work in progress, but this one works not to badly. I opted to not include the tool-slice out the rear in favour of stability of the shoe. I’ve published the design to Thingiverse https://www.thingiverse.com/thing:5753765 for anyone interested.
I like your idea of eliminating the opening at the back of the brush, as that’s where much of the dust gets spewn out of mine. What I’ve done is to put on a piece of tape bridging the opening, after the show is in place. And if I’m gentle in removing and repositioning the show, I can usually do so without having to replace the tape.