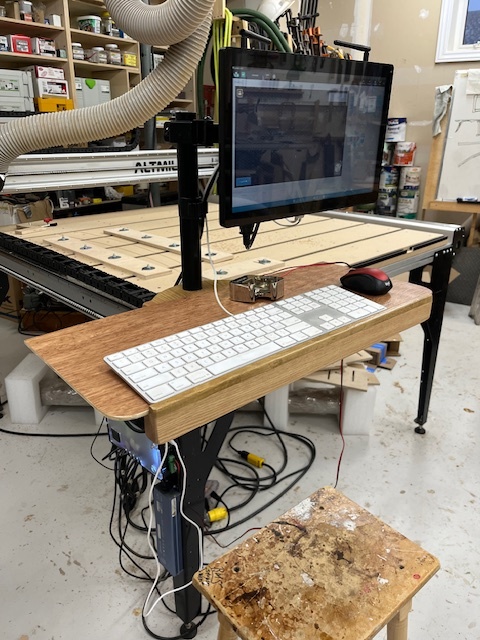
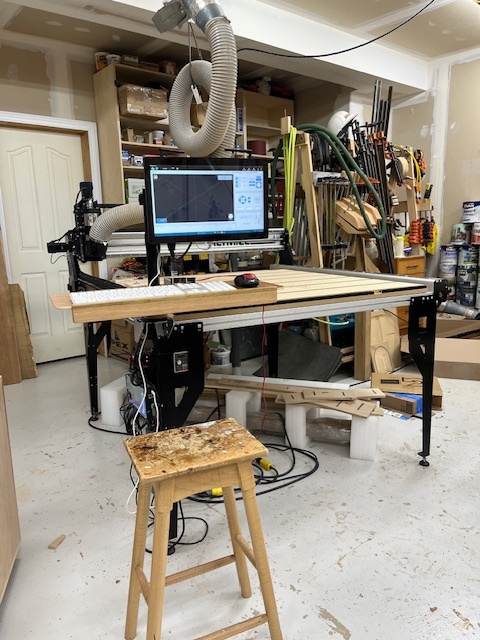
I wanted to add a keyboard and mouse tray beneath the gControl panel computer I recently purchased for my AltMill.
After considering a few alternative ideas, including purchasing a commercial keyboard stand and having to modify it to fit, in the end I elected to make my own. After all, if I could make furniture, then certainly a keyboard and mouse tray would be something I could tackle, right?!
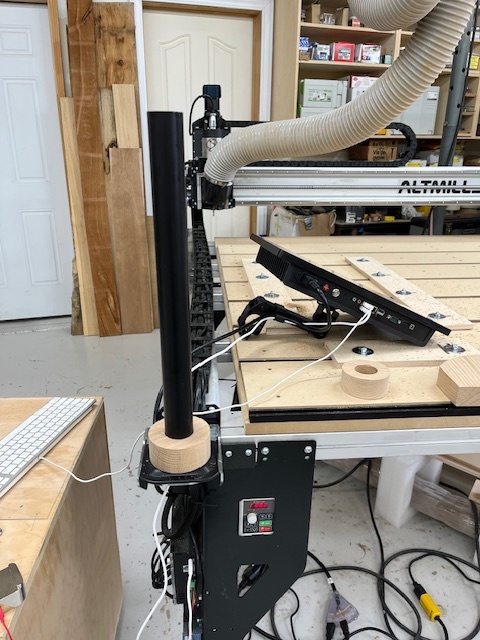
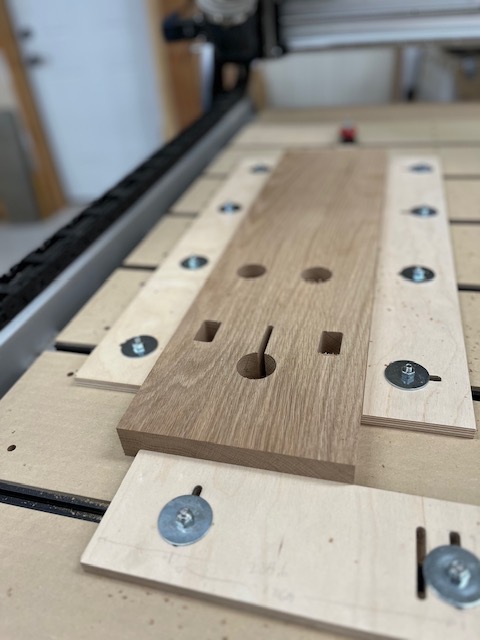
After a few trial and error attempts at building a mount, I decided that the easiest approach would be to mill a hole in a piece of 6/4 white oak, just slightly bigger than the gControl mounting post.
The fit had to be tight enough to keep the base from sliding around on its own, yet loose enough to fit onto the post. 35.7mm proved to be perfect. I elevated the base by making two “washers” of the same 6/4 white oak.
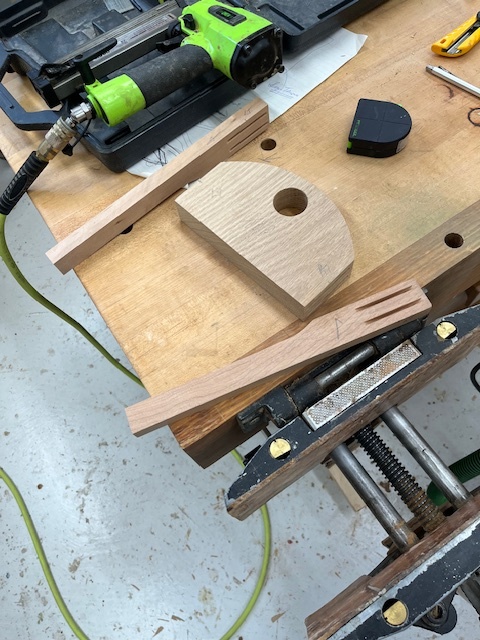
I then made 2 “legs” that extended the base to support the tray. These were attached to the sides of the base via two #10 biscuits, glued and then brad nailed into place.
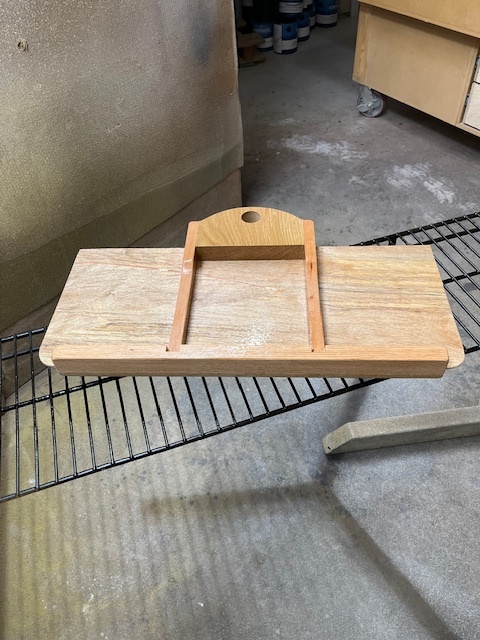
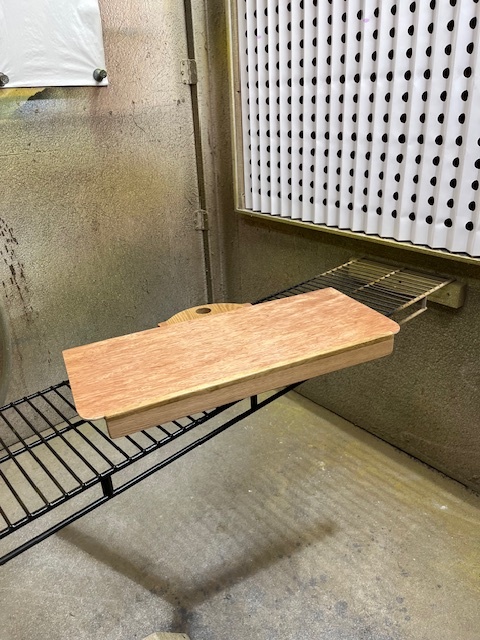
I then glued and brad nailed the 6mm lauan plywood tray to the base and legs, then added a reinforcing strip of white oak approximately 20mm square and 550mm in length to the underside of the leading edge of the tray. That strip did a good job of stiffening up the tray.
I sprayed a waterbased lacquer finish on the tray assembly to protect it. I didn’t bother applying any finish on the two washers, although I probably should have…
Looks excellent! If I may mage a suggestion - I would incorporate a clamp of some kind to prevent the tray from swivelling too easily. I have no idea if that is really required though …
The clamp could be as simple as a hole with a sliding wooden plug on the post side and a screw with a knob on the outside for tightening. A more elaborate way would be to widen the plug and curve it to match the post. Again, a screw and a knob to tighten.
As you can see from the above photo, I milled a slot from the base’s hole, and two cutouts where the bolt head and nut would fit. After I completed this milling, I cut it out on the bandsaw, drilled the bolt hole and slid the base over the post. Before tightening the bolt, I checked to see how stiff the base was. It was actually perfect: it would swivel, but only if put some muscle behind it. And because of the tight fit, it stayed where it was. So, I went ahead and made another base - this time without the slot and bolt assembly. It was actually so tight that I had to wax the inside of the holes of both the two washers as well as the base to get them to slide down the post.
Hope this clarifies why such a clamp isn’t at all necessary.
Thanks for clarifying, you must have hit the hole dimension juuuust right to get the perfect amount of friction. Hopefully it will stay just the right size and not change with the seasons.
It’s such a small hole that it’s unlikely that will happen. Further, by having sprayed finish on both the underside and topside of the base, it’ll help restrict such seasonal distortion.
However, if it does happen then I’ll simply make another base as I have the file saved. Easy peasy! Man, don’t you just love CNCs?!
I like your mindset. I like to think I don’t have a cnc but a ham*. If it doesn’t work, I’ll stop being lazy and put some effort into it. I feel a total anti perfectionist when I look at all half baked solutions I call good enough. Your table is not that though. It’s way more nice, functional and thought through than what I make for the shop.