Sienci Laser - Lenses are loose in laser housing

Just installed my laser! When I screwed in the laser lens, it was quite a loose fit.

I put the correct spring in before installing the lens - (7mm for G2). With the laser on, trying to focus it by turning the ring, I find that it’s super touchy. I thought it would be more of a perfect fit? When you touch the focus dial the beam bounces around a lot. I am worried as the CnC is moving that the beam will slightly move around.

Anyone else experiencing this? Is this supposed to be this way?

Hi @Lutraphobia, from what I have seen installing mine, the spring does its job and fits reasonably nicely.

When I adjust the focus ring, I feel a little resistance but not too much, and nothing wobbles. Is there any chance the spring is somehow deformed or not long enough? Maybe take the spring out and measure it - I will compare to mine and see if they are the same. If you can post a picture or two of your installation, we can check that too.

Hi @elbarsal. Thank you for reaching out. I’ve been focused on my job and battling some health issues. So, I’ve haven’t had time to do this. I’ll be happy to post some pictures and a quick video in a couple of days.

The springs, lenses and laser are brand new. I’ve checked the lengths and I am using the chart / directions to match the springs with the lens.

I wonder if there is there some play due to the heat to allow for expansion? I’ll have to check that too. I am thinking that to deal with this in the meantime, perhaps I can use some plumbing tape. If it gets hot, I just don’t want to melt it since it’s synthetic.

Follow up with you soon! :slight_smile:

Thank you!
-W

1 Like

I use a wrap of teflon tape on the threads. Standard practice for many lasers.

1 Like

OK. Here is the video and some pics. Thank you for the patience. :slight_smile:

I used the 13mm (and also the 10mm) spring for the G7 as per the instructions here: Installing Lens - LongMill CNC (sienci.com)


Video: Lens installation and focus.

As you can see, I installed the 13mm spring and set the height for the focal length with the template from the bottom of the laser assembly (as per instructions). Then I set gSender to only 1% of power to set focus (still burned my wood). The lens assembly popped right out when I was just getting a good solid dot. The laser lenses don’t have enough thread on them to get the best focal length set without fear of it popping out in use. Is that just me? Am I doing this incorrectly? I even tried with the 10mm spring and same results.

Side note: Why is the laser at 1% of power and set on test, still burning the pine I am using? Do I need to also set the dip switches to only 1 amp vs the 4 it’s set on now? That would have been nice to be able to control that via software.

Thanks again,
-W

Hi again @Lutraphobia - the video is perfect for showing the wiggle.

I grabbed my laser to compare. Note that I’m using the default G2 lens, but I think it makes a decent comparison.

What I found is that I have my lens much farther screwed into the laser body than it looks like you have in your video - almost fully seated - and then I unscrew it to focus. In this part of the thread, it doesn’t seem to wobble at all. If I unscrew it a fair bit, it does start to wobble a little, but it’s not until it is much farther out (almost all the way out) that it starts to really feel loose.

I haven’t really put my laser through the ins and outs I have put the mill through so far, so I’m less familiar with the fine details of things - perhaps somebody else can chime in about things I might have missed.

As to the 1% power thing - I think I saw someone else saying it did require changing the dip switches as well - but again, I’m less familiar there.

1 Like

I have a Longmill but I do not have a laser on it as I have two other laser engravers. Perhaps how I focus may work on the Longmill.

I screw the lens in about 3/4 way and then do the focusing by raising or lowering the Z axis. Once the focus is perfect I measure the distance from the laser body bottom to the work. A probe can also be made to that distance. The probe or measurement can then be used to rapidly set the proper focus distance when running materials of different thicknesses.

1 Like

Hey @elbarsal (Ed). Thank you for replying. It’s much appreciated.

I played around with the solution you are offering. I didn’t have a lot of time to invest more than making the video. I’ll make some time this evening to try what you and @oidar mentioned. It didn’t seem to want to focus with it screwed in that far. So, the Z height thing may work but I followed all the instructions with this outcome.

I might have to call the help desk. Not sure there is play there when things start to heat up and allow for expansion? Why is the spring there? To reduce wiggle and set the lens more “firmly”? Maybe I got a unit that isn’t to tolerance?

Again, much appreciated for everyone’s help and ideas.

-Lutra

1 Like

Hi Lutra, all of my lasers I have a wiggle. I use a thin wrap of teflon pipe tape to firm them up.

1 Like

I had this same question about the 1 amp vs 5 amp switch and the laser burning the wood and Ikenna offered this advice:

Hey, you can put dip switch to 1, but you can also raise your $30 amount to by x10 or x100 until you dial in an amount that doesn’t burn your material. When I had $30 set to the stock 30,000 I could only pull 0.5W instead of 7W from the laser and that was at dipswitch 5. Try it out, spread the news if it works for you. Just remember to always change it back to 255 before starting your project

Cheers,

This could be set up in two one line macros. One to increase the $30 value and then a second macro to return it to 255. Like Test Fire Power On ($30=30000), Test Fire Power off ($30=255). I have not actually tried this since I no longer have a Longmill or LaserBeam. :frowning:

1 Like

@stevendq,

I am not quite grabbing this concept. How does the math work on this?

I have the dipswitch set at the default “4” (for 4amp) and the $30 recommended setting in G-Sender set at 255. 255 is 100% of the value for that current pull. I would think setting it at a lower number would give me a lower value but that seems unlikely since setting it at 30,000 in the firmware does this? Insert confused face here.

Hey, you can put dip switch to 1, but you can also raise your $30 amount to by x10 or x100 until you dial in an amount that doesn’t burn your material. When I had $30 set to the stock 30,000 I could only pull 0.5W instead of 7W from the laser and that was at dipswitch 5. Try it out, spread the news if it works for you. Just remember to always change it back to 255 before starting your project.

@Lutraphobia This came from Ikenna at Sienci Labs. My understanding is probably limited on these concepts, and honestly I haven’t tried it as I do not have a LaserBeam anymore.

Here is my spin: $30=255 is the max intensity setting of the laser at whatever amperage you have set your DIP switch. If you set the “Fire Laser” button to 1% to locate your “laser dot” you are firing the laser at 1% of 255 at 4 amps. This setting for me always burned a little dot in my project. My solution was to use the 1 amp DIP switch, set 1% and then fire the laser. Those little switches are tough to change without a screwdriver or something small. Again - never tried it as I sold my setup just after this post. :frowning:

If you set $30 to the default of 30,000 at 4 amps and you set your fire button to 1%, you would get 1% of 30,000 at 4 amps. Again - it’s a max intensity. His comment then is to reset $30 to 255 for normal laser operation.

FWIW you can set SMAX in LightBurn to whatever you want as long as $30 matches it. The differences would be levels of gray. Since most grays are spread over 255 shades (I think it 's a “printing” thing") 255 is the setting usually recommended. SMAX and $30 at 30,000 for laser burning is extreme overkill and your eye would not see any differences for probably 90% of the 30,000 shades - if it worked at all. Here again a gray level 1 of 255 shades is darker than a gray level 1 at 30,000 shades.

Hope that helps. If not, someone else can chime in on my errors and/or assumptions. I have been away from this stuff far too long. Hopefully Feb 2023 and I’ll be back in the saddle. Giddy Up!

THANK YOU @stevendq!

I’ll have to digest it for sure and read a little more about the GRBL $ settings for laser apparently.

Your explanation helps a lot but yes, I think I’ll have to dig into the concepts a little more. Maybe I am just overcomplicating it in my head. I just need to put laser on wood for now and “play around” with it. That’s how I learn anyway. :slight_smile:

I’ll read this again before I head down and try this later this evening.

Cheers!
-Lutra

Yep me to. Like I said - Ikenna told me to give it a try and see if it works. Never got a chance to try it.

Post an update if you do give it a whirl.

1 Like

my G7 is the same way. by the time it is focused its on the last couple thread and really shakes, when the long mill is moving.

Just haven’t found the time to call Sienci yet.

1 Like

So, I played around with the settings last night. Had the control box set on dip #5 for “full power”, went into firmware ($30) and tried to set it from 255 to 30,000. Wouldn’t do it - think I found a bug. $32 was set in laser mode. Each time I set $30 to 30,000 and clicked apply, it went back to 255.

So, I tried to set $32 to spindle mode and then it let me change $30 from 255 to 30,000. Then I changed $32 back to laser mode. Success.

Anyway, back in G-Sender, in the bottom right, I set power to 1% and turned on the laser. Still burned the wood in like a second.

So, then I changed the dip switch to #1 position, verified $30 was set to 30,000 (again) and went to 1% power, fired the laser and I had some burn, but it was “manageable” as I was trying to get my laser to focus.

For fun, I set $30 to 255 and stayed on dip #1 - same result at 1%.

In conclusion, maybe I am doing something incorrectly?

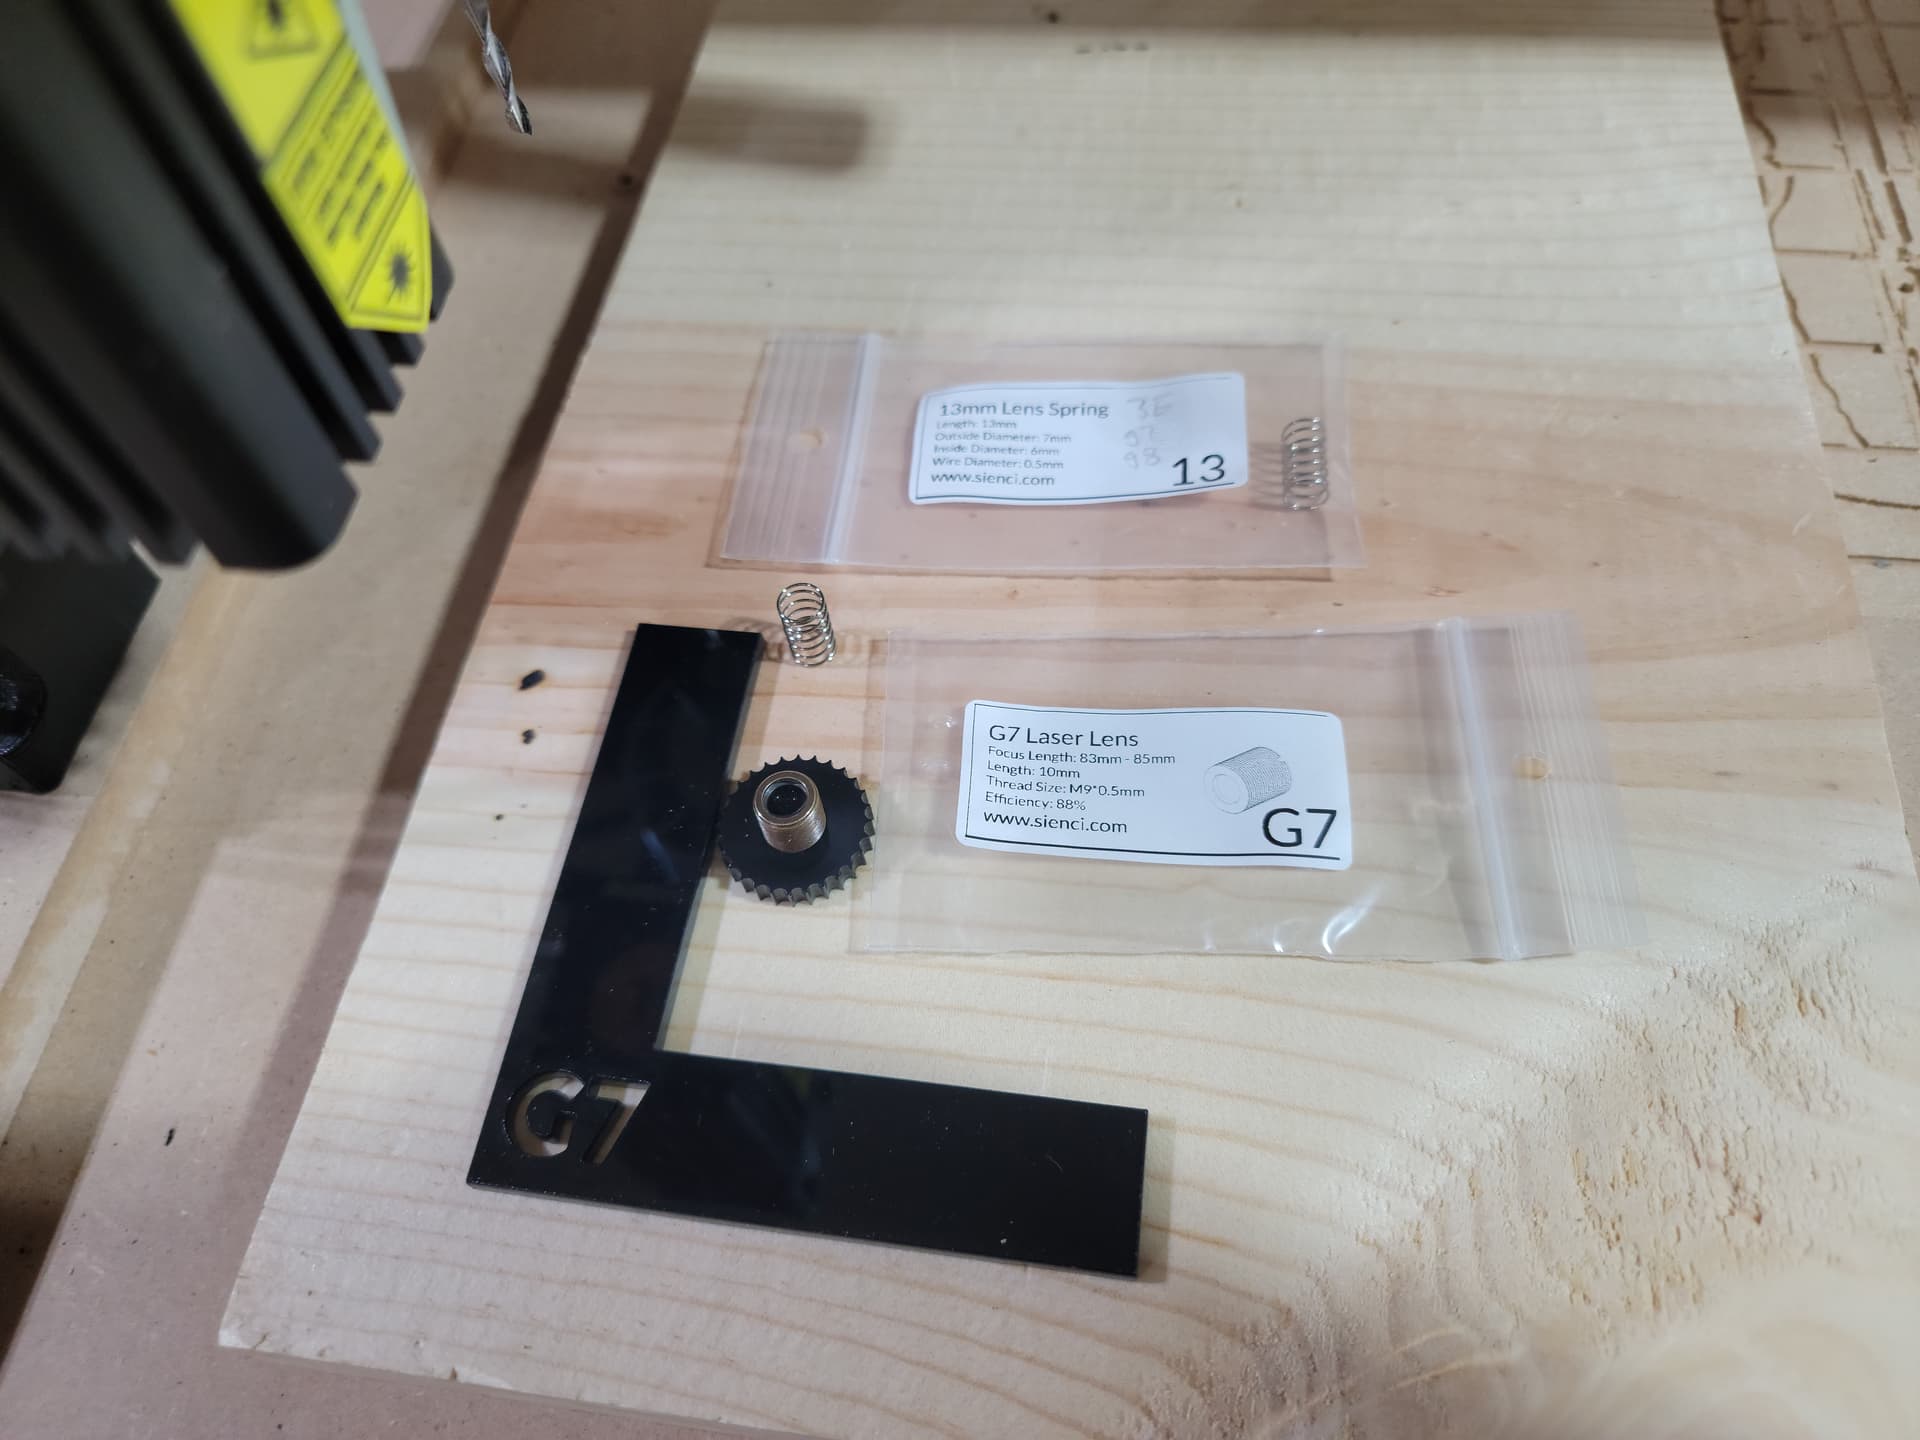
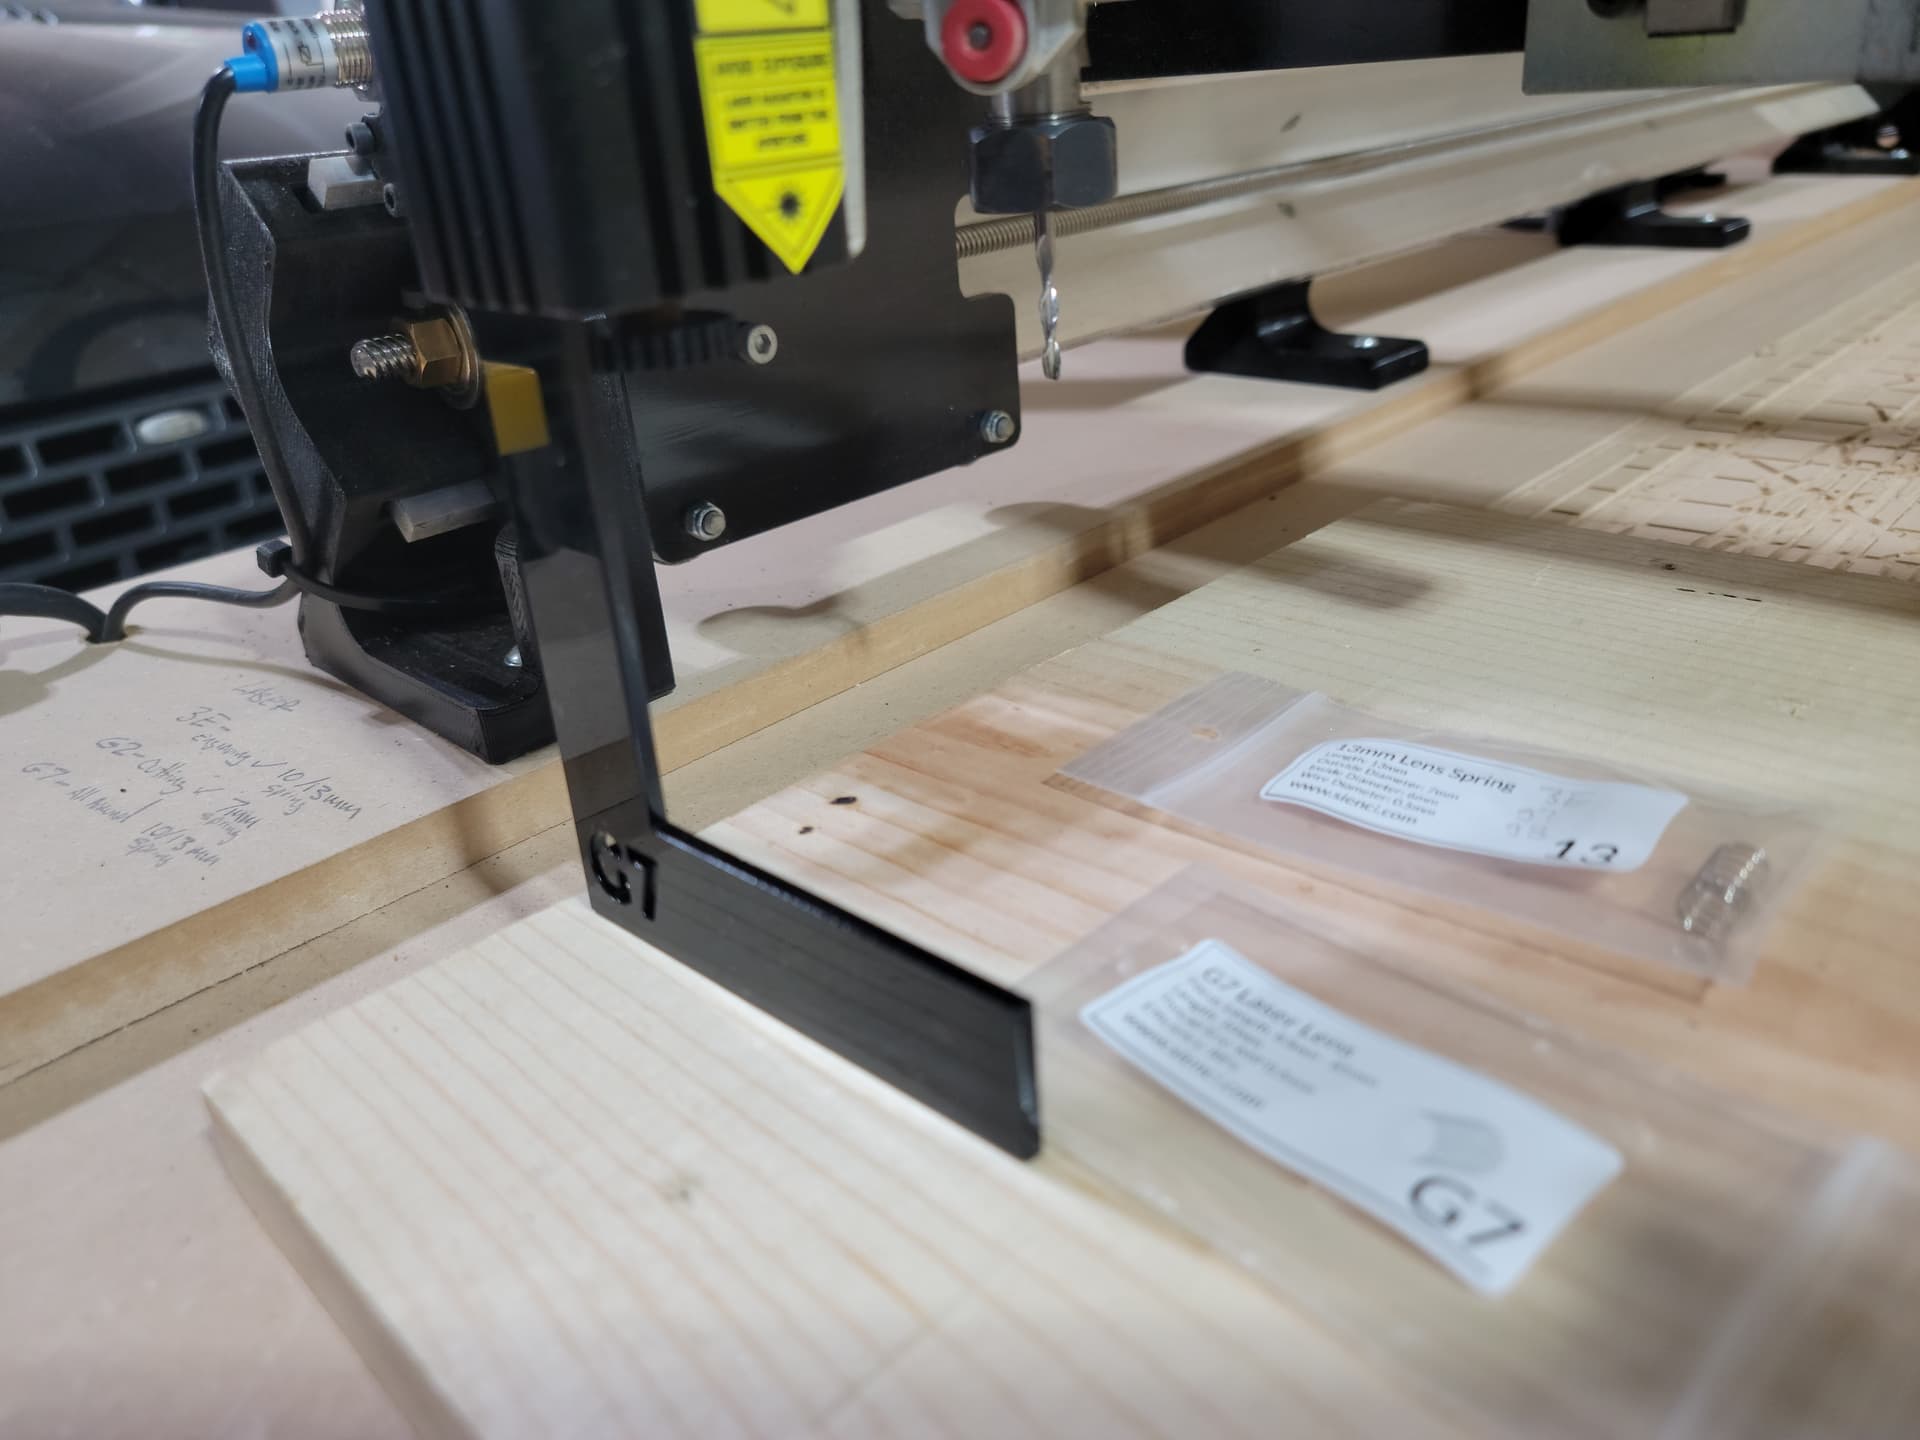
I also tried to screw the lens in a little deeper and fiddle with the Z control to move the gantry up and down to get a better set on the lens and still try to get a focused laser. Had some success.

I’ll reach out to Sienci today or tomorrow. My laser was manufactured in dec last year and waited some time to get it based on the supply chain issues. It’s such a pain to focus and ensure the lens is deep enough not to wobble and move around as the mill is working. Frustrating. Plus the power issues to focus it.

I am thinking I should have bought the j-tech laser.

Sorry to hear that didn’t work. As I said, I have not tried it as I no longer have the machine or the LaserBeam. I am sure someone from Sienci will respond.

1 Like

I’ve had similar experience with most of the lenses, they are barely threaded to start getting decent focus and have some play when you are trying to adjust which makes it near impossible to see what’s going on.

I try and get it as close as I can and then run a focus test file (made with lightburn) which does a series of lines at .5mm z offset which allows you to get the z distance dialed in.

Overall just seems a bit janky, not sure what the solution is, hopefully some input from Sienci??

2 Likes

As a follow up to the community.

I talked with Ikenna today. Very nice fella. Couple things I took away which seems to help a bit.

  1. Use the 13mm springs for the lenses. Even doubling them up will provide more “stiffness” to the lens.

    I tried this while we were on the phone and indeed, they were a bit stiffer in the housing but still not seated as much as I would have liked. Ikenna recommended that the 13mm lens springs be used with the 3E, G7, and G8 lens. The G2 should use the 7mm or 10mm. YMMV

    Installing Lens - LongMill CNC (sienci.com)

  2. Setting Focus. With the “L” shaped lens focus finders, the longer portion of the “top of the L” is the high setting and the shorter side of the “L” is the bottom of the focus.

    I messed around with this as well, while we’re on the phone. I used the right side of the “L” (short side"), to find the bottom of the focus and screwed the lens in a few more turns. Then I used the “Z” setting to really get the laser kerf (dot) as pinpoint and bright as I could. This seemed to work pretty well.

    Finding Lens Focus Height - LongMill CNC (sienci.com)

  3. Laser power when focusing. Basically, we went through the same thing that I posted above in the forum.

    I asked Ikenna to make a blog post that highlights the numerical approach to changing maximum S ($30) value from 255 to 30,000 (default spindle max). Basically, it’s a way that the software program can divide to get a smaller percentage when test firing the laser. Even setting $30 to 30,000 or even 50,000 (yes you can do that), it gives the program a fraction of the laser power when selecting 1% in G-Sender. Even with dipswitch set to 1 and $30 set in firmware to 50,000 - I was still marking my work piece. So, I just used a yellow post it and set it on my work piece so I could focus my laser and find my X and Y zeros on my work piece.

There are a few more things we chatted about. Laser Post Processing - I am interested in doing Z movements to create TOPO rings on 3D rendering of terrain (mountains), etc. But that is out of the scope of Sienci and more in line with Lightburn and Aspire, etc.

Hope this was all useful info.

-Lutra.

1 Like

Glad you were able to talk to Ikenna about this, so thanks for this info for the community. Very informative and helpful.

1 Like