Hey Alan,
Not sure what sign you meen but other than that you need a few things setup.
First, you want the sienci bit library installed in Vectric. It’s not difficult but without it you don’t have the proper settings for that awesome 1/2 inch ballnose. So let’s dive in with a link to the library page.
Follow the steps in the video beneath the vectric library.
Don’t forget to download the feeds and speeds card (imperial or metric). It will come in handy later.
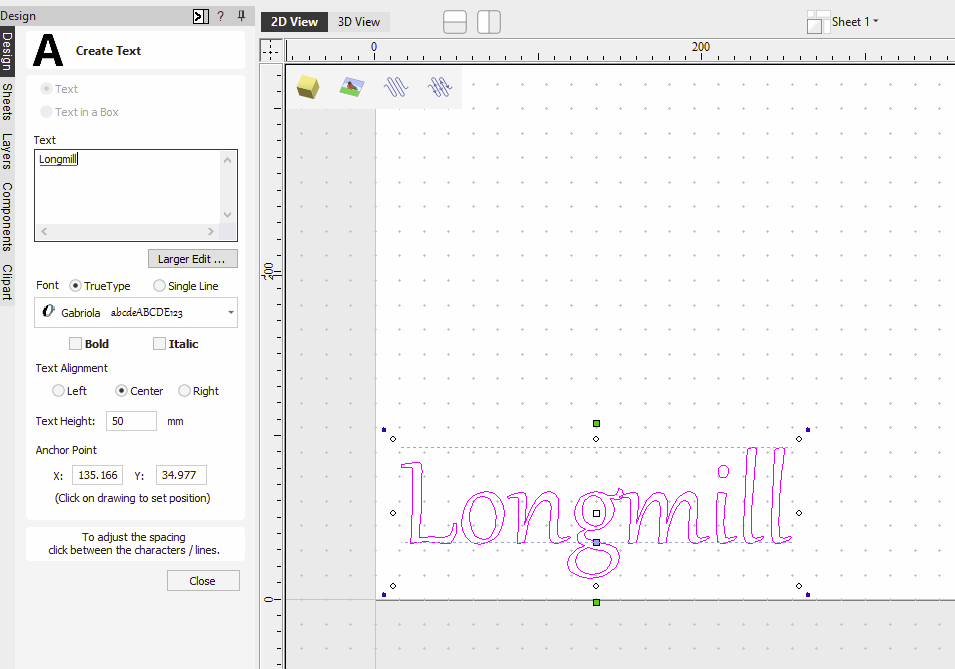
To carve letters with the tool follow these few steps: Type in your text in vcarve, adjust the heigt to your likings. Close the text tool.
Keep the text selected (pink) and klick on the arrow button at the top:

Select V-carve in the toolpath creating menu:

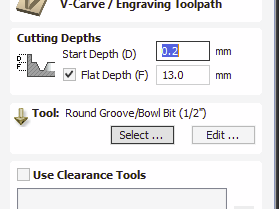
Select your awesome bit from the library you’ve installed earlier.
At “flat dept” you can include a maximum depth for the letters. Set “Starting depth” at zero.
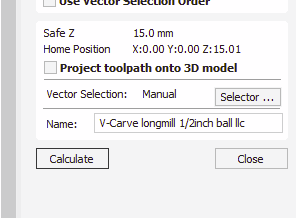
Type in a good name for the toolpasths. It’s good practise to include the bit needed for the carve so you wont make a mistake if you use the same toolpath after some time. I personaly include my xy zero too. I always zero on my material so I don’t include a z zero reference. (llc is lower left corner)
Click calculate and let your software do it’s magic.
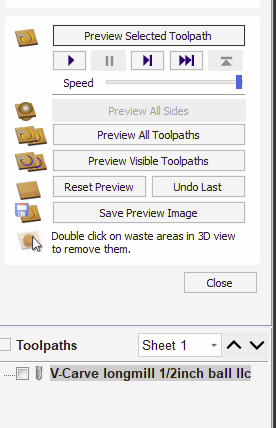
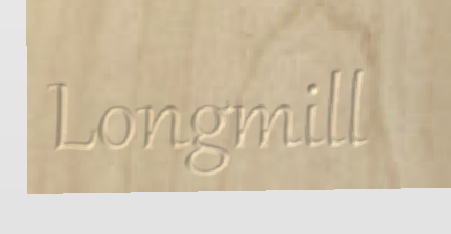
Click on selected toolpath and behold, your first toolpath render is done.
To carve this you need to save the toolpath file and load it into g-sender. Don’t go there just jet. Play around a while with vcarve and watch some beginner videos. Please watch some videos before turning the meat grinder on.
A good place to start is at the channel of IDC-woodcraft.
Blockquote Small edit: The toolpath generated in this example is a v-carve and wont cut letters that are consitantly at 1/8 depth. The flat depth prevents the bit from going below the selected dept, if needed. The depth of a v- carve depends on the width of the lettering and the width of the bit.
