Six-String Bass Guitar

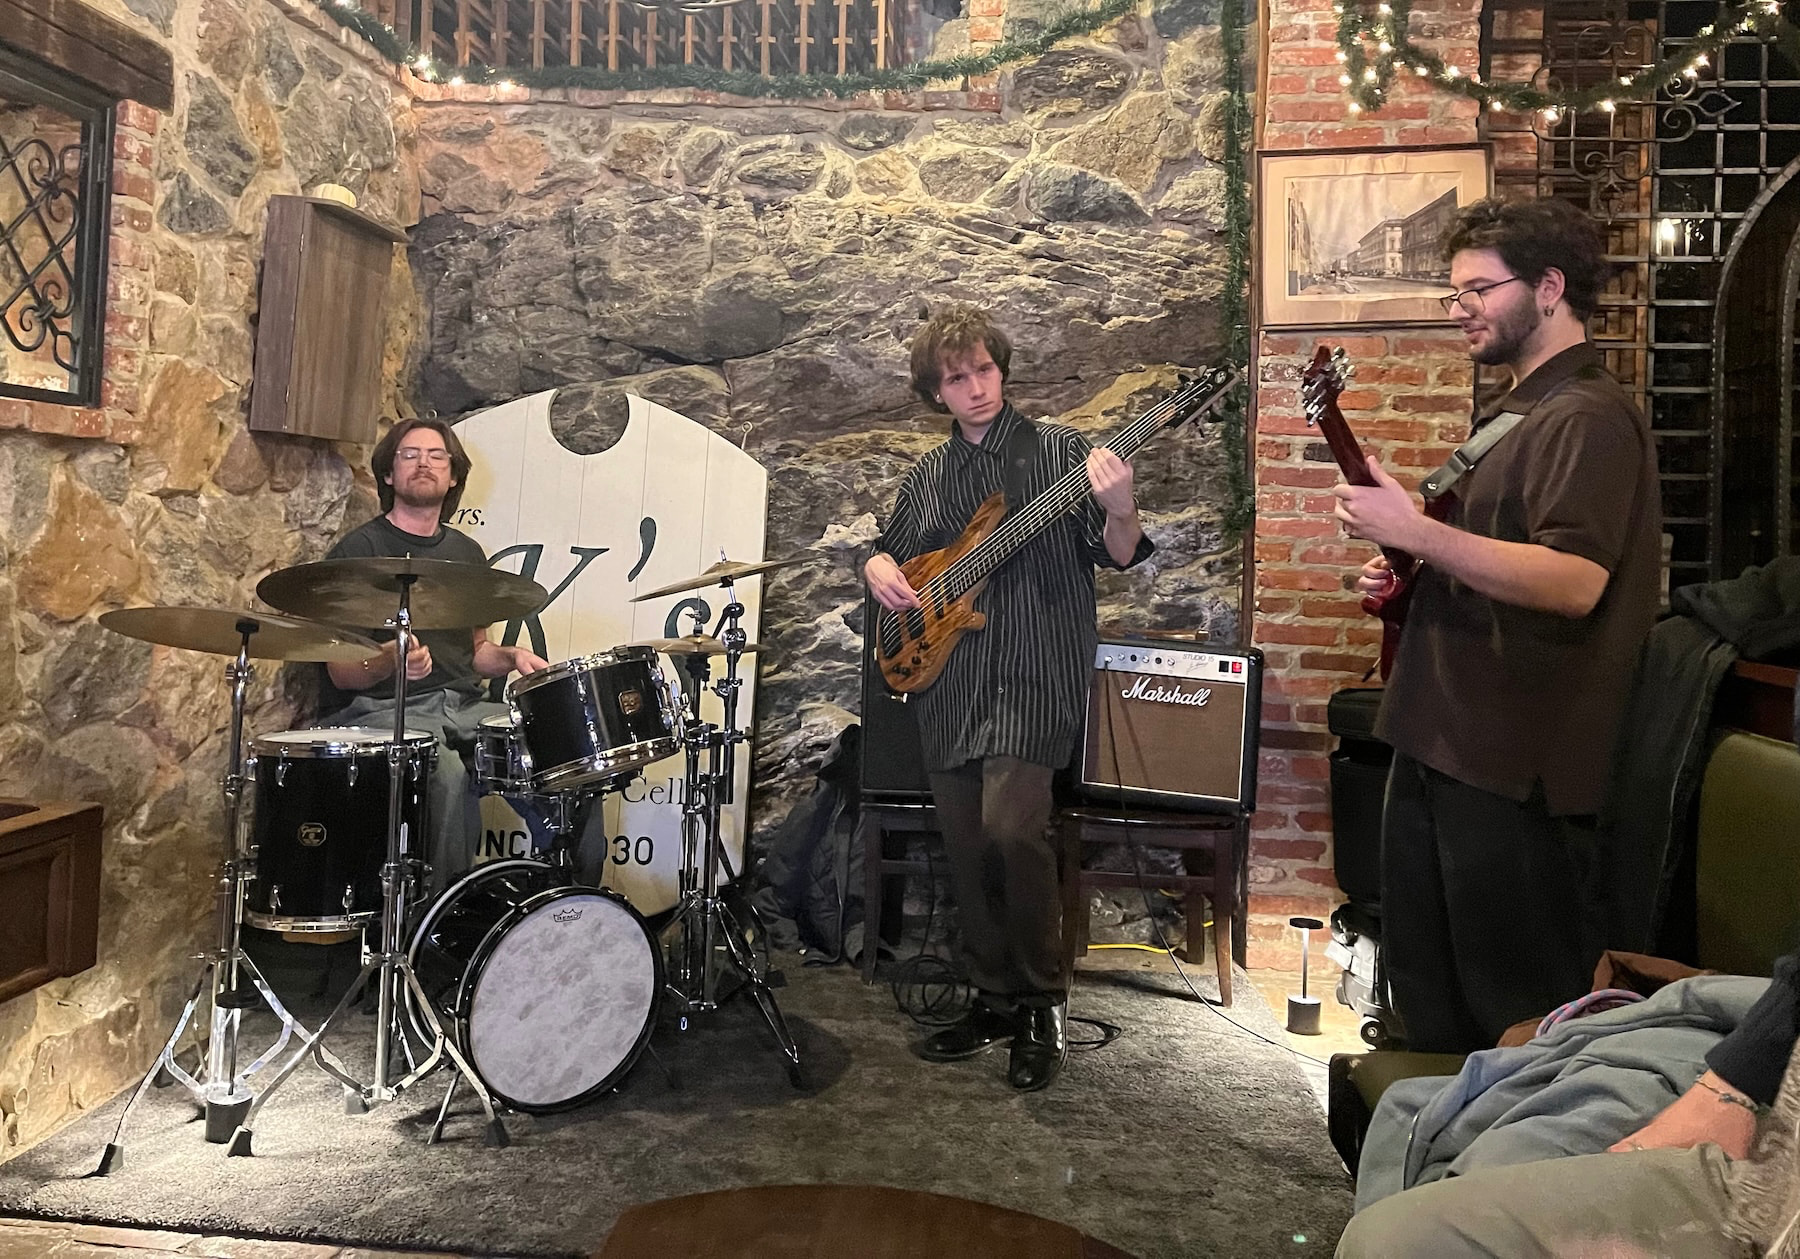
So, I finally finished my first complete build of an instrument: a six-string bass guitar. I built this as a graduation gift for my nephew, an excellent bassist who’ll be graduating from Oberlin next semester. I gave it to him over the holidays, and then had the pleasure of seeing and hearing him play it a few days later at a pub gig with his jazz trio.

I’ll post a few pics then list some specs.
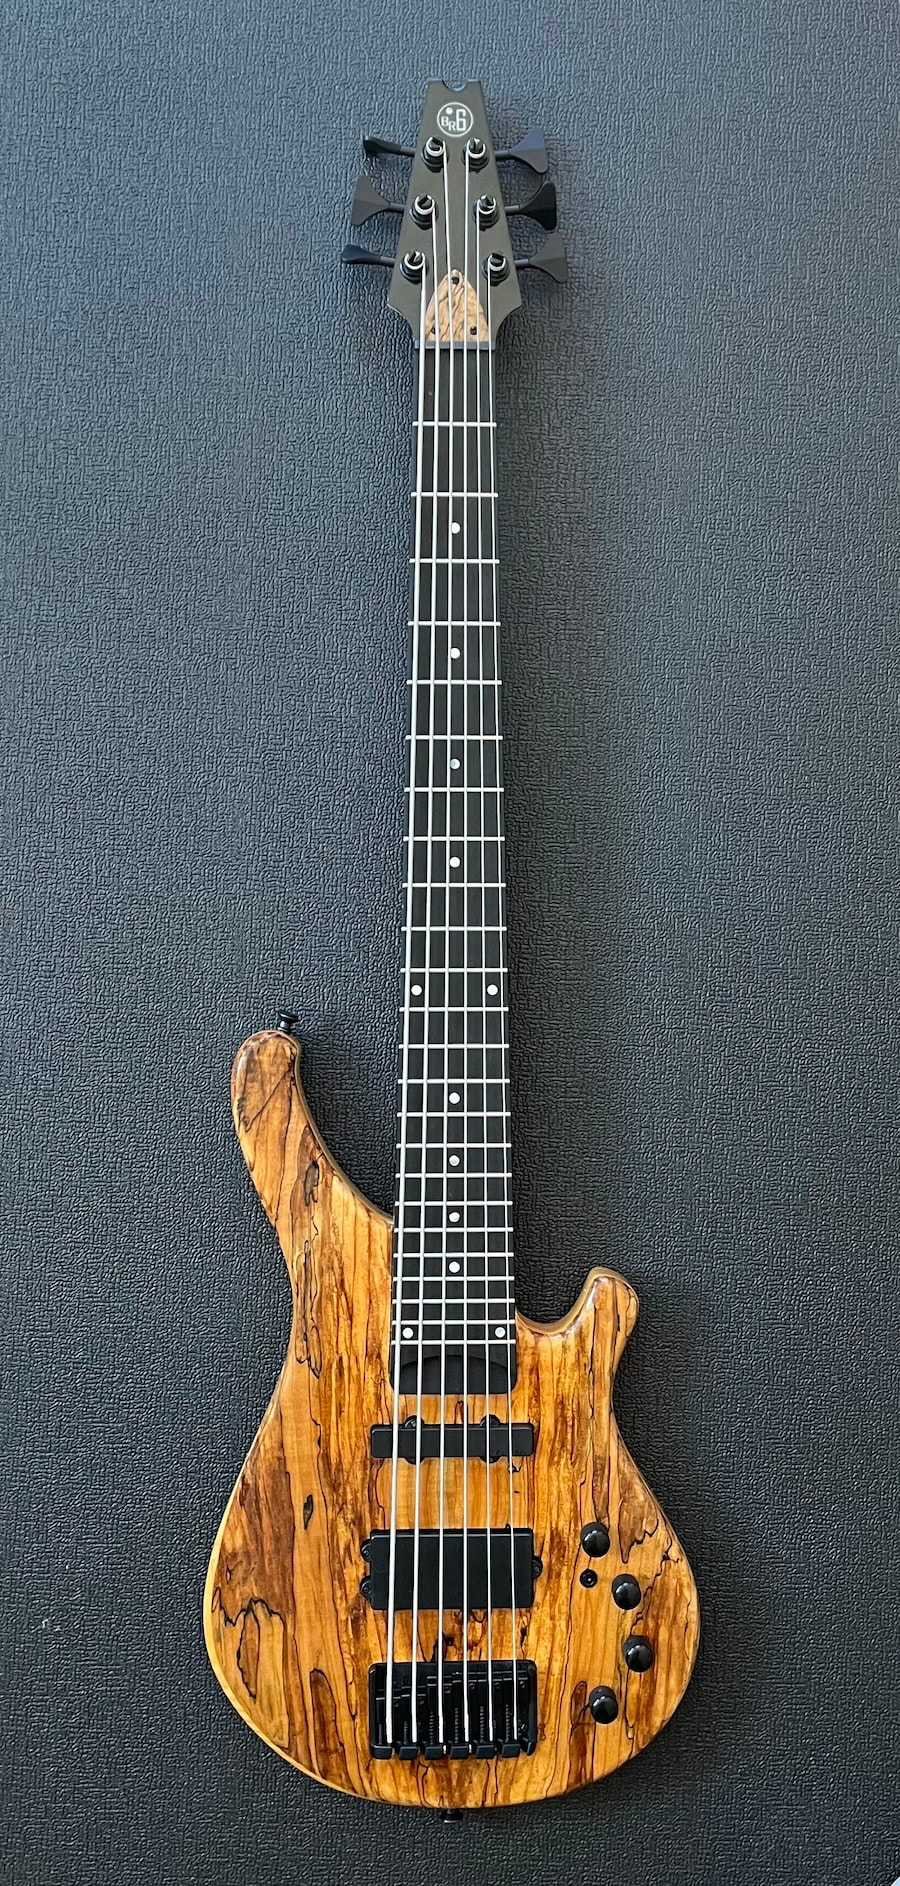
As for wood specs:

The body top is spalted maple, sourced from a seller in the Great White North! Go Canada! Glorious and Free! And your wood is the freaking best, second only to your people!

The body core is good ol’ swamp ash, sourced locally.

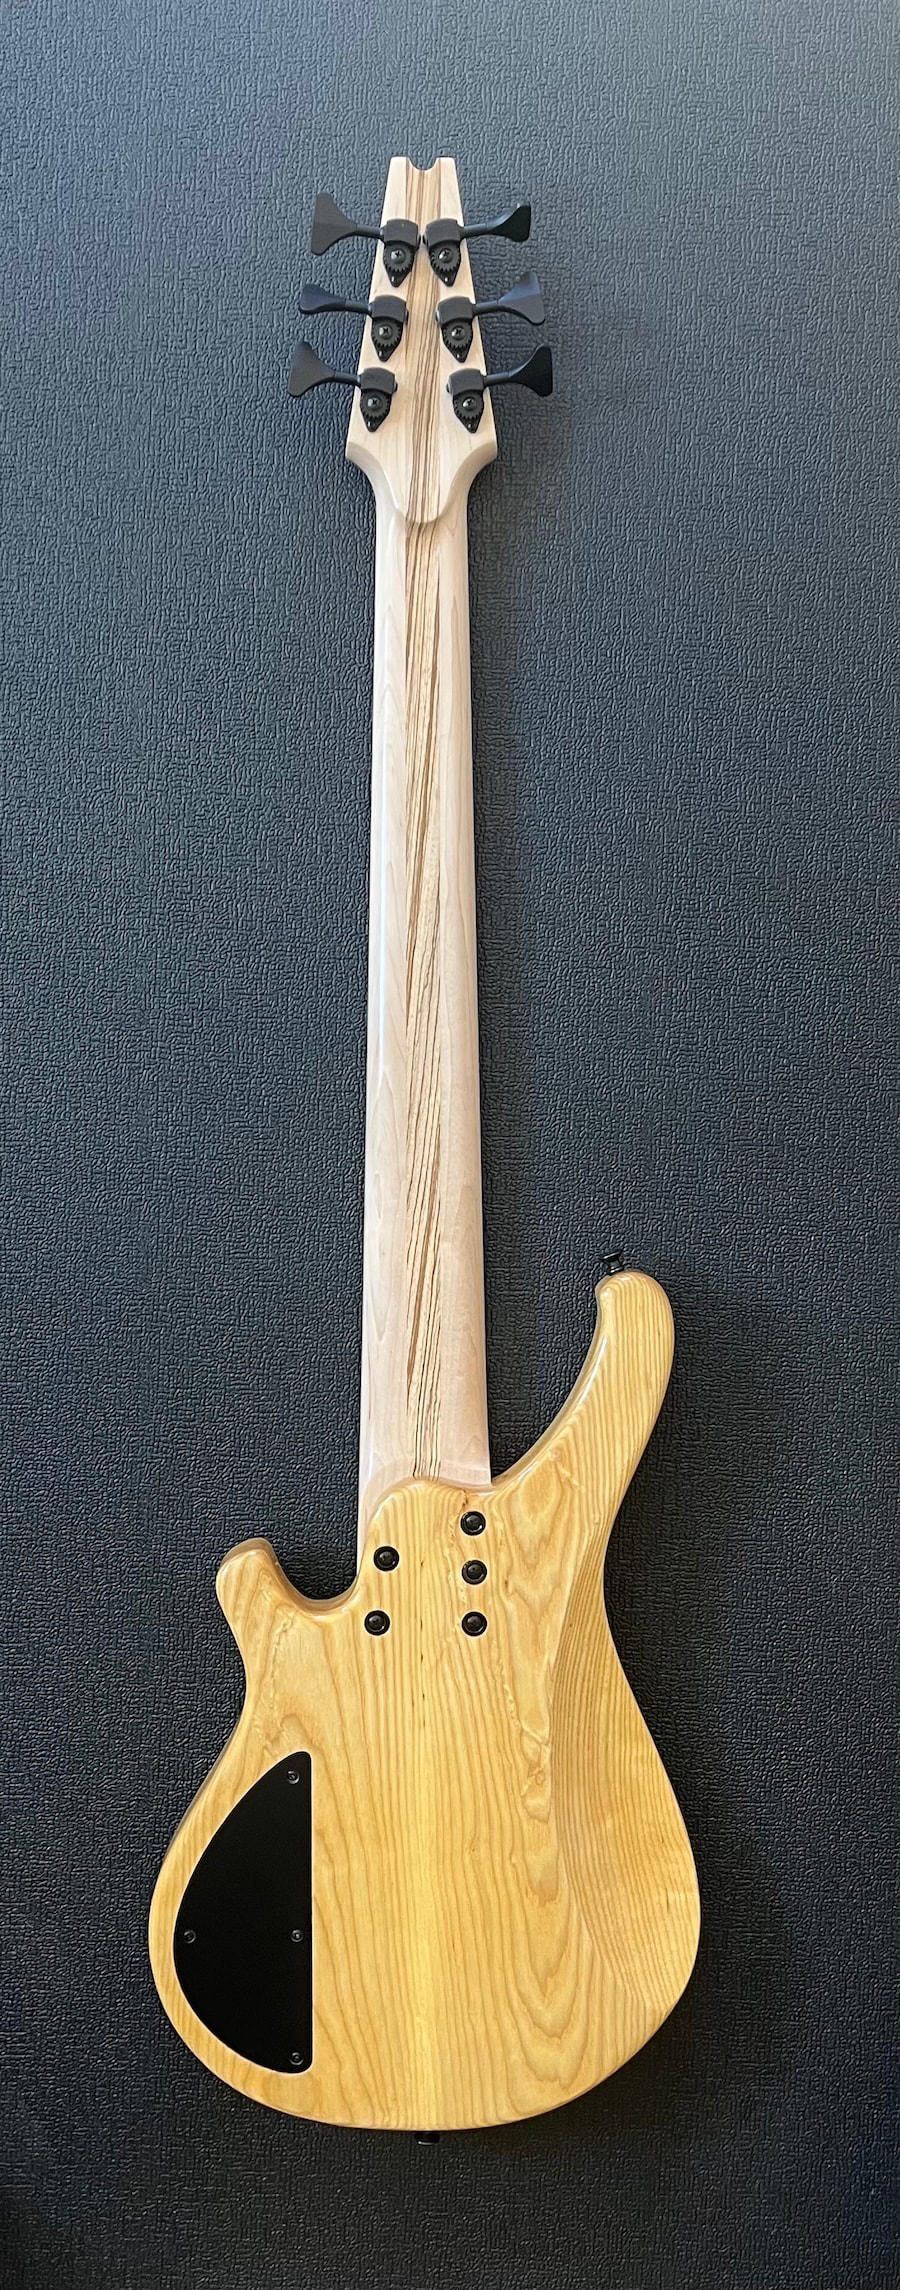
The neck is a three-piece laminate, with hard rock maple wings (sourced from Canada-adjacent Michigan) and zebra wood (sourced locally).

As for hardware:

Bridge: Ibanez Accu-Cast

Pickups: Delano JC-6 (neck) and MC-6 (bridge)

Electronics: Glockenklang 2-band, with active/passive push-pull knob, balance, bass, and treble (“tone” in passive mode, like on a standard Fender J-Bass). Plus a 3-way mini-switch on the bridge pickup to put it in series, single coil, and parallel modes.

Tuners: Hipshot Ultralite.

As for process:

The body was actually carved on my Longmill 30 x 30. I managed to carve a decent prototype neck on the Longmill, but it was arduous, mainly because I was operating outside the machine’s parameters and asking it to do more than it was suited for. (For example, a bass neck requires a workpiece around 36”; my Longmill has a carving area of about 34”, so I was forced to do a bunch of complicated flips and rotations, and to carve the headstock separately from the rest of the neck.)

Hence, my decision to upgrade to the AltMill 2x4, which is absolutely the BEST platform for carving guitars and basses. The AltMill 2x4 is perfect in terms of size, power, and rigidity, and its footprint is just right for my workspace, while still being capable of carving very large neck-through designs for guitars and basses. It is truly the perfect rig for instrument building; 2x4 can accommodate virtually any conceivable build.

I often hear debate about “CNC vs. Traditional” or “Hand-Built” when it comes to instruments. Well, I’m here to tell you: an instrument built using CNC will still require a ton of hand work. There’s no escaping it. What CNC gives you is an amazingly precise starting point, but you will still be busting out the sandpaper, files, finishing tools, etc.

My bottom line, after this first reasonably successful build, is this: the CNC will get you the kind of precision and accuracy that otherwise would take years to develop as a personal skill. For example, carving fret slots. They have to be machine-precise, accurate to within hundredths of a millimeter, etc. The CNC can do that in its sleep, whereas I would have to spend years building a technique to achieve the same results. Every neck and fretboard I’ve finished so far (and that’s only two) has been dead on in terms of the accuracy of the fret slots.

Now, of course, it’s true that I have to then install the frets by hand and do a whole bunch of other hand work. But so far the CNC-dictated position of the fret slots has been dead on. All I have to do is get the hand work reasonably decent, and the instrument is perfect in terms of intonation (i.e., being in tune).

Same is true for carving recesses or cavities for components like pickups or carving a pocket for the neck. The machine nails it every time (and I’ve done three bodies now where that has been the case: straight off the machine, the body and neck fit together perfectly).

Anyhow, sorry for the long post. This has been an amazing experience learning to build instruments, even though I’m a total newbie and still have a long way to go. But I’m totally sold on using CNC to build basses and guitars. My AltMill is so robust and powerful and smooth and logical and effortless and, frankly, mesmerizing to watch, that I will never get tired of using it. And everything it has produced for me so far has dramatically exceeded my expectations, to the extent that sometimes I have a hard time believing that I actually “built this.”

(PS. I also posted a couple of videos about the bass to my lo-fi YouTube channel, in case anyone is interested: https://youtu.be/1GdrF-4Iw-Q?si=9t_9eFeqHCoCw02l .)

15 Likes

@The_Unknown_Bassist That’s a nice looking bass. Well done.

1 Like

@The_Unknown_Bassist Fantastic job. I’m sure that your nephew loves it.
ps. No apology necessary for the length of your post. The more info and description of the work process, the better.

1 Like

Great job, I also hear a lot about CNC vs Traditional methods. Well, I have been working as a hobby for over 40 years, and I have seen a lot of improvements in methods and machinery over the 40 years. How about the Shaper Origin? It has been an excellent improvement in cutting out layouts. The Drum Sander has well improved the sanding process. I can go on but no need really. The CNC is just another machine that helps me put more decorative elements to my work. When individuals say the CNC is not real working they I am sure they only wish they had one. Great job.

1 Like

Beautiful! Great work.

NO! A real woodworker is only allowed to use his nails and teeth.

And chew on bees if he wants to wax the wood.

You kids!

1 Like

Job well done…that is a Beautifully crafted Bass! Amazing work!

Loved reading the post.

#continuetobuild

My sincere thanks to everyone who responded, and frankly to this amazing supportive community in general! I’ll do better in terms of checking in on what other forum members are up to, because I’ve already seen much amazing stuff. I’ve been focusing on my own small obsessive corner of CNC-ing, so when I lift my head up from my drawing board and take the time to look around at what everyone else is doing, I’m usually gob-smacked!

All of which is to say, I appreciate you all, and appreciate this community. Many times I’ve logged on here in a panic, having had a bad result or miscalculated something or produced some expensive firewood, only to have some amazing person on here talk me down and set me straight.

Cheers!

@The_Unknown_Bassist Well said. :grinning_face:

Wow, very nice bass. As a new owner of an Altmill 4x4, and a musician, building a guitar or bass or two is definitely in the works. But at this point, I’m still trying to take baby steps and learn simple things on my machine. Maybe some day I can do something like you’ve done!

1 Like

Found your Youtube channel, very nice and thanks for all the instructions.

One question, did you use a template for doing your CAD drawings? Also, what CAD package are you using?

I’ve looked at the Marz Guitar Workbench in FreeCAD, which I think can be a really good option. But it still requires a SVG template file. They use Inkscape for doing the files and there are a few places to download files. I still haven’t gotten my head totally around the process as there’s a lot to learn.

I also use Vcarve Pro, and you can import SVG files there too. I’m leery of some of the downloadable files as I’ve heard some of them are not very accurate. I guess with any of them you can go through them and tweak them if there are issues, as long as you can find the issues.

Just trying to work out a design process. And of course it’s always good to understand someone else’s process as you’ve probably already learned a lot .

Hi, gabo.

For all the stuff I’ve done so far, I’ve created my designs from scratch inside my CAD software, which is Rhino 7.

The first body I did was a copy of a BC Rich Mockingbird. I basically imported a .jpeg, got the initial body outline, and proceeded from there to build it out into 3D.

The 3D modeling is a steep learning curve indeed, and I would say that the majority of my time since I started learning to build instruments a couple of years ago has been spent learning how to do 3D modeling from scratch.

The bass I built for my nephew was basically copied from a couple sources: a bass made by a maker called Zoot basses, and the specs from my favorite 6-string bass neck (from Ibanez). I also ended up copying the headstock design off another bass I own.

In all cases, I started with a basic outline and then built out the 3D model.

Since then, I’m starting to look into some of the really excellent sellers on Etsy and elsewhere who build super nice 3D models of classic instruments. One person I’ve purchased models from is:

I haven’t yet used one of his models to create an instrument, but they import seamlessly into Rhino and are logically structured in parts/layers so you can probably edit them fairly easily (e.g., to change the pickup configuration of a classic Strat setup).

I think if I were to start over, I’d probably get a decent 3D model from a reputable seller and then start fiddling with the whole process right out of the gate: load the model into your CAD, output it into the format required by your CAM, and start carving.

Probably another thing I would recommend is something that happened accidentally for me: I built the B.C. Rich Mockingbird body for a friend who happened to already have an existing neck for it. That took a ton of pressure off, because learning how to 3D model my first guitar body was a huge learning curve – let alone how to then turn around and actually carve it!

So probably a good trial run would involve purchasing a mostly finished (or totally finished) neck from a decent maker (like Warmoth) and focusing on just building the body.

In my limited experience, I’ve found that necks are really challenging, and getting them right is crucial. You can fudge a lot on an electric guitar or bass body, and it will have minimal impact on how it plays. But the neck has to be really dialed in.

Thanks for that, some great info in there. I agree about the templates, I’ve found some really nice ones here that are free.

My original thought was just like you said, just build a body and purchase a neck. Which might be the way to go, but if I have material available I might try a neck. If it goes wrong I can still buy one.

You’ve done some really nice work there and from the few snippets I’ve heard, you’re a very good player as well.

Thanks.

This is very wonderful work.

Oh, yeah. I’ve pillaged the Electric Herald on many occasions!

That is a great website. The thing is, you have to take their 2D plans and build them out into 3D models. Which is totally do-able and great practice for learning 3D modeling for CNC.

The thing about the (not-free) CAD designs I mentioned is that they’re already built out, and they come in several file formats.

So in truth, you don’t really even need to manipulate them at all in a CAD program; they are already complete finished 3D models. You can just take the STL version and import it directly into your CAM software, create the tool paths, and then output the g-code.

Ah, that’s great to know. Probably worth it really. Maybe a better approach than building a body and buying a neck, would be to try make a neck with some scrap wood. I have pieces of wood in my shop that are big enough for a neck but not really what you would build a neck out of. These pieces of wood are not things I would use for much of anything really, so good practice material.

I have some necks on guitars that have the type of radius and size I like. Learning how to cut out something that is usable would get me into a position to obtain the right wood and do one “for real.”

Especially if I could find some already done STL files like you’ve suggested for reasonable $$. Even if they are not exactly like I want, they would be easier to modify than starting from scratch.

Gives me lots of things to think about.