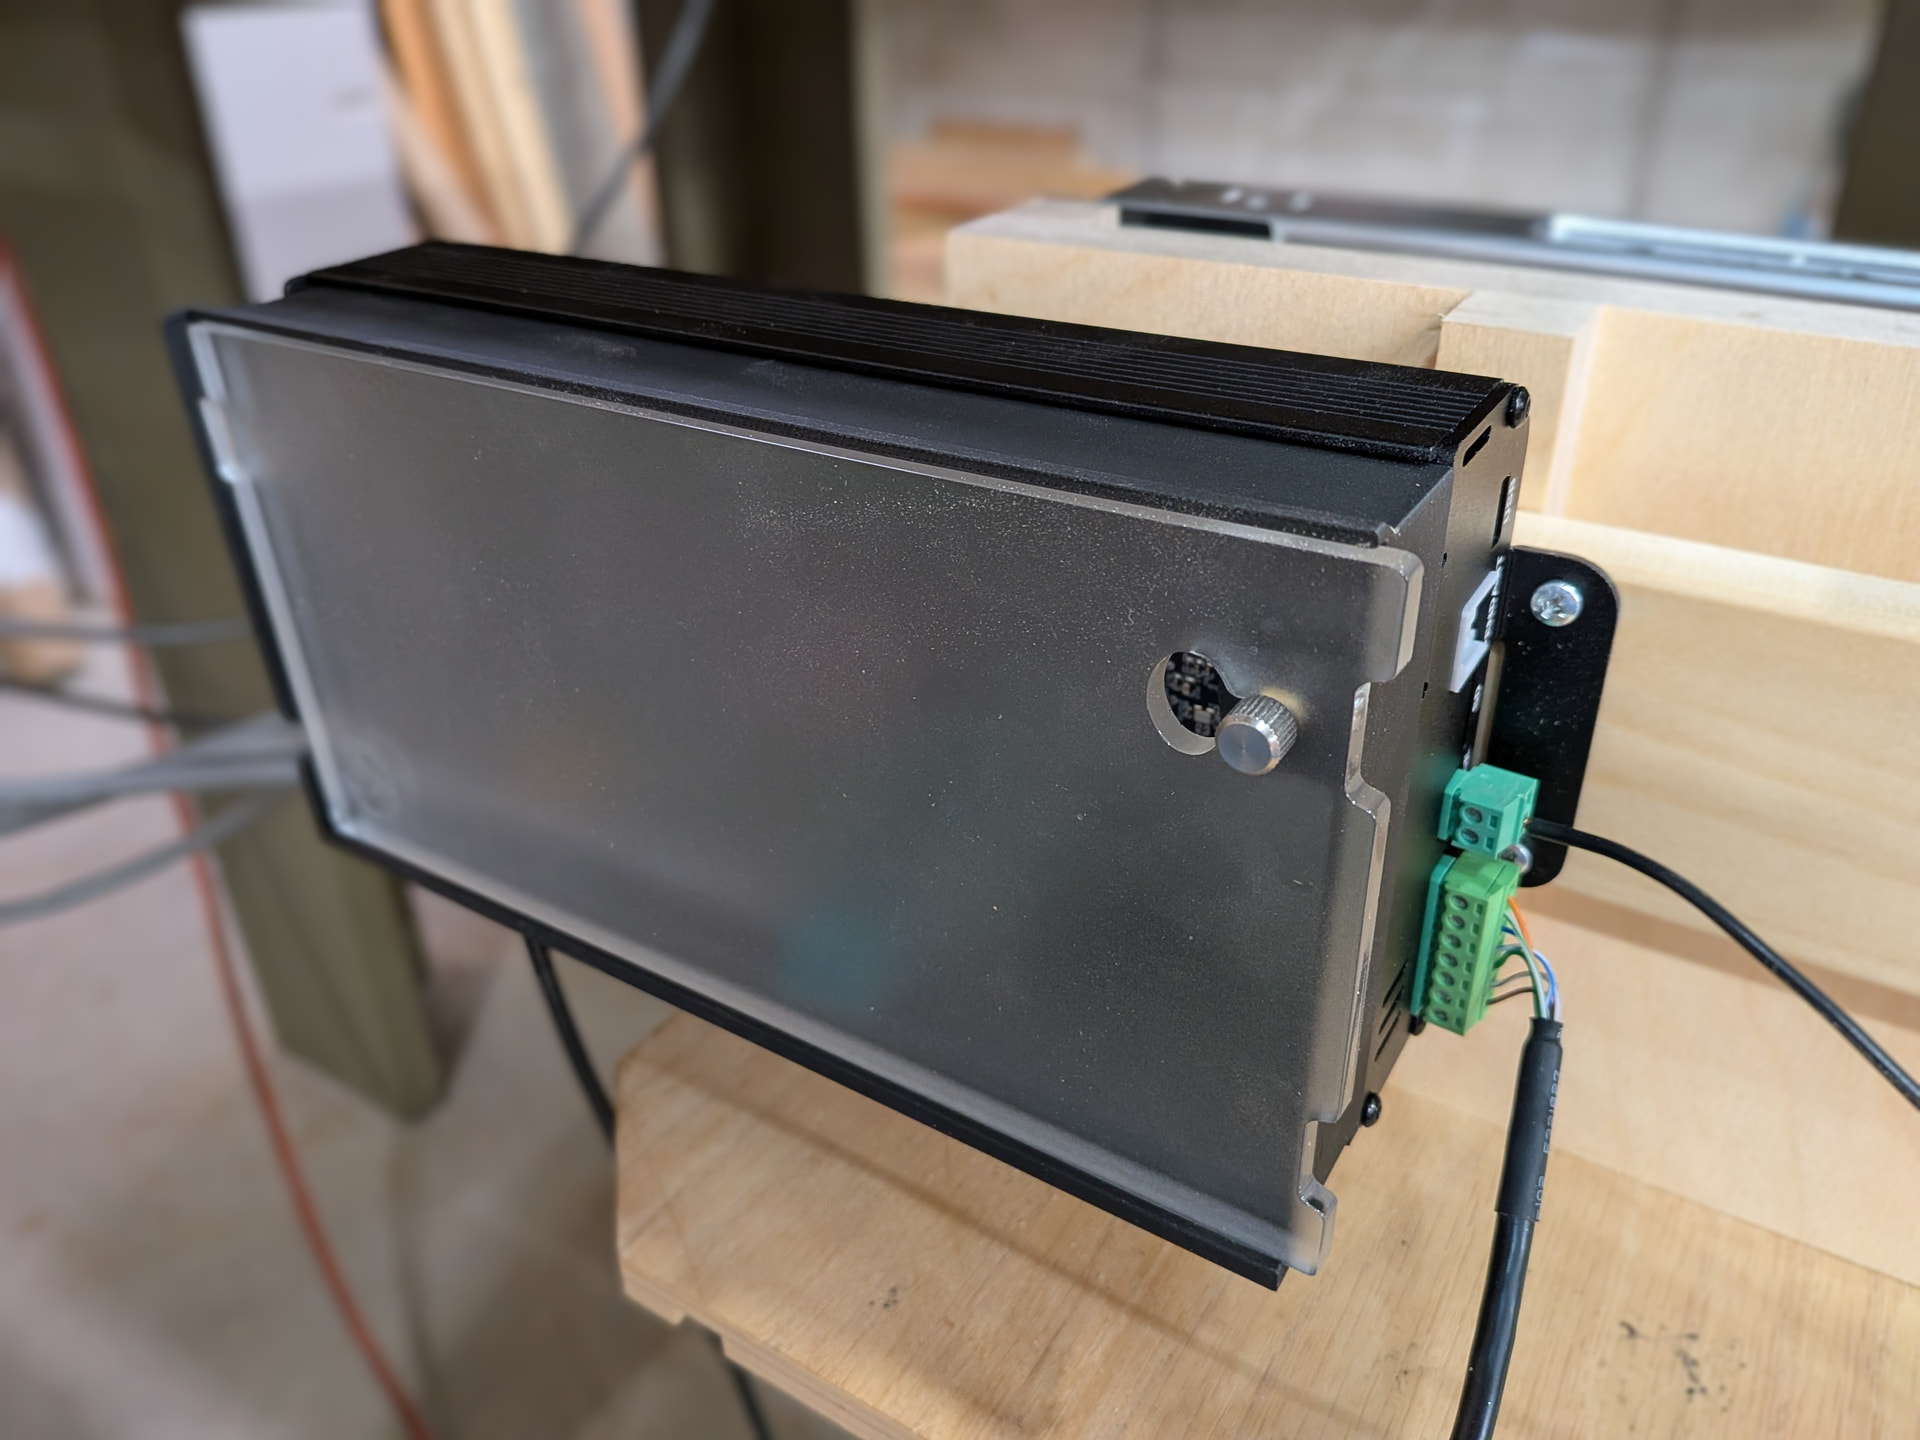
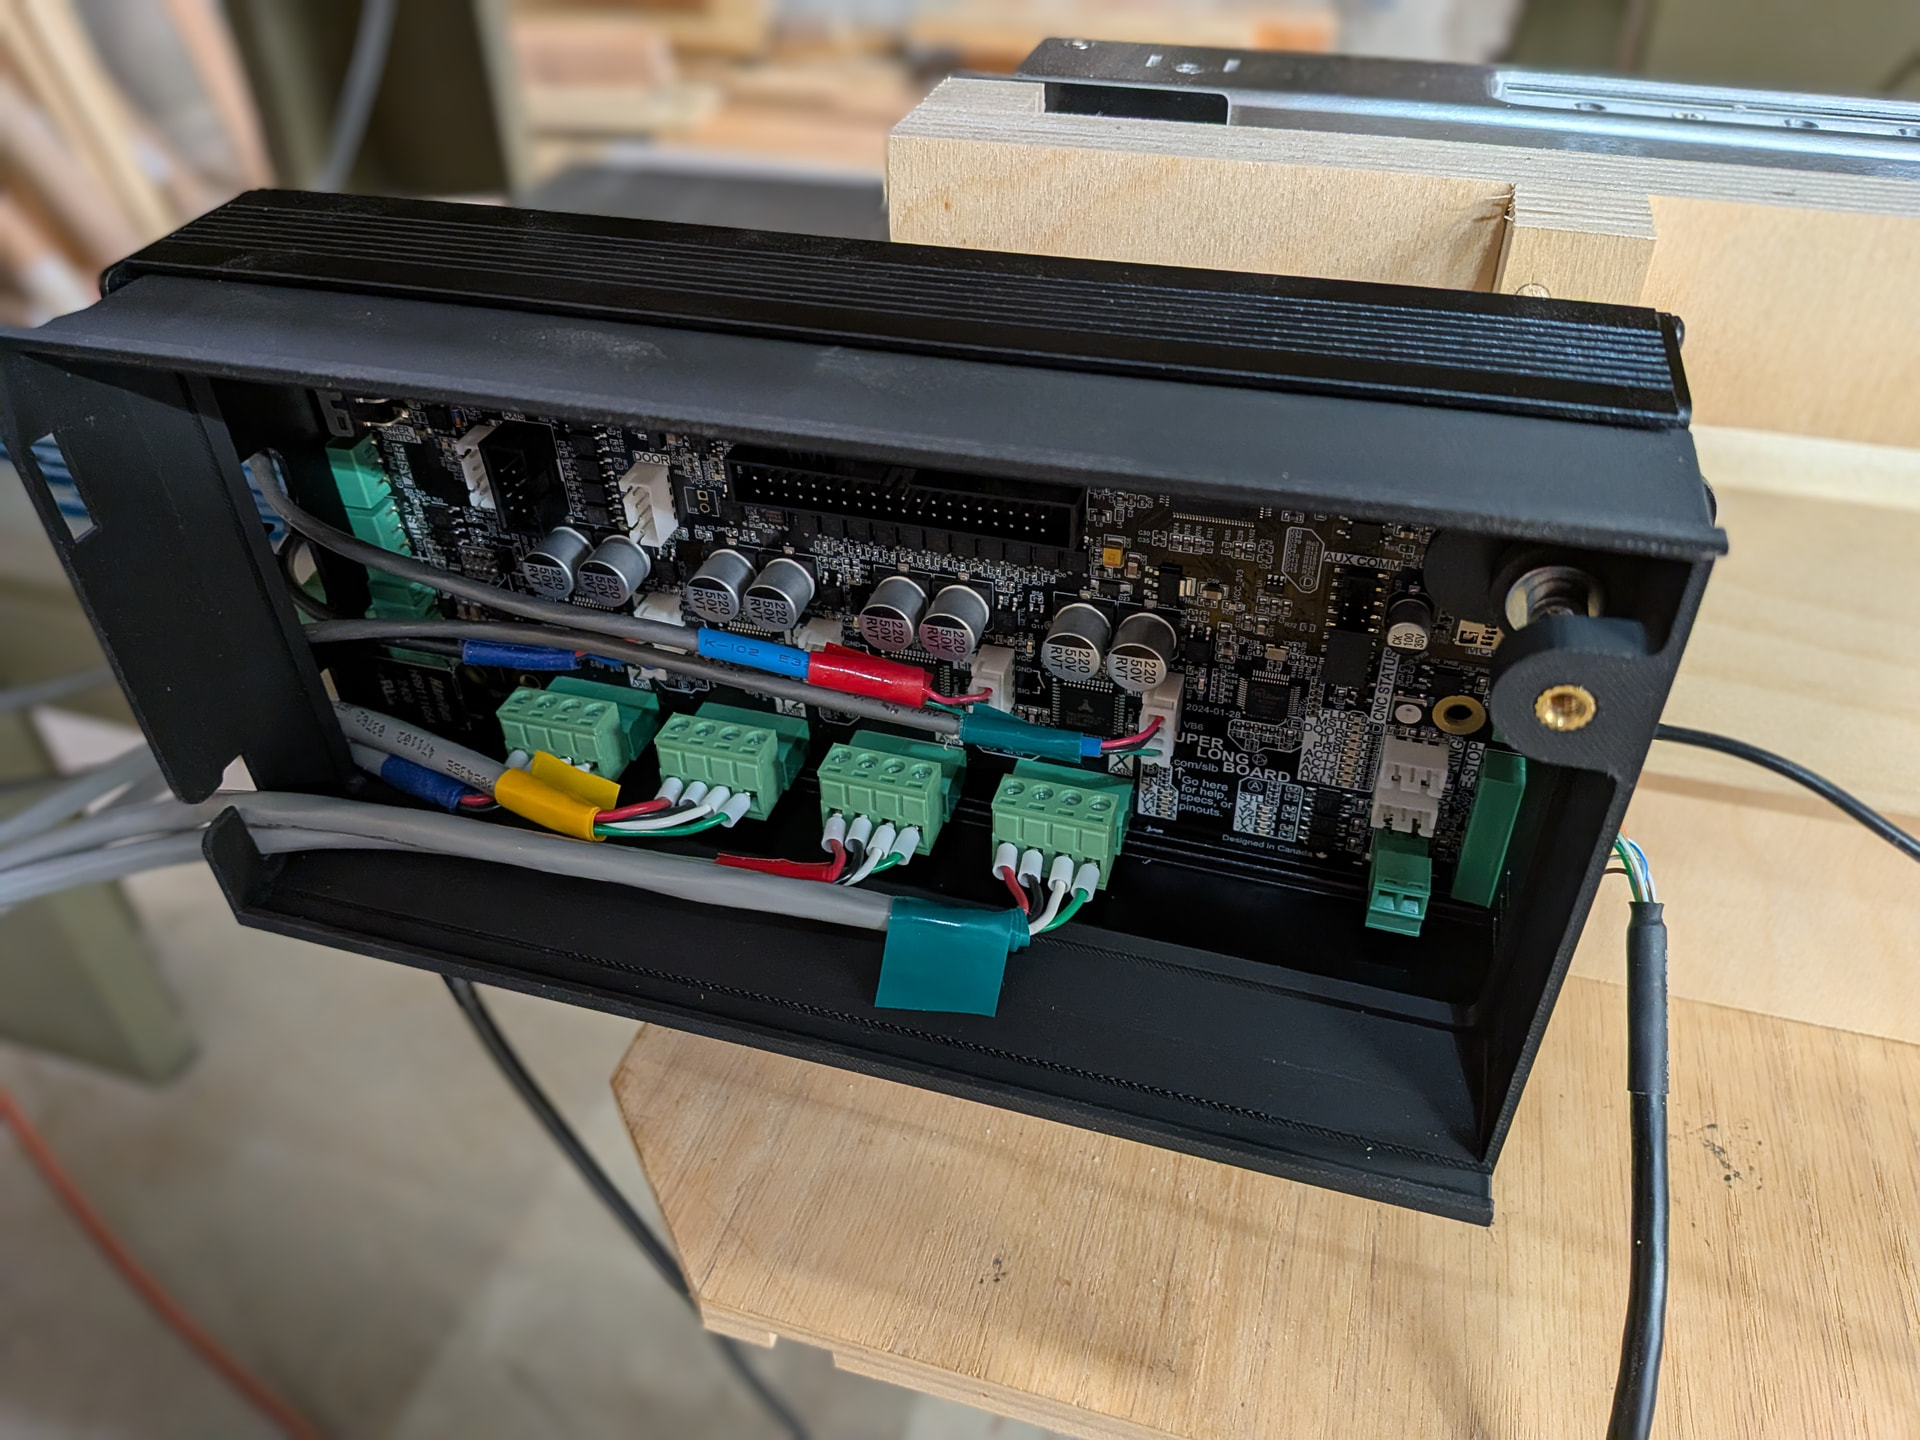
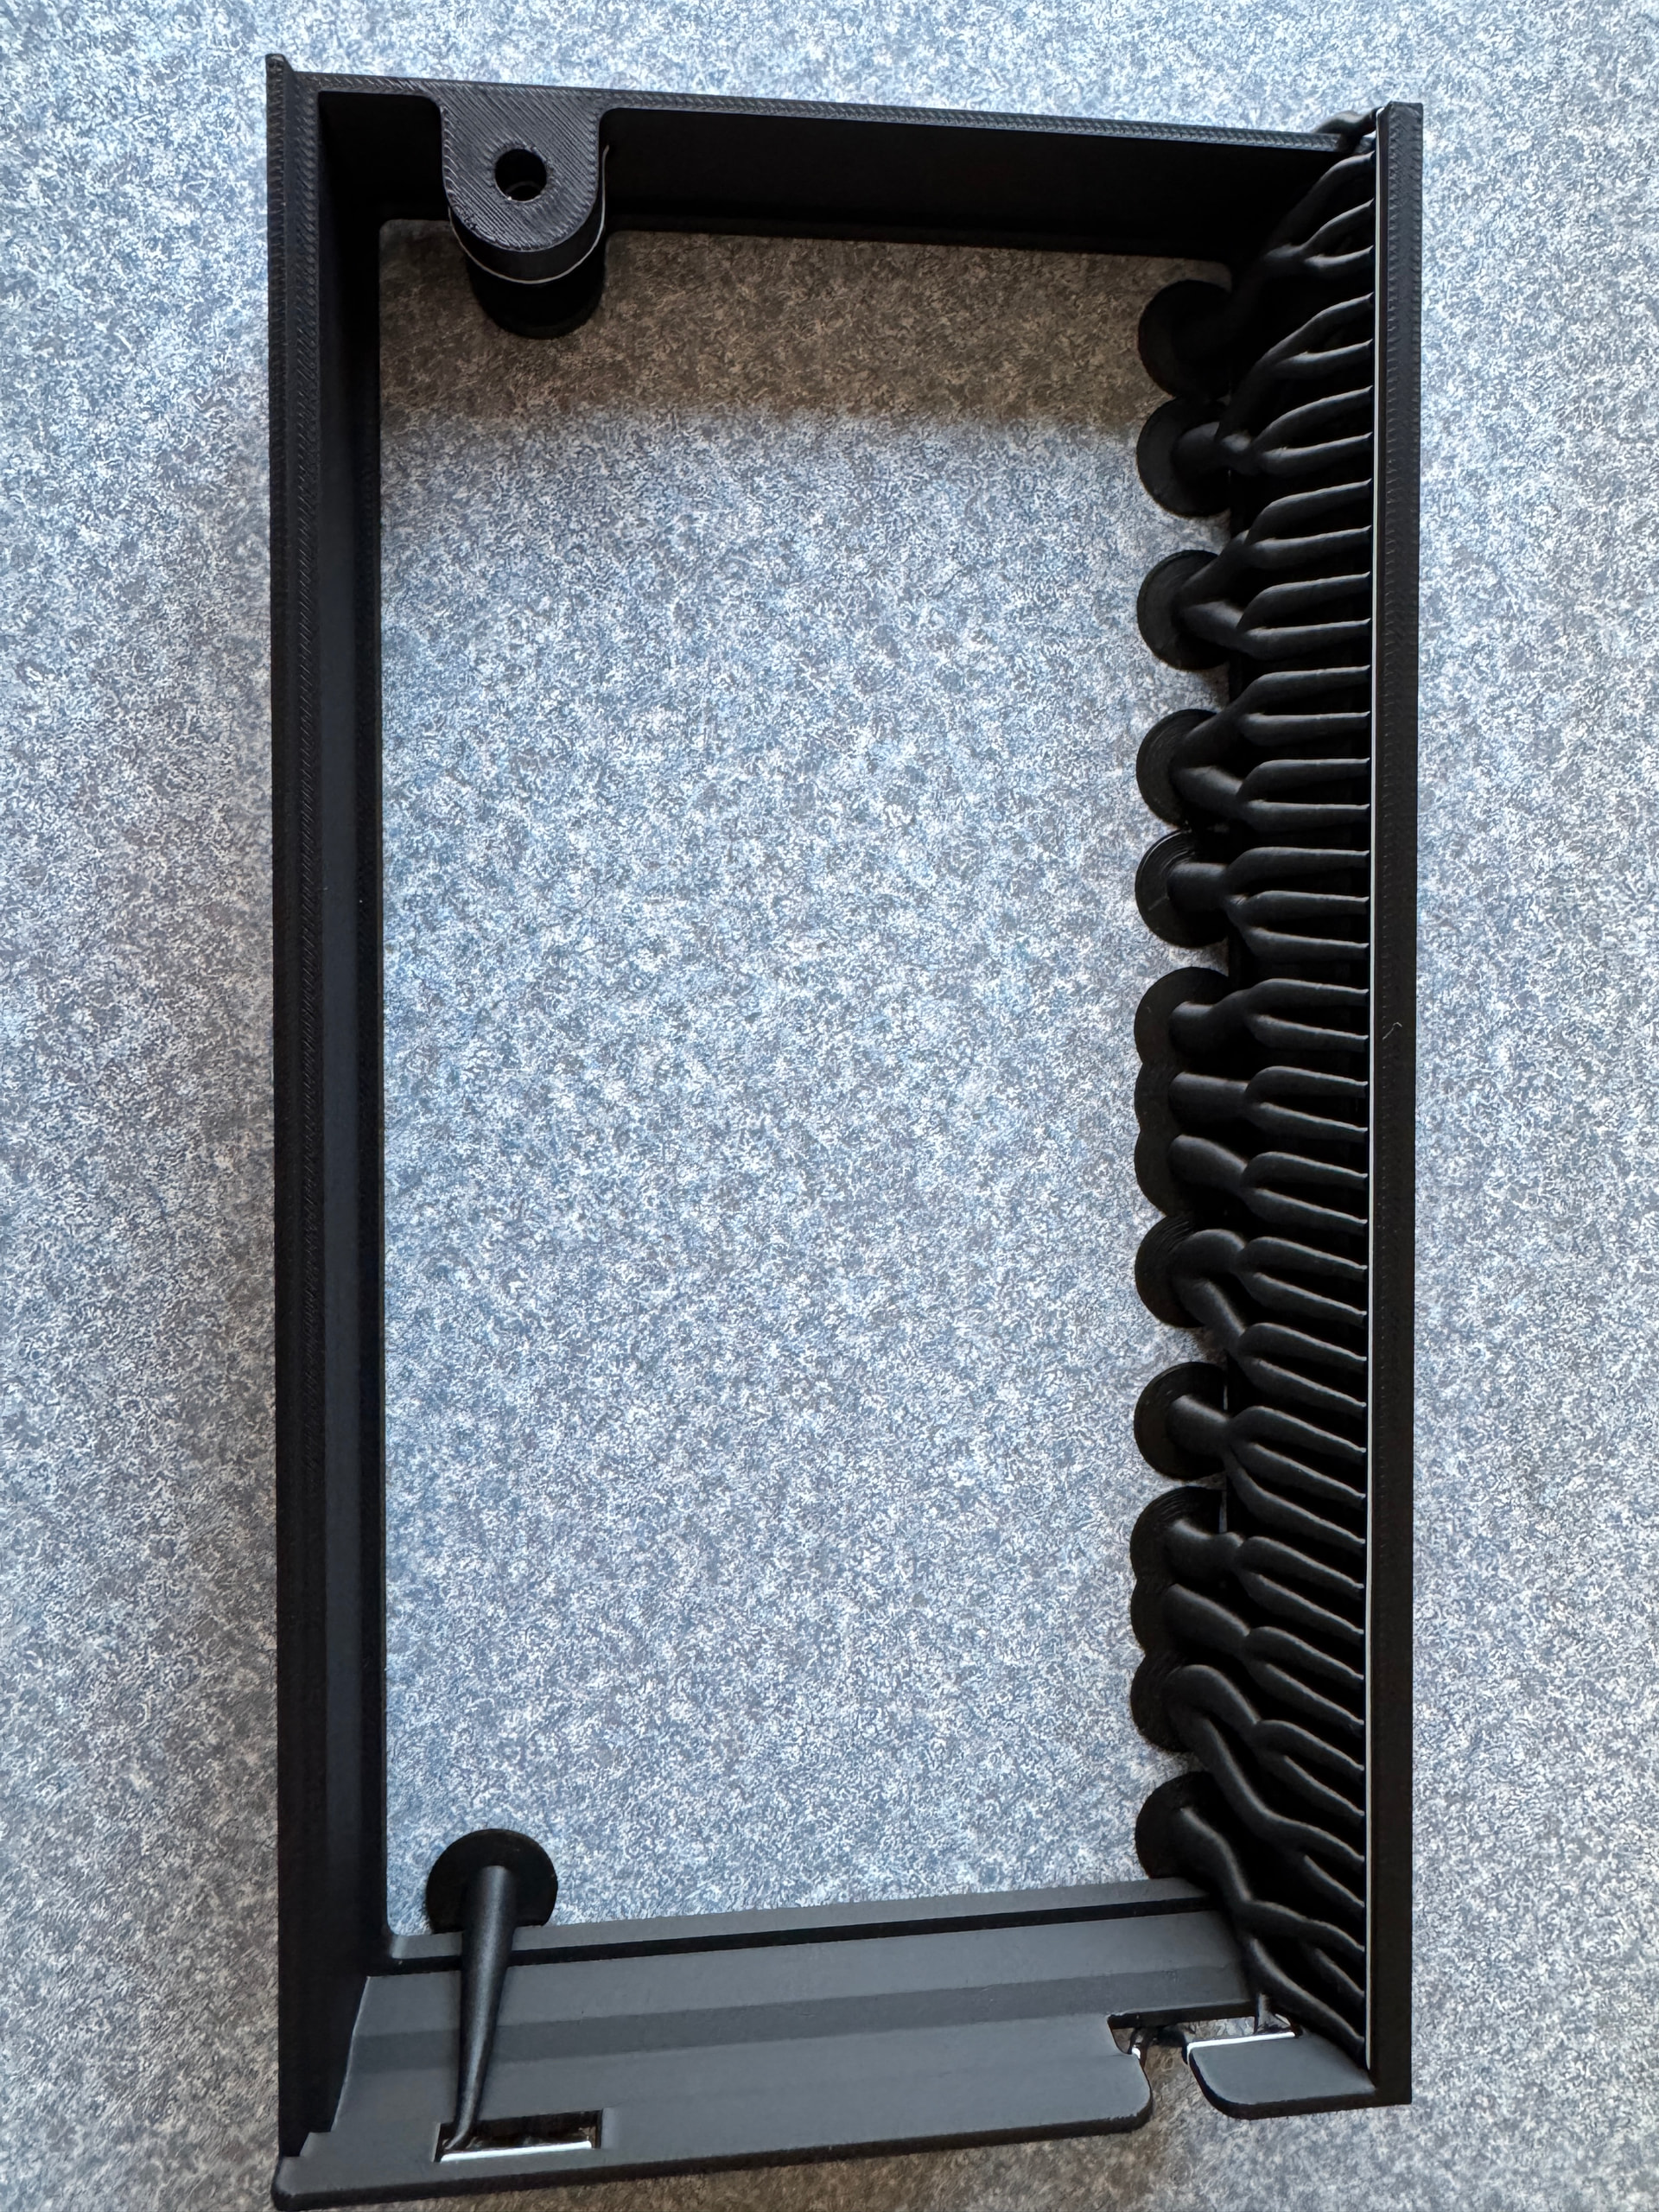
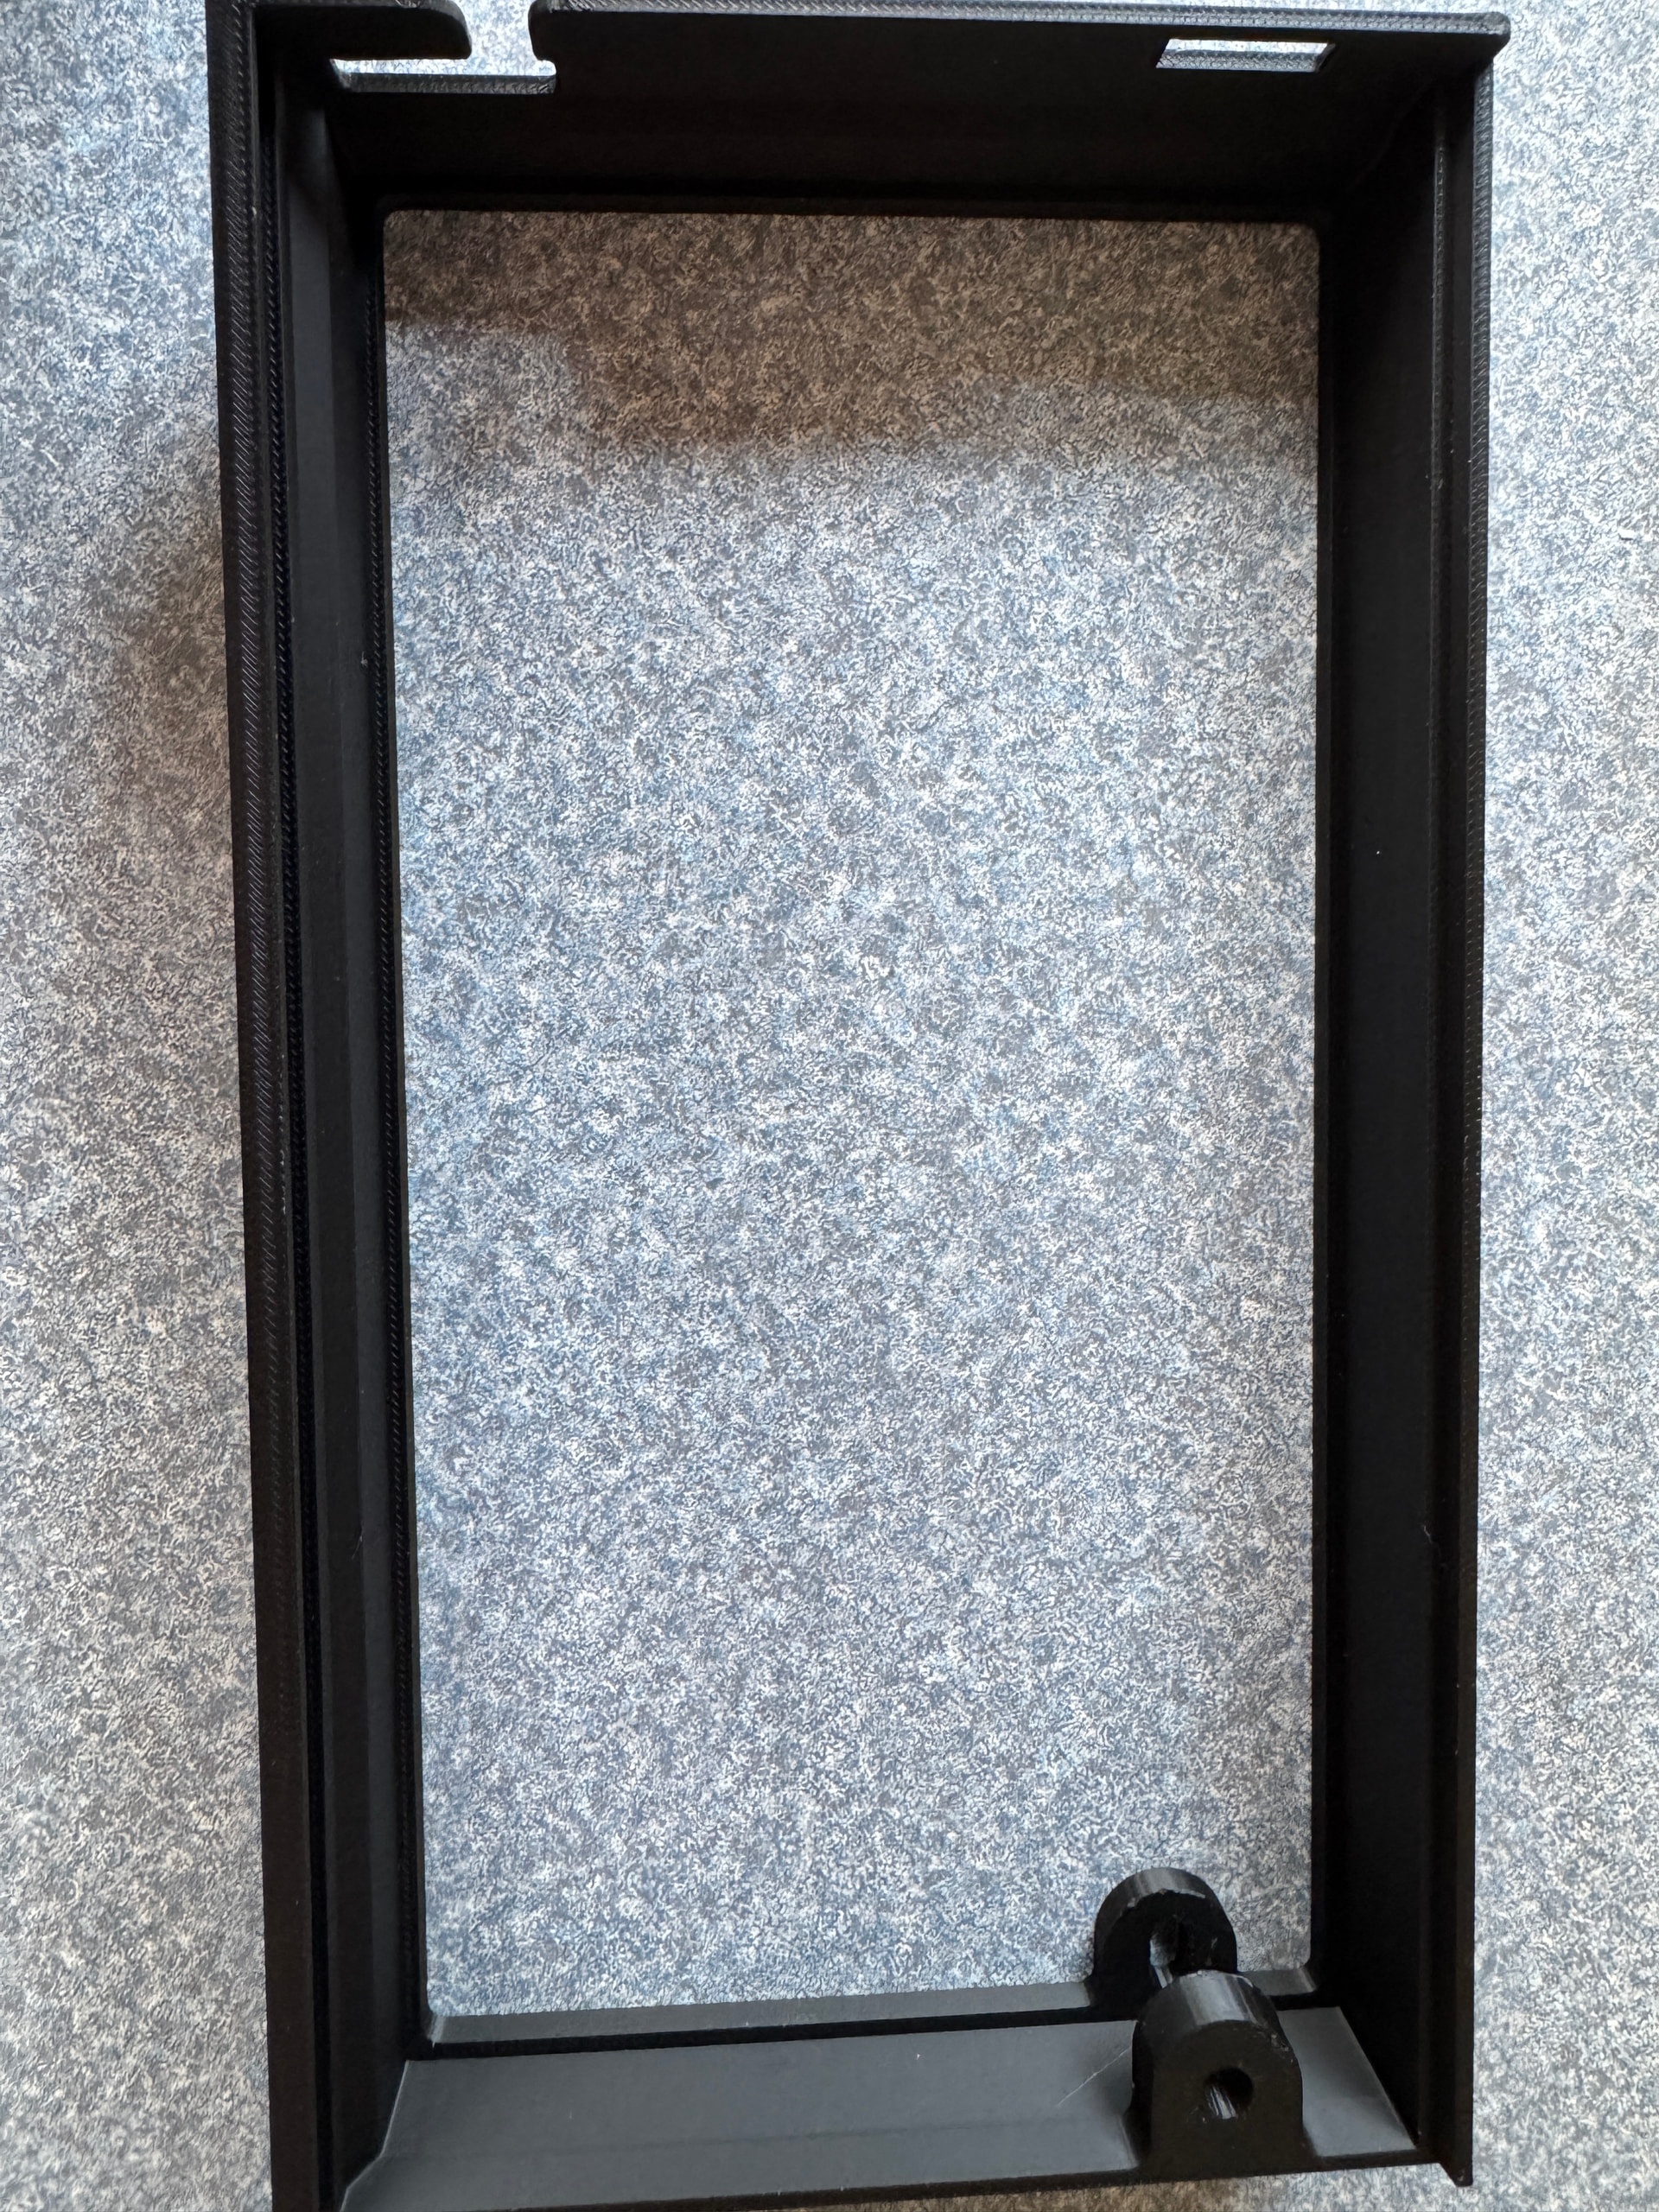
I am replacing an ancient HobbyCNC controller with the SLB. The old controller used 6-conductor 18 gauge motor wiring terminated with crimped on ferrules. Trying to get those wires in the SLB was not going to work, so instead of rewiring, I created a 3D printed riser to gain some more interior volume. The riser geometry fits into the slot originally occupied by the plexiglass lid. It’s fastened to the SLB with a 4mm socket head cap screw and flat washer. The plexiglass lid and its thumb screw moves to the top of the riser. The thumb screw threads into a 4mm threaded heat-set insert in the riser. If interested, you can download the .stl and .step files here:
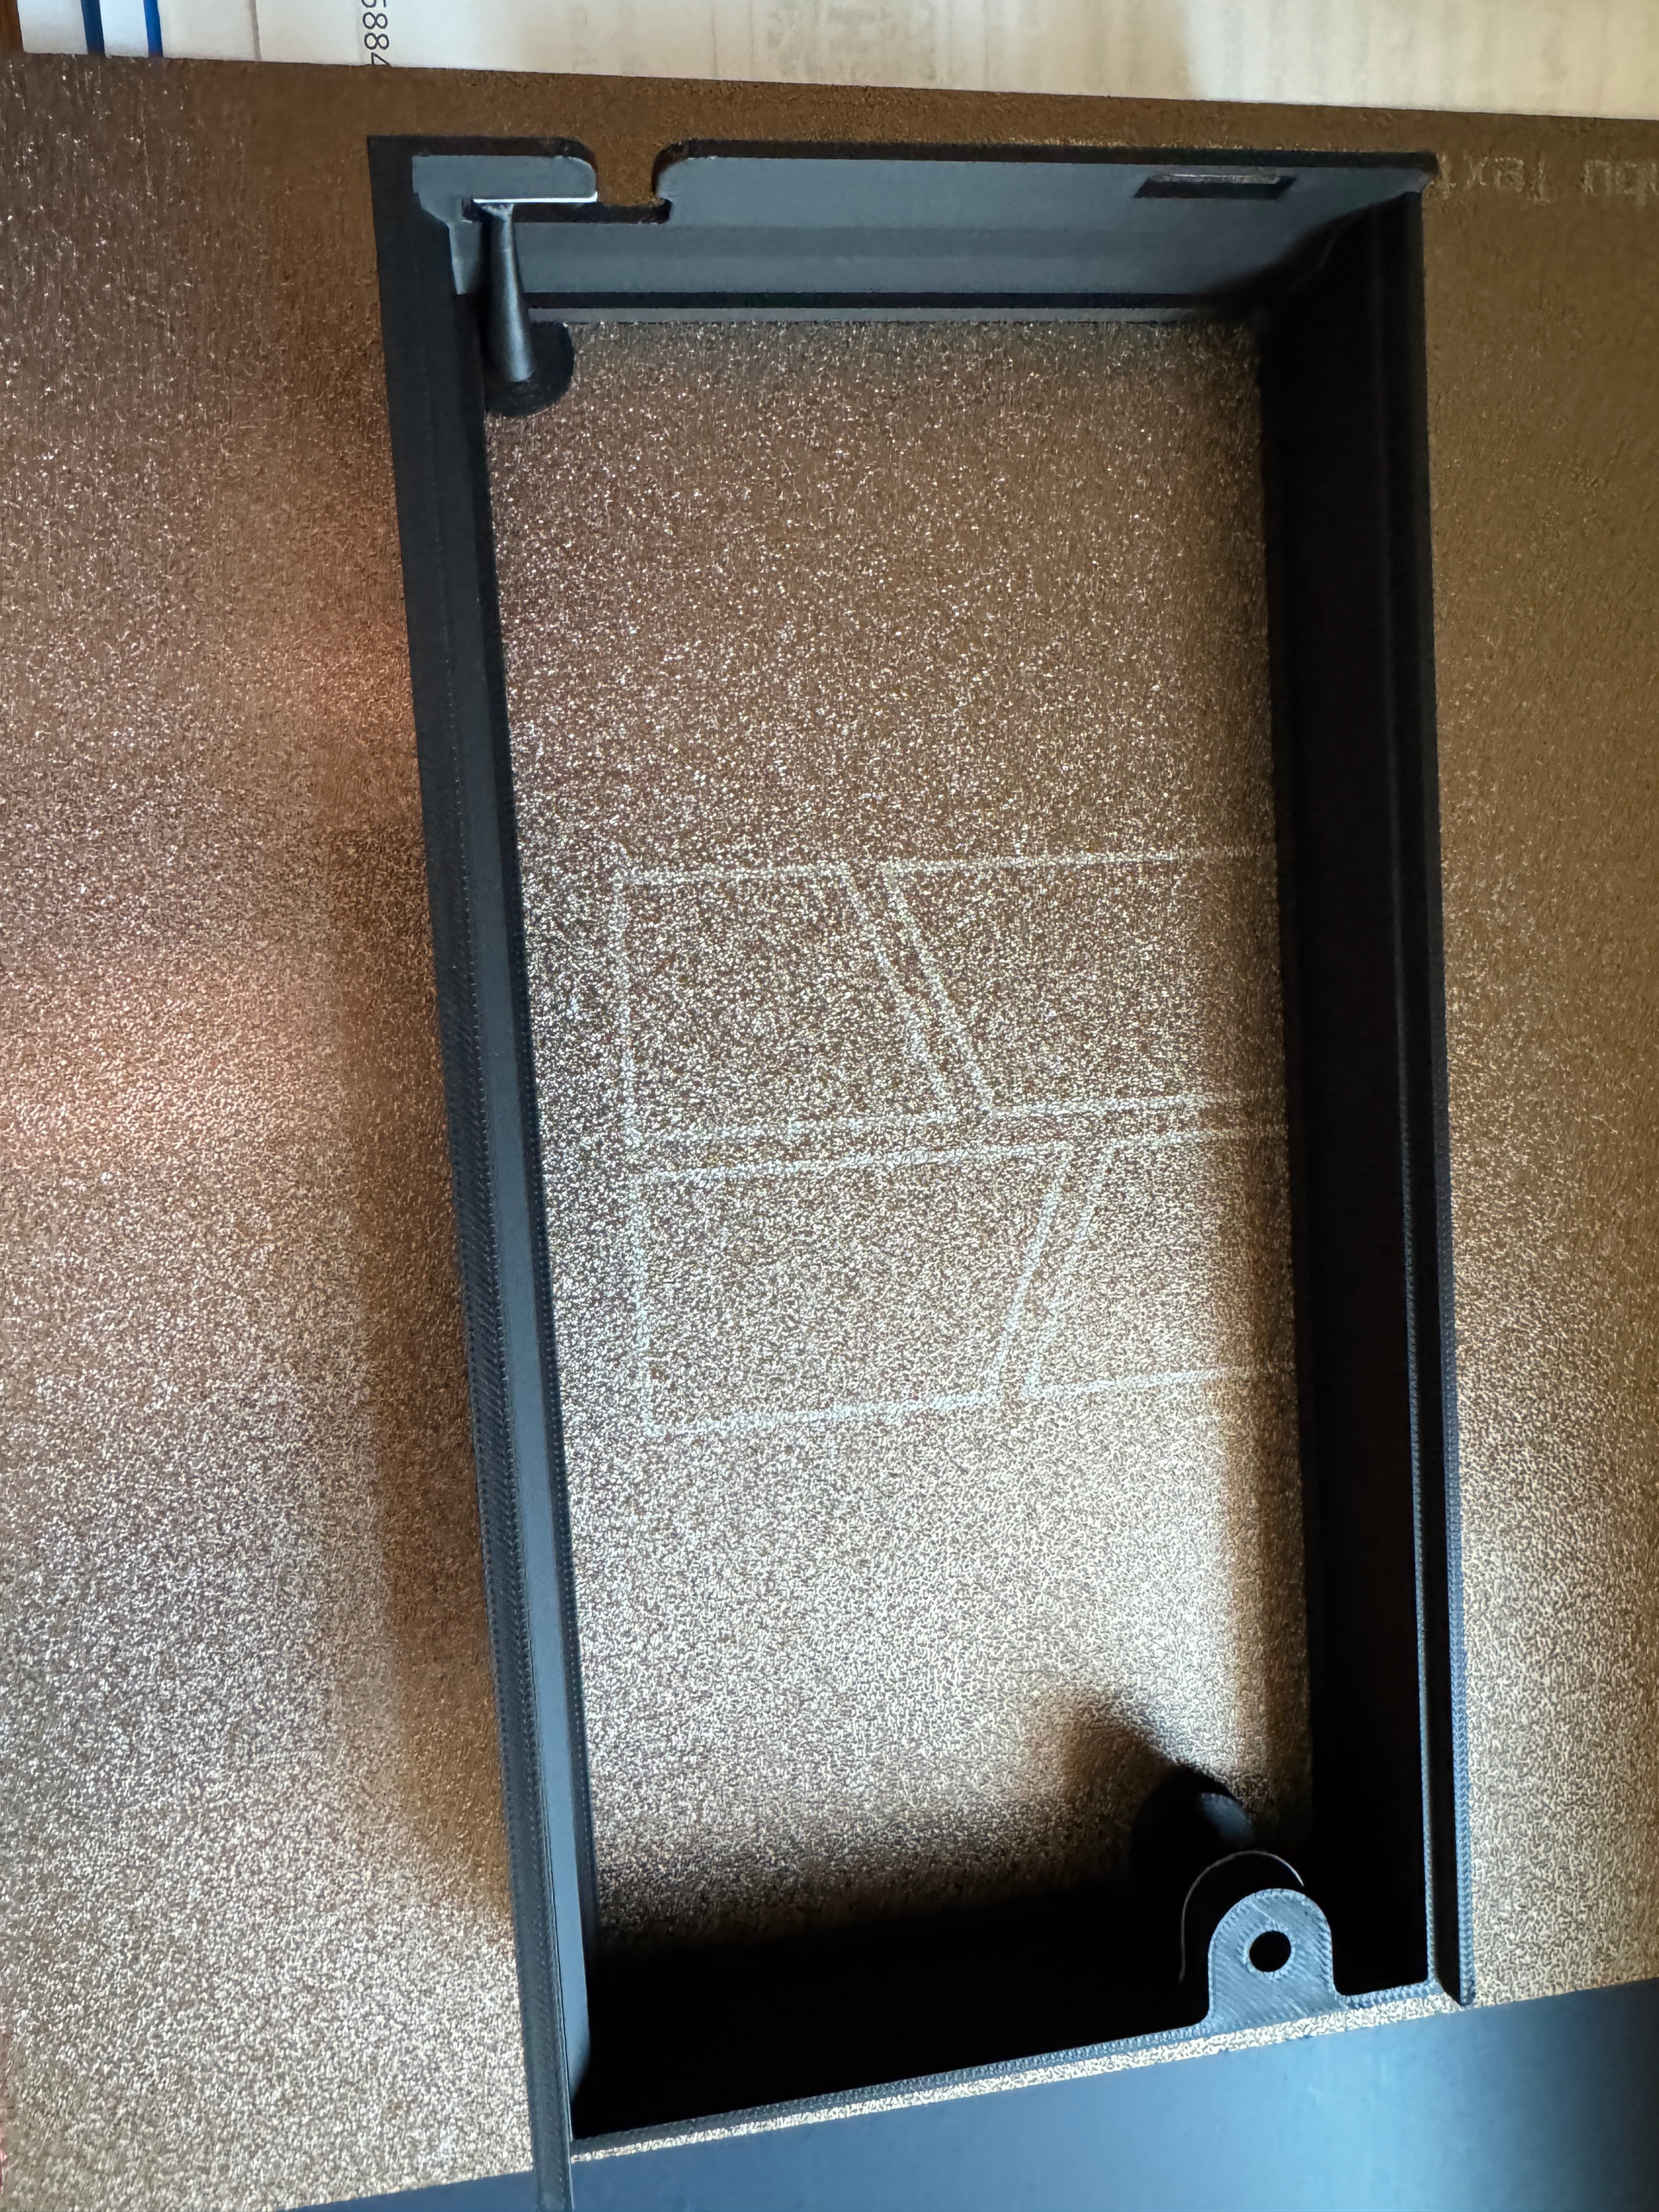
I put the STL File (the STEP file was not necessary) inner face down and used Black PLA with PLA Tree Support for the two cantilevered sections. Everything came out very clean and smooth and the supports separated with no issues.
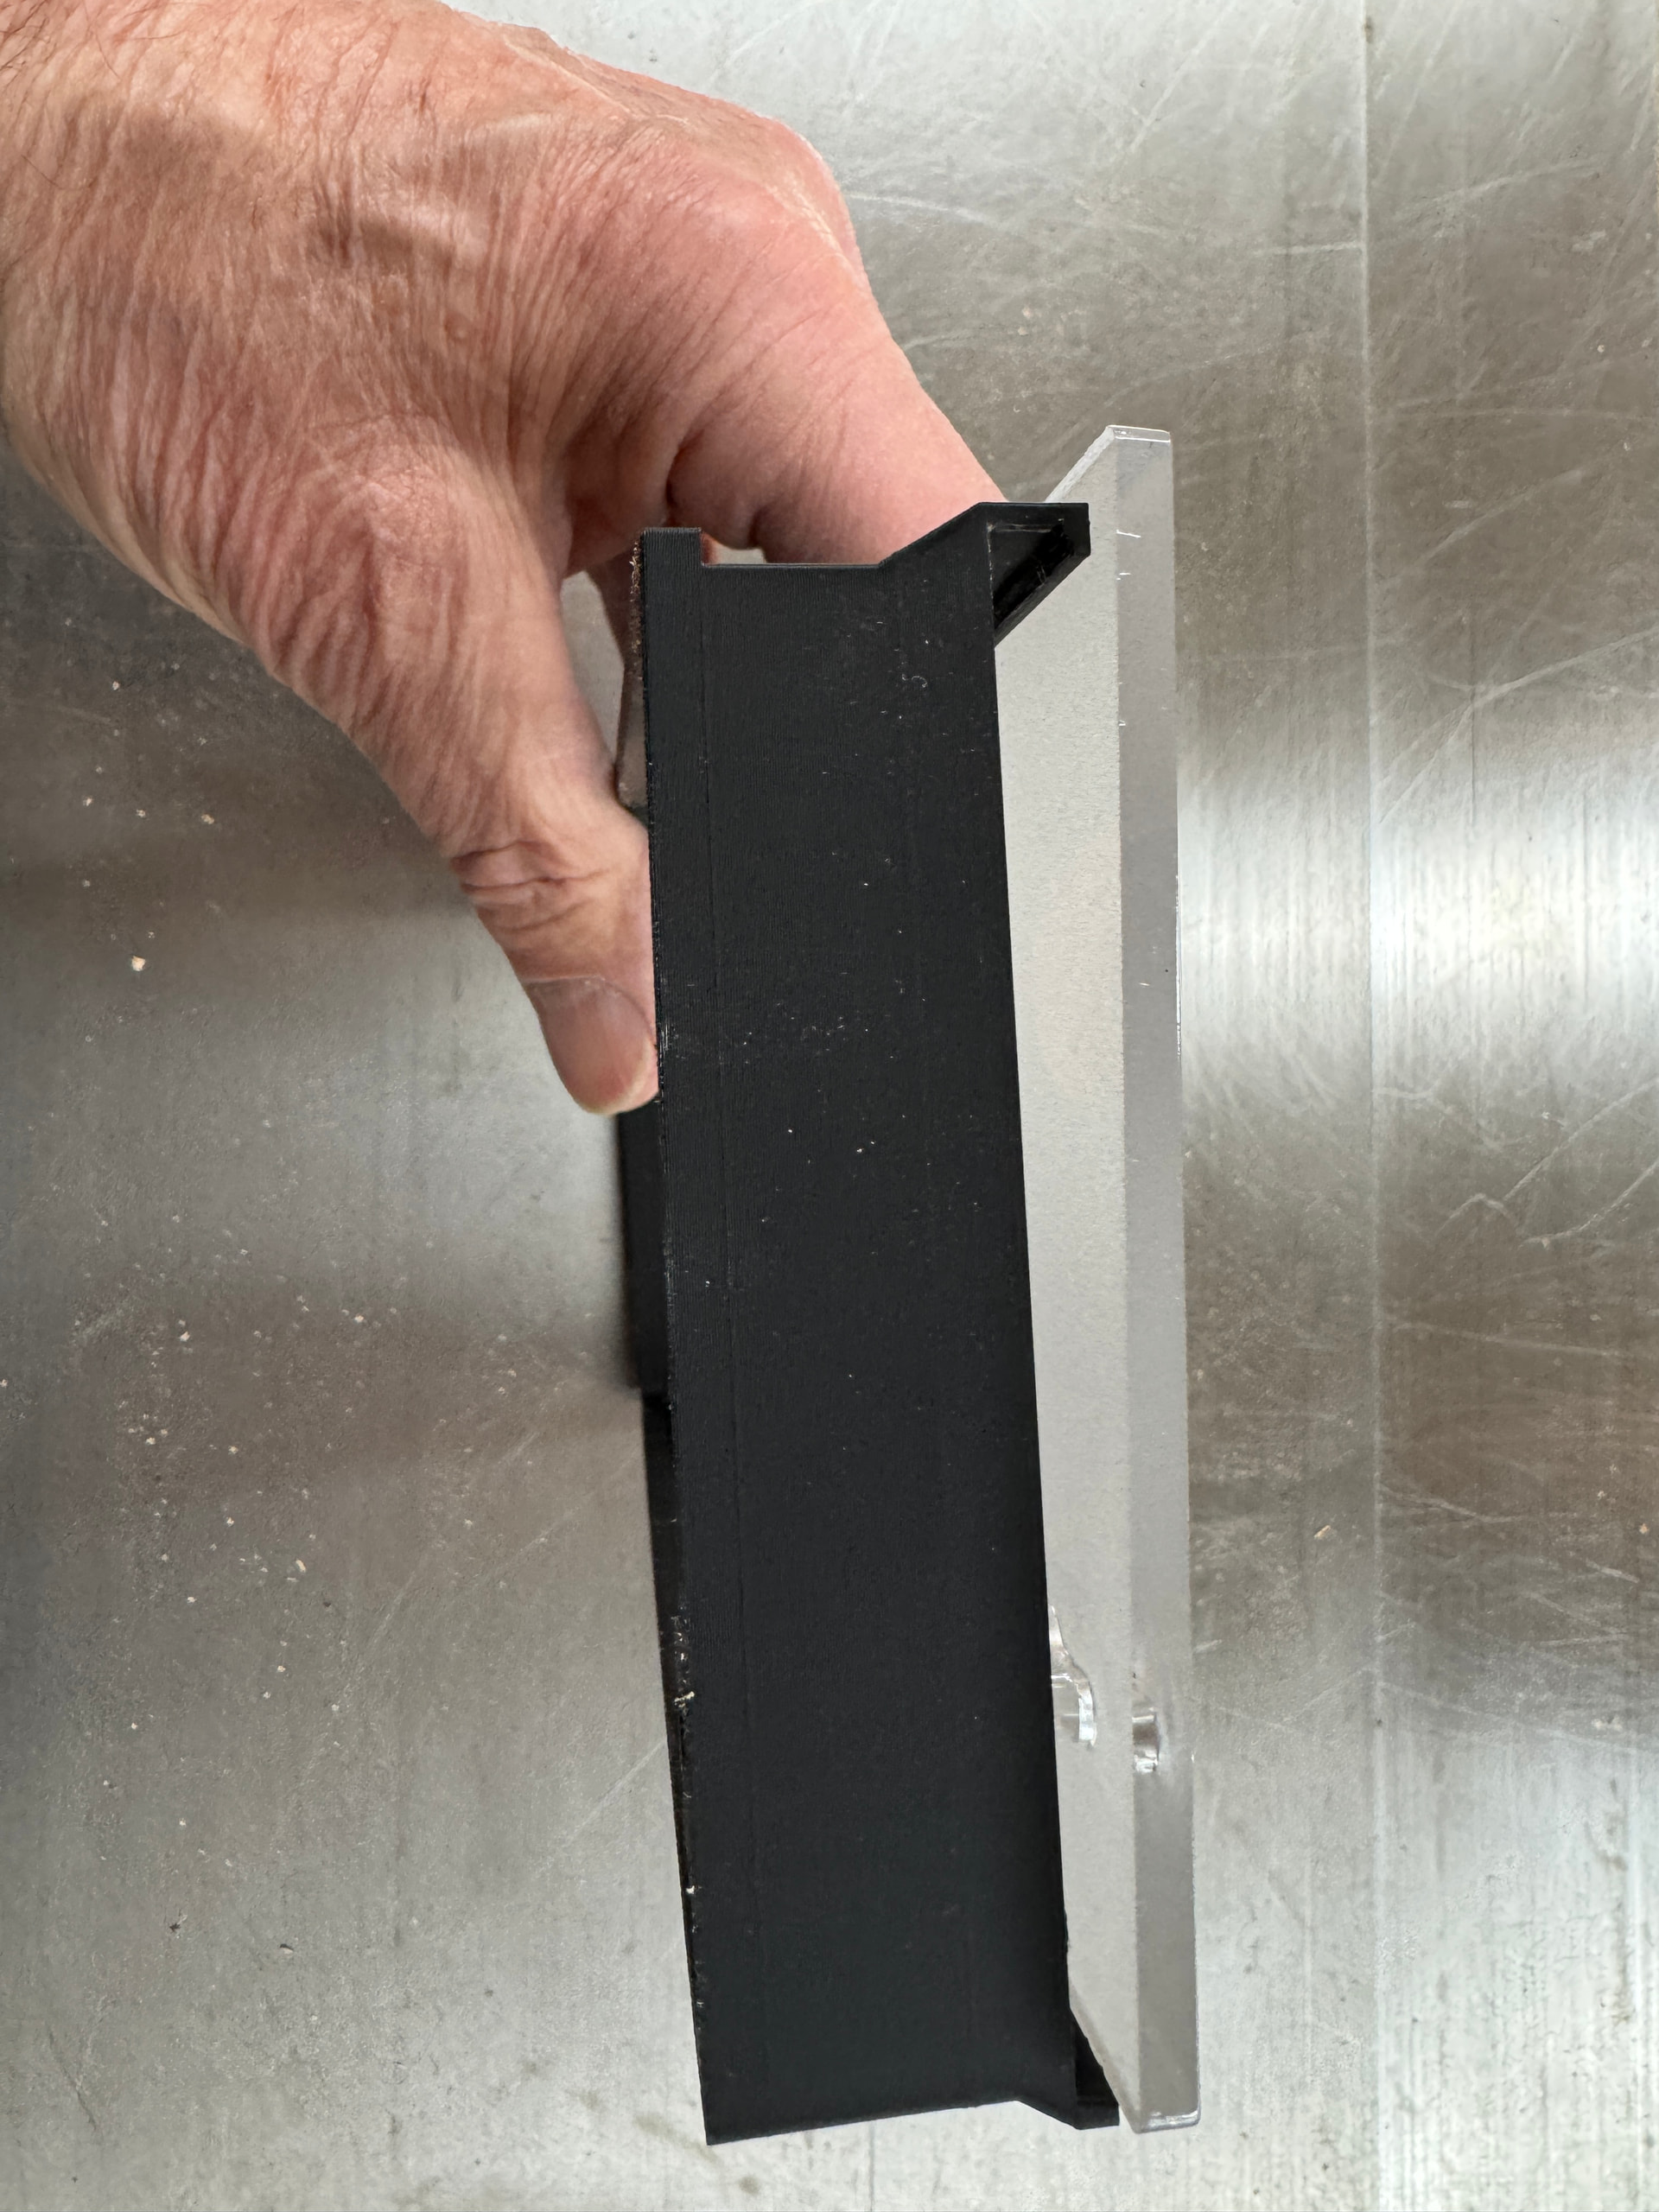
The Riser is 1/4” too narrow for my SLB. My Plexiglass Cover is 4.495” wide and the Riser, at that point is 4.255” wide. The Riser is also too narrow for the SLB Enclosure as there is a 1/4” gap at the bottom. The tab at the top fits fine and the Thumbscrew holes also line up properly. (This might just be my SLB Box, about a year old.)
I will try stretching the SLB in Fusion 1/4” and see how that works (I’m new to Fusion, so that will be interesting).
I started another print with the frame stretched about 6.5mm, using PLA filament with “Auto Tree support” and “PLA support material|. No “build plate only” or “small overhangs removal” so this provides support for the plexiglass channel. It’s now a 150 minute print.
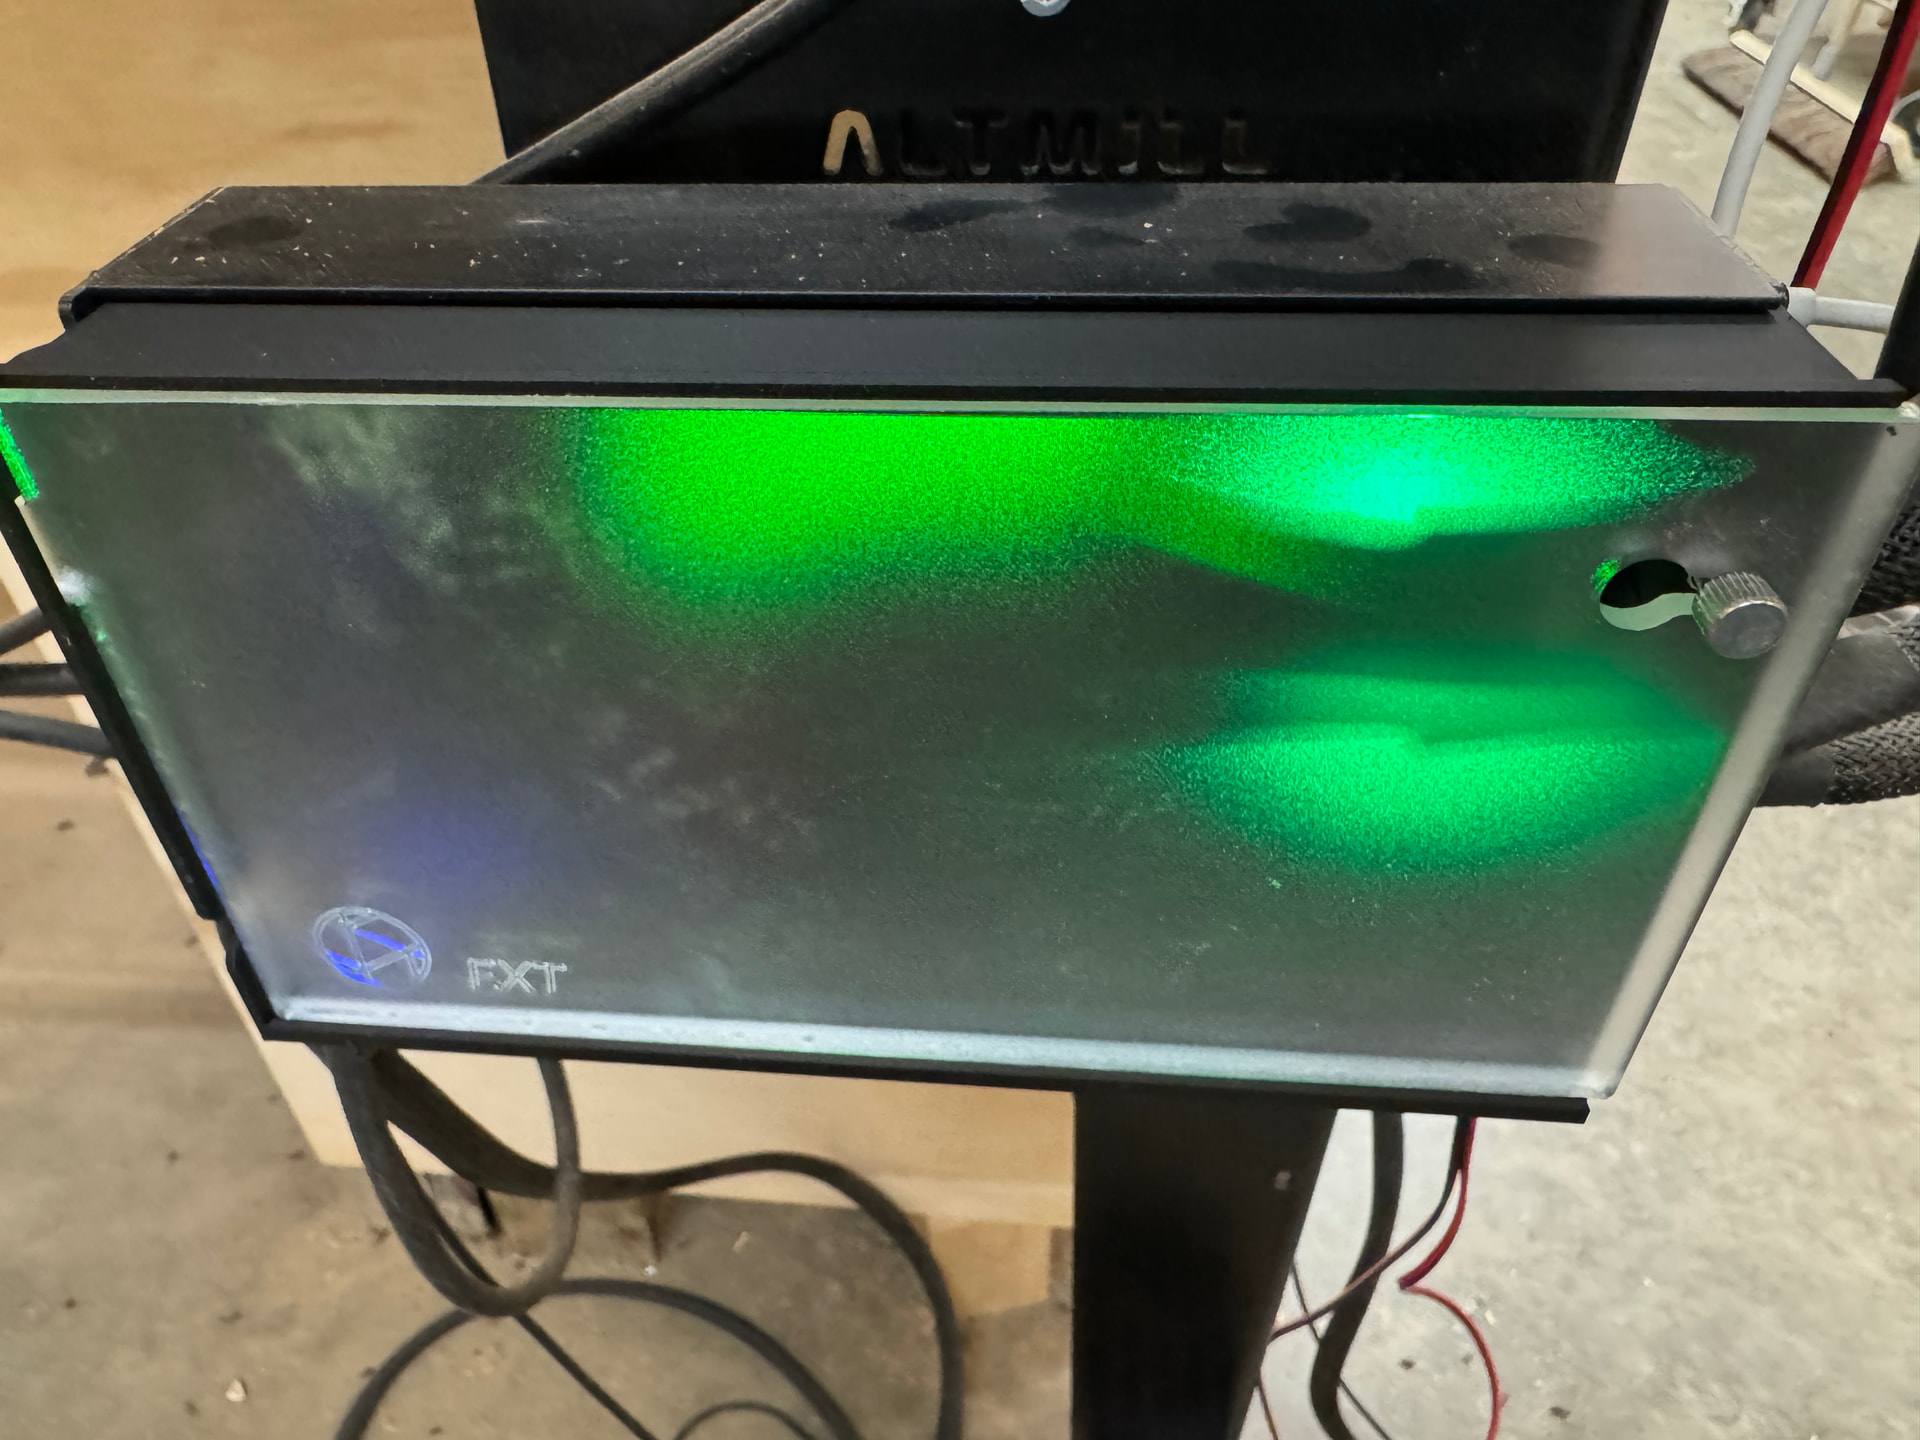
No big issue once I leaned how to scale the frame up in Bambu Studio. Your design is excellent and very smooth. That’s were the real work was. Thanks for all your efforts. Sienci Labs should have made their SLB boxes a little deeper to begin with. I was quite concerned when I put my machine together along with my Vortex Cables. Very crowded and a lot of cables with delicate plugs.