Good day fellow CNCer’s! In my travels, I have gained an opportunity for an ongoing memorial project. Up to this point, my projects have always been “flat”. I want to take my projects up a notch, and carve this. I have the Vectric file for it, but have never carved anything in 3D before. Size wise, I would like to make it 5" or so and connect it onto a memorial plaque. Any suggestions on tools to use, and guidance to make this a reality? As always, I appreciate any guidance this group can provide.
Jake, what version of Vectric do you have? Vcarve Pro or Aspire?
You’ll import your model into either one of them and then adjust the size to fit your material size.
One very important step is to set your Job Size and Modeling Resolution appropriately to fit the final size of your project. You’ll want to import your model (resize) to be close to your Job Size; close, not exact. This has to do with how Vectric creates the 3D components (similar to how many “dots” are in a monitor screen or a printer image.) Once this is set, it can’t really be changed without reimporting the model. Modeling Resolution determines how many “dots” are available to do this.
You have to decide how much detail there is to cut. It is always a compromise with stepover distances and time to cut. Prepare to spend 30 minutes to an hour (or more) in finishing toolpaths.
Tools needed are end mills and ballnose bits (both straight and tapered.) The size depends on how much detail the model has. The smaller the bit; the longer the job. I use a set of TBN bits (1/32" & 1/16") for most of my models. End mills will be useful for roughing toolpaths (clearing material before the TBN bits.)
There could be more … ![]()
1 Like
Thanks @CrookedWoodTex, I appreciate the advice. I just got back from physical therapy and am icing my knee for a little while before making my way back out to the shop. Getting old isn’t for the faint of heart!![]()
![]()
I use VCarve Pro, and I will work on importing the file when I get to the design computer. I have a 2d version of a folded flag too, which I could use in the same manner, but the 3d has really caught my attention for what I am trying to accomplish.
I will respond back once I attempt to import the file. My goal is to make something that is replicatable, (is that really a word?) and reasonably straightforward. Unfortunately, I could see myself making upwards of 300 of these per year ![]() . I will play with it, I may need to crawl first and get some of these made with the 2d version first.
. I will play with it, I may need to crawl first and get some of these made with the 2d version first.
Thank you again sir!
Jake
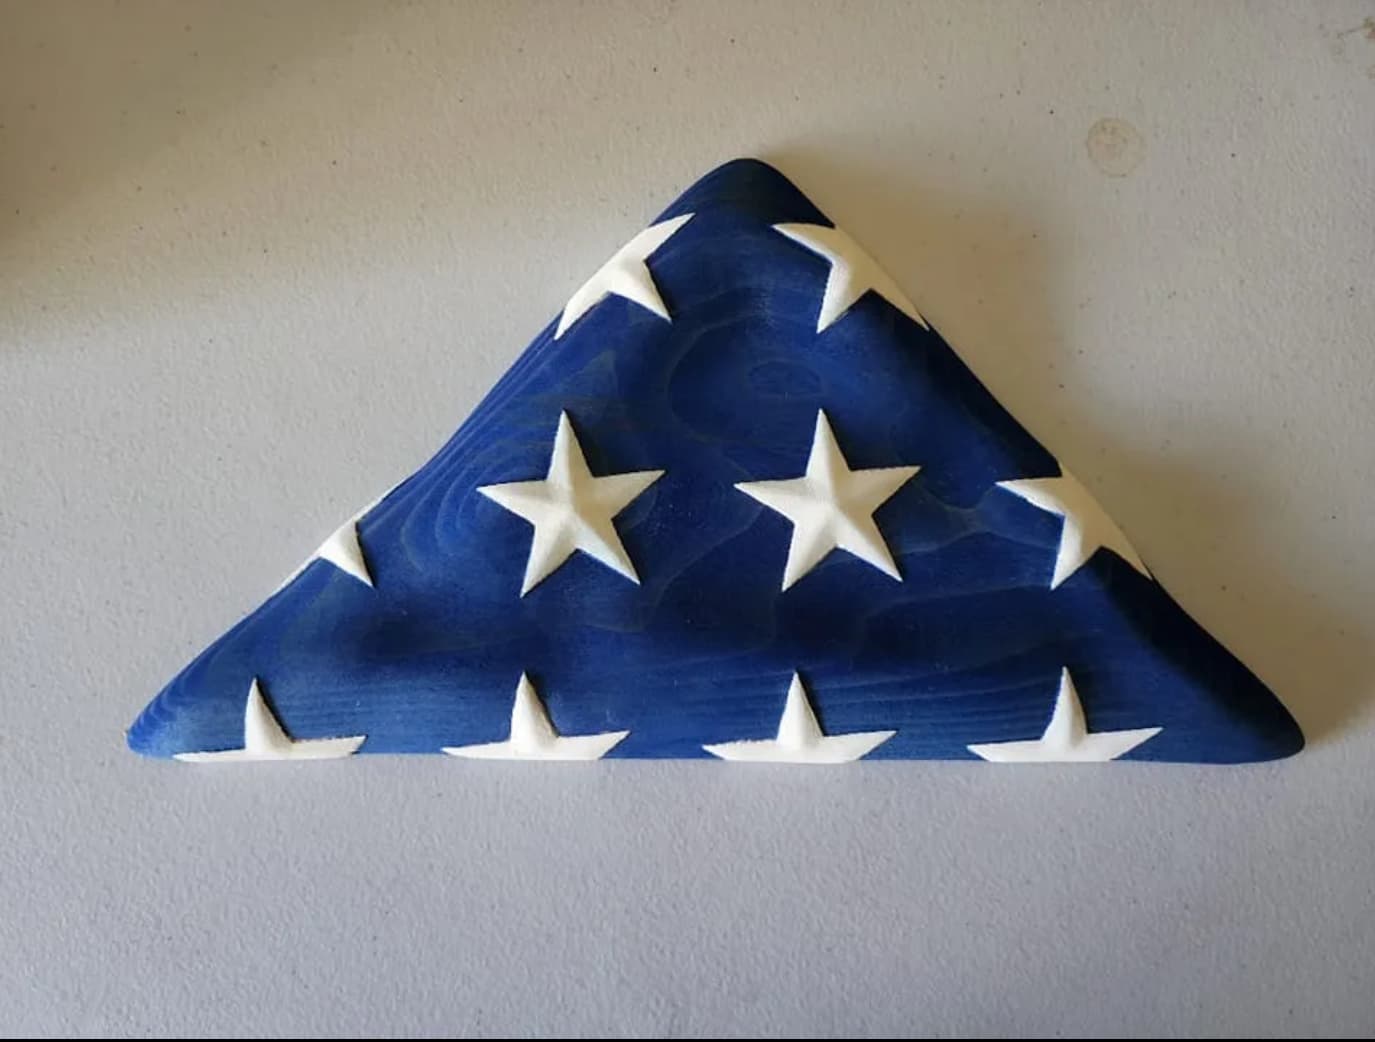
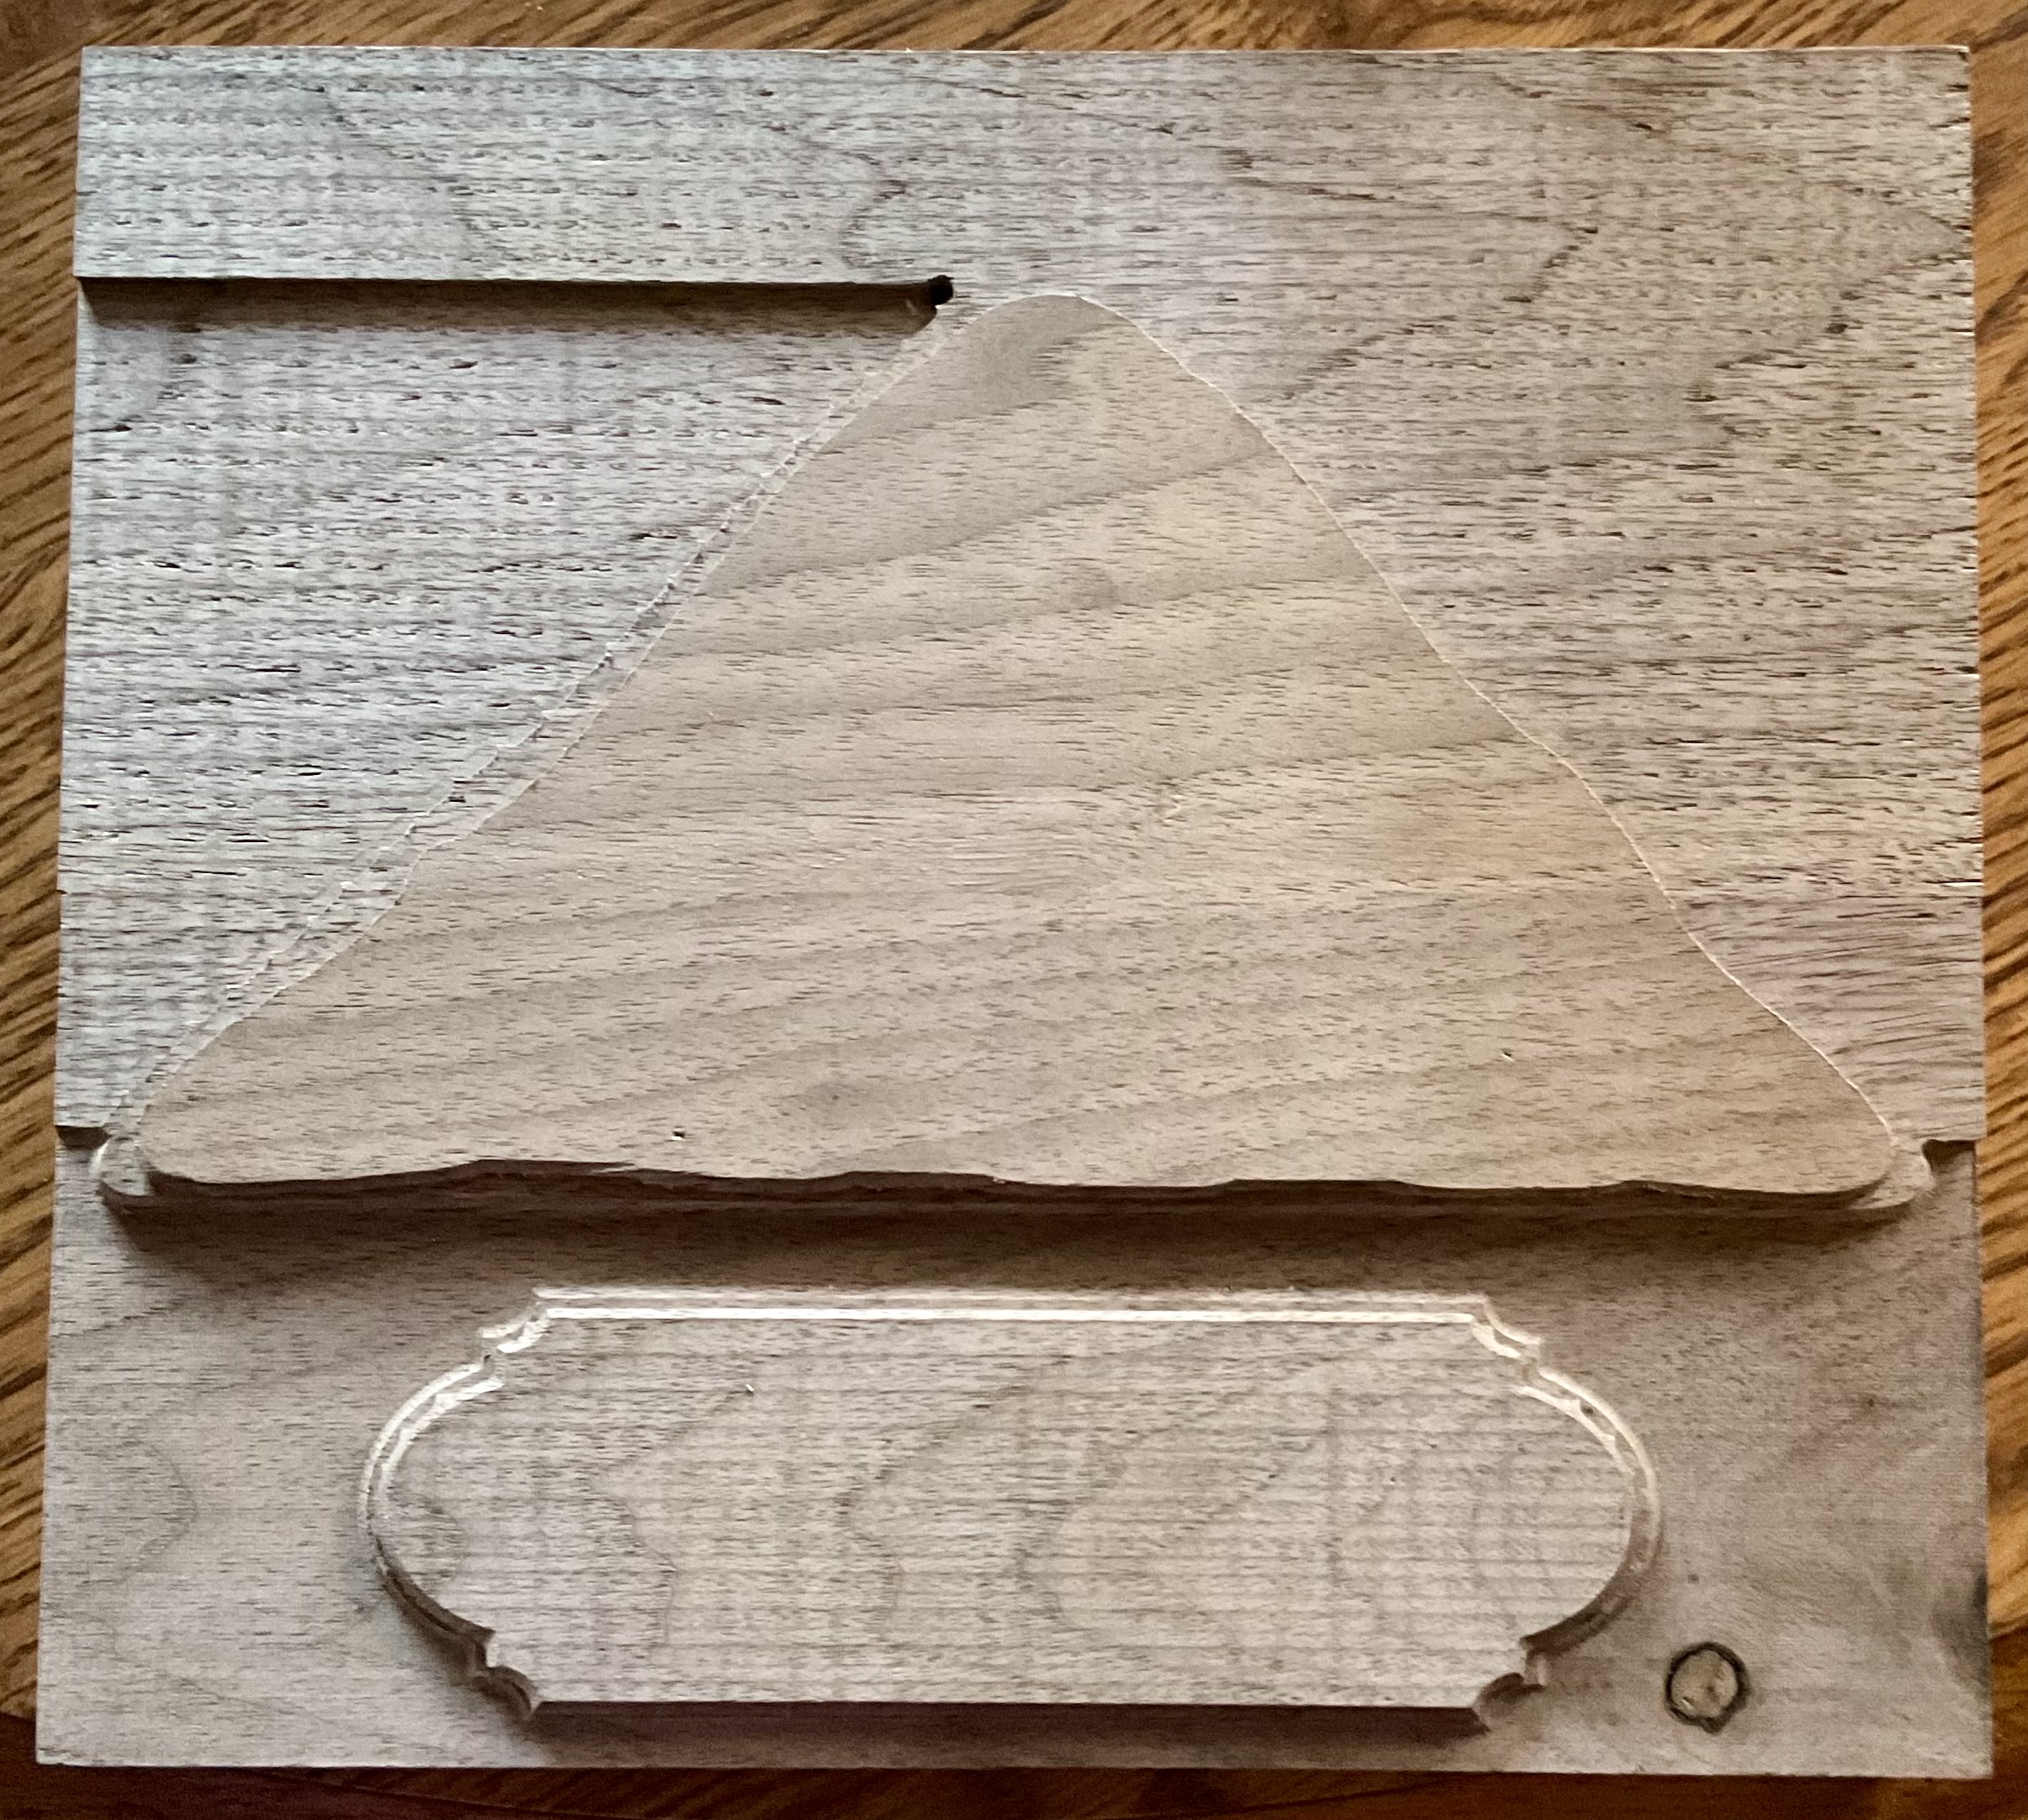
@CrookedWoodTex Hey Tex! I did manage to get it to carve on a scrap piece of walnut with a couple of very small issues, which I am positive I can overcome.
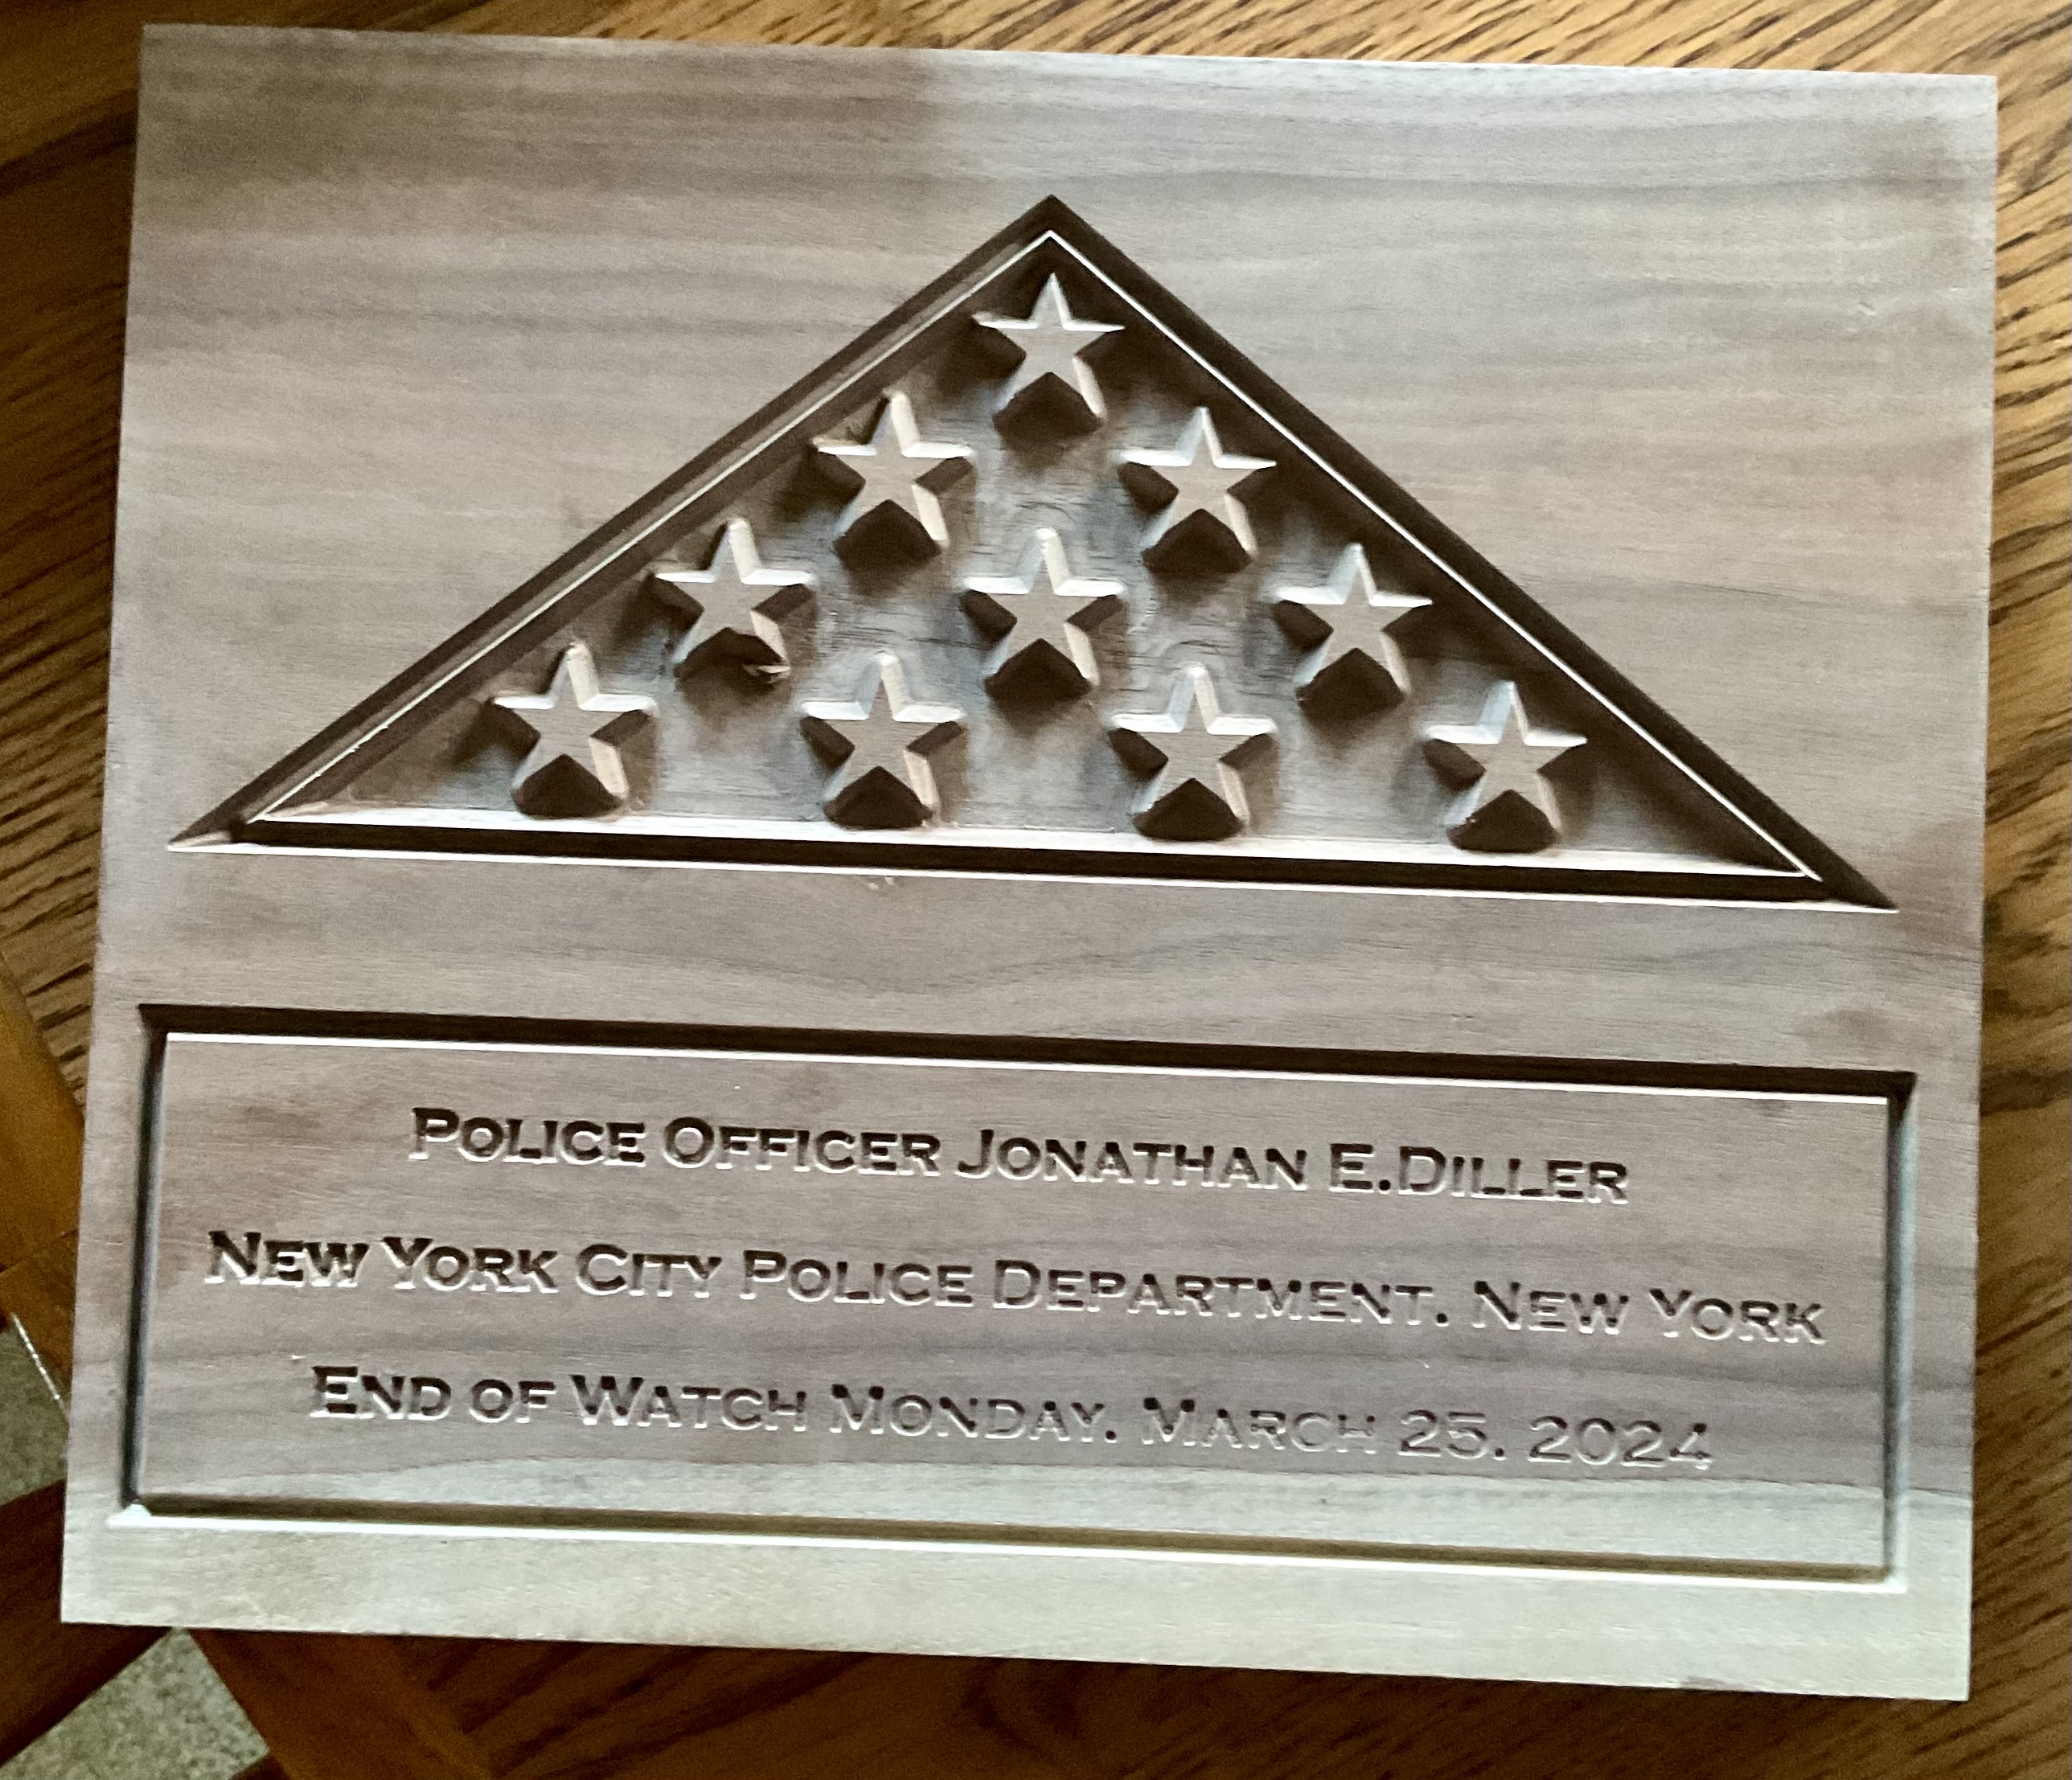
First, the end mill for rough cut worked well. The ball nose bit worked fantastic for the finishing! A nice clean cut that won’t require much sanding at all. My problem is the stars are not as pronounced as I would like them to be. It would be difficult at best to paint the field and then the stars. It could be due to the size of the folded flag too. The first try was 6 1/2" wide, which is pretty small. I am planning on attaching it to a larger plaque, so making it say 8" would be very doable.
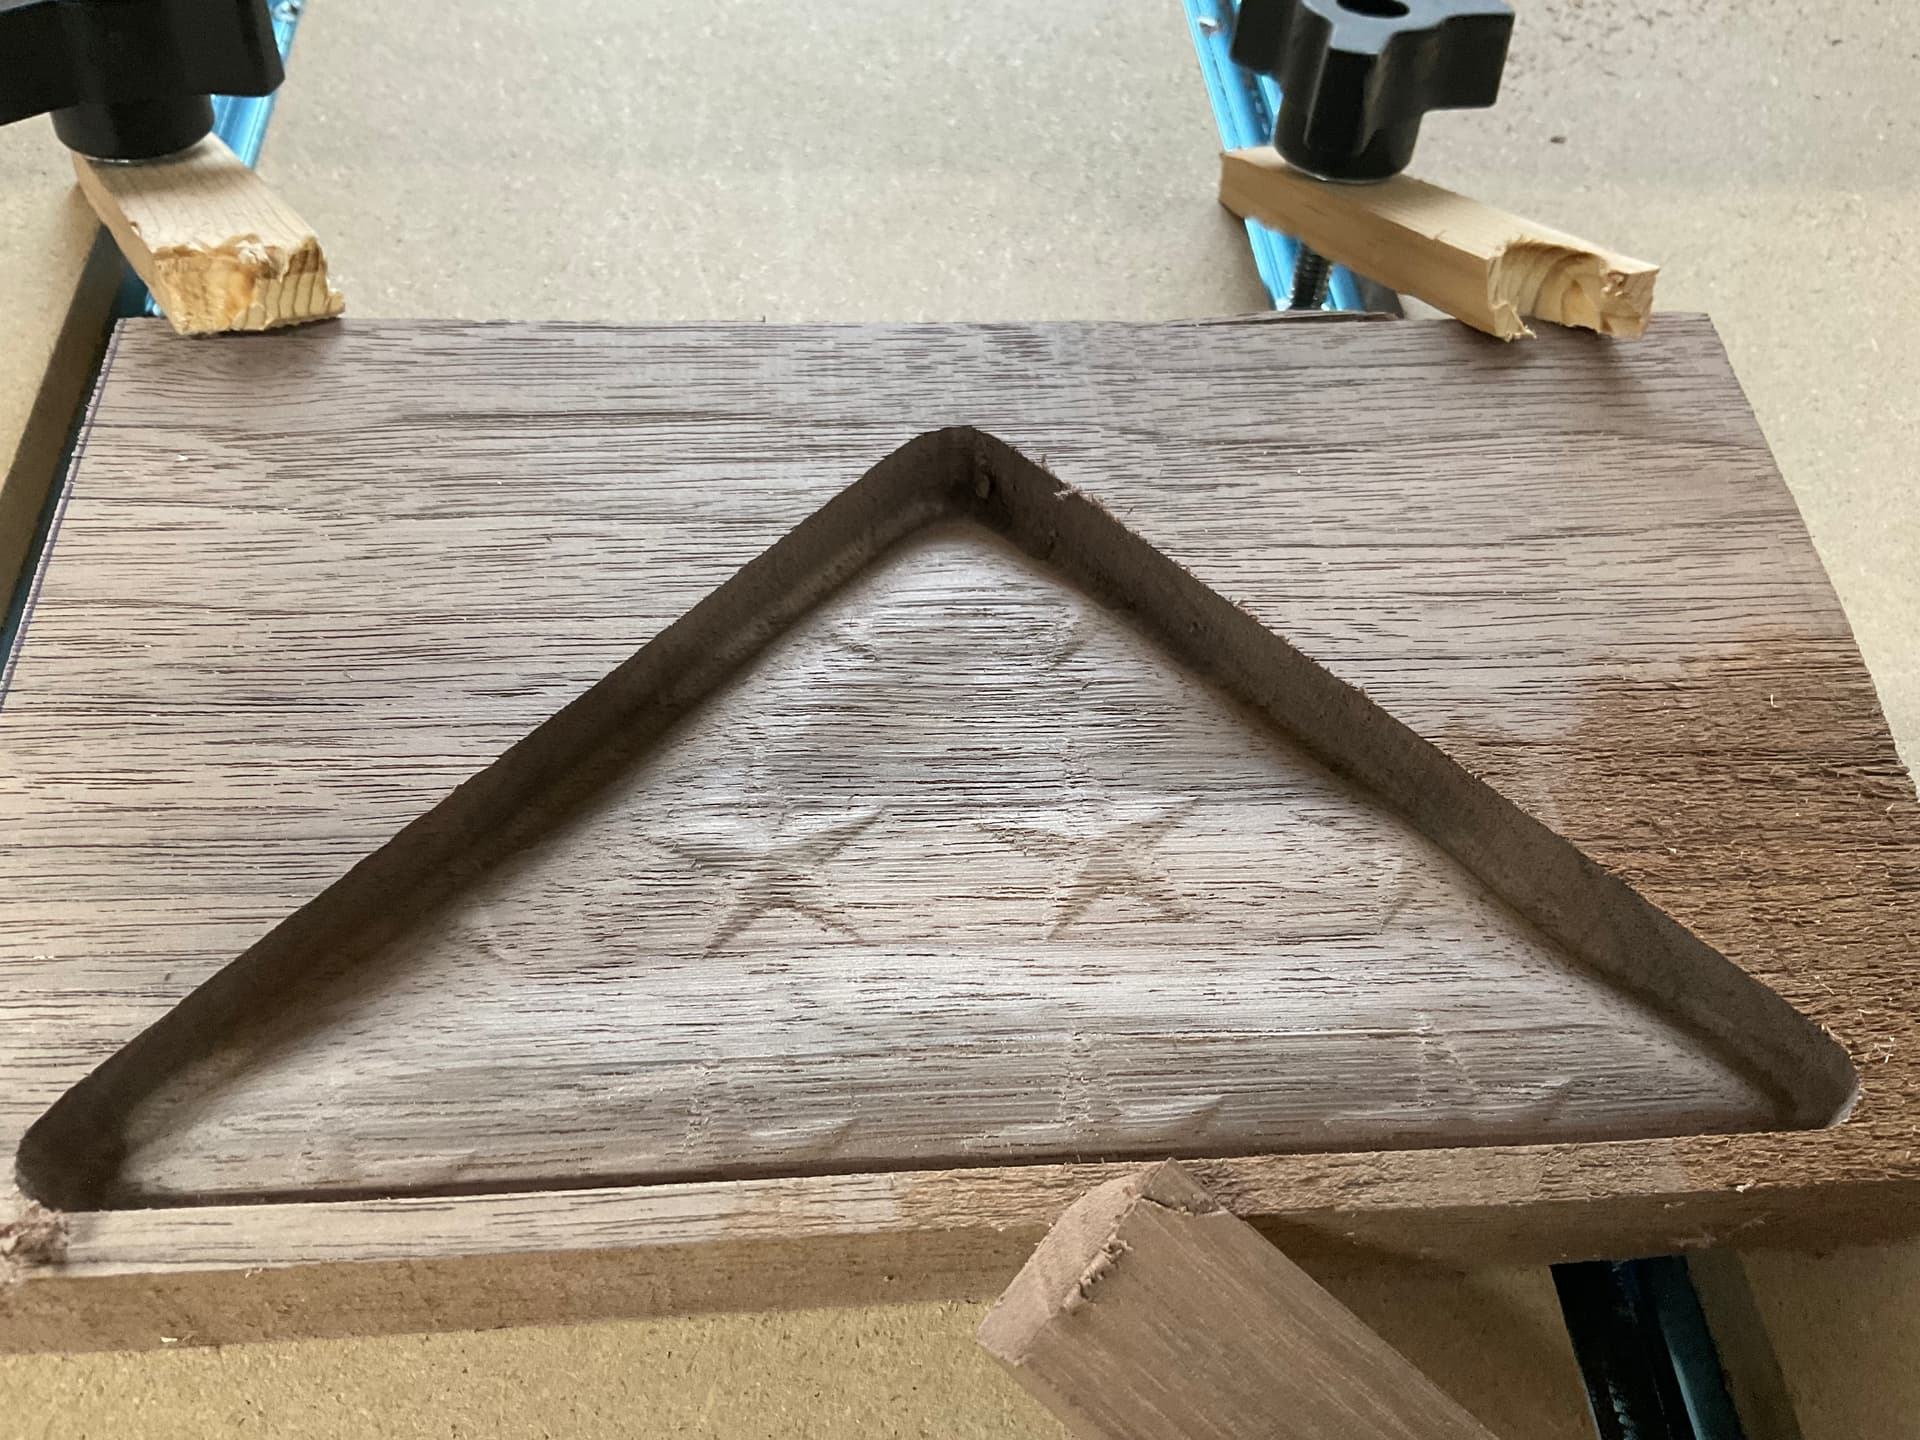
Secondly, I have to come up with a better way of cutting the piece out. I used an 1/8" end mill to cut it out, but I had to remove and place it on a spoiler board. After zeroing the piece again, it didn’t cut out correctly. I am sure it was my ignorance, and not the machine. The next trial, I will secure it to a sacrificial board and not move it to place one underneath. It would be much easier that way for sure.
So my questions is:
How can I increase the depth of the field, thus making the stars more pronounced? Is there a setting when importing in the model which would give me choices on how deep to make it?
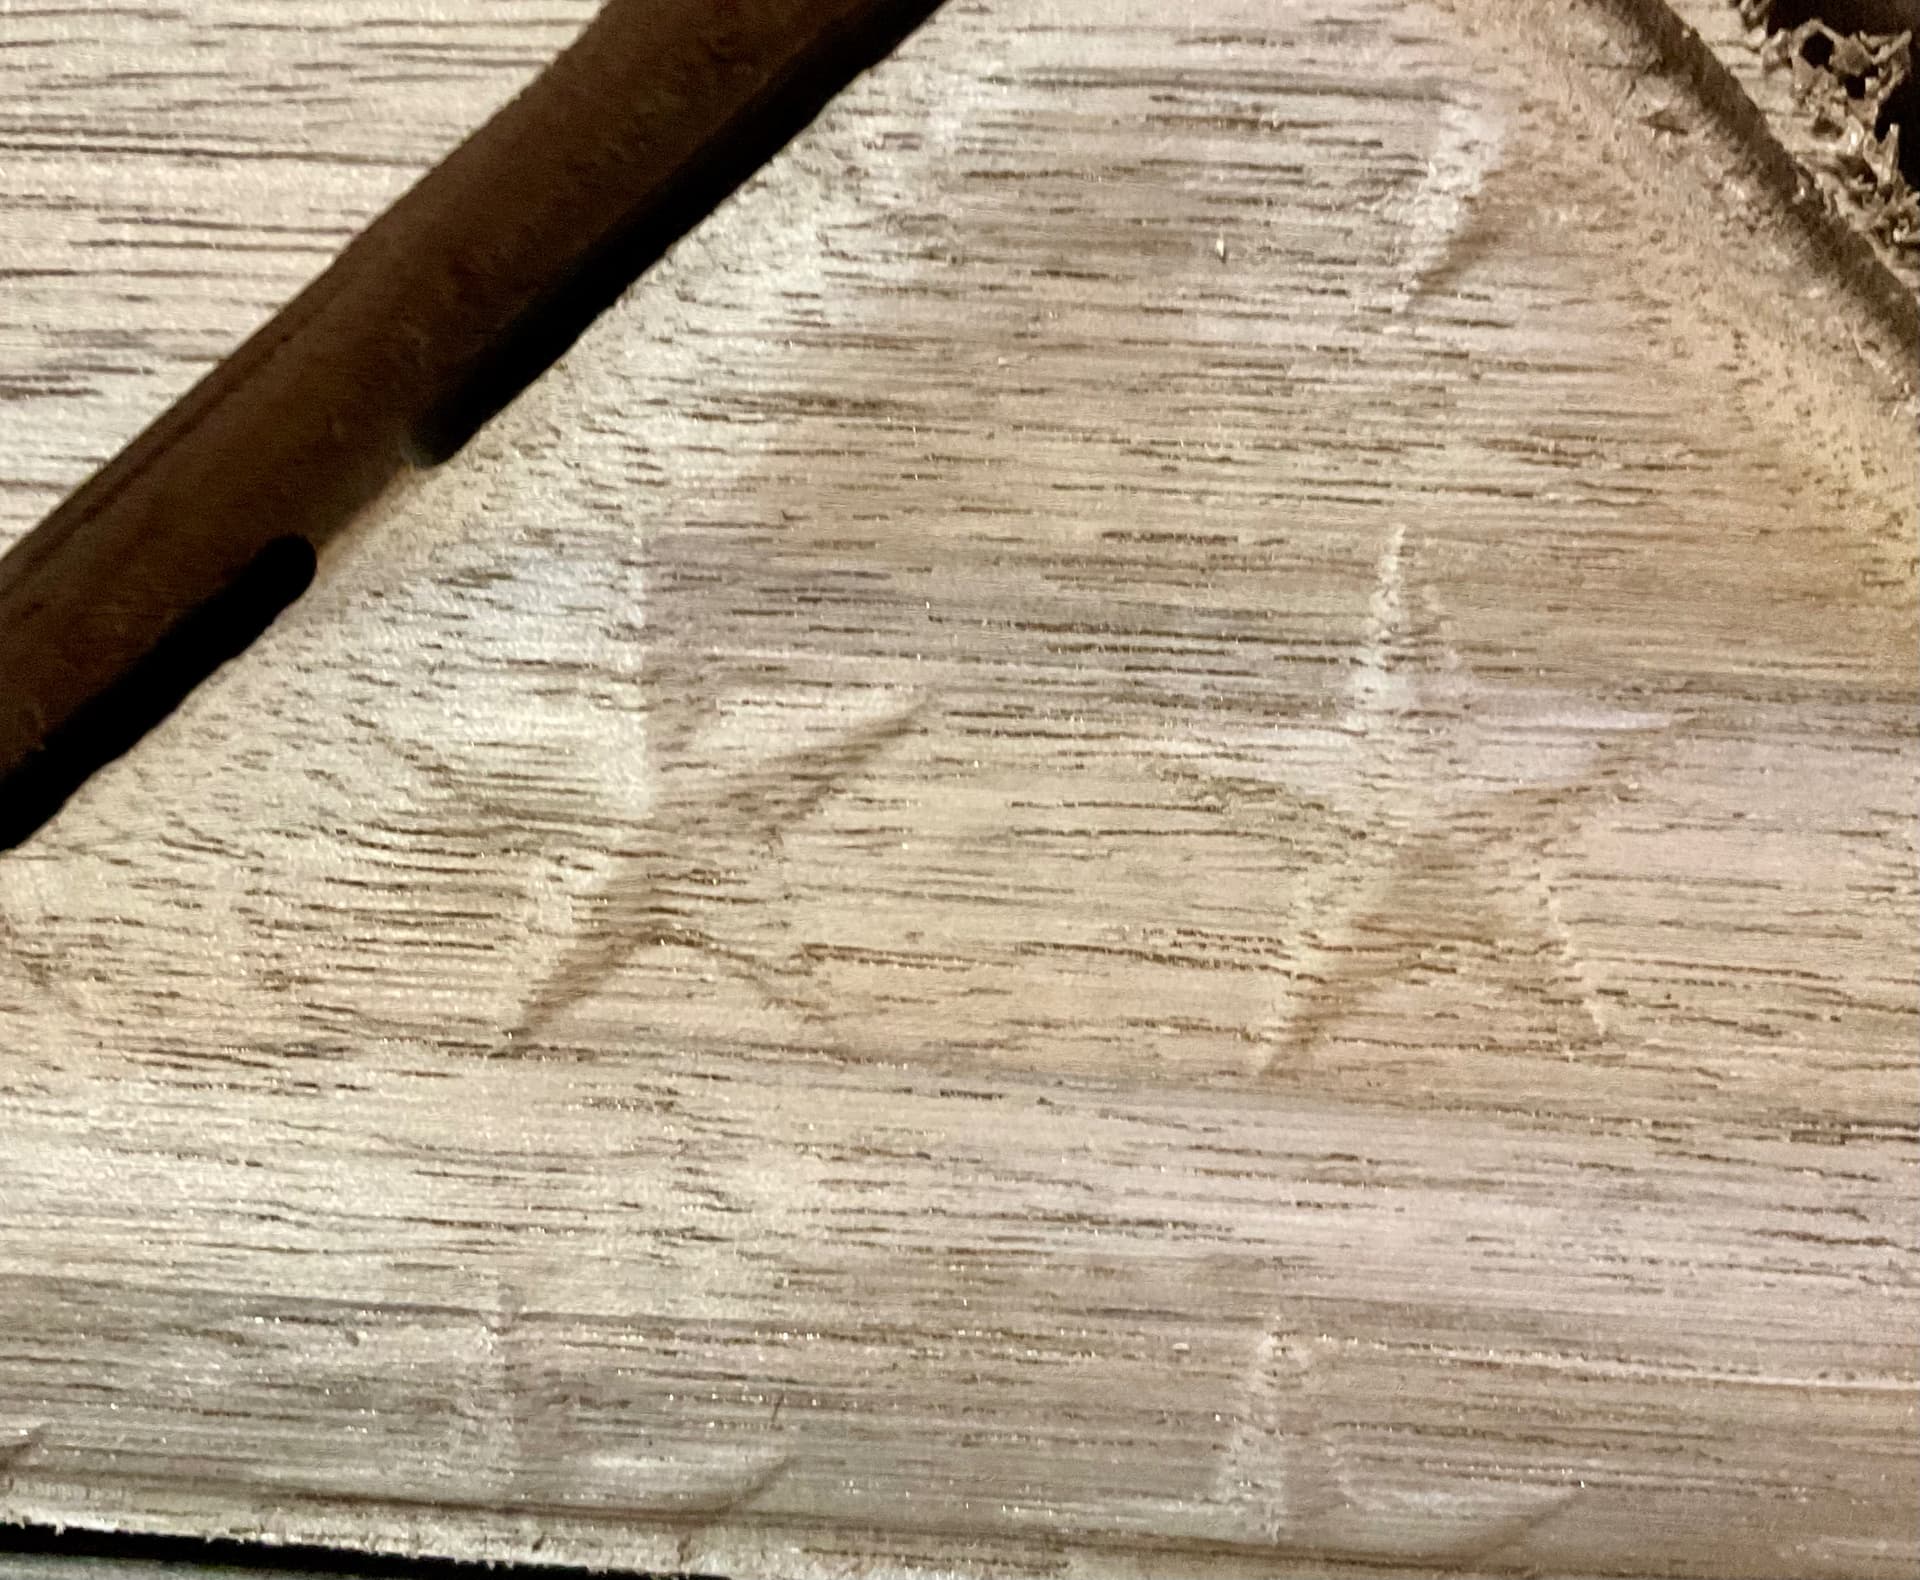
I am very appreciative of your time and assistance with this. Here is a close up of the carve. Overall, I am quite pleased with the concept, considering it is my first attempt at anything 3D.
Jake
Of course, read user manual on importing 3D components, but there are a couple of places used to adjust Z (or base) height of a 3D model.
The first place is when you are importing. You adjust the X, Y and Z. You can unlink the Z axis there and raise and lower it.
After you get the component imported, you can use Material Setup in the Toolpath panel to adjust where the model is within the thickness of your material. There is also a place there to adjust the model thickness.
By adjusting the model thickness, you will spread the model’s features out. Unfortunately, without a 3D CAD program (like Aspire), you won’t be able to do much more than that to the stars. The proportions are built into the model.
1 Like
@CrookedWoodTex thank you sir! I’m going to go back and try it again. With my newfound interest in 3d modeling, I may have to upgrade my software to Aspire, once I get this project up and running. I am very appreciative of you and your time. Thank you!
1 Like
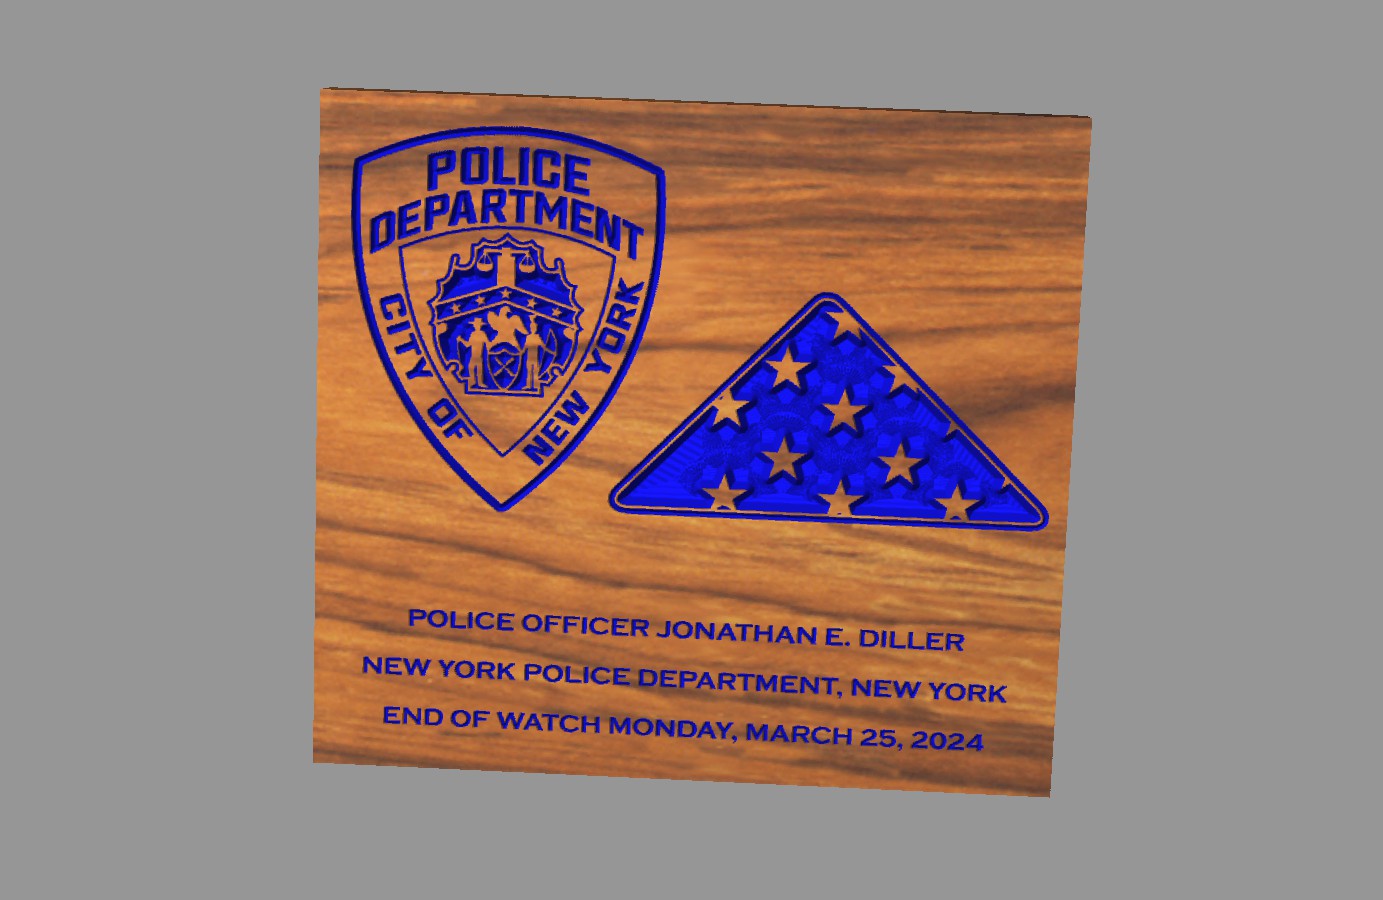
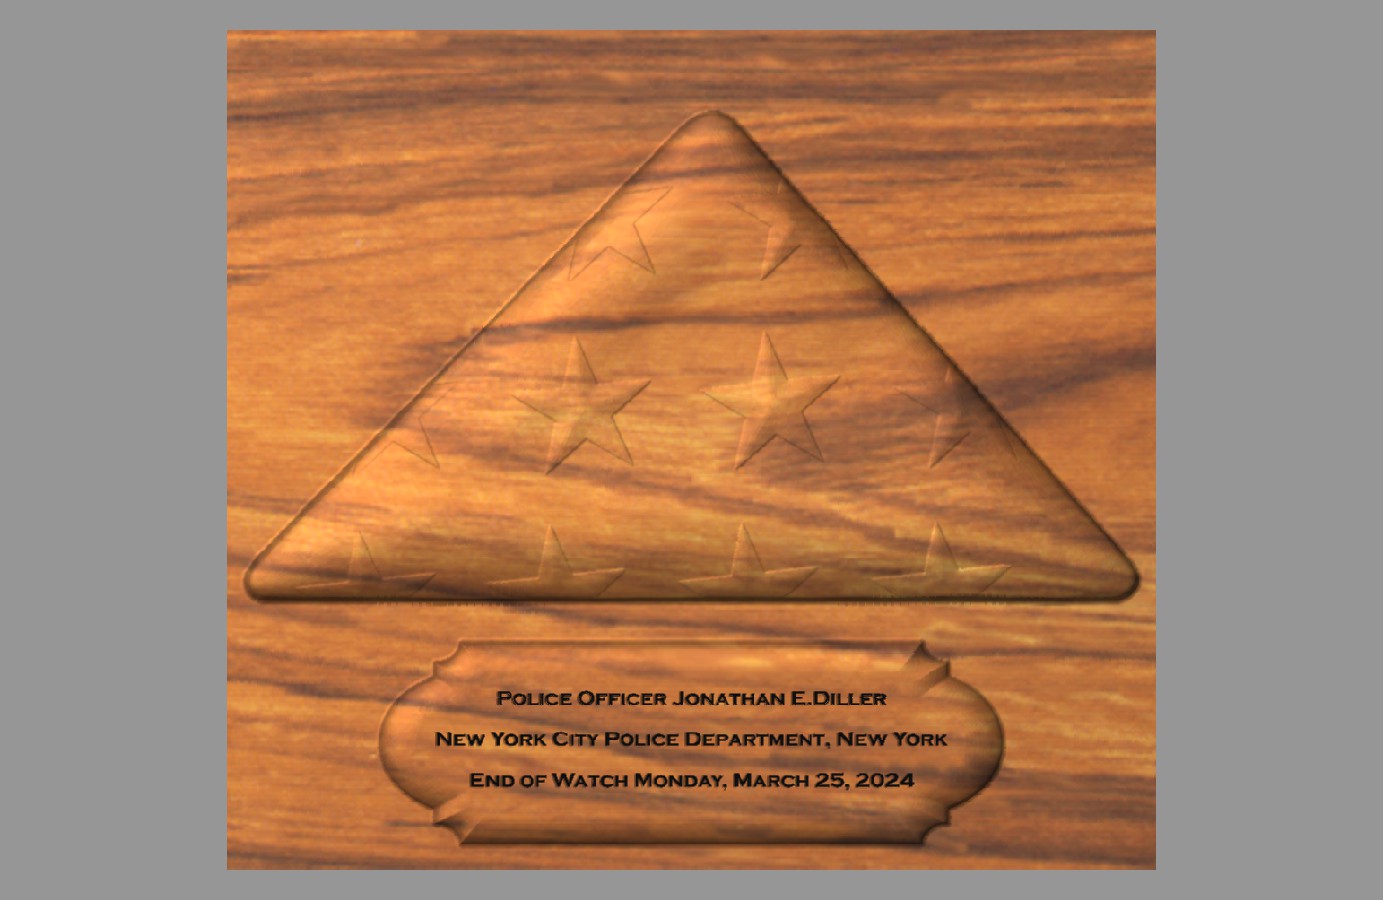
Here’s one that came out the first time with Vectric’s great real-time rendering versus the actual wood item.
My 3D stand-alone projects have all started out with raw wood (I buy precut, sized and sanded from Ocooch Hardwoods) that I sanded down from 0.750" to 0.700". Then I place the model between the zero and 0.660". That leaves 0.040" to be taken off in the roughing pass. This is where I can adjust the model from maximum depth to some lesser depth that looks right to me.
1 Like
Sir, you do fantastic work! What I was attempting to do is use the folded flag as a stand alone piece which would be screwed from the back to the flat plaque. I haven’t tried designing it as a one piece project. I do believe that if I made the folded flag larger, the stars would be more pronounced. I did attempt to adjust the thickness of the piece, but it does not seem to affect the depth of the stars. I am going to carve this plaque this morning as proof of concept for the business funding the project, but before I do that, I will try it as a one piece project. Again, so grateful for your time and expertise. It is indeed much appreciated!
Jake
2 Likes
I got it figured out! I am going to start the roughing carve now. It says it will take 4 hours to do the piece. I will post the results when it is done. If it turns out as well as I hope, this will be an amazing piece!
1 Like
So I did attempt to carve the 3d version. I broke a bit about 2 hours into the rough in carve. I could not recover from that, but I did try, which was a bummer, but learned a lot too. The first thing I learned is that this projects run time isn’t conducive to mass production with the MK2 *out of a single piece of walnut *. The run time was calculated at right around 5 hours. The bit speed and feed rate was set at what Sienci recommended for their bit (which I used). So, I don’t believe I was carving too fast, but obviously it was too fast cause the bit snapped. I am going to go back to the original plan of making components and carving them out and placing them on the plaque, in the hope of speeding up production time.
So I reverted to a similar, yet 2d version, which carved in about an 1.4 hours. I like how it turned out but about 5 minutes before it was completed, one of the ends of the stars snapped off. I am still going to finish it for the sake of learning the best approach to finishing it, and I am going to revamp the carve so it doesn’t carve as deep in the union.
Thanks to @CrookedWoodTex, for his patience and assistance. I will post additional updates and pictures as this project progresses.
Please keep the family of Police Officer Diller in your thoughts and prayers. His funeral is today.
2 Likes
I really like the 2D version of this project, well done!
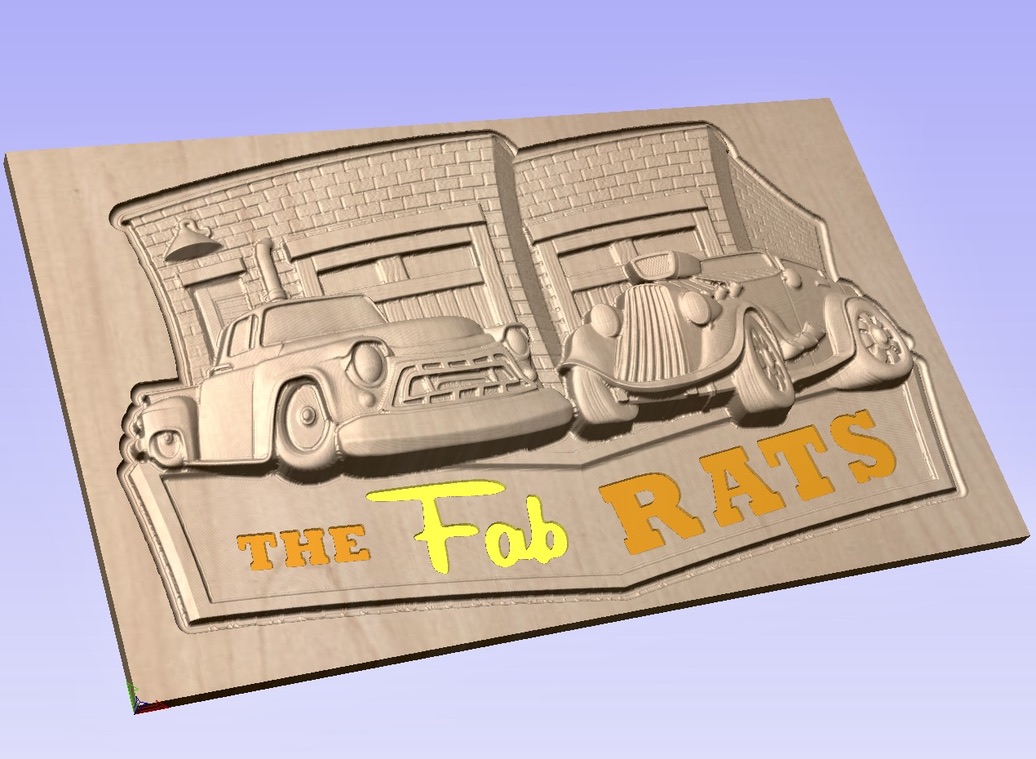
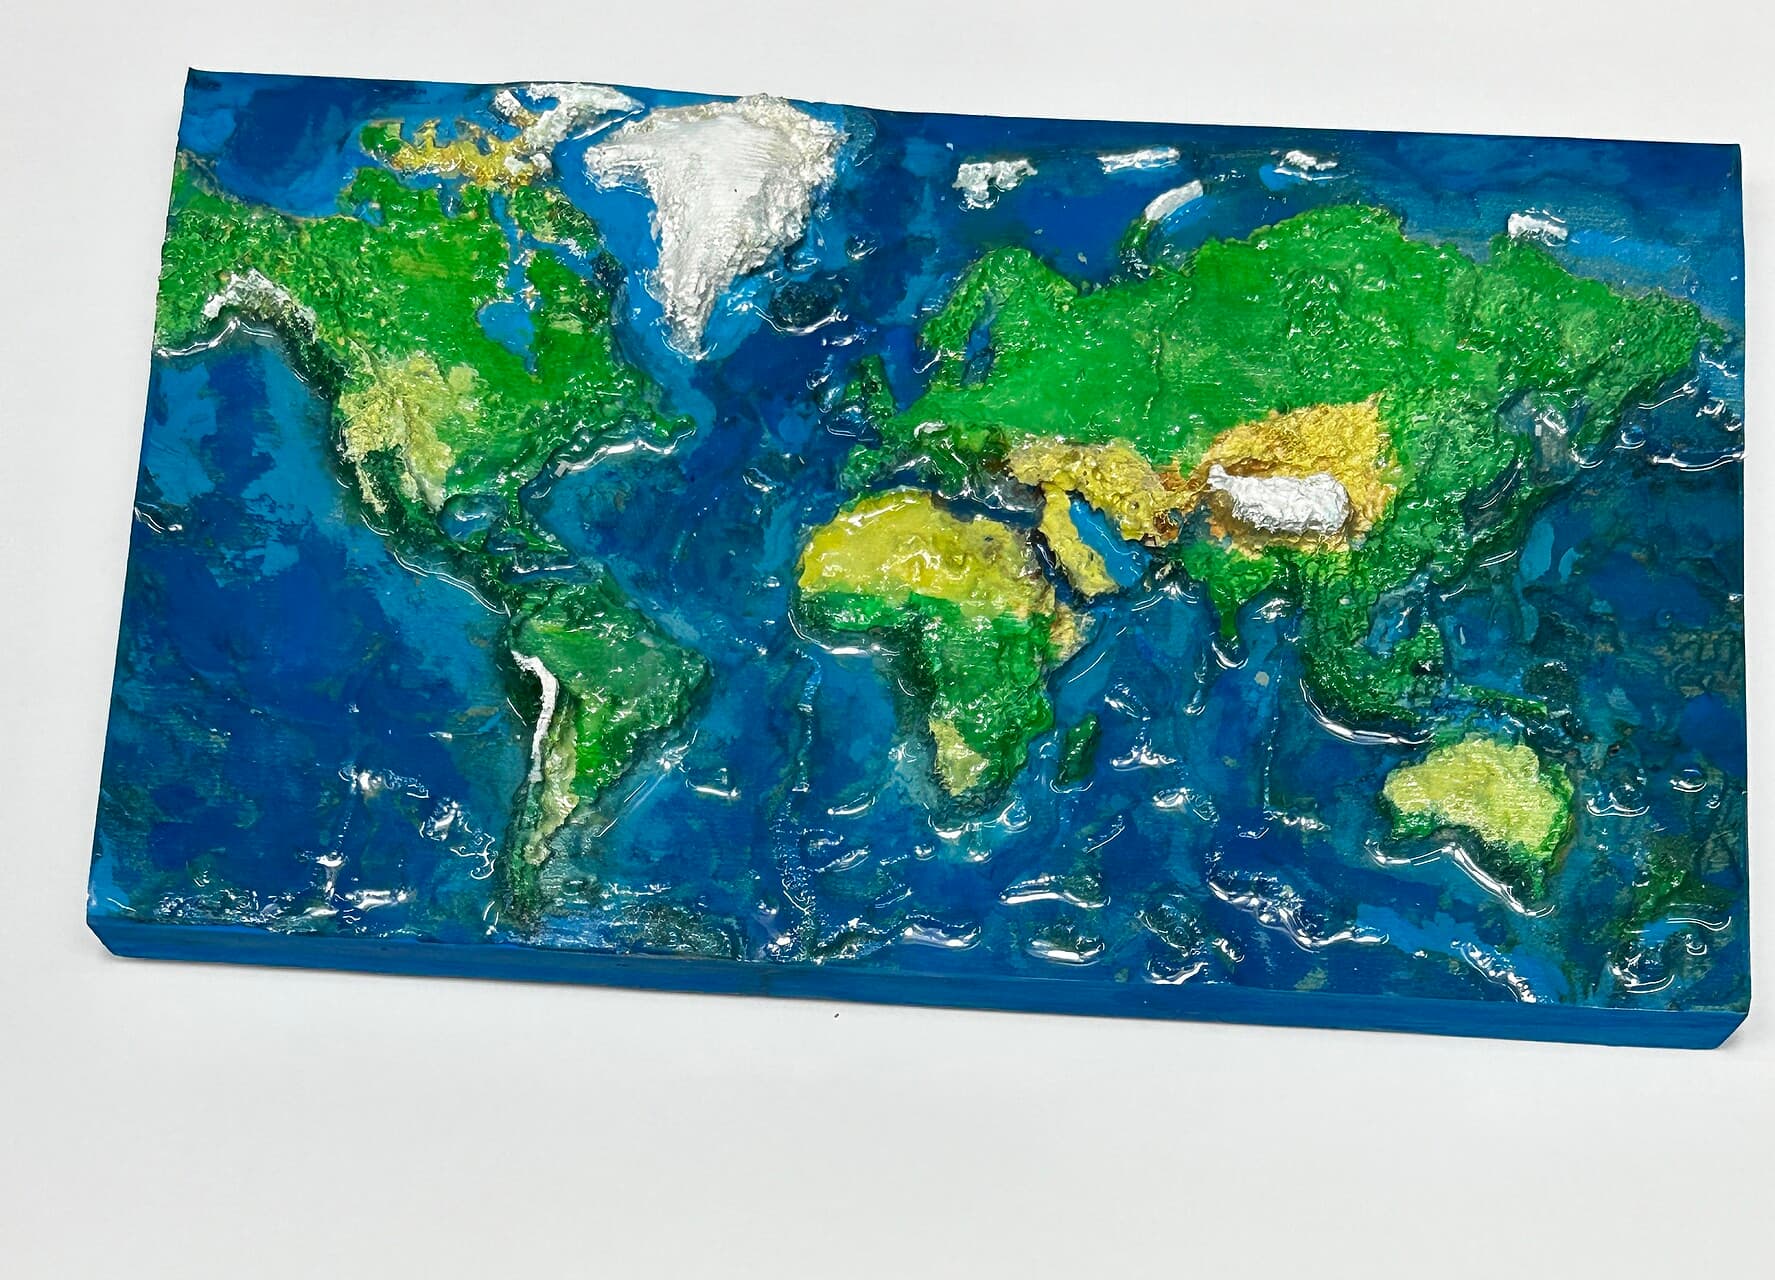
The way I do 3D carving is by importing STLs, either ones that are already made, or I make my own on Fusion 360, and then I just use Vcarve to get the gcode. It works really well for me on soft wood but I haven’t really carved anything besides pine and poplar at the moment.
This is a 3D project I made with an STL file that was already made and imported to Vcarve.
2 Likes
Nice! I like it @casualit very well done. I did manage to make my 3d carves today but not quite how I wanted them. I’ll post some pictures in a little while. They are nice quality, but individual components.
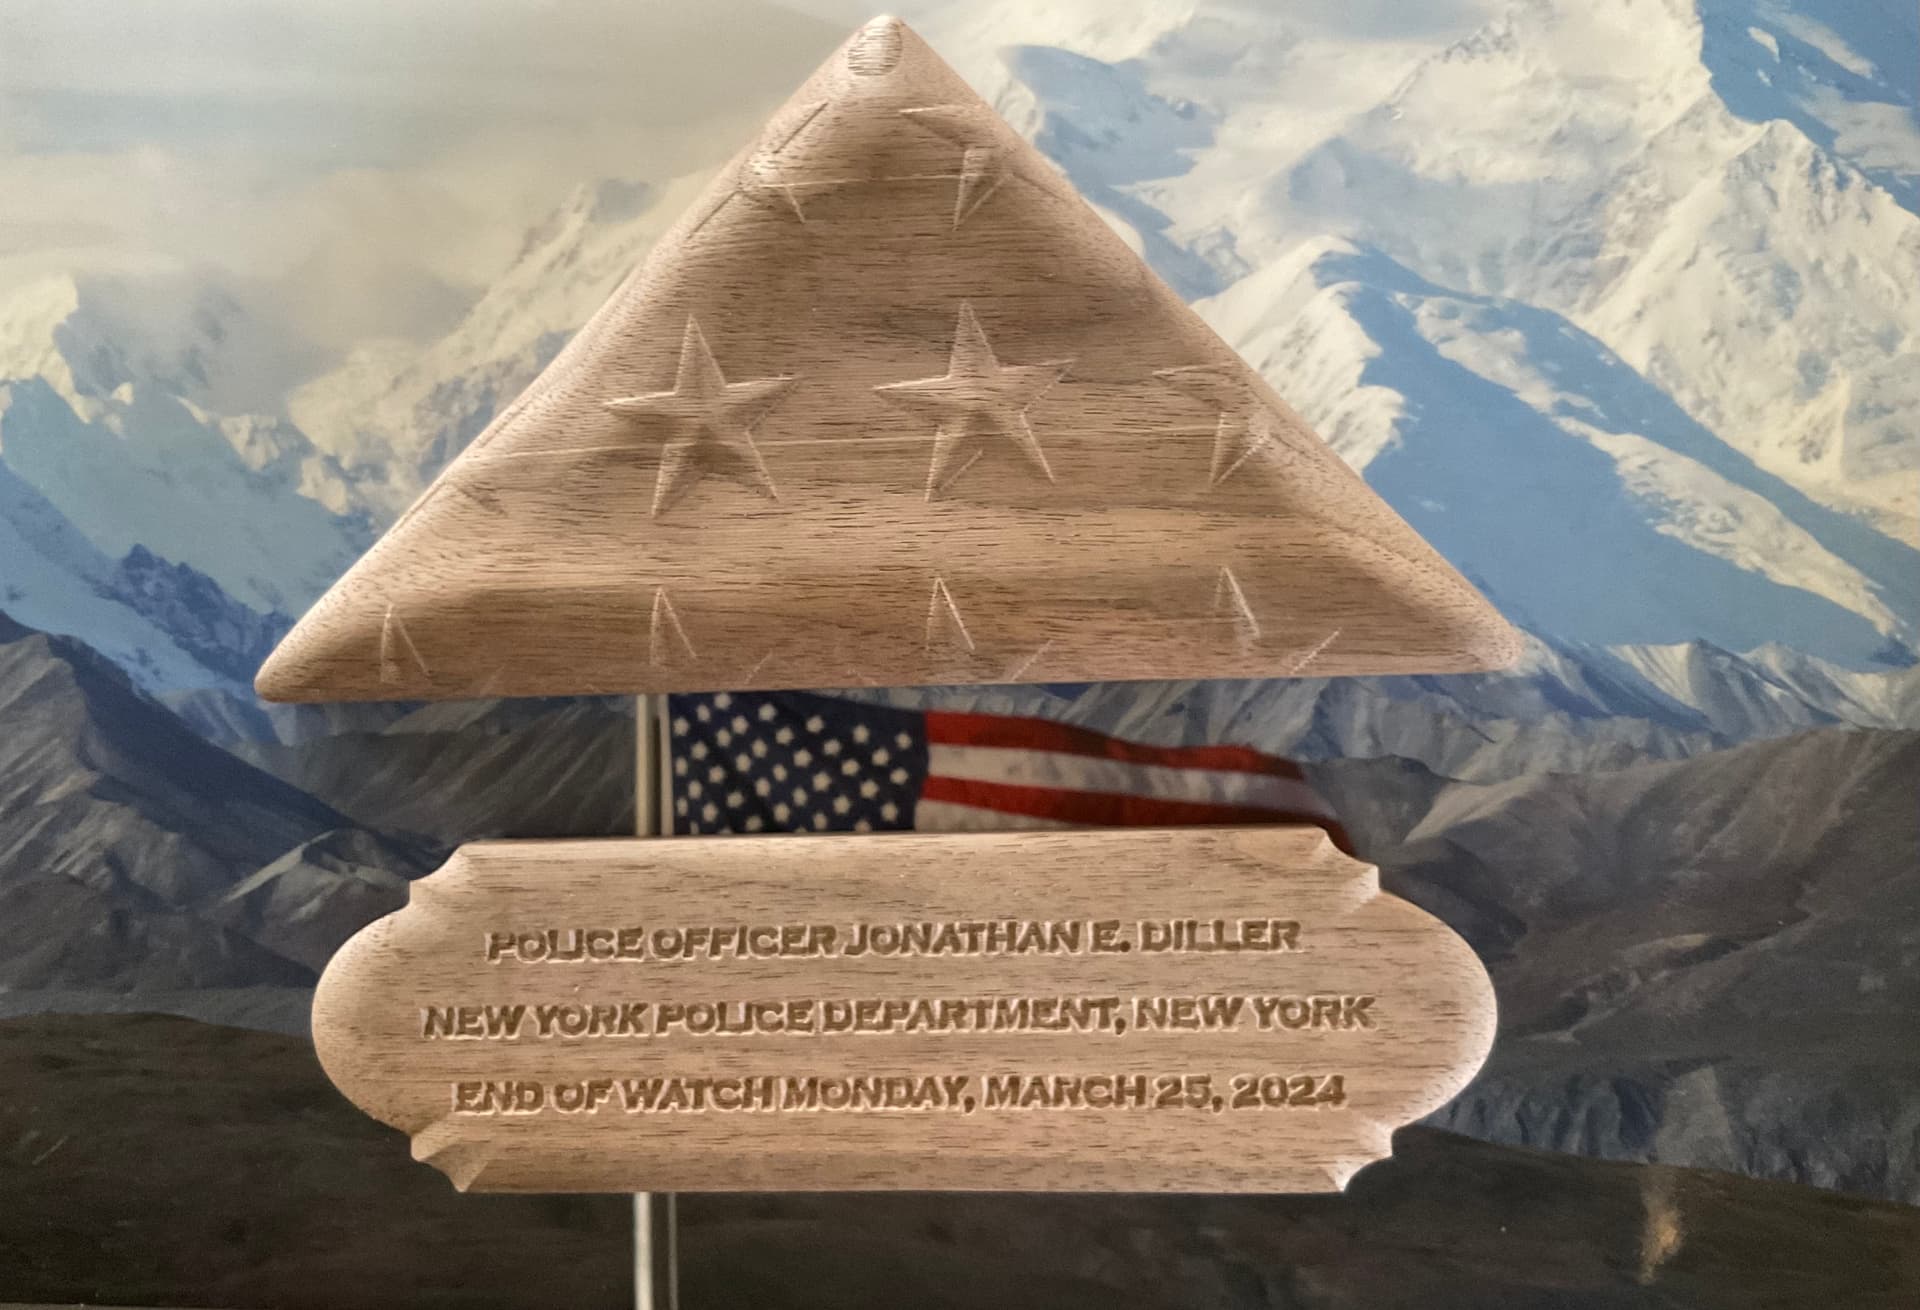
Hello! So I did manage to carve 3d components which will work well for proof of concept. The folks liked the conceptual work and I am awaiting more robust bits to actually carve out the project from a single piece of walnut. I could also carve these pieces and secure them to a backing walnut piece too. I will cross that bridge when I get there. I was VERY pleased with the results. Pardon the background, that is the wrap on my laptop. I took the picture a few years ago in Alaska and liked it so much I had a wrap made.
4 Likes
Nicely done. RIP PO Diller.
Marty from Kingston, ON, Canada
1 Like