This is not my first project, but the first one I’m willing to post ![]()
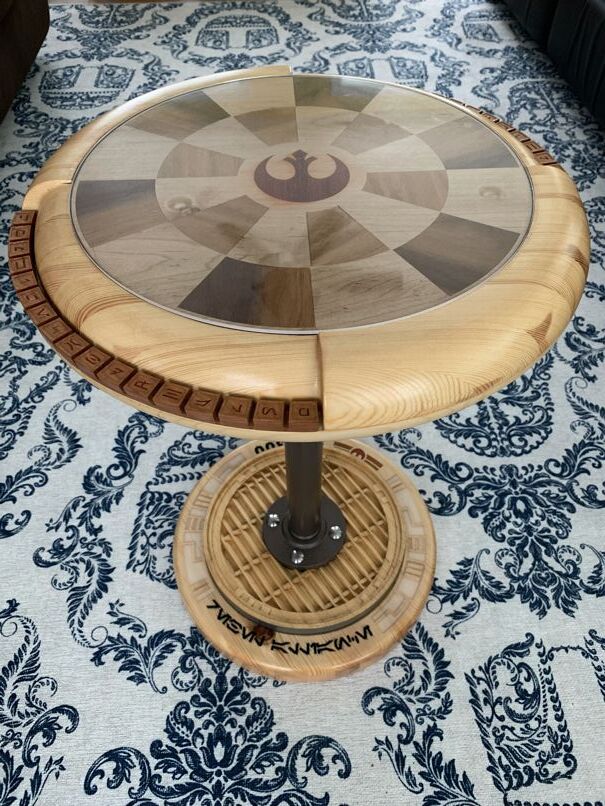
After many glue ups and half as many screw ups I’ve finally finished the first of 3 end table projects for my SW inspired family room/game room. Hope you guys enjoy this one.

15 Likes
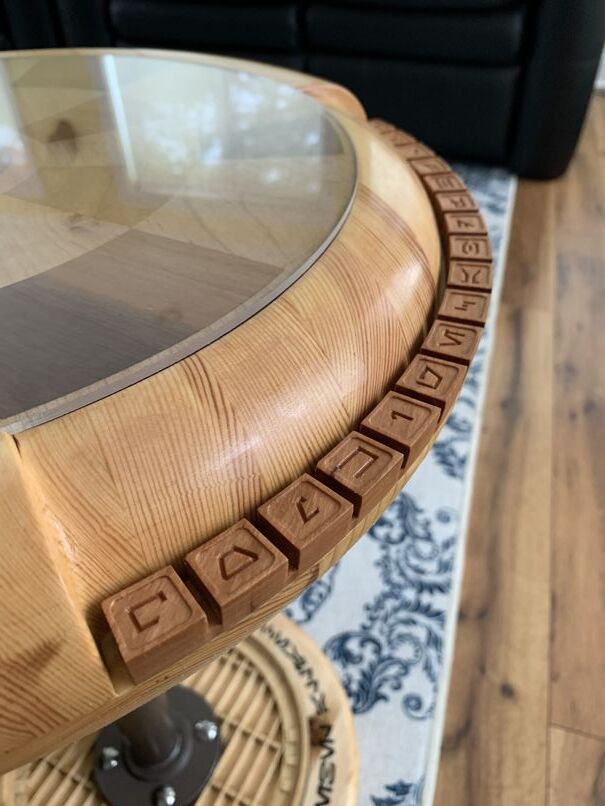
Incredible work! I really appreciate all the details on the table, from the inlay to the engraved lettering.
1 Like
Very nice job. I really like all the details
Beautiful work, well done.
Outstanding! Very cool!
@Gassman69 Man, that is fine, Jason!!
That’s incredible work. Love all of the details.
Awesome job. If you feel up to it, post a short how you made it story. Did you carve all the pieces for the glue up or make them using traditional woodworking?
Well Jay, it all started with the constant boredom of looking at the plain walls in my sunroom while working from home during Covid last summer. I had this awesome idea to create this Star Wars themed room to which the wife was like. Oh heck no! But I persisted and got the green light as long as it was subtle. so the challenge to meld Ethan Allen with Star Wars was on. (I think the subtle is working. No one has mentioned the rug in the pictures yet ![]() )
)
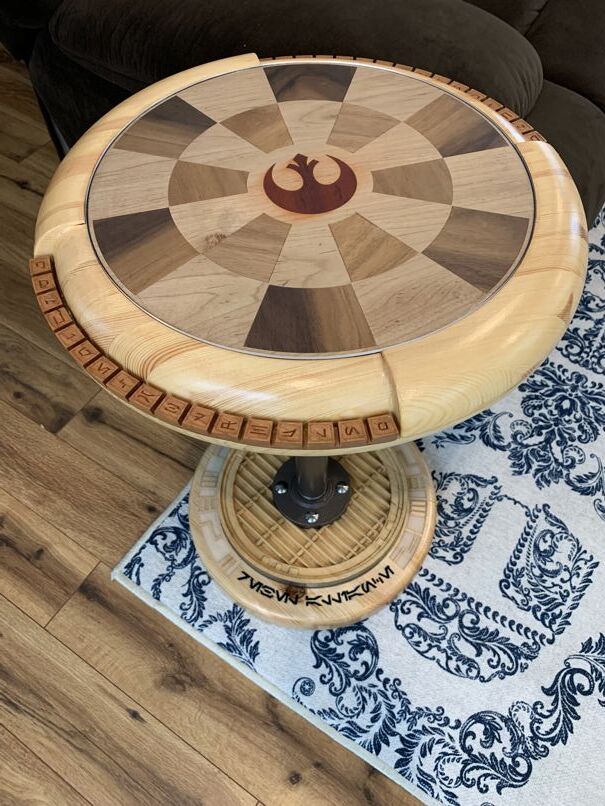
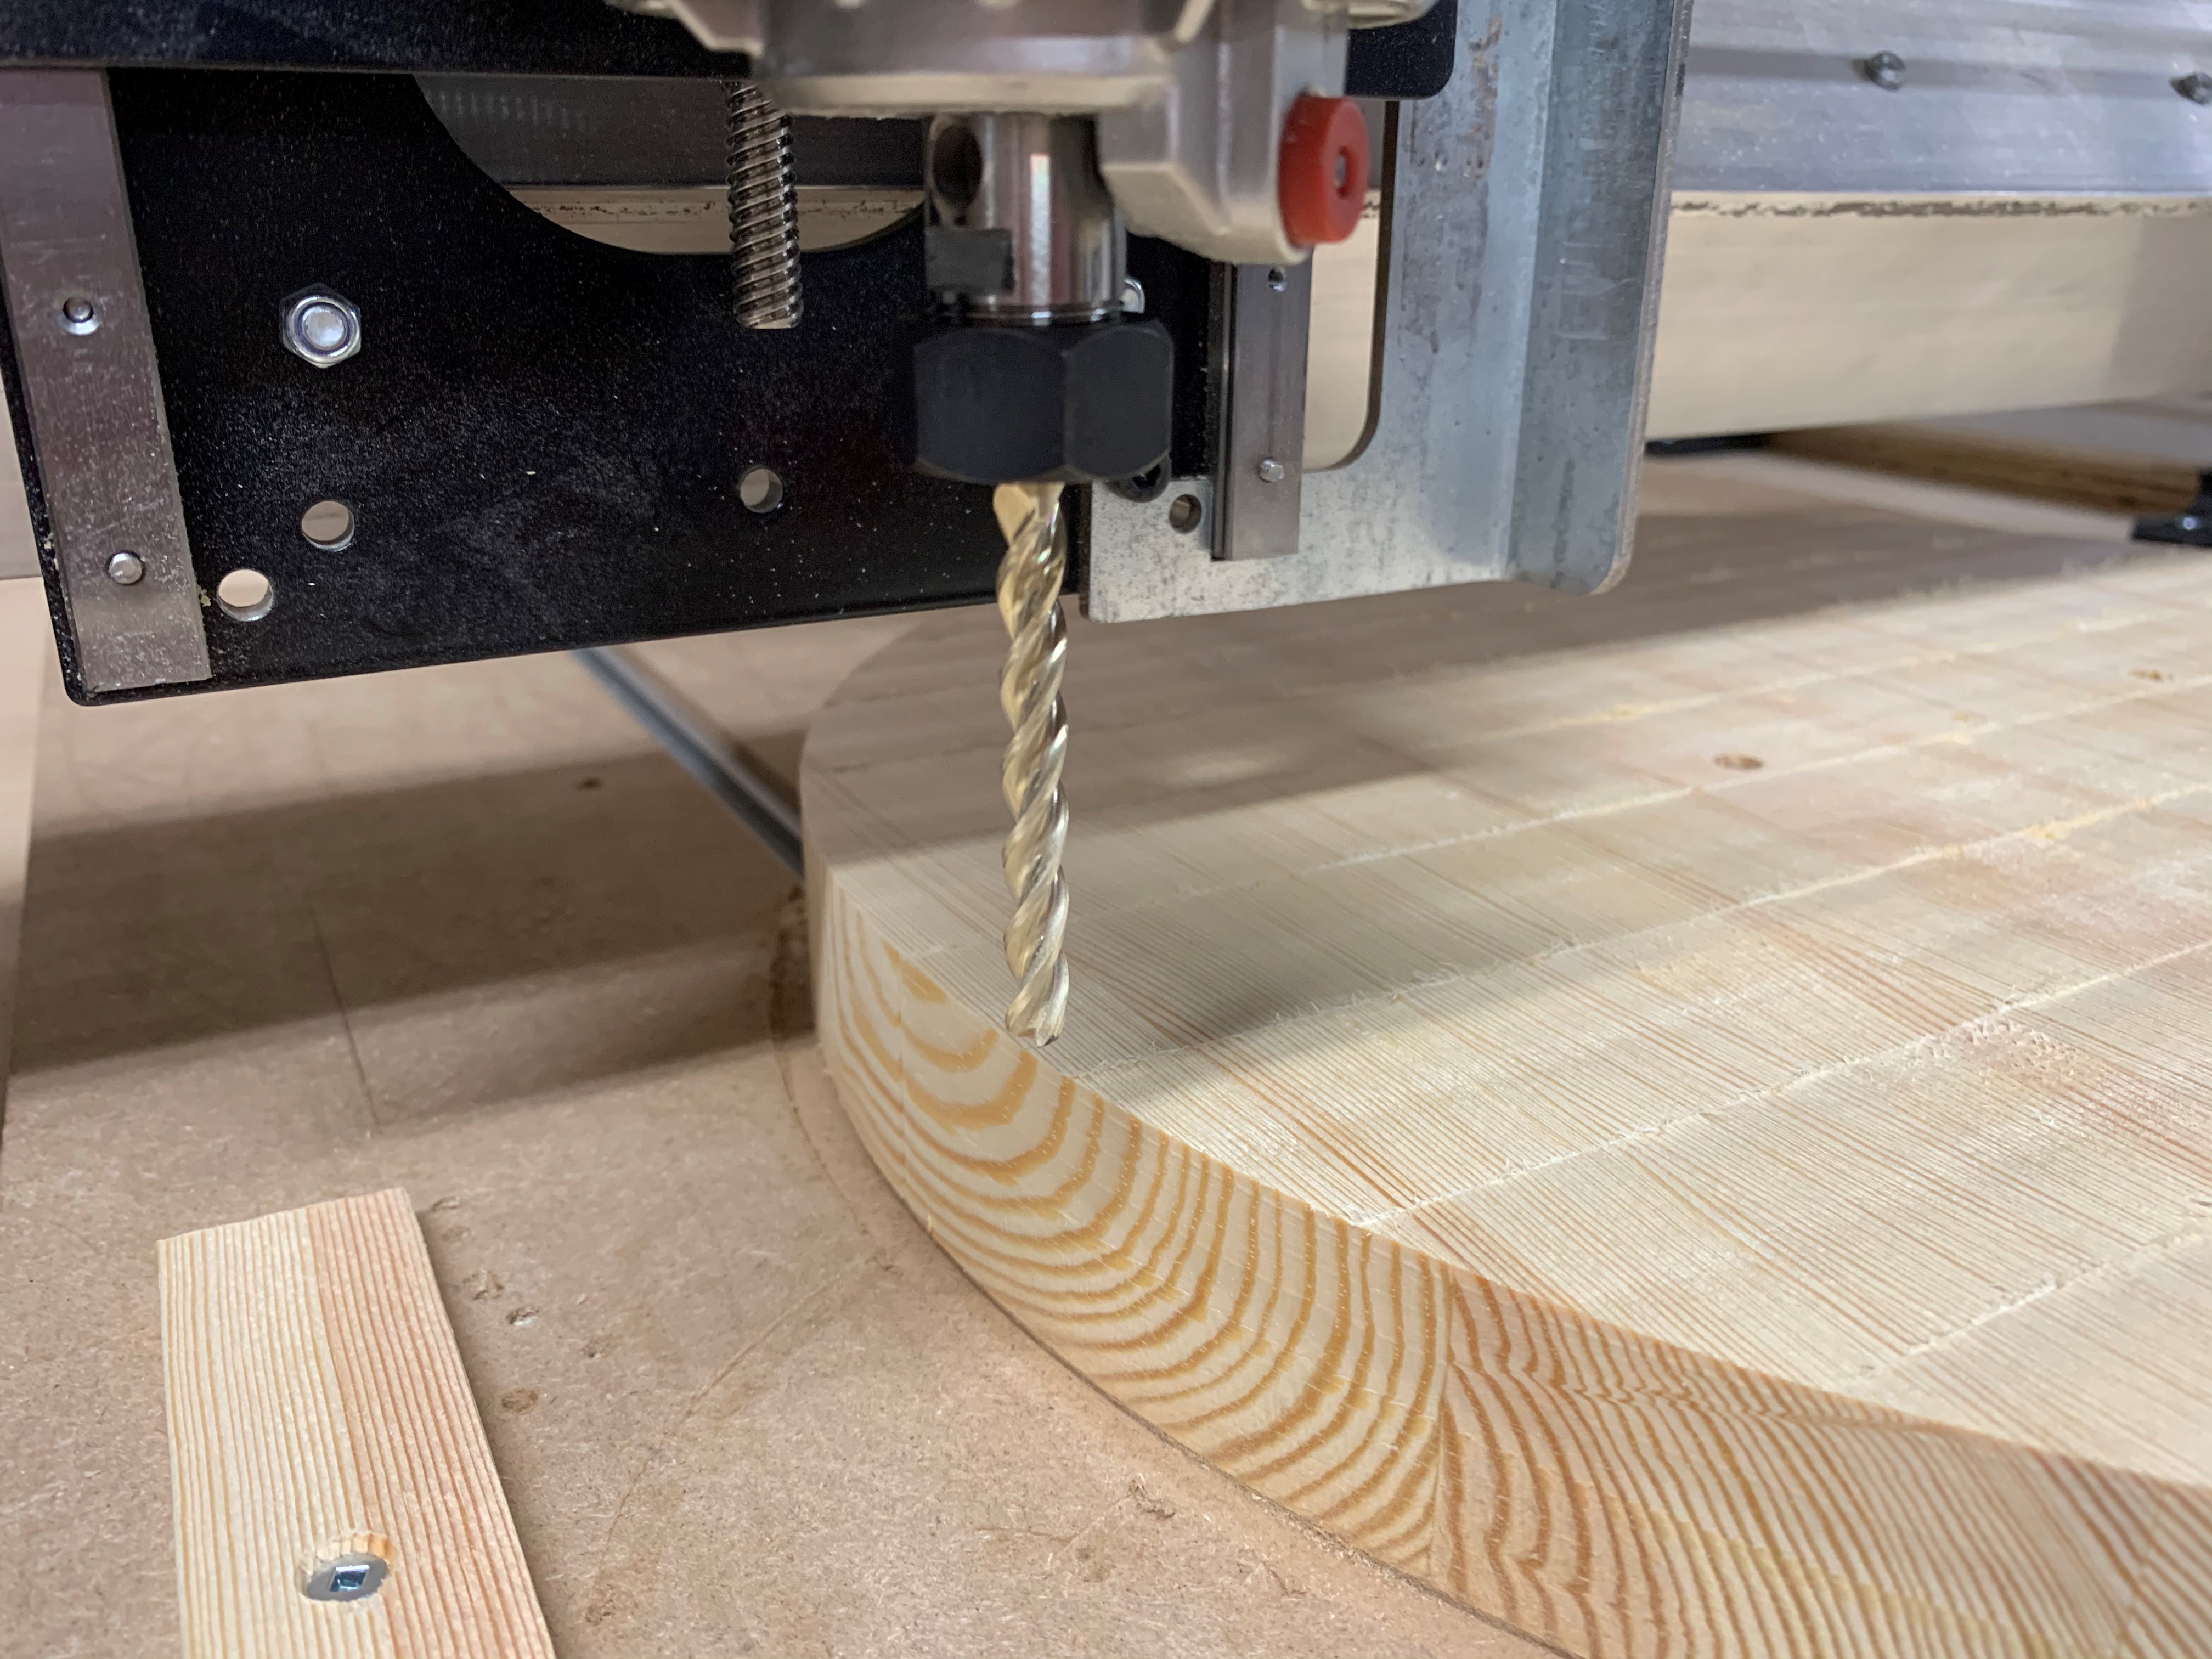
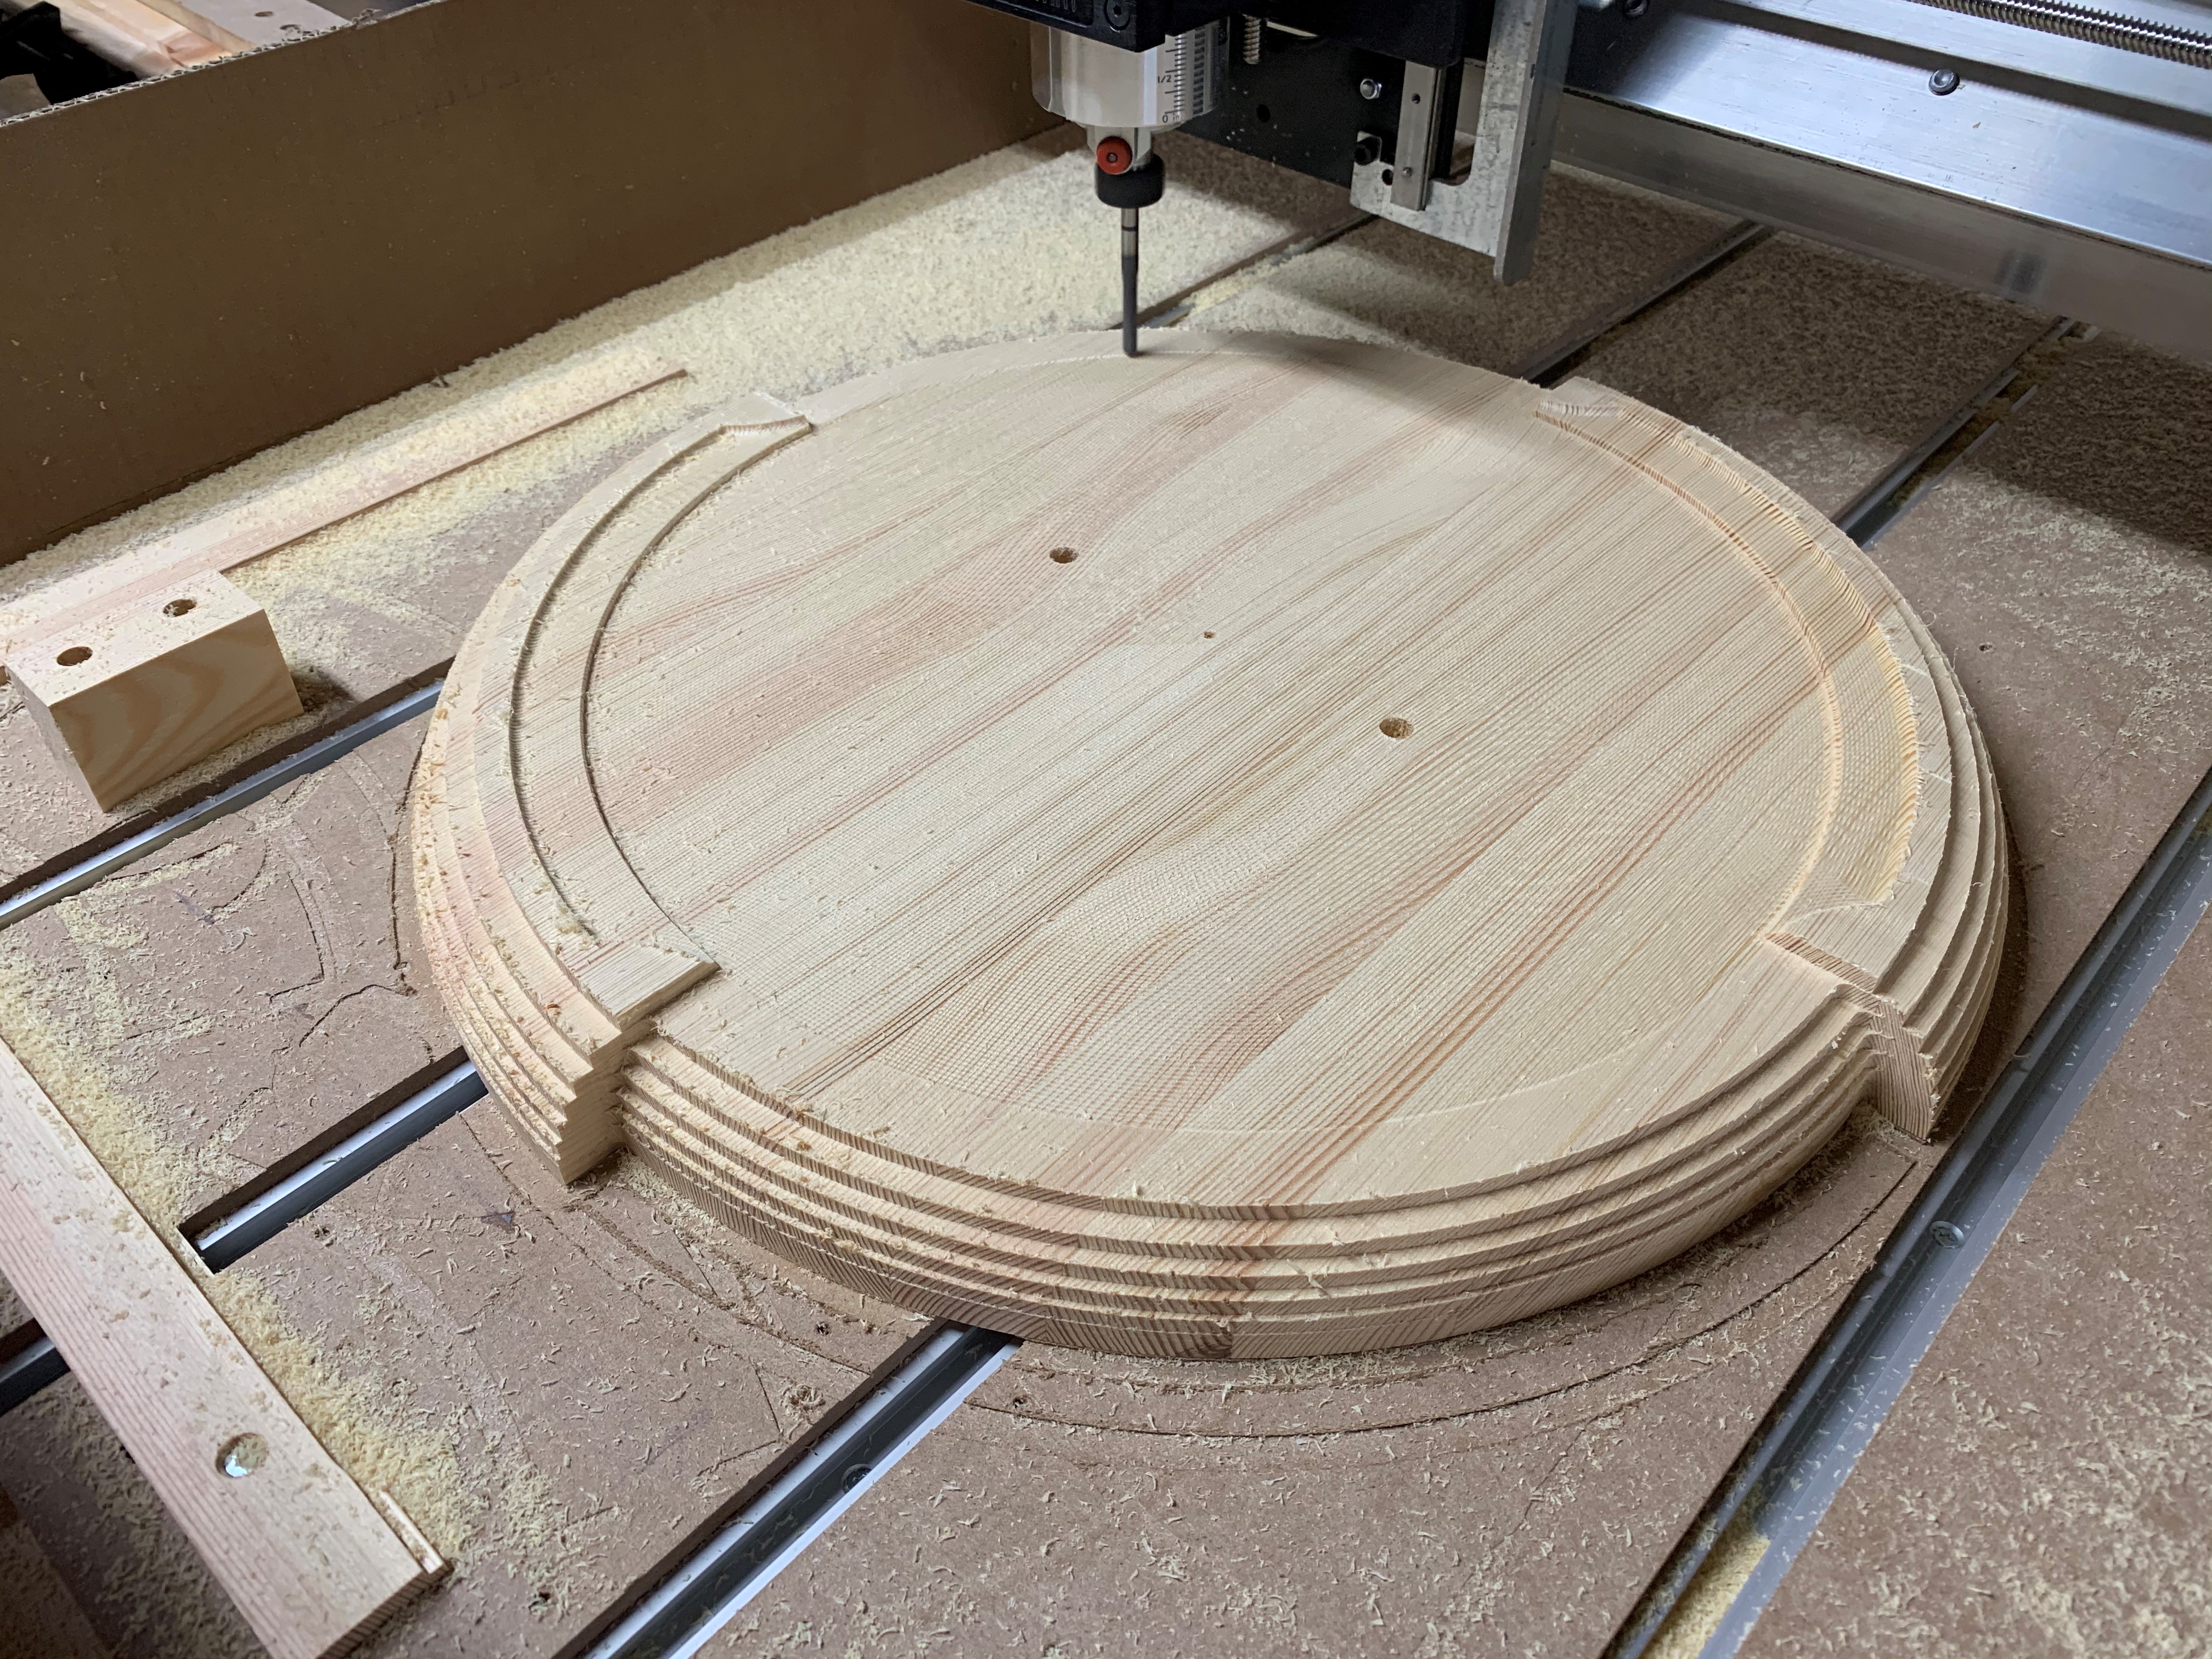
This table is made from Pine, Cherry, Maple, Bubinga, Walnut and some free steel from work. The table top was left over tongue and groove floor boards from a friends log house build. This stuff turned out to be very hard and had a lot of chatter doing the big radii with a 2.5 inch long end mill I got from the tool crib at work. It probably wasn’t the best tool or right tool for the job but it was free and it got it done. All four main components of the build started out as panel glue ups that I made the traditional way. Joint, plane, rip, glue repeat. After my glue ups were complete the rest of the work was done on the CNC router. All the panels needed to be faced and then flipped and faced for parallel before starting the roughing and finishing tool paths. To create the geometry for the table top and the faux exhaust port at the base, I used Autodesk Inventor to 3D model the parts and then imported them as STL files into Vcarve to create the tool paths. Each of the parts took a few hours each to run on the Longmill. I messed up my first attempt at the exhaust port and had to make another panel. During the second attempt Microsoft decided it was a good time to install updates and restart my laptop in the middle of the finishing pass. Luckily I was able to restart the finishing pass and all was going well and then the X-axis motor shaft snapped. The X-Axis was off but still moving and it plowed through a couple features before I hit the E-stop. Long story short Sienci got me a new motor, I fixed the machining errors with some wood putty then crossed my fingers and hit start for the fourth time and the CNC finished the job without issue. The base was a pretty straight forward vcarve lettering with epoxy fills. It was agony waiting days for epoxy to dry before I could machine it off and see the results. It turned out ok. If i were to do it again I would brush epoxy into the vcarves before filling instead of using the sanding sealer I chose. I ended up with some black epoxy bleeding into the grain with the method I used. The next piece was the table surface which was a maple panel that I inlaid Walnut and Bubinga into to create the chess board before gluing it into the pocket of the table top. And lastly the keys which were made from a single board of cherry. I modeled them in Inventor and made the keys as a single piece. To get the back bevel on the front of the keys, I had to use my router table and a 15 degree chamfer bit. I made sure I left some stock attached with tabs on the back side so I would have something to hold onto while using the router table. This was a fun project which I learned a lot, made some mistakes and had a great time designing and building. Stay tuned for the other tables to come. One is almost finished and the other is currently out of the design phase and ready for wood prep. Cheers


3 Likes