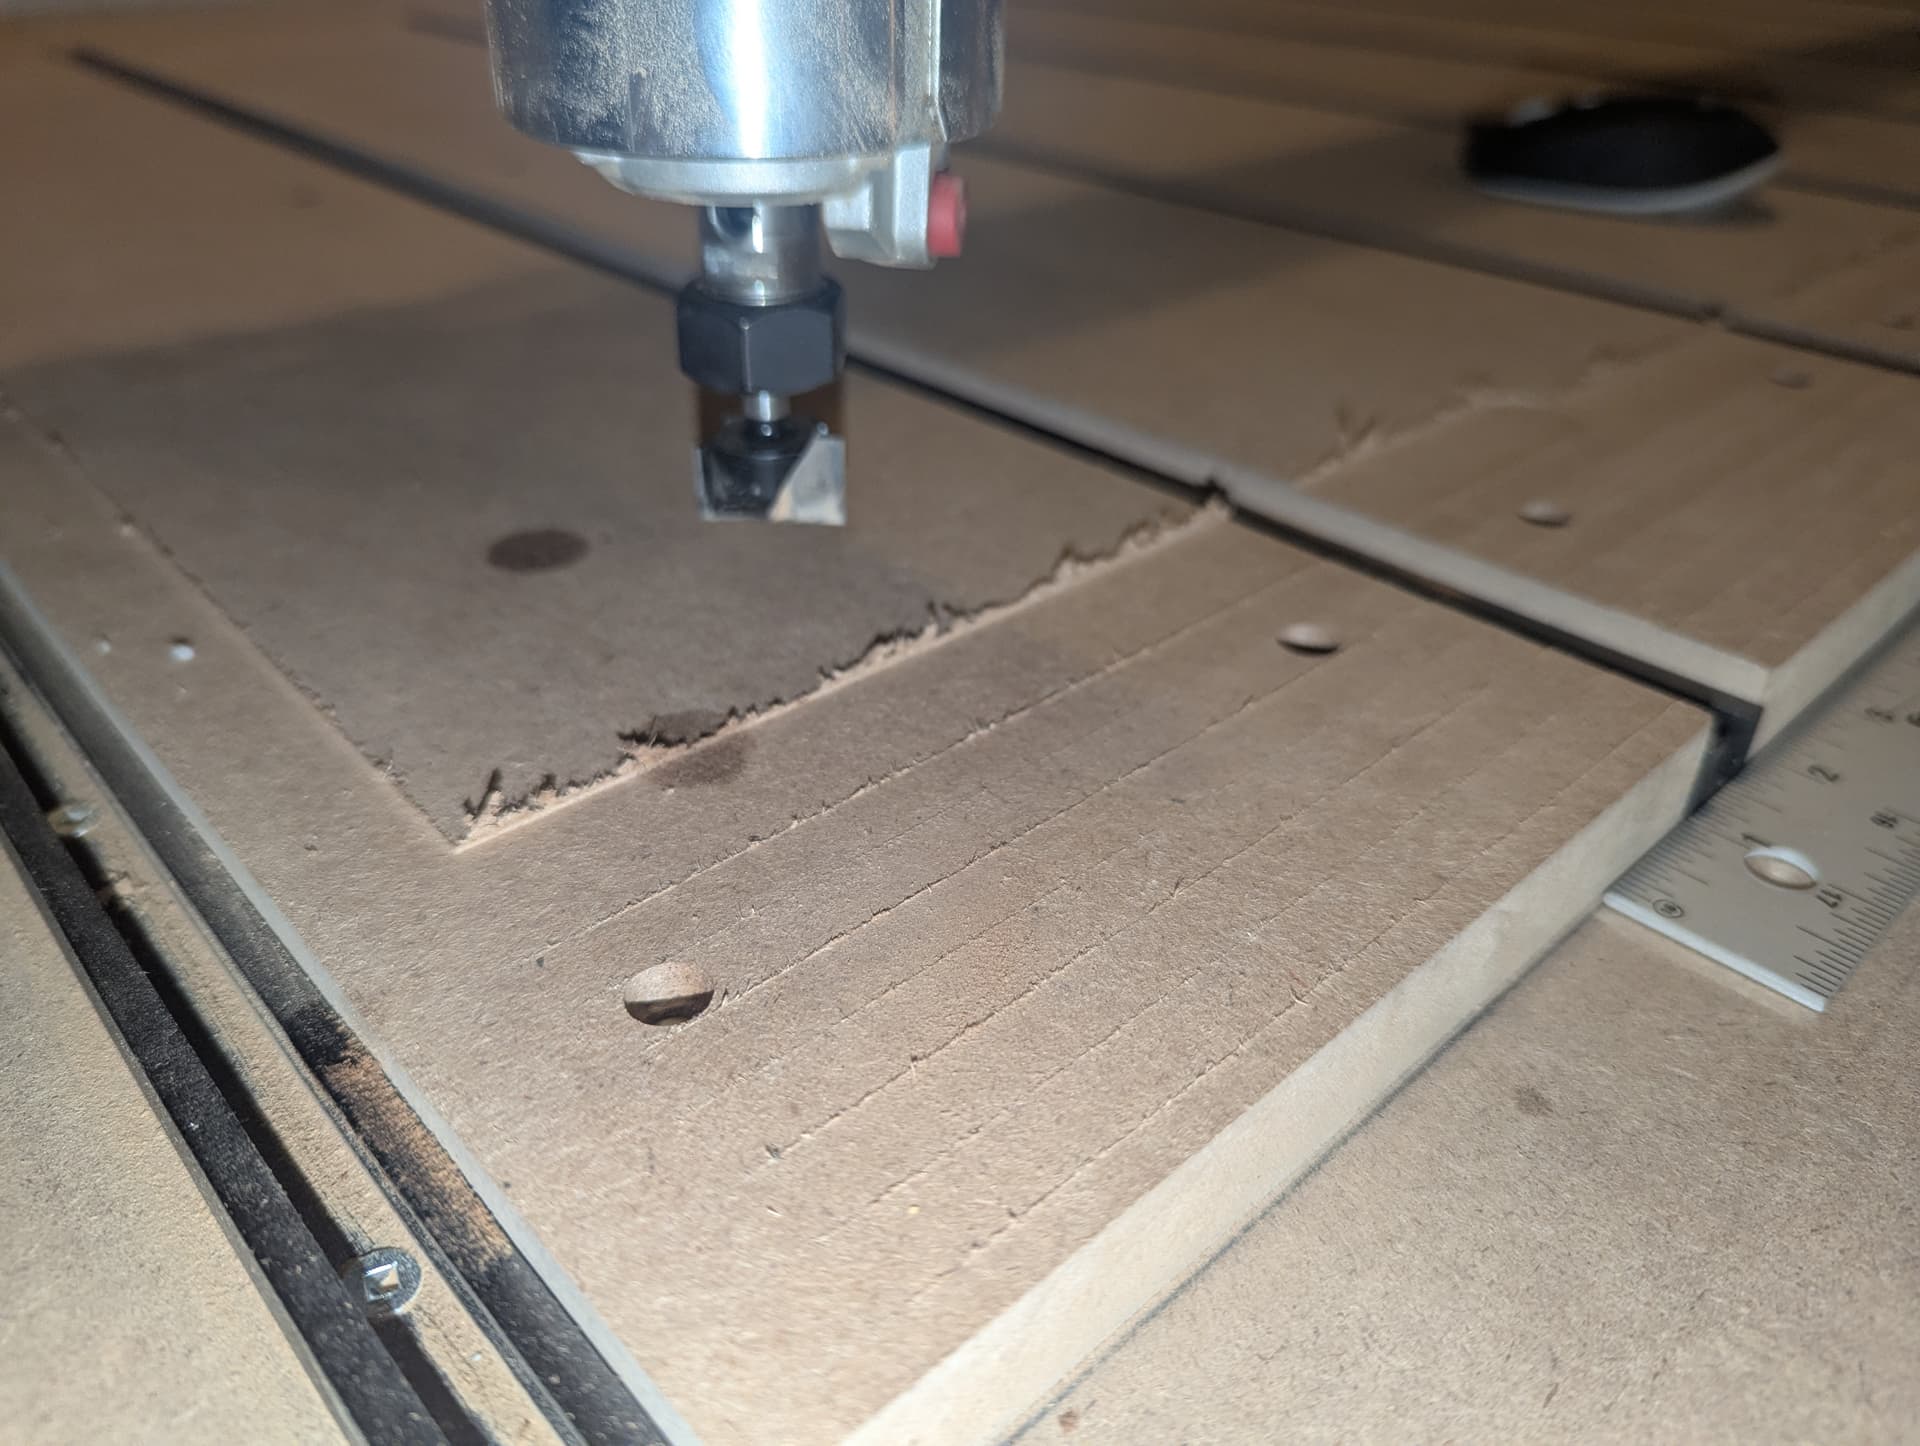
First attempt with the surfacing program from sienci labs. I followed Andy’s video all accept for inches which I selected to do but when started its leaving marks after each pass. I check the router and bit to be straight or tram and it looks good to me. I’m posting a few pictures and appreciate any feed back…
Also note after trying to change the depth to something less it seems to default back to .04 and I’m not sure if I’m setting the second depth box correctly both seem to default to .04
@Rowjr The first thing that you can try is to reduce the stepover. Also, unless you believe that your spoilboard is way out of flat, you dont’ need to take that much off, either.
I saw your post on the facebook page, but I don’t post there. I see that you mentioned there - but not here - that you don’t know what the two depth and max values mean. Those details are set out in the documentation. In short, cut depth is the depth per pass. Max depth is the total depth of all the passes.
I see that pretty much everyone there attributed your issue to tramming. I will respectfully disagree.
I’m someone who doesn’t care much for small deviations that are only visual but do not corrupt function. I get why someone would want to take out a visual impurity, but I just look at it, shrug when I know it’ll sand right off, if I feel like it.
I do not have a plainer and use my longmill to flatten stock to fit my machines axis, I often don’t even have a flattened wasteboard when consistent thickness is not something that I am needing (think single sided mill/laser combinations.)
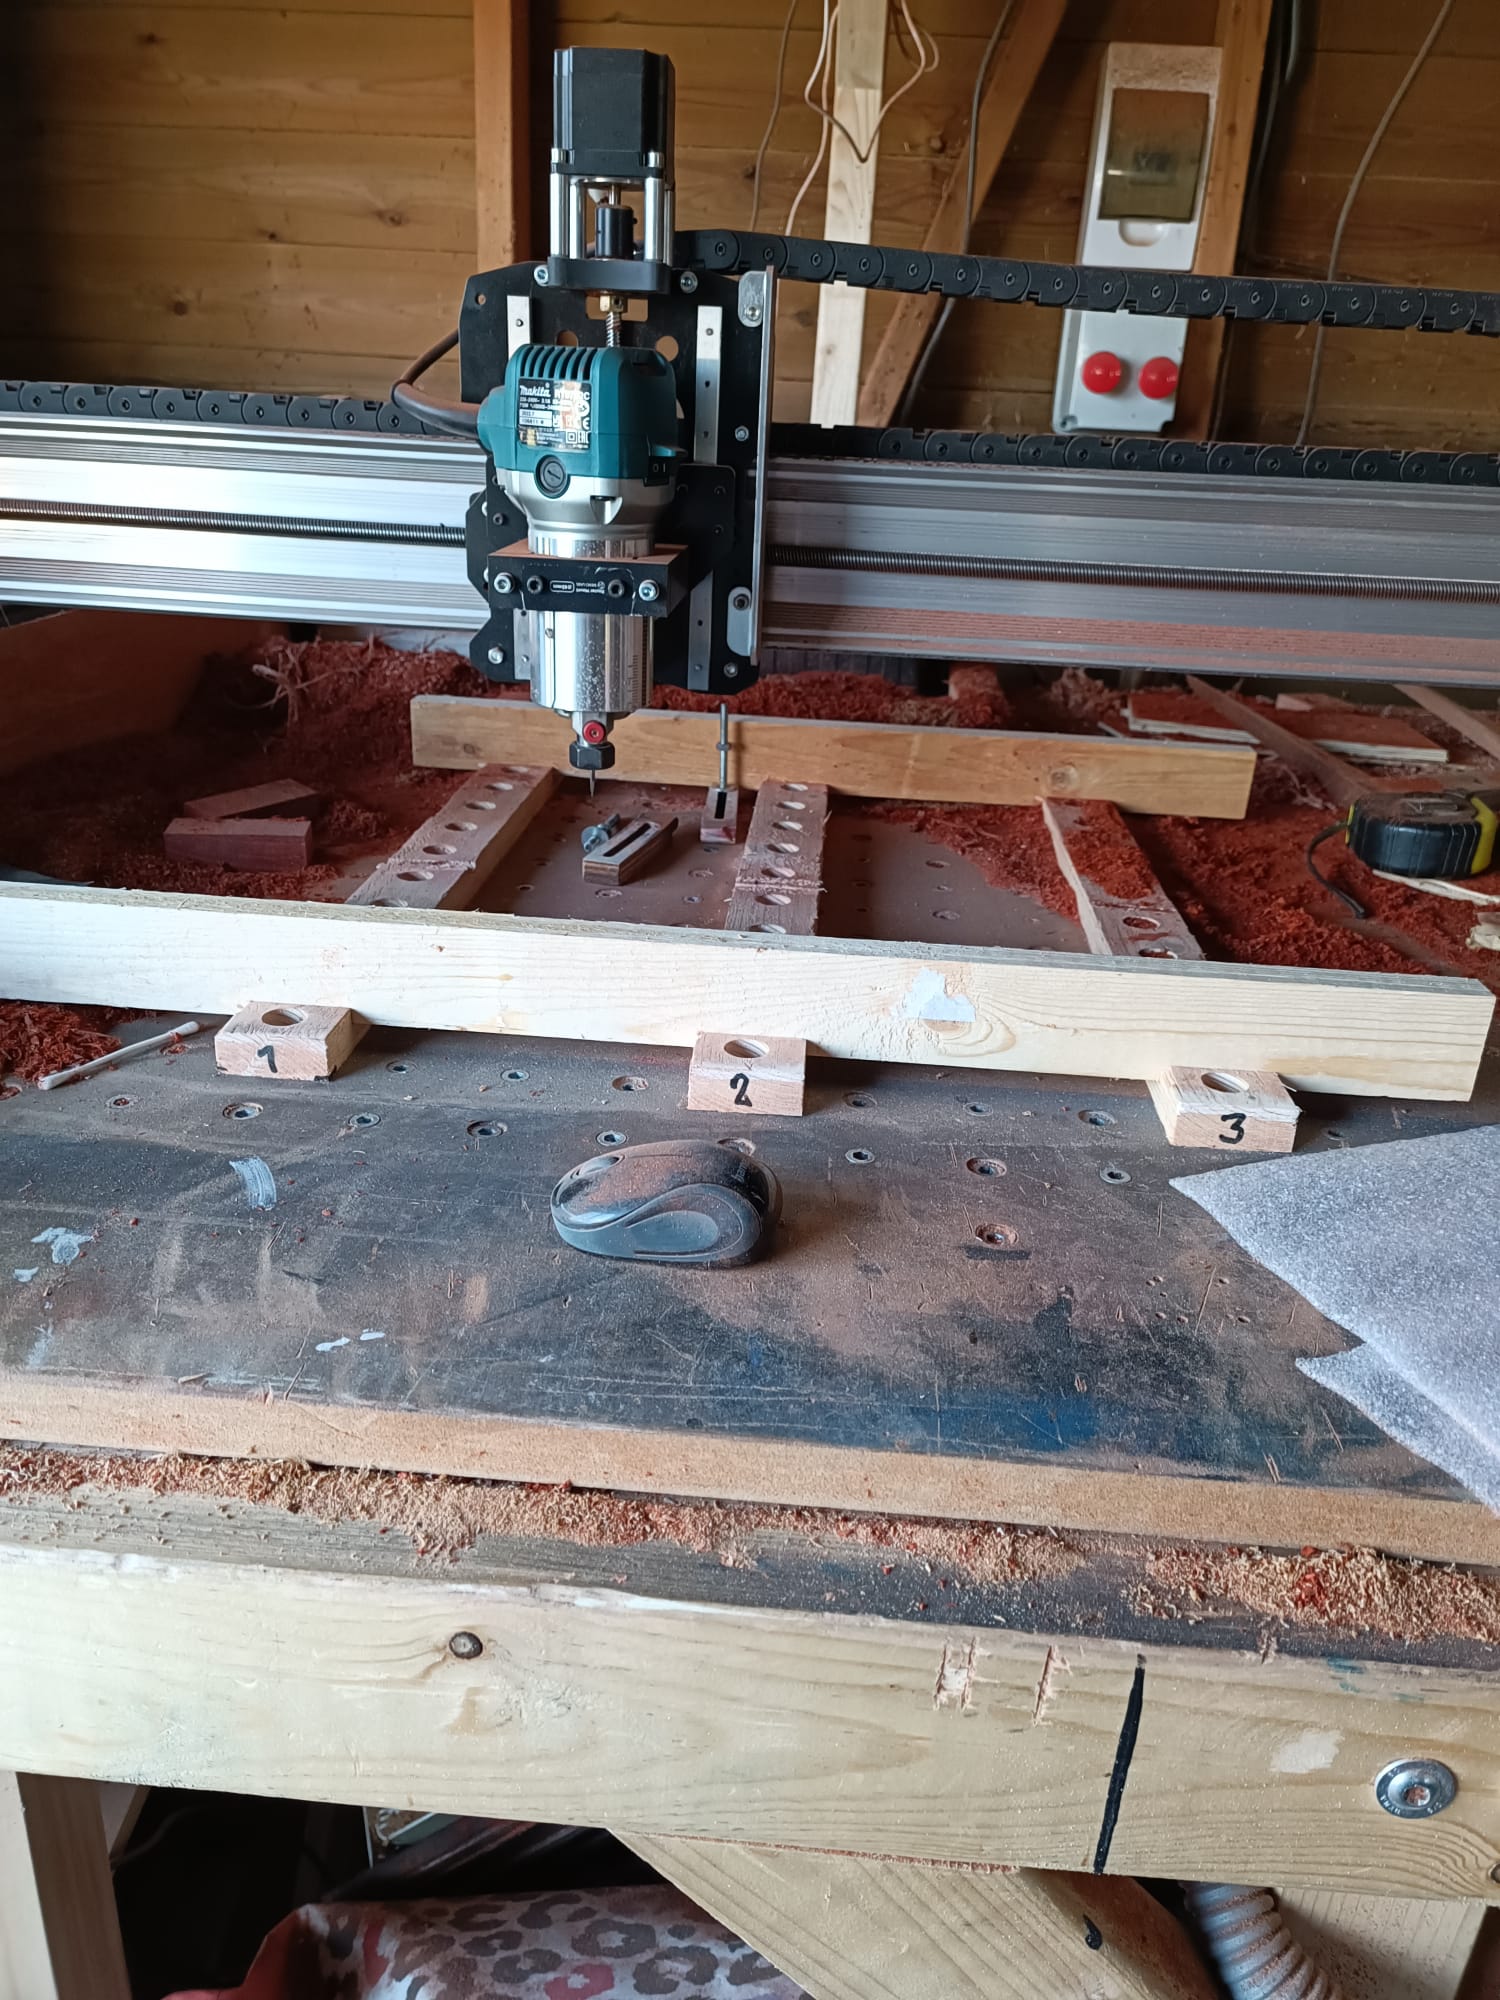
I am moving more and more towards a setup that does not include a complete wasteboard. I am instead working with flattened waste strips to support projects. They take only a minute to flatten, are dead cheap to replace and are made of real wood and not made from a glued together dust tornado.
(Note that the board on the strips has been flattened by my machine with the same 22mm cutter you have and that it left visual marks on my project too. However visible, will feel flat to the touch. If I want, I can sand these out, but I knkw they will become virtually invisible when finish is applied)
This to illustrate that a wasteboard does not need a consistant flatnes, as long as the supported stock turns out to be dead on with both x and y axis. Your wasteboard will function just fine.
@Spamming_Eddie Interesting idea, Eddie. I love simple. I used to use “sacrificial” spoilboards - which is really a redundant term when you think about it - to support projects where I was cutting all the way through. This prevented my pretty spoilboard from being “spoiled”. Now, I either leave an onion skin or zero off the spoilboard to achieve the same objective. I really like your idea of simply using strips. I believe that I will steal this from you.
It’s always nice when someone sees something usefull in your ideas. So yeah, take it away, improve on it, make it yours and maybe post back. I love to see other visions mature this into an alternative for the spoilboards that are not to be spoiled.
I appreciate your feedback and that might be one of my steps to do, although I used sienci labs values and IDC recommendations on the step over separately. I believe that checking the tram would not hurt and I’m thinking the NOD as they say might not be true as it should. I do remember having hole alignment issues on the Y axis and X screw together one side I had to literally twist the profile to accept the screws which might be effecting my NOD adjustment. I’m going to check it more thoroughly today so I can rule that out, Either way thank you !
Yes sir I see your point but my thinking is like a good foundation it will effect everything afterwards and I would like a smooth finish so I can spend time do other things and not sand it. I believe a good set up should eliminate that or at least better than what I’m seeing. I appreciate your feedback and will be looking at your comment more but I’m going to check my tram, which would not hurt gaining the knowledge of doing it…
@Rowjr Your process makes perfect sense. I don’t used the gSender surfacing module, so I just read it to refresh my memory. I see that they say to set max depth to something less than 1mm/.04" and stepover to 40%. I will respectfully disagree with both those settings. I see no point in taking off that much material in one pass, and I use a stepover of 10% of my surfacing bit. Admittedly, using 40% will get the job done more quickly. However, I am in no hurry and prefer to get a better finish.
I have never trammed my machine, though, so I am the odd man out here.
In the end, you should do what you are comfortable with. Within reason, there are no right or wrong ways to do this.
Have fun.
Well, there are a few topics on tramming the longmill. It’s, from what I read, indeed a learning process.
Another thing to try, is to create a toolpath with the mill only milling into one direction. It might just be that a wee bit deflection acts out differently when milling in opposite directions. If you get a flat result when milling everything in the same direction, tramming might nog help and you will have to seek out where your setup is having that wee bit o’ wiggle.
Yes, looking into all aspecs of your machine is good. Going CNC is steep and learning curves are at every corner. And… it is a personal process to walk through. So you do you, that is the only right way to do things - no matter what others might say or think of youways.
If you find a youway to eliminate sanding, will you please post?
There is some good info in this thread! I really like @Spamming_Eddie’s idea of using strips. It’s so simple it’s brilliant!
Much like @gwilki I’ll zero off the spoil board for through cuts and my spoil board lasts a long time.
I’ll also second his opinion on taking off smaller amounts with each pass when surfacing. I use metric and take off 0.25mm or ~0.01" per pass. I’m usually watching and if I see a spot that didn’t get touched I’ll stop the tool path and set Z zero 0.25mm lower and restart. Doing it that way I’m always on the first pass because I never finish a pass if it missed a spot. No sense in finishing a pass that needs to be redone in my opinion.
As far as small lines go, I wouldn’t worry too much because unless your work piece is smaller than your step over your work is going to rest on top of all the ridges and should be parallel to the machine even with the ridges. My work pieces tend to be much smaller than than my spoil board for most projects so I use a smaller bit to surface work pieces most of the time. The larger the diameter of the bit the more pronounced any lines will be.
Well today and yesterday I finally had a chance to make some changes. I started with checking my tram and found the NOD direction (Y axis out and I’m shim it .0075) I also caught my mistake on my bit diameter selection 1" and it should been closer to 7/8" or 22mm. I also reduce my step over to 35% and I could of maybe went more. Well that being said I ran the surfacing program not all the way due to no vacuum at the moment set up and it help maybe say It really help. I might have could of shim a hair more but it’s smooth yes I still see a few lines but can not really feel them like I was.I will post a video I made soon, which is still uploading. I just want to say thanks to everyone again ! I’m moving forward ! Please check it out https://youtu.be/JdGNH1EjyPc