What are your plans for a table?

Built a quick table - will build an enclosure around it in the coming days / weeks (It is cold out after all)

I have a piece of 3/4 plywood I am going to put in the bottom for a shelf. I was also considering a clever idea my friend had, since I have a motorcycle tire machine bolted to the floor, I might cut out a slot in the bottom shelf and put the CNC machine over the tire machine - since I can’t use that space anyway, way not cover it up with the CNC table. Also has the side benefit of making sureI can’t whack my shins on the darned tire machine

9 Likes

So, I think I’m going to skip the fancy flip table. My current plans are to build a simple table, much like Mike’s. I’m hatching a plan, though, to build a sound-proof box for my vacuum underneath one corner. Another corner will have a cyclone separator and maybe a ~30 gallon dust collection bin. Then some drawers in the front.

2 Likes

Here is the table finished - I made a slot for it to sit over top my no-mar tire changer. It only gets used every so often, and takes up space, so I figured this was a simple way to optimize.

Down side is that part of the floor is not quite as level as the original spot. so now it is shimmed.

@David I am going to just cut out a hole in the front of my table so I can drop in vertical stock. Since I have multiple layers of wood, I figure I can just out something then have a removable insert for the spoil board. Not sure how I will do that yet, or even if I will, if I do I will post how I did it.

Cut a few simple sample projects out, and got the machine dialed in - so far it has been working great!

7 Likes

Looks great! Can you share bit size/type, workpiece material and your feeds and speeds with us? Those of us in the cheap seats still waiting for our machines would love to understand how the performance is in different materials.

Thanks!

-Jeff

Unfortunately I was using the defaults in carbide create - so very slow. Have been using pine, and some purpleheart, both cut pretty well. Cut out simple boxes in both.

Was using the included 1/4 downcut endmill, quality on the endmills seems good to me.

I would have gotten some more cutting in but had to deal with some car troubles and things like that. Want to get out and get some more wood and try some other projects.

I am also not sure if i need to calibrate the machine or not. will have to measure my next project and see if it if the right size!

Mike

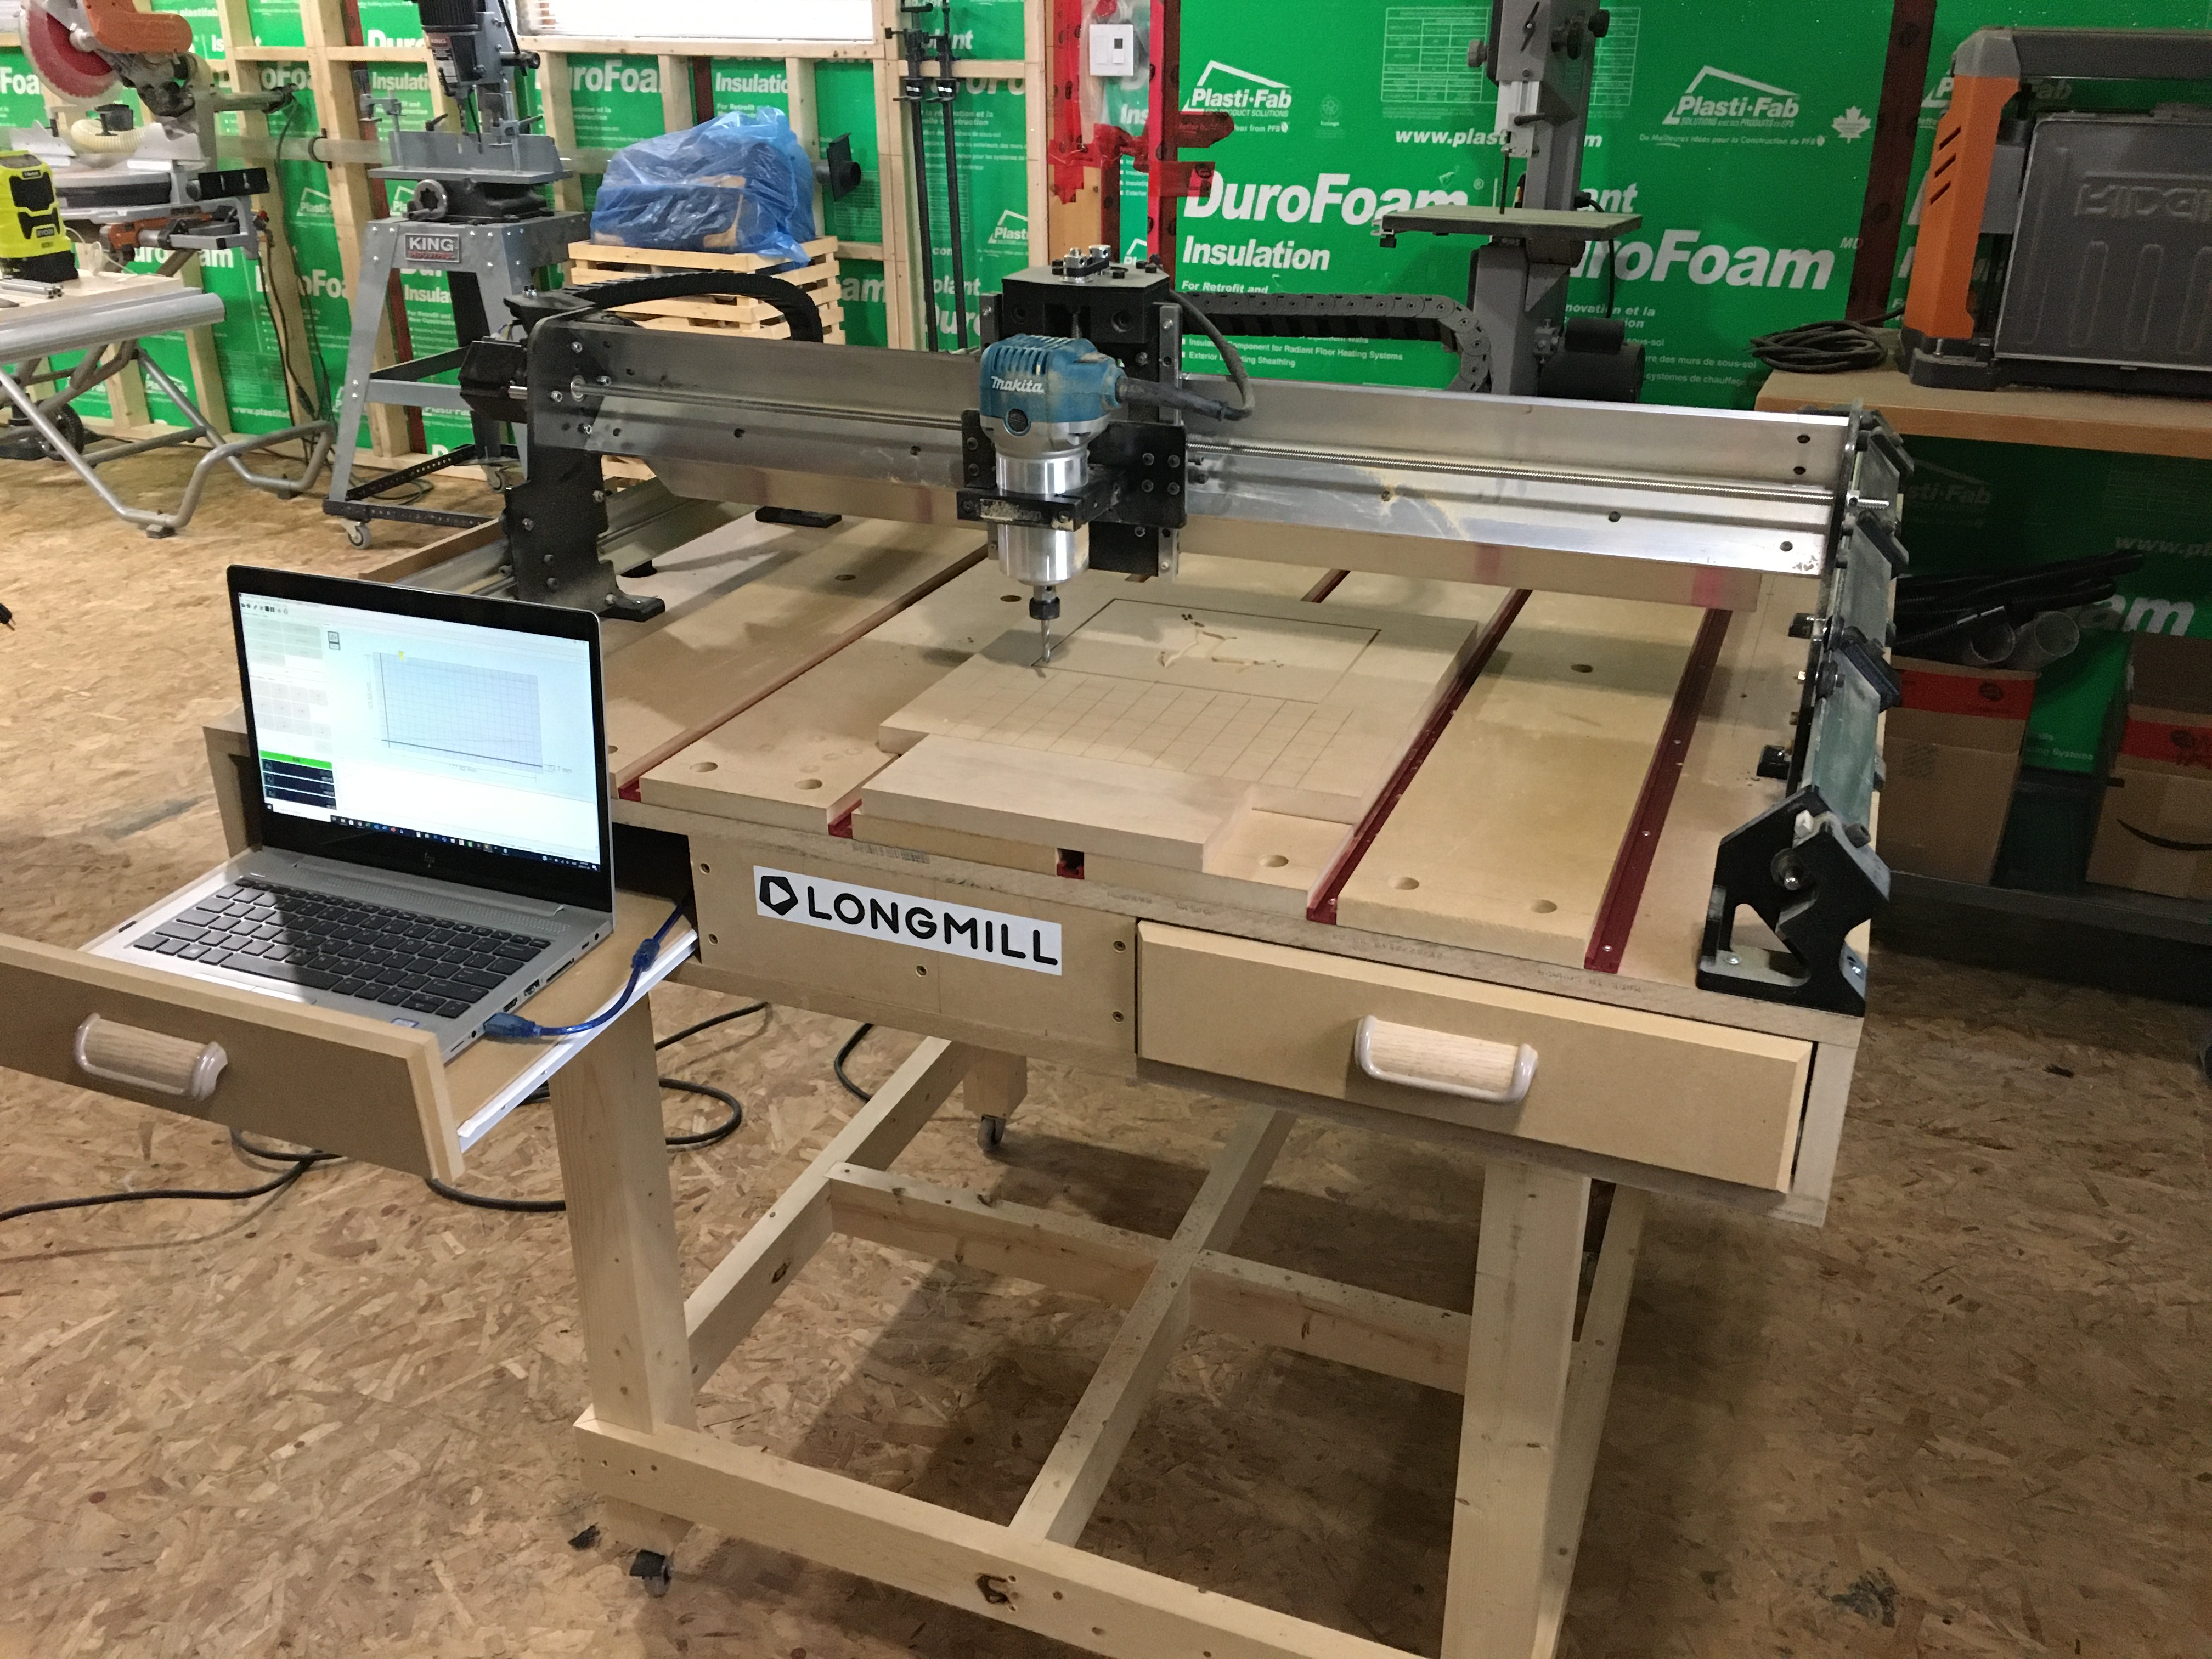
Here are some pictures of the table I just finished for a 30x30 Longmill. Most of the ideas came from posts here and on the FB page. Any questions/suggestions, don’t hesitate to engage.!

10 Likes

New user, only a single pic was permitted. Here’s another; take note to the z-axis wire that has been extended.

8 Likes

And one more!

8 Likes

This arrived in my inbox this morning (the plans, not the actual workbench - that would be ridiculous). Looks like a good solution for anyone who is spacialy challenged and very ambitious. If I hadn’t already built a work station for my Longmill I would have considered it.

4 Likes

That is so awsome! I am totally jealous.

I was wondering do you think self leveling epoxy would work under the waste board , to have a perfect flat area to begin with

2 Likes

It would but you would want to make sure that its good and hard before you do anything with it. Why? Just wondering too how would you attach your waste board to it?

2 Likes

i have some threaded inserts ill drill into it gonna use T track and m d f like many others on here im just looking for a way to not have to surface it anytime I want to replace a strip of the waste board

Initially I’m going to build it and try it out on the Ikea kitchen counter workbench I mentioned above but I’m settling in on formally vertically mounting it to the wall or perhaps on a hinge that allows me to kick it out 15 to 20 degrees like an easel (just to make it easier to load the workpiece and to clear the sills on the windows that book end the only wall space I have). When not in use it will likely hang flat in that area.

@chrismakesstuff Any reason I couldn’t use it vertically all the time? Dust collection will be challenging is one thing that has occured to me, but I should be able to design around that. Might even be more effective to have gravity bring the dust down to trough and collect it from there?

-Jeff

The main difficulty that’s introduced is that setting up stock material for cutting becomes a little more finicky, especially if it’s heavier material. The LongMill is strong enough to run in a permanent vertical orientation, however as I’ve mentioned to others before you should expect that the anti-backlash nuts and potentially some of the other linear motion components for the Y-axis will wear out more quickly than if the machine is horizontal. If you’d like to combat this, it shouldn’t be too large a task to incorporate a counter-weight system that helps to offset the added weight of the X and Z-axes which act on the Y-axis when the LongMill is vertical.

2 Likes

Do you have a sense of conservative lift of the anti-backlash nuts in a regular horizontal orientation? Just trying to understand what/how often wear items might need to be replaced… then I can bug you for an estimate of how much you might expect a vertical orientation to impact them. :slight_smile:

Another option is a fold down table with fold out legs. I have seen that done on youtube. So it gets up out of the way for storage but does require a large working area to expand in to when in use. I hate to do that if it would mill vertically for extended hobby use without too much concern…

-Jeff

1 Like

You would know when the back lashes are shot. You would not be able to reduce the wiggle of the gantry say when you adjust the back lash nuts. The head of the screw that is in the back lash would rub on the acme screw and cause a weird noise when the machine is running.

One way to reduce the wear would be to put a wire on each end of the gantry and run it up to 2 pulleys on each side of the machine. Run it down the side and put a 10 - pound weight on each wire to help counter the weight of the gantry. It would also help the steppers from wearing out sooner too.

As for storing it. That would not be a problem. Put a hing on the back of the machine so it will tip up against the wall so the gantry is against the wall when stored. You of course have to make a mount point so the back of the base sticks out enough so that machine will fold up against the wall. Then just fold it down and fold the legs down. Or make self dropping legs.

I did a lot of cutting on my machine. Not spread over time batches of a lot of parts over the year I have the beta version I have right now. I just found a few weeks ago the anti back lash nuts were shot on it. Worn right out. So I know that won’t help you much. I am talking 3 to 4 weeks of use 2 to 4 times a year with various other smaller jobs between. But the bigger jobs were very involved from 100 parts to 400 parts. Had one in between and one lower.

1 Like

just added a shelf to hold my monitor and keyboard on the side of the table, wanted it up and out of the way, used the CNC to cut the brackets which I designed super quick in carbide create, which was a pain due to the way you have to set up measurements. They have the weird shape so the gantry can pass under the shelf :slight_smile:

And yes I did clean up the table… I was building the shelf so I could pick up one of those collapsible portable workbenches I had the monitor on, that was taking up space. Did some cleaning after the picture.

7 Likes

Didn’t know that propane tanks were designed to be stacked? Can you still hook both up at the same time???

5 Likes

lol they are both empty, just stacked to be out of the way for now. I have to build a rack for my wife’s Kayak then I will have some more room.

Also made a minor measuring error, my little shelf supports bump into the Z gantry if its all the way to the left, so I will have to slice off a little bit of that. I was only accounting for the X gantry height like a knucklehead.

Mike

1 Like