That is so awsome! I am totally jealous.
I was wondering do you think self leveling epoxy would work under the waste board , to have a perfect flat area to begin with
2 Likes
It would but you would want to make sure that its good and hard before you do anything with it. Why? Just wondering too how would you attach your waste board to it?
2 Likes
i have some threaded inserts ill drill into it gonna use T track and m d f like many others on here im just looking for a way to not have to surface it anytime I want to replace a strip of the waste board
Initially I’m going to build it and try it out on the Ikea kitchen counter workbench I mentioned above but I’m settling in on formally vertically mounting it to the wall or perhaps on a hinge that allows me to kick it out 15 to 20 degrees like an easel (just to make it easier to load the workpiece and to clear the sills on the windows that book end the only wall space I have). When not in use it will likely hang flat in that area.
@chrismakesstuff Any reason I couldn’t use it vertically all the time? Dust collection will be challenging is one thing that has occured to me, but I should be able to design around that. Might even be more effective to have gravity bring the dust down to trough and collect it from there?
-Jeff
The main difficulty that’s introduced is that setting up stock material for cutting becomes a little more finicky, especially if it’s heavier material. The LongMill is strong enough to run in a permanent vertical orientation, however as I’ve mentioned to others before you should expect that the anti-backlash nuts and potentially some of the other linear motion components for the Y-axis will wear out more quickly than if the machine is horizontal. If you’d like to combat this, it shouldn’t be too large a task to incorporate a counter-weight system that helps to offset the added weight of the X and Z-axes which act on the Y-axis when the LongMill is vertical.
2 Likes
Do you have a sense of conservative lift of the anti-backlash nuts in a regular horizontal orientation? Just trying to understand what/how often wear items might need to be replaced… then I can bug you for an estimate of how much you might expect a vertical orientation to impact them. 
Another option is a fold down table with fold out legs. I have seen that done on youtube. So it gets up out of the way for storage but does require a large working area to expand in to when in use. I hate to do that if it would mill vertically for extended hobby use without too much concern…
-Jeff
1 Like
You would know when the back lashes are shot. You would not be able to reduce the wiggle of the gantry say when you adjust the back lash nuts. The head of the screw that is in the back lash would rub on the acme screw and cause a weird noise when the machine is running.
One way to reduce the wear would be to put a wire on each end of the gantry and run it up to 2 pulleys on each side of the machine. Run it down the side and put a 10 - pound weight on each wire to help counter the weight of the gantry. It would also help the steppers from wearing out sooner too.
As for storing it. That would not be a problem. Put a hing on the back of the machine so it will tip up against the wall so the gantry is against the wall when stored. You of course have to make a mount point so the back of the base sticks out enough so that machine will fold up against the wall. Then just fold it down and fold the legs down. Or make self dropping legs.
I did a lot of cutting on my machine. Not spread over time batches of a lot of parts over the year I have the beta version I have right now. I just found a few weeks ago the anti back lash nuts were shot on it. Worn right out. So I know that won’t help you much. I am talking 3 to 4 weeks of use 2 to 4 times a year with various other smaller jobs between. But the bigger jobs were very involved from 100 parts to 400 parts. Had one in between and one lower.
1 Like
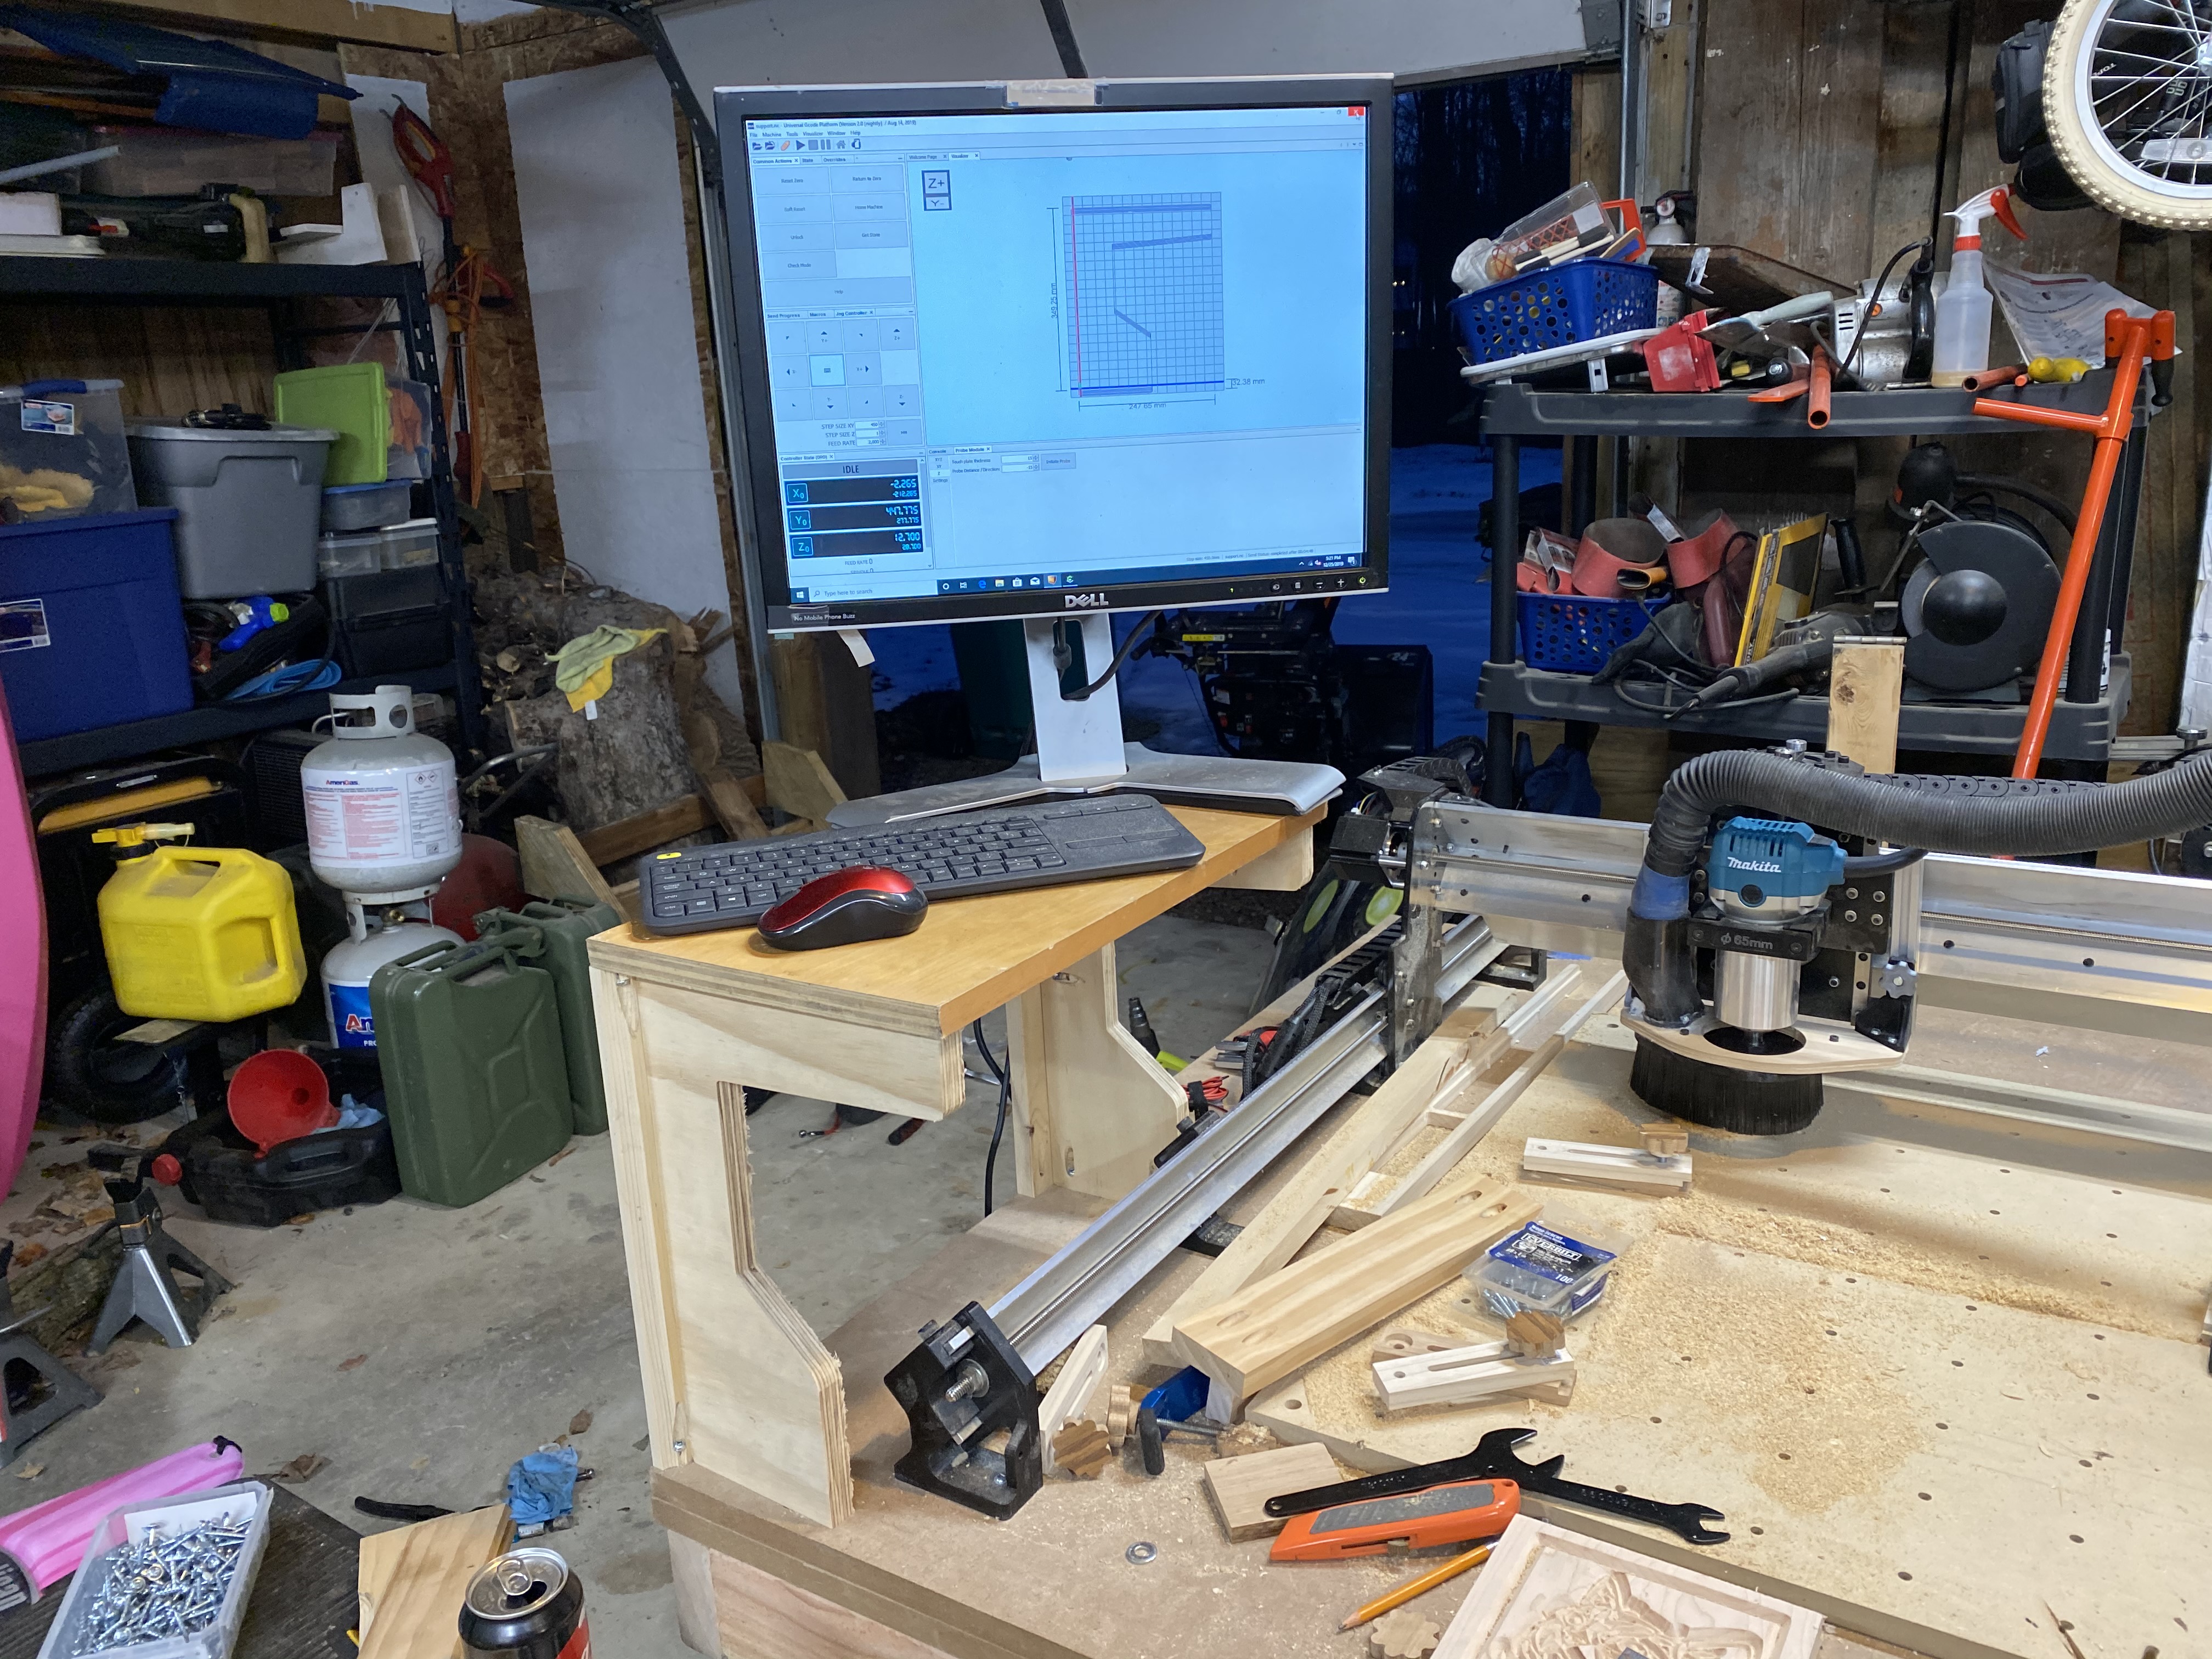
just added a shelf to hold my monitor and keyboard on the side of the table, wanted it up and out of the way, used the CNC to cut the brackets which I designed super quick in carbide create, which was a pain due to the way you have to set up measurements. They have the weird shape so the gantry can pass under the shelf ![]()
And yes I did clean up the table… I was building the shelf so I could pick up one of those collapsible portable workbenches I had the monitor on, that was taking up space. Did some cleaning after the picture.

7 Likes
Didn’t know that propane tanks were designed to be stacked? Can you still hook both up at the same time???
5 Likes
lol they are both empty, just stacked to be out of the way for now. I have to build a rack for my wife’s Kayak then I will have some more room.
Also made a minor measuring error, my little shelf supports bump into the Z gantry if its all the way to the left, so I will have to slice off a little bit of that. I was only accounting for the X gantry height like a knucklehead.
Mike
1 Like
I plan to mount my Longmill to a torsion box attached to a stand so the torsion box and therefore the mill folds down onto a work bench for use and folds up to allow use of the work bench for other purposes. The work bench has a 30" by 60" top with a bank of 4 drawers at each end. The stand will fit between the two banks of drawers and the pivot point for the torsion box will be about 33" from the front of the torsion box. That will allow space so the mill will not hit the wall when in the stored position. The torsion box will rest on the work bench such that there will be no load on the stand when the mill is horizontal. Both the stand and the torsion box will have adjustable feet to ensure everything works right. I’m not expecting my Longmill until February but should have the stand and torsion box complete in the next week or two. If there is any interest I’ll post pictures.
5 Likes
By all means, please post. There a CNC’rs out there that haven’t started building yet. Every option helps everyone. Sounds like a nice setup.
3 Likes
What size long mill are you mounting on the flip table?
I built a flip bench for my lathe, miter saw, disc sander and oscillating sander, thinking through how to build a flip table for the long mill, it would be a very large flip
Very interested to see what you come up with, all the other flip tables I have seen have been for smaller x-carves or small shako’s.
Thanks!
Mike
I guess I wasn’t clear enough, Mike. I’m getting the 30 by 30 Longmill. I’m not planning to make the machine into a flip table exactly. The torsion box/mill will be mounted onto a stand that sits behind and under an existing work bench. When in use the Longmill will rest on the workbench. When not in use, it will tilt up 90 degrees to free up the workbench for other uses. Since the torsion box will be approximately 48 by 48 inches and the workbench is only 30 inches deep I’ll have about 20 inches of space behind the workbench dedicated for the mill.
I’ve come up with a plan to build the torsion box with plywood and construction adhesive only, no metallic fasteners. Call me nuts but the reason I’m doing it is to ensure the table is absolutely flat and I like a challenge. Sheet goods are rarely completely flap and that means you have to take special precautions when assembling with screws so I got an idea that I’m going to test out. To accomplish this I’ll first have to make some special clamps. These will actually be clamping cauls with a somewhat of a curved surface. These will be used in pairs (one above and one below) with turnbuckles at each end to apply pressure. The curved surface facing the torsion box results in initial pressure being applied at the center and the pressure spreads out as the caul is bowed so the curved surface is flat against the torsion box when correctly tensioned. I’m using construction adhesive for two reasons. First is the long open time. The setup will take time and wood glue would never work. Second, construction adhesive is better at gap filling and I think provides a stronger bond for joining plywood edges.
Strictly speaking, a less than perfect torsion box can be compensated for by adding a spoil board that is surfaced after installation and I’ll do that if necessary but I want to try this as an experiment.
@CRD The whole machine needs the entire base of 48 X 48 inches yes the cut area is only 30 X 30 but the entire machine needs that entire space.
1 Like
I understand what you are trying to build now. I think getting the table flat will e a challenge, nothing wrong with it though, but you are going to be facing a bunch of stacking / compounding errors that will add up over time - you’ll eventually probably find you’ll need to have a spoil board that you surface to be level with the machine.
Since the table is going to be wood, it is going to change size / flex a little with changes in humidity. Also, the machine itself is made up of a number of parts that are 3d printed, and while pretty accurate, I know from my own 3d printing experience, that you need to build in tolerances. This along with the fat that all screw holes have a little bit of slop in them means your gantry and rails are going to have a little error in them as well.
I guess what I am try to say is that, even if the table is completely flat, you might have a difficult time getting the machine trimmed to the perfectly flat surface of your table.
However, no reason to not go for it, the more accurate you build the surface, the easier it will be to get your machine dialed in.
When I built my flip table I built it very simply - I had a 3/4" threaded rod run through the middle, and then build a 3 layer 3/4" plywood sandwich around the rod so the table would pivot around the threaded rode. I used screws so I could take it apart if I needed to. However, this is just to put tools like a lathe and sanders on so perfect level was not a concern for me.
Good luck interested to see how it turns out!
Mike
The torsion box table will not warp or twist the way he is building it. It may not perfectly flat but it will be as flat as anyone here can get it. Typical torsion box is 100% plywood so no expansion or contraction will be had in the build of it. At least that is the theory.
1 Like
Mike, you’re absolutely right. There is no garranty that the mill will be dimentionally perfect and it may still require surfacing the spoil board to get it right. What can I say, I’m a perfectionist. Besides, I’m bound to learn something along the journey.
You can never achieve perfection but the closer you are the better the accuracy and the products produced with the machine. Sometimes the extra accuracy will not be needed or even noticed but I’ll know and that matters to me.
I’m going to give it a shot and if necessary I have machinist’s straight edge and some card scrapers to fine tune it if required.
My plan is to mount the machine on strips of plywood on top of the torsion box so the machine doesn’t need to be disturbed to replace the spoil board.
1 Like
Ya that sure saves a lot of hassle down the road.