Is there a reason for cutting the table top to 51.75” instead of all the way to the rear of the table. Is it just to conserve enough of the mdf to make the spoil board?
I think the 51.75 might be the width (X) and the 48-49" will be the depth (Y). If I remember right my full sheet of MDF was an inch bigger than plywood,
I don’t have an AltMill but that’s what I think based on these dimensions.
In the 2nd drawing you can see it’s 51.93" between the “Y axis end plates?” or whatever they are called!
The reason I ask is that I think that it would be easier if the table top covered the whole table and then I could put another on top of it and then cut the spoil board out with the machine.
@LarryLSimmons @_Michael is correct. The 51.75" is the width. If you use a 48"x96" sheet of ply for the base, the depth of your table will be 48". You’d have to fill the gap with something else if you want it covered. But it’s not necessary since it’s outside of the Altmill’s useable area.
A sheet of 60" x 60" Baltic Birch plywood would fit the entire area.
Thanks for the input. I have the base on already. I was just thinking that it would be easier to let the machine cutout the spoil board because math is hard LOL.
I see you already installed the base.
I used a sheet of 3/4" Baltic Birch for the base, cut to extend past the Y-axis motors. This was to protect the motors from hitting the wall my machine is up to. I then mounted a 3/4" piece of MDF that I had the machine cut to it “nominal” size (24×48 in my case), not to the limits of the machine.
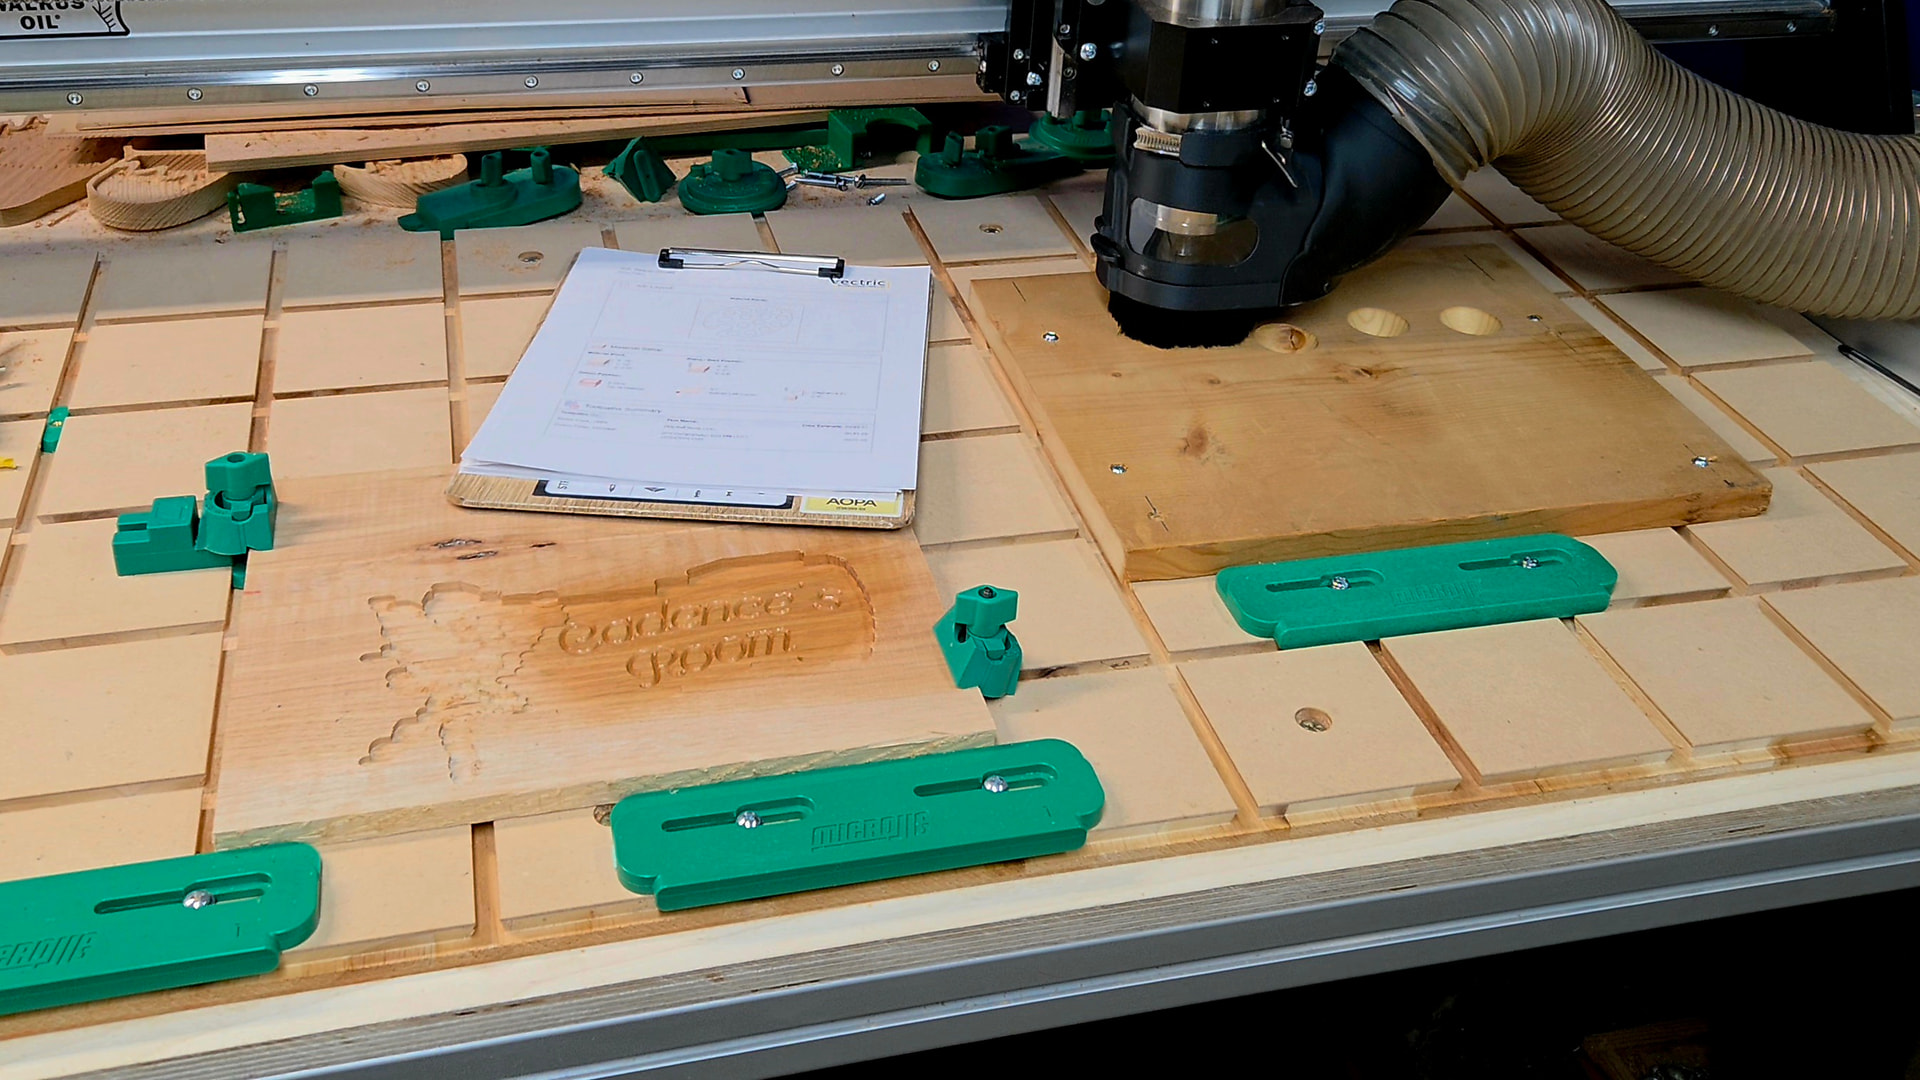
As a side note, I used Micro Jig’s Matchfit system. Which cuts a 4"×4" dovetail pattern into the MDF.
I wouldn’t mind seeing photos of your match fit spoilboard setup. I’m planning on this with some dog holes