No, I have not discussed it with anyone from Sience. Given that Sience is experimenting with a much heavier spindle, I was pretty confident that my approach would work.
The router (full sized for now instead of a trim router) that was used in the mount is held solid as far as I can tell but I must admit that I still haven’t run an actual cut. I do not anticipate any issues.
If I was to make a new mount for the regular spindle, I would have exactly the same cutting torque applied with the same lever arm and I would have the same mass as with the router. It would potentially be more rigid because it would be machined from aluminum rather than 3D printed.
I can see no up side of doing this but the down side is that the y working dimension would be reduced.
Edit: The only possible issue I could possibly think of is that, even though I can’t see any flex in the mounting, potentially harmonics from cutting stresses could develop. This would likely be fixed by making the auxiliary mount out of aluminum. … but I am pretty confident in my 3D printed mount.
If torque is a concern, you could always have a counter weight on the other side of the gantry. But with a trim router and slow speeds, I’m not sure I’d be too worried. In any case, I’d remove the spindle to reduce the weight on the gantry.
I’m looking forward to seeing how well your actual vertical milling goes. So many times when it comes to woodworking, things that appear to have excellent merit don’t work out in actual work. Fingers crossed!
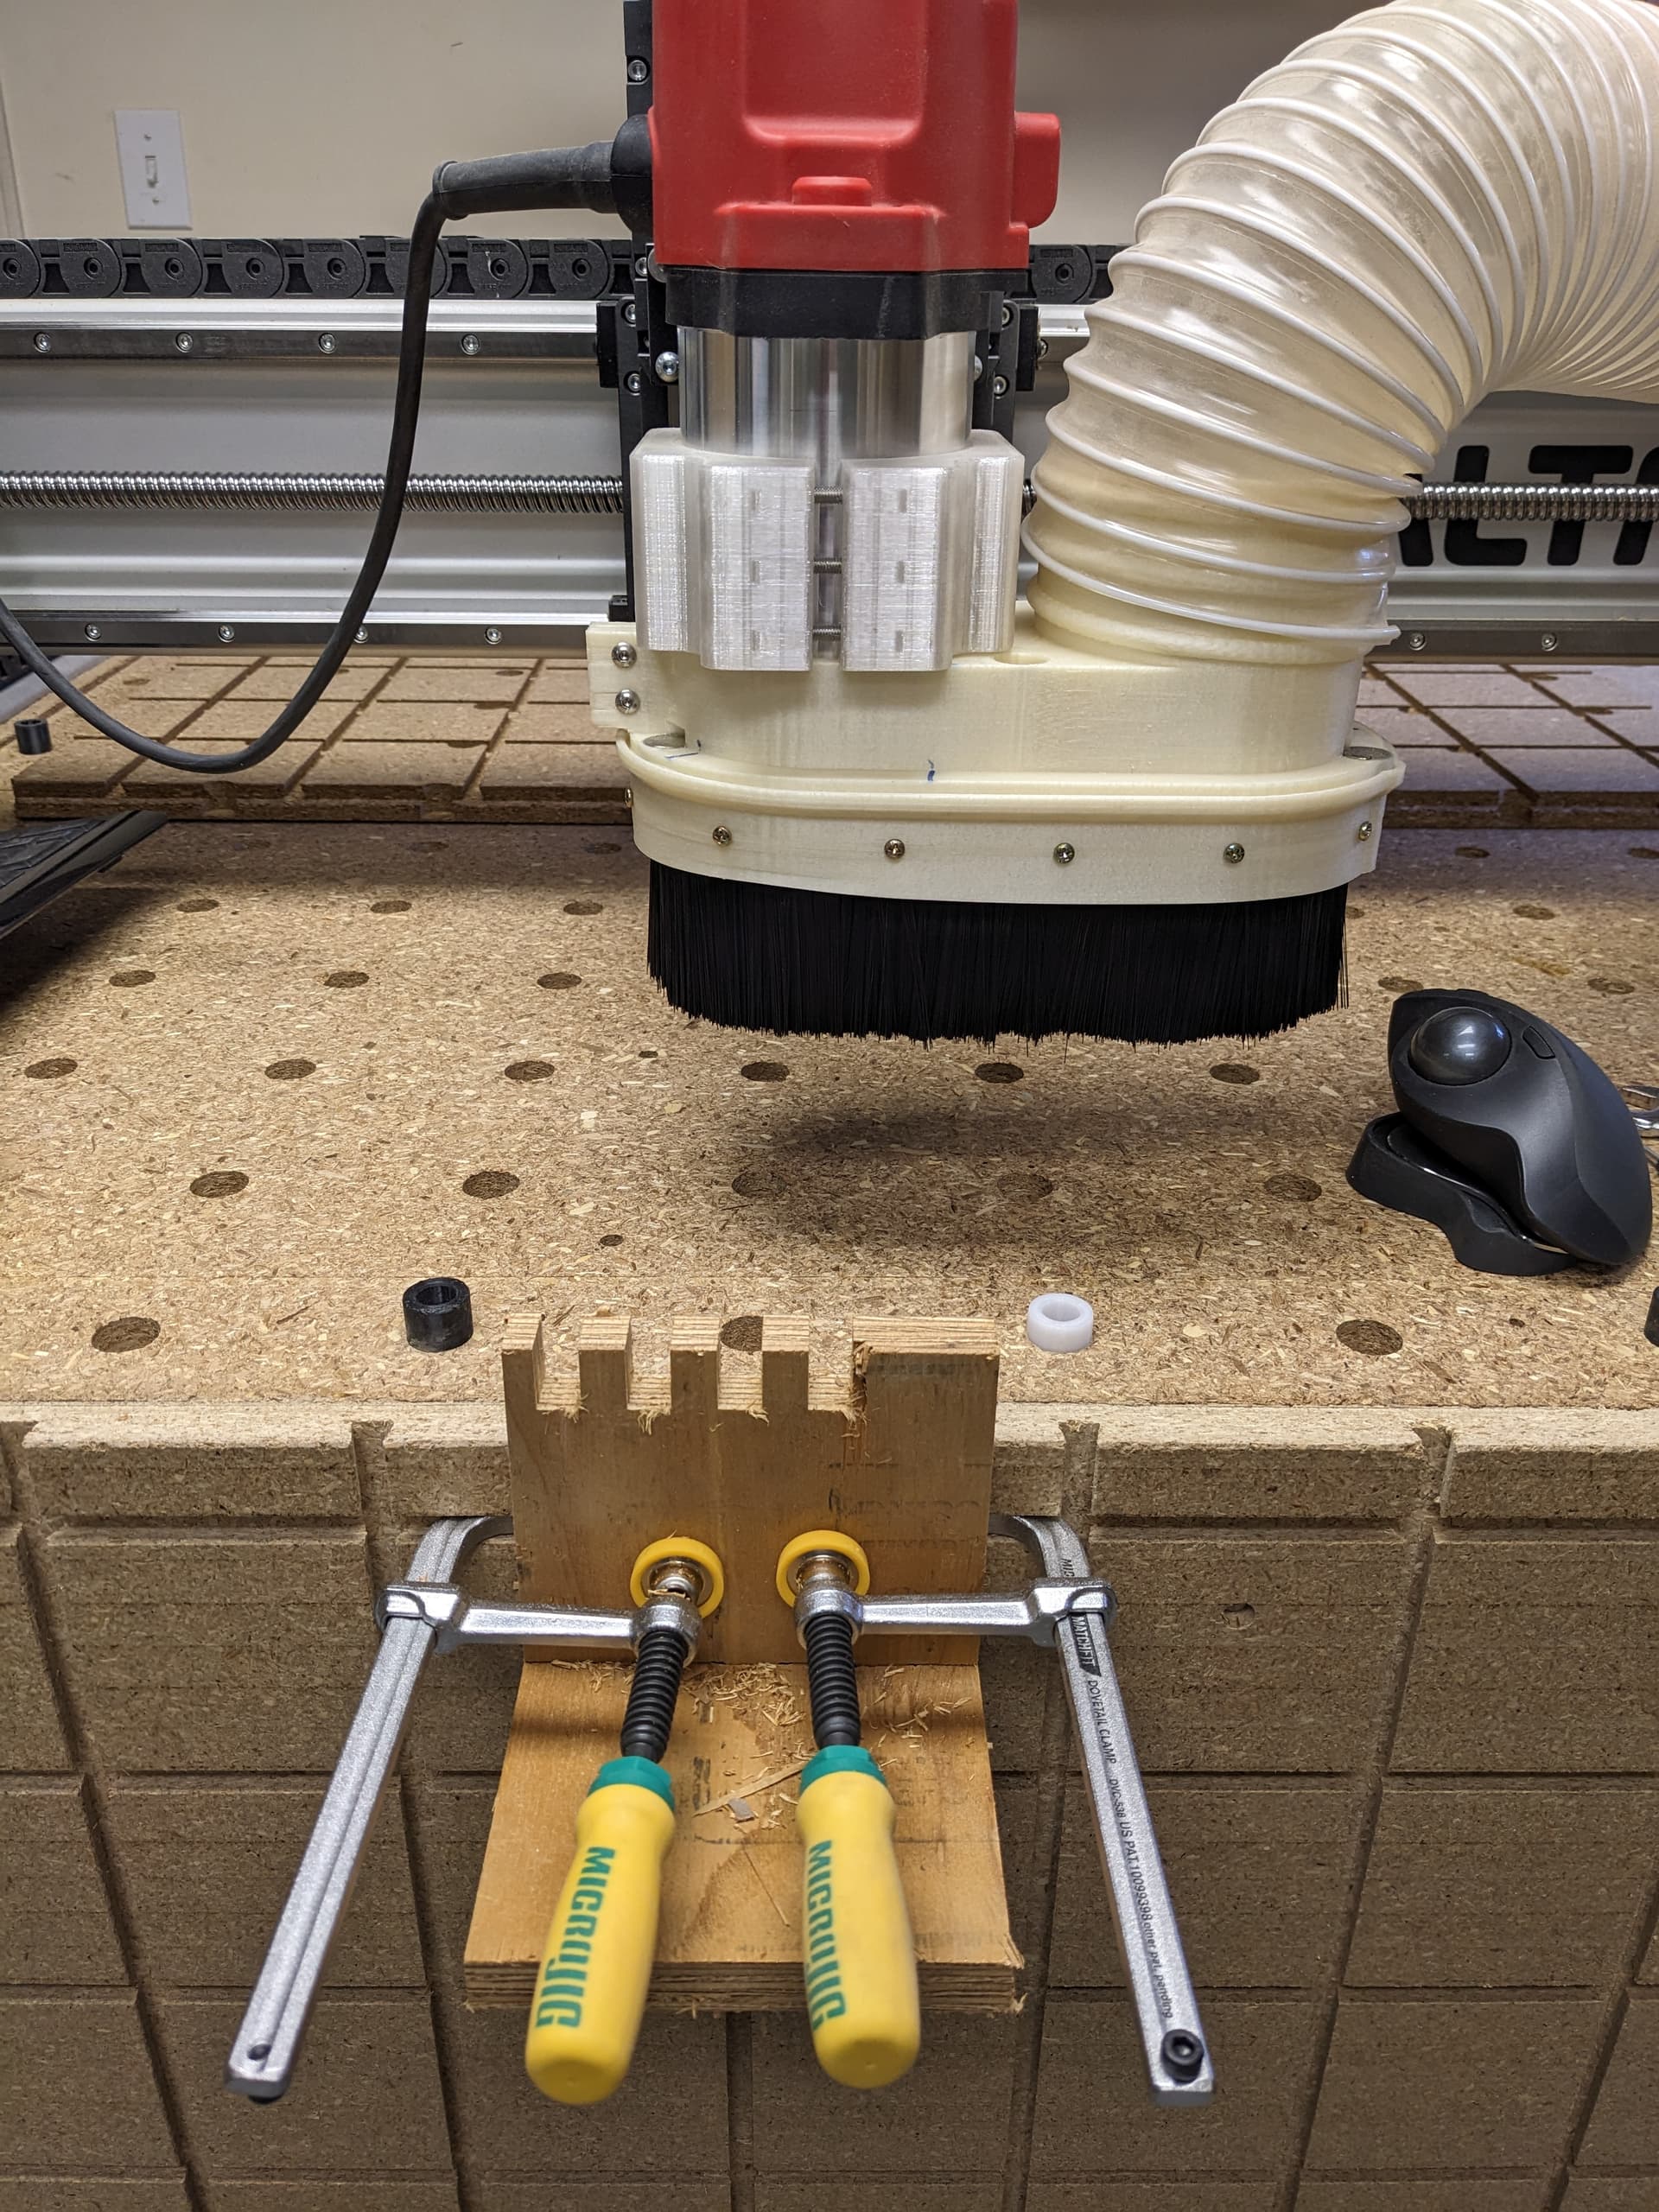
I decided to do a quick test. I did a model of finger joints. The plywood used here is 3/4" thick, I used a 1/4" endmill, the depth of cut is 6.3 mm for each pass, Total depth of the fingers is 19 mm so 3 passes for each ‘slot’. There is some breakout because no backing was used. The router used is a full sized router and the Altmill spindle is still mounted (can’t see it behind the router). All cutting parameters were the same as if I had used the spindle on a horizontally mounted work piece.
The cuts were a bit noisy, probably because the stock was pretty high up. The bottom of the fingers should be just a tad above the spoil board.
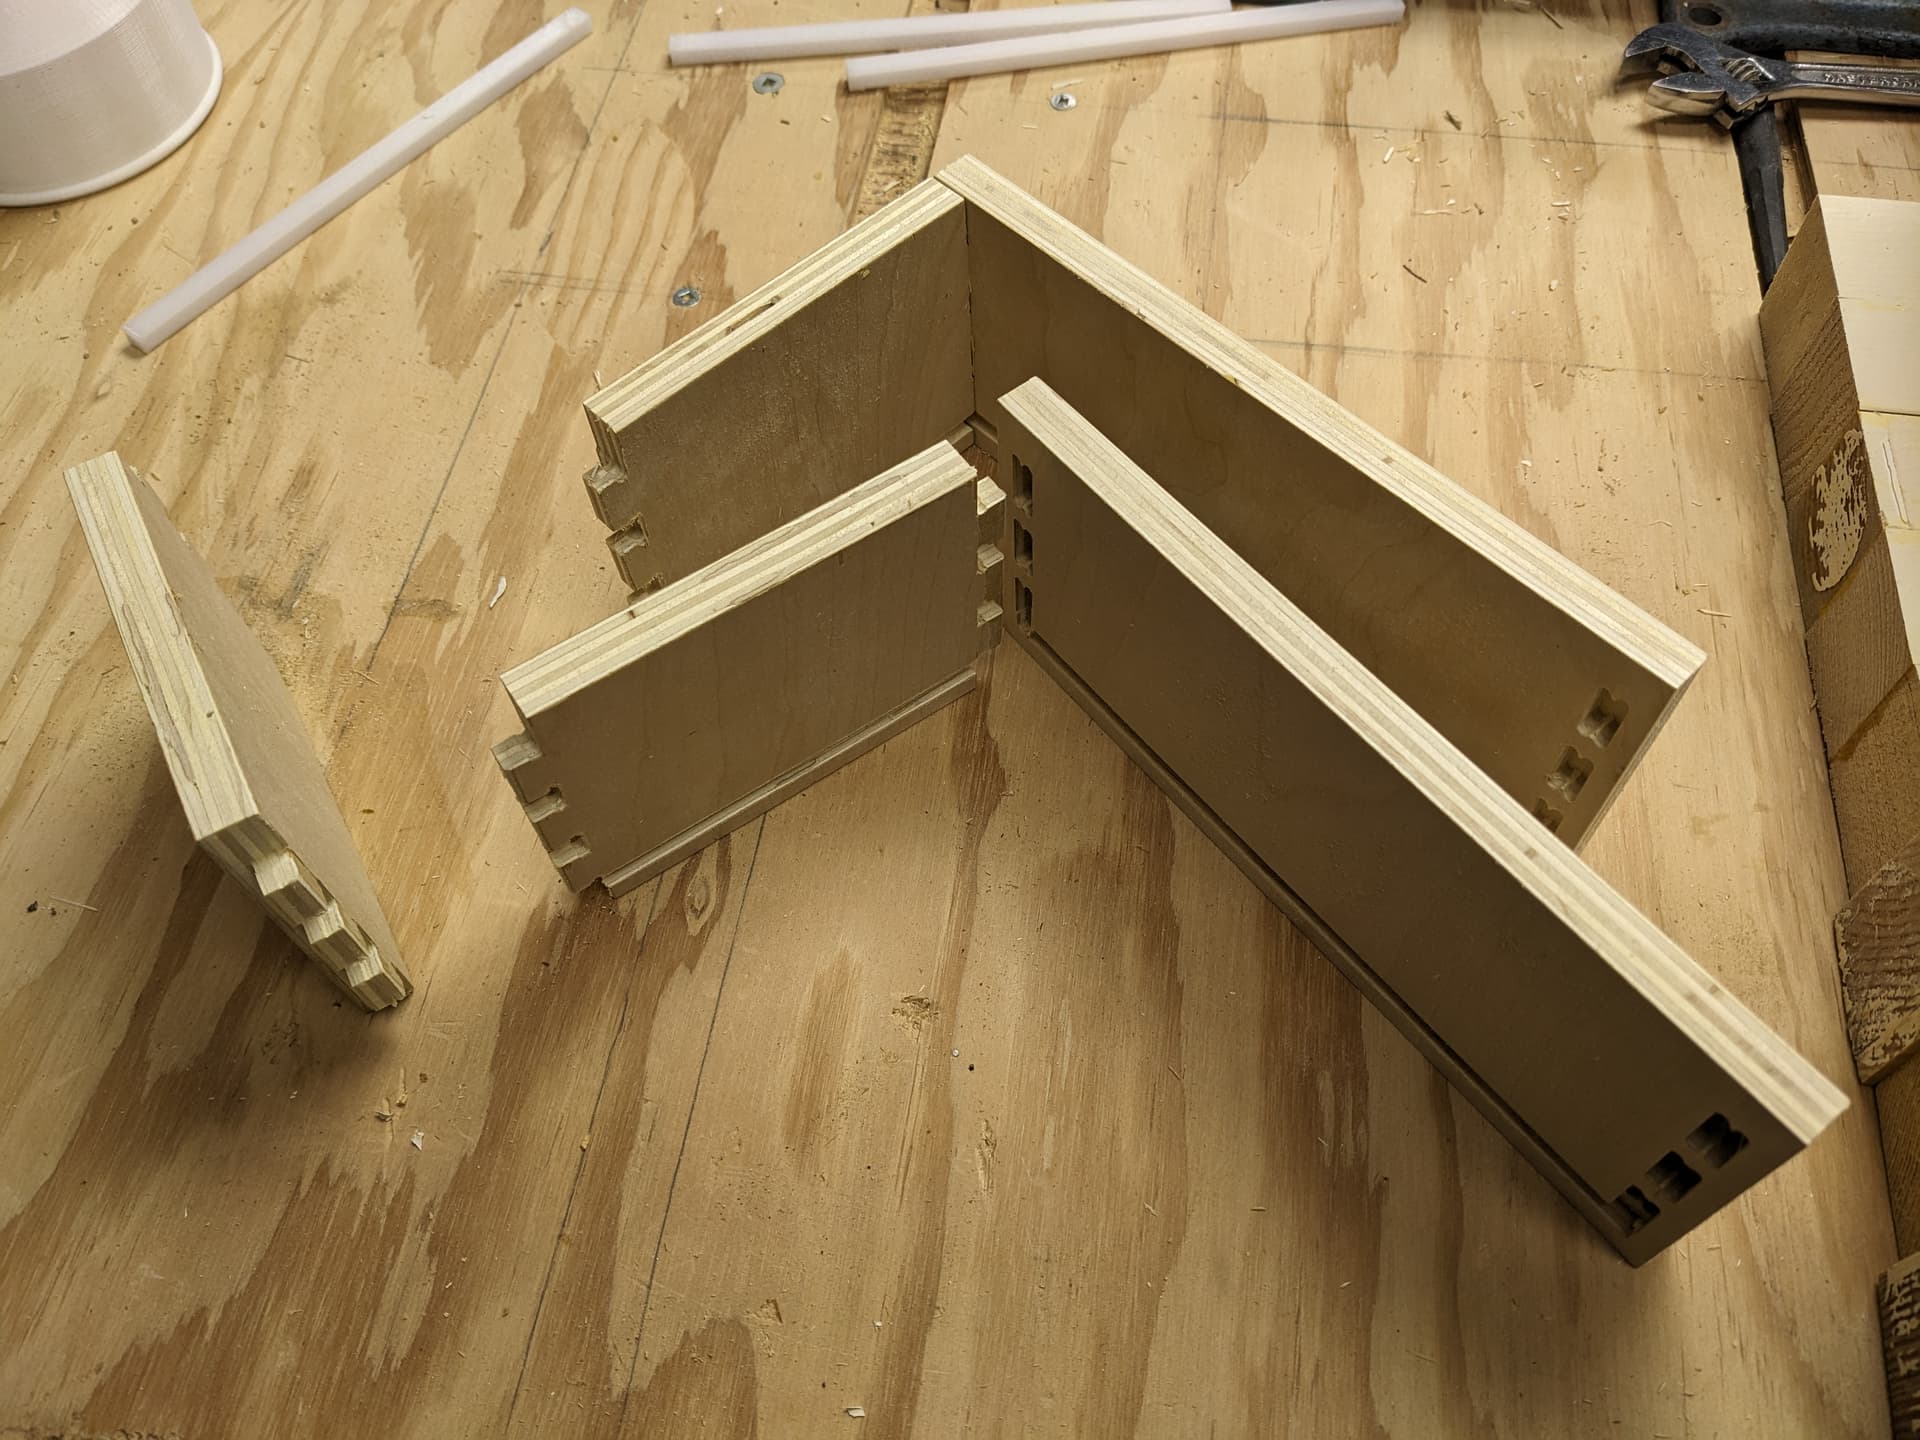
Finger joints on baltic birch plywood is tricky to do with a router without getting tear out or chatter. I’ve done tons on a router table and results vary depending on the bit used and the quality of the plywood. I think these came out reasonably good.
@Jens I’ve had good results with my rudimentary setup, but as you said, the best results come from using a backing piece. Plus, I’m not doing dovetails so I am not using dovetail bits. I can do those quicker and easier with a dovetail jig on my router table. Since I can use smaller endmills, the process is more forgiving, I think.
I wonder if using a different toolpath would help with tear out. Instead of cutting a slot in one pass (or several passes) you start by removing the outer ply from both sides. Then remove the rest of the stock from the slots.
@Chucky_ott It’s not a bad idea, but just food for thought, I think you would still get blow out on the unsupported wood in the interior. It may not show on the outer faces, though, so it may not be an issue.
A variation of what you are suggesting that I have seen is to first do a drilling operation on the four outside edges of the slot which effectively removes the outer ply right to the slot edge and then clear out the actual slot.
I reconfigured the test to first drill the holes and then cleaning out the slot. It appeared to improve things slightly but I would need to run more tests to see if the overall improvement is worth it.
Jens, interesting test, indeed. One thing you could do for your next dovetail joinery test would be to work with oak or perhaps maple, as those two species are the most popular for drawer boxes. Further, support the front and back faces of the piece with some backer material such as 1/4" oak plywood ( assuming it’s thin enough to enable your router to reach that far forward…). And to make it easier on the dovetail bit, you could perform a clearance pass using a 1/4" mill before using the dovetail bit.
My long term goal is to find the best way to make drawer boxes using plywood (baltic birch if I have too much cash burning a hole in my pocket). Doing finger joints or dovetail joints was one of the methods to test. Based on my testing, I agree that the edges need support front and back (I have lots of room to do that). If I was to do dovetails then my standard procedure would be to clear out the middle with a straight endmill and only then cut the dovetail portion.
Having said all that, the front runner for drawer joints at this point is a blind tenon joint. It can be machined horizontally but does require double sided milling on some of the components. The other drawback is that this method require a fairly small endmill (1/8" in my case).
@Crave2Control Cancel that. Couldn’t sleep and remembered the leg profiles where on OnShape. So I made my own drawing. Not built yet so adjustments may be required.