Does the new G sender support “Bit setter” s well as bit changes based on g-code???
Awesome thnx. Can you pls explain where do we insert the position of the bitsetter?
Thank you in advance
Thnx Neil! Really appreciate
I’ve had nothing but problems with the inbuilt tool setter strategy. Sometimes it doesn’t move to probe location and Spindle On is still on the UI when the wizard comes up. Other times the Z zero after tool change is way off. Pretty disappointed with this at this point. That’s what has led me here.
Can successfully run @NeilFerreri macros outside of file. Have tried a two stage method using the initial tool macro prior to start of file. Entered the subsequent macro code for subsequent tool changes into config for Code tool change and that has not worked.
For something so seemingly simple on previous machines I’ve dedicated a lot of time to this and am getting very frustrated.
1 Like
Have also now tried the Pause setting for tool change in config and run the second macro and having the exact same issue, the spindle lowers, touches the tool setter and then spindle comes on at probe height and heads back to cut and seemingly setting Z zero at the height of the probe.
If I run the macros while not running a file they work perfectly? But once I try to run them in anyway with M6 called in file it does the above mentioned.
1 Like
Ok.. so I think I’ve had a breakthrough.
I removed all the M0/M1 calls in @NeilFerreri second macro and have that as the ‘at tool change’ code box for a code tool change strategy. I’ve modified my post processor to include a move to a spot that makes sense to change the tool and a M0 pause BEFORE the M6 call. I change the tool at this point and click resume. Now the macro executes as desired.
Also, added a M0 in the ‘after Tool Change’ code box in gsender config to allow for dust boot to be reinstalled. This is sort of optional I suppose as it could be reinstalled after physically changing the tool and before clicking resume to run the tool change code.
Have only run it a couple times in testing but will continue to test.
Next question, is there away to call the initial tool measurement macro in gcode so it could be added to the post processor? I’m not very familiar with how the ATC stuff works but have seen some stuff regarding code that can be called in the Post Processor which seems like it would work for this.
1 Like
Can someone let me know if the Eazy- Z Tool Setter from Onefinity will work within Gsender?
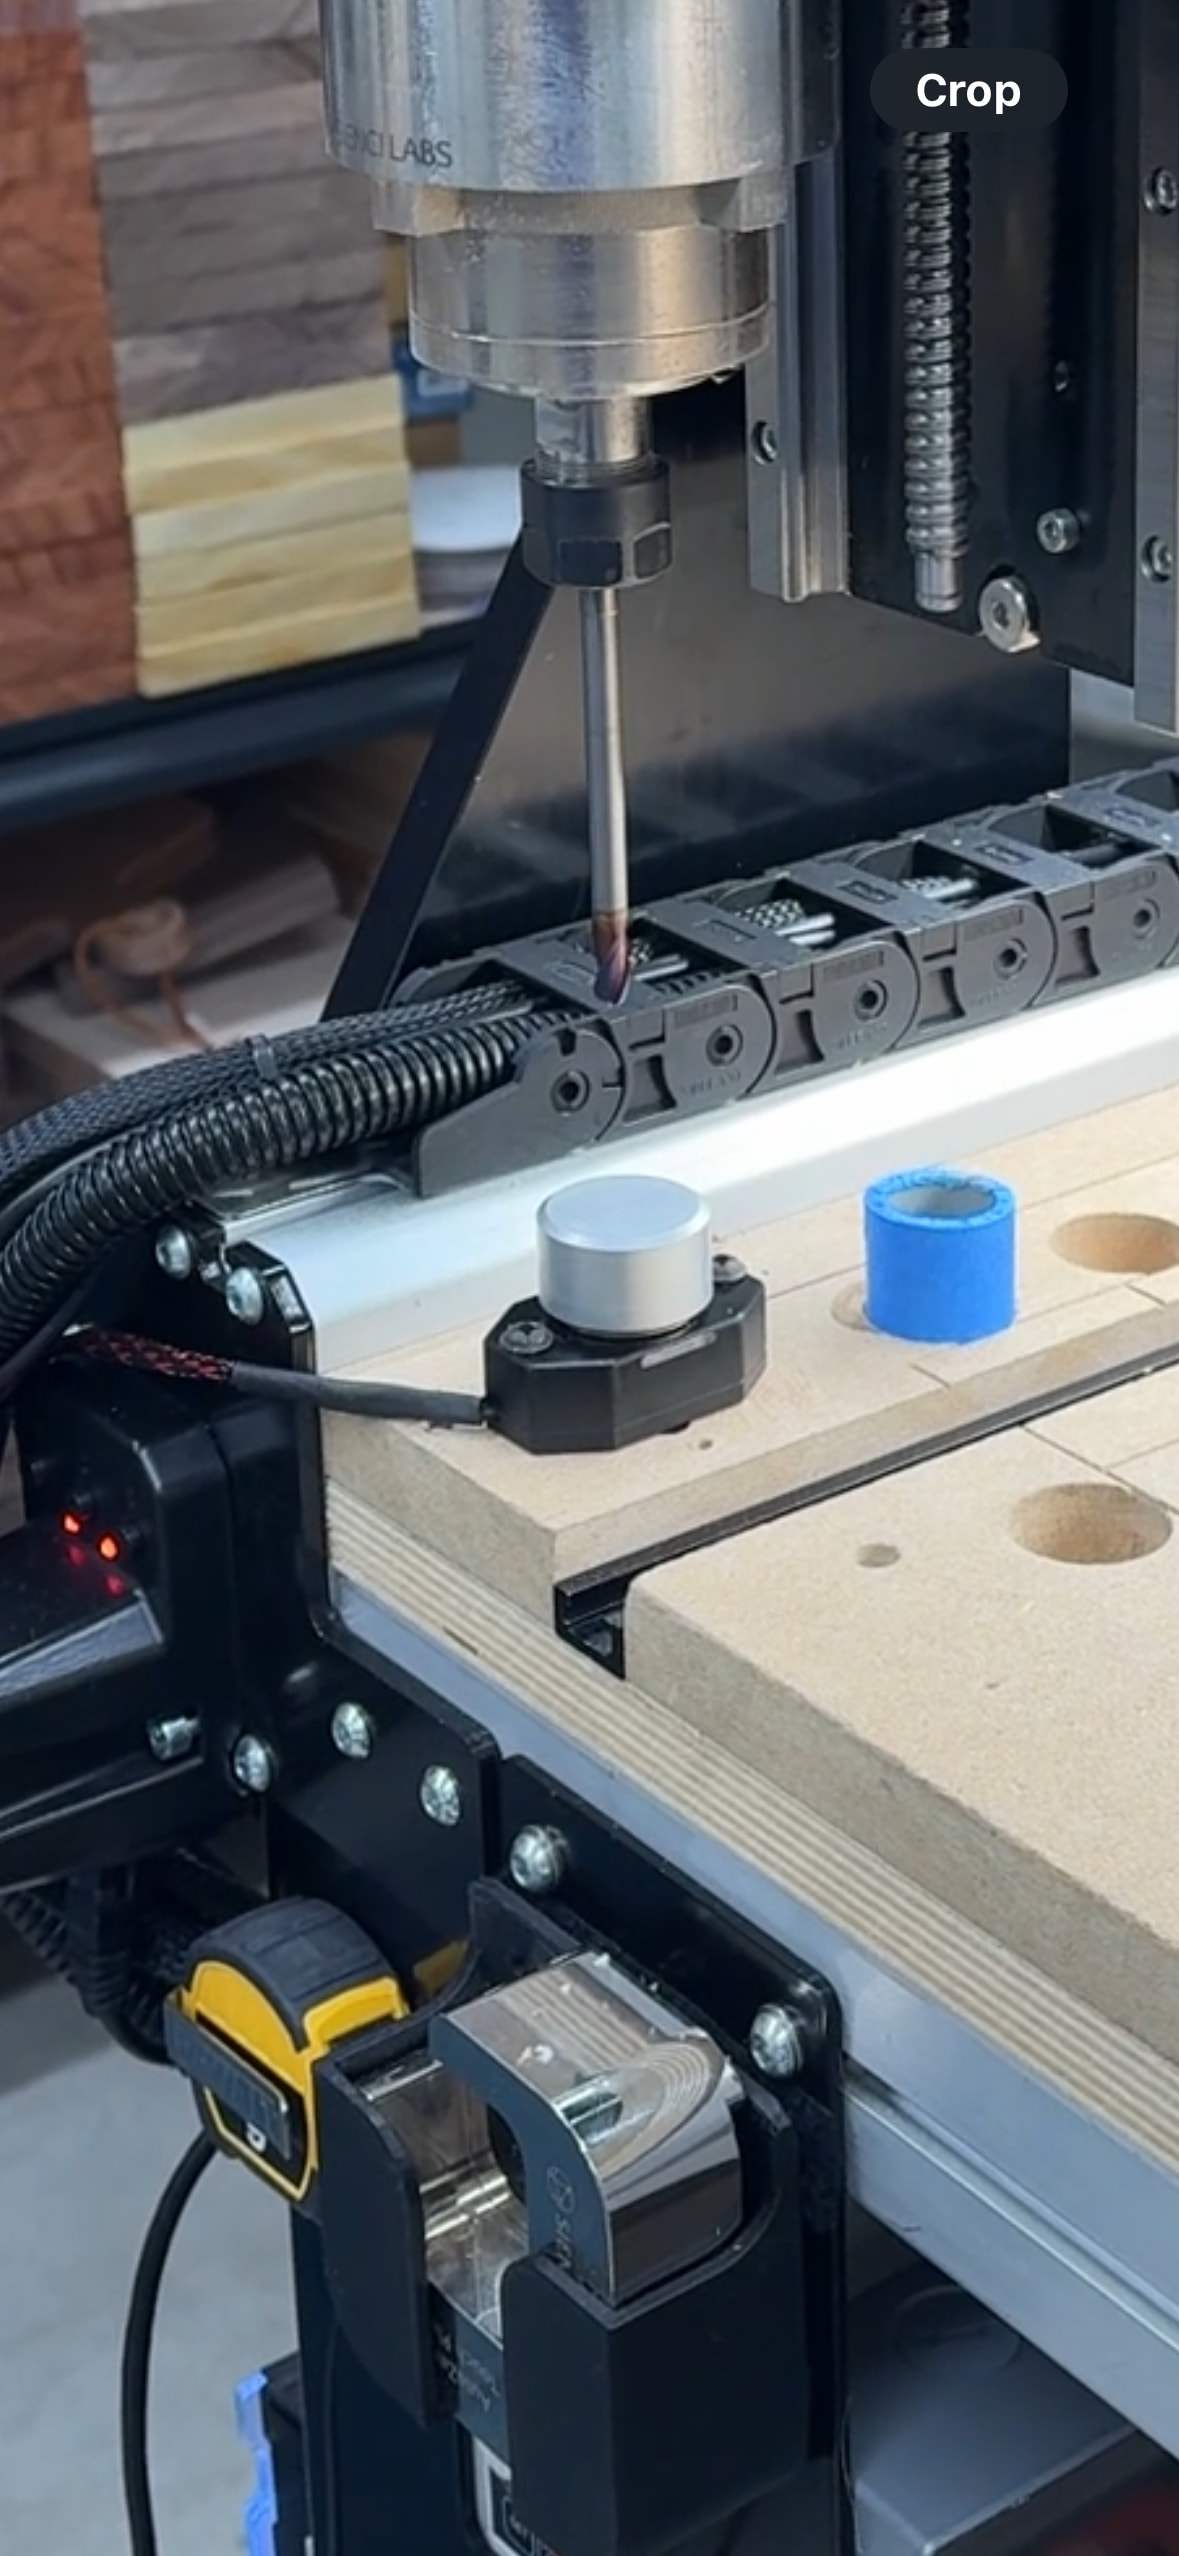
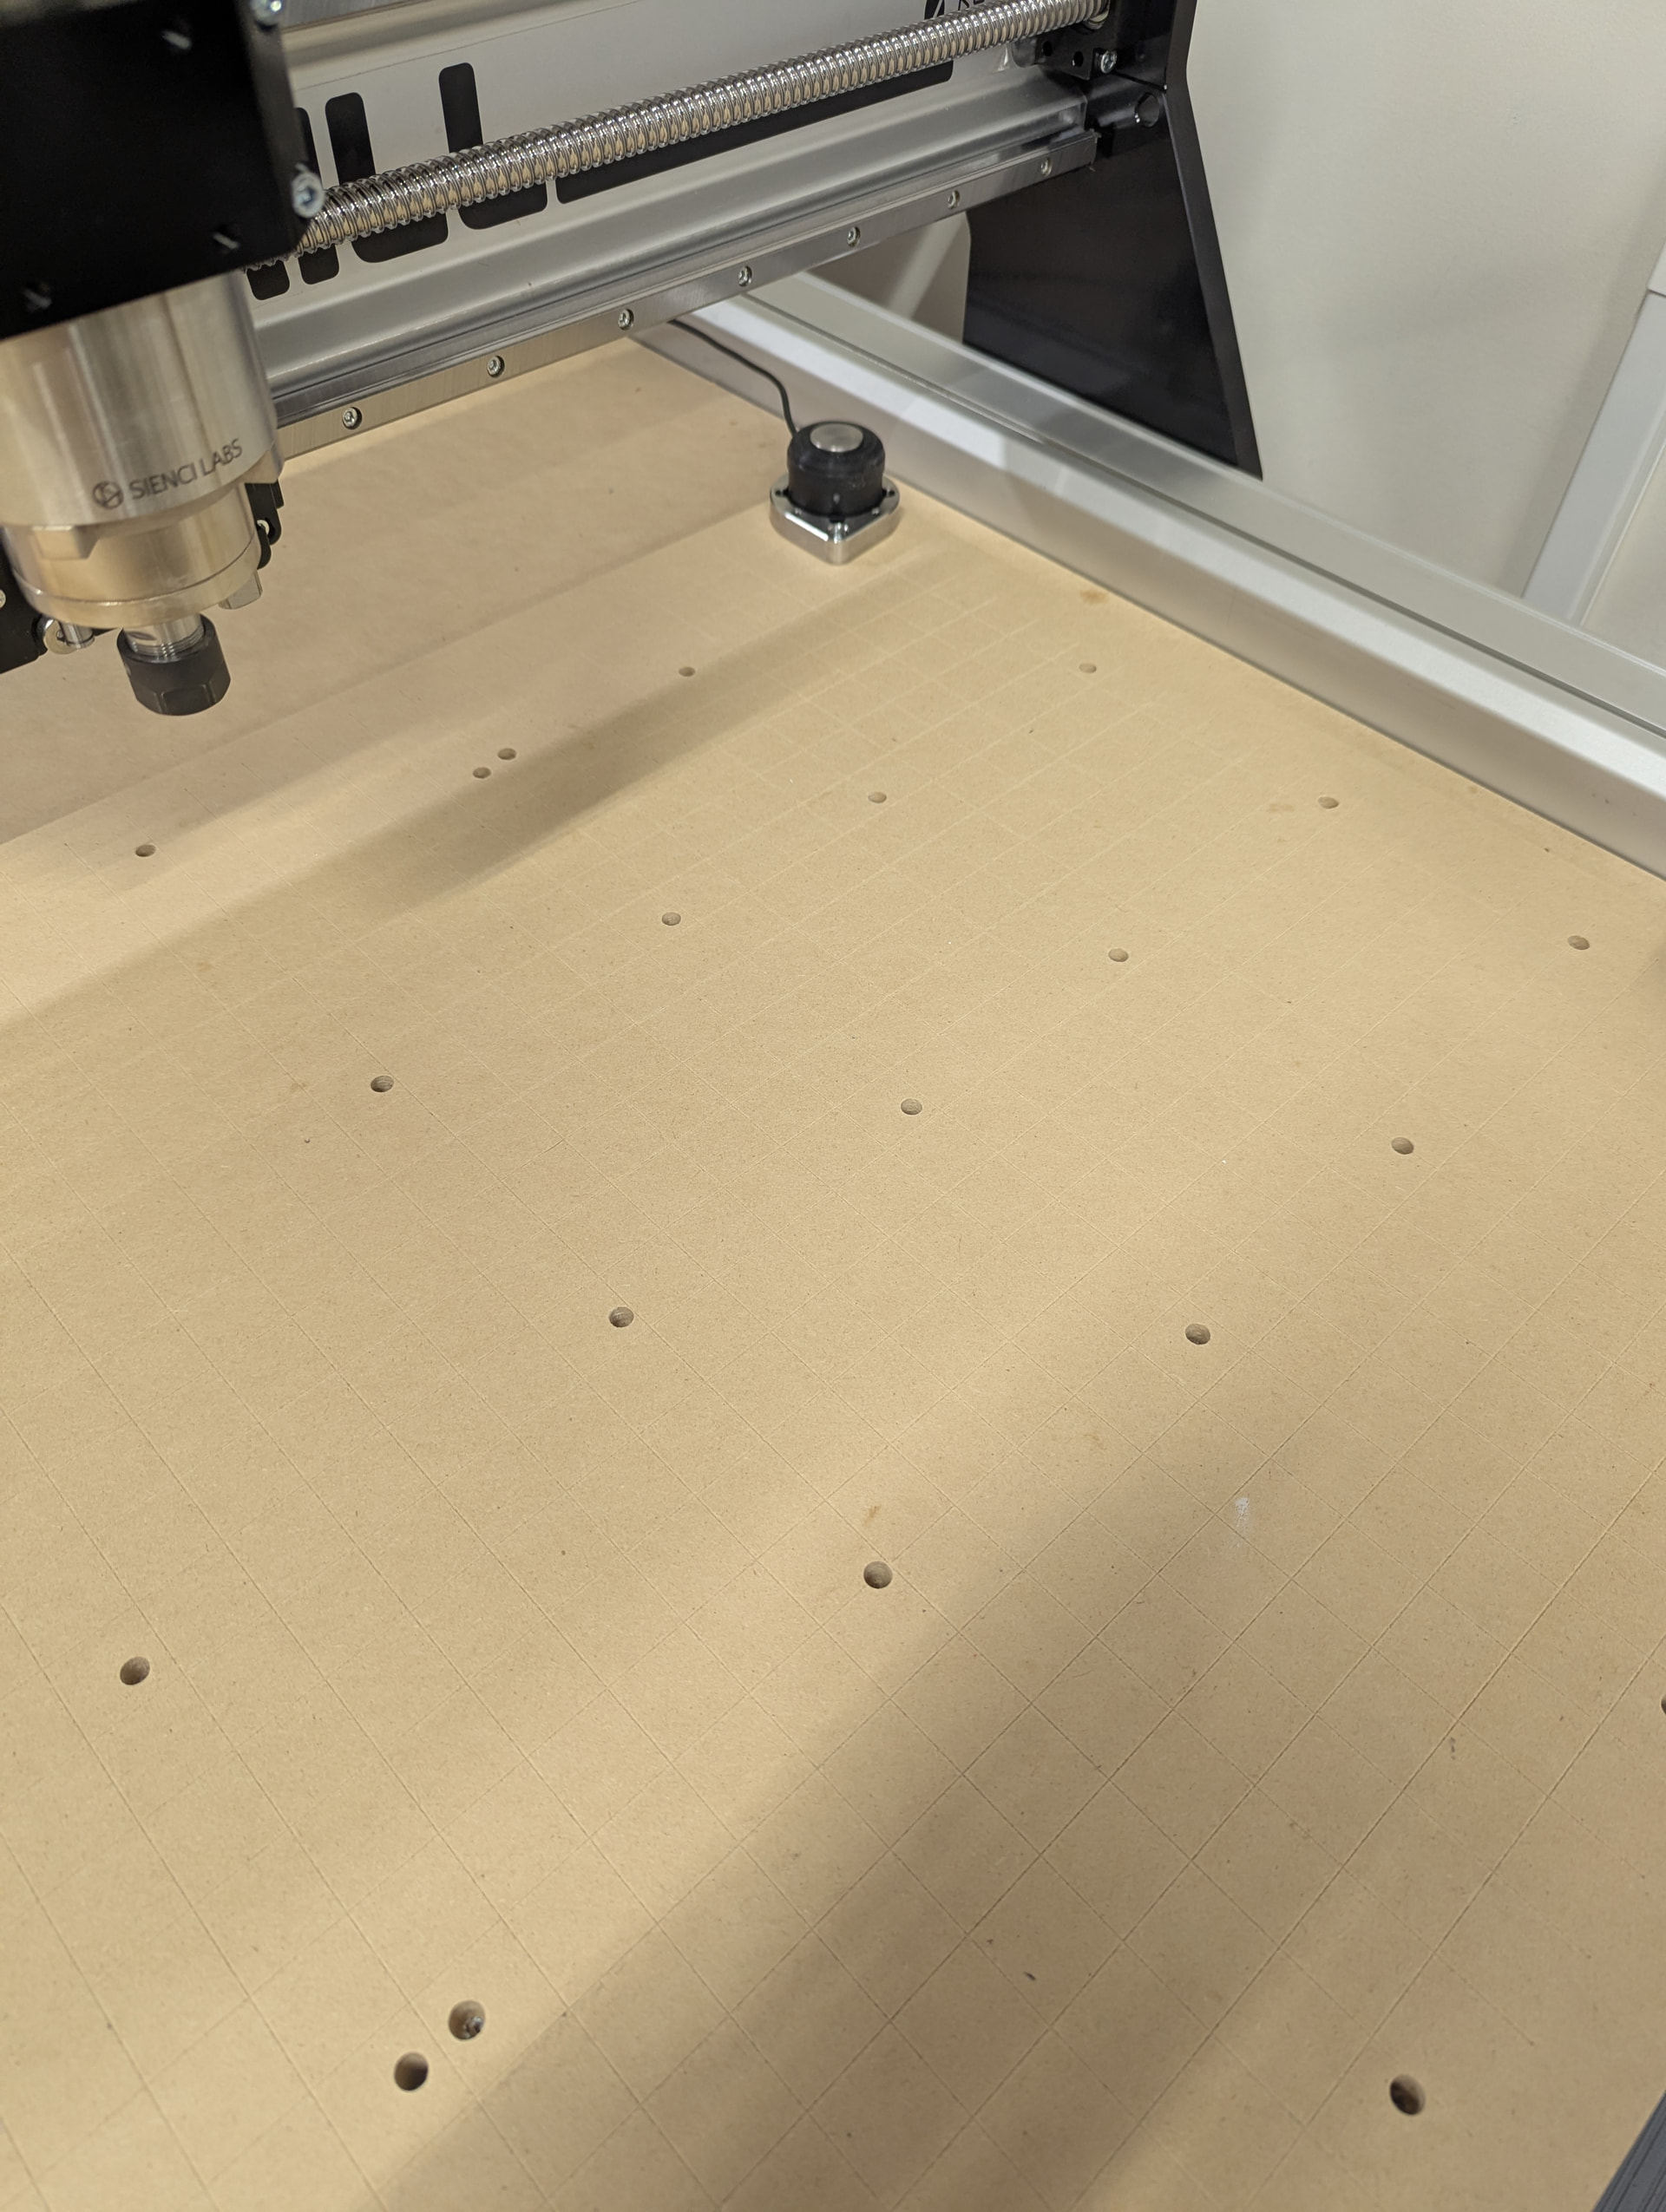
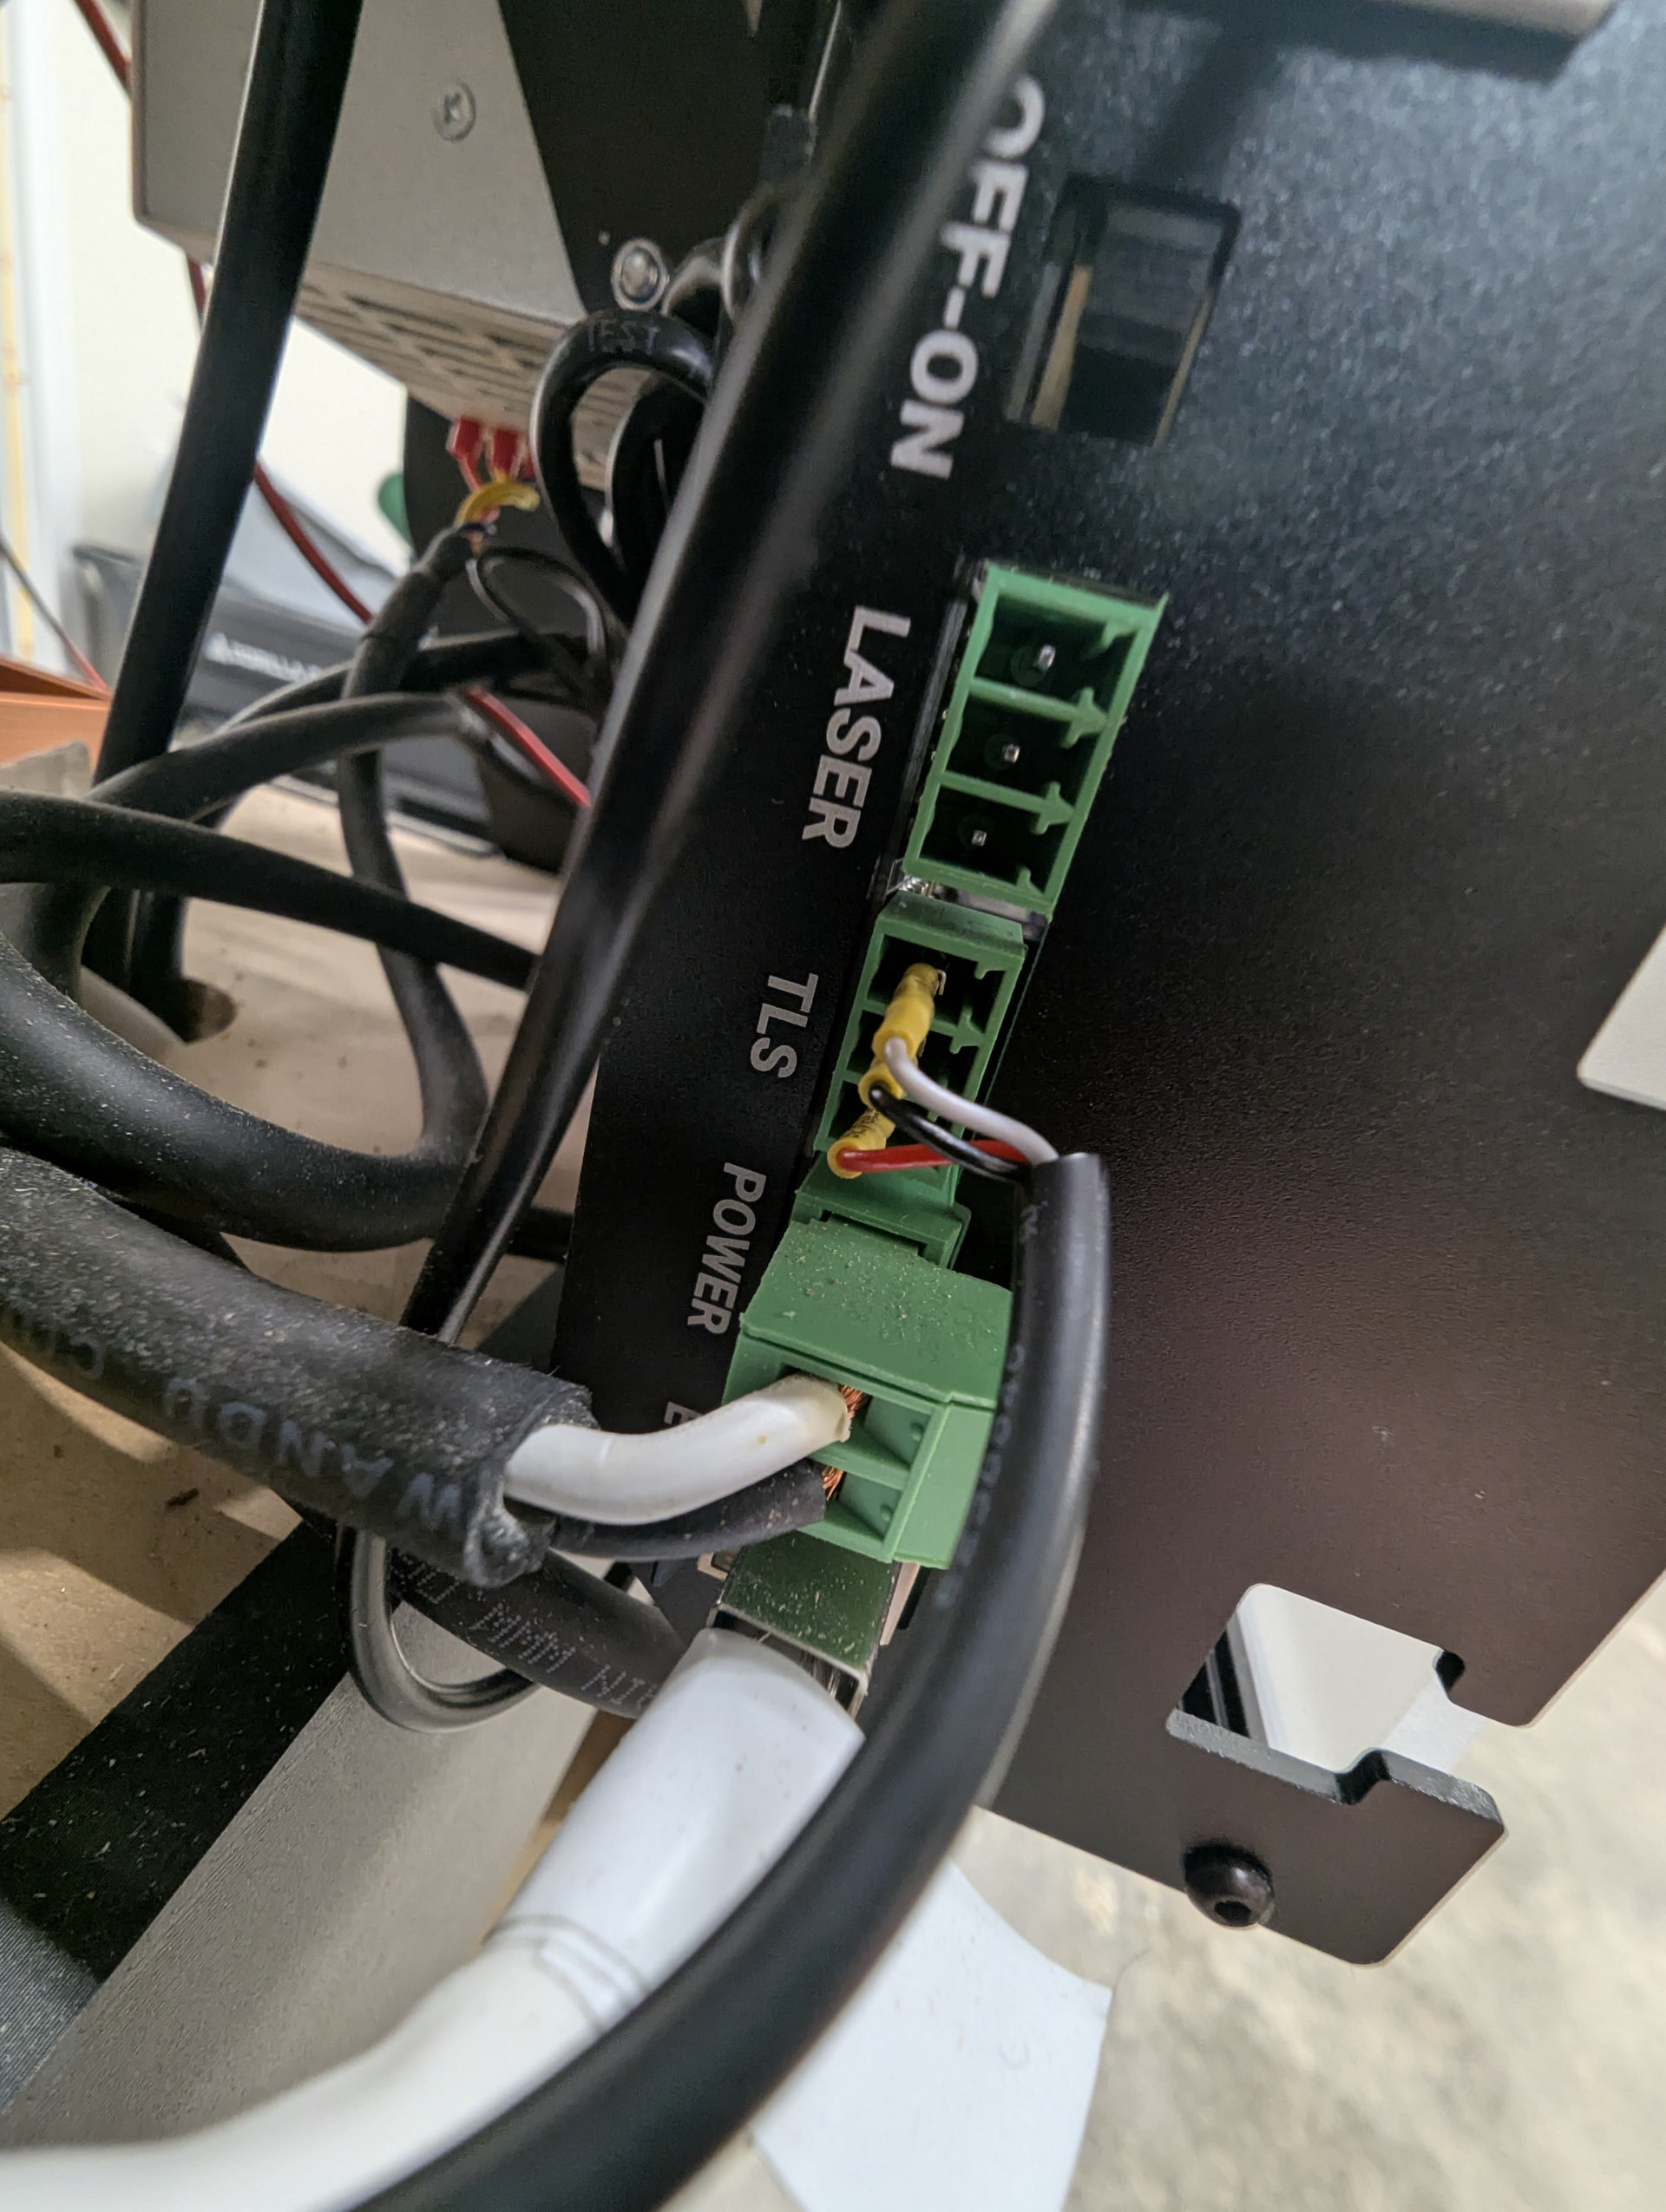
@LWH It does work. I found it to be polarity sensitive when wiring. I used the bottom 2 of the 3 TLS ports. I just surface mounted it for testing but I will be recessing it into my wasteboard soon.
1 Like
Thank you so much for responding. Do you mind letting me know how to set it up in Gsender?
@LWH This is a good place to start. It’s how I figured out what needed to be done even though he’s using a different sensor. The principles apply. You will also need to be sure your post processor can accept/trigger M6 command for gSender to pick up on.
Also, search this forum for tool length sensors to find other threads besides this one. There’s a pile of info out there. This video helped me a lot. I’m still learning myself and I actually have not re-saved my files to be able to utilize the M6 command yet so I have not run an actual cut file yet but have run some short test cut files to see how the sensor responds and to check its accuracy.
I hope this helps. I’m by no means a professional. Just started in the CNC world 2.5years ago so I’m pretty green yet. I can try to assist you with any more questions you might have but I can’t make any promises.
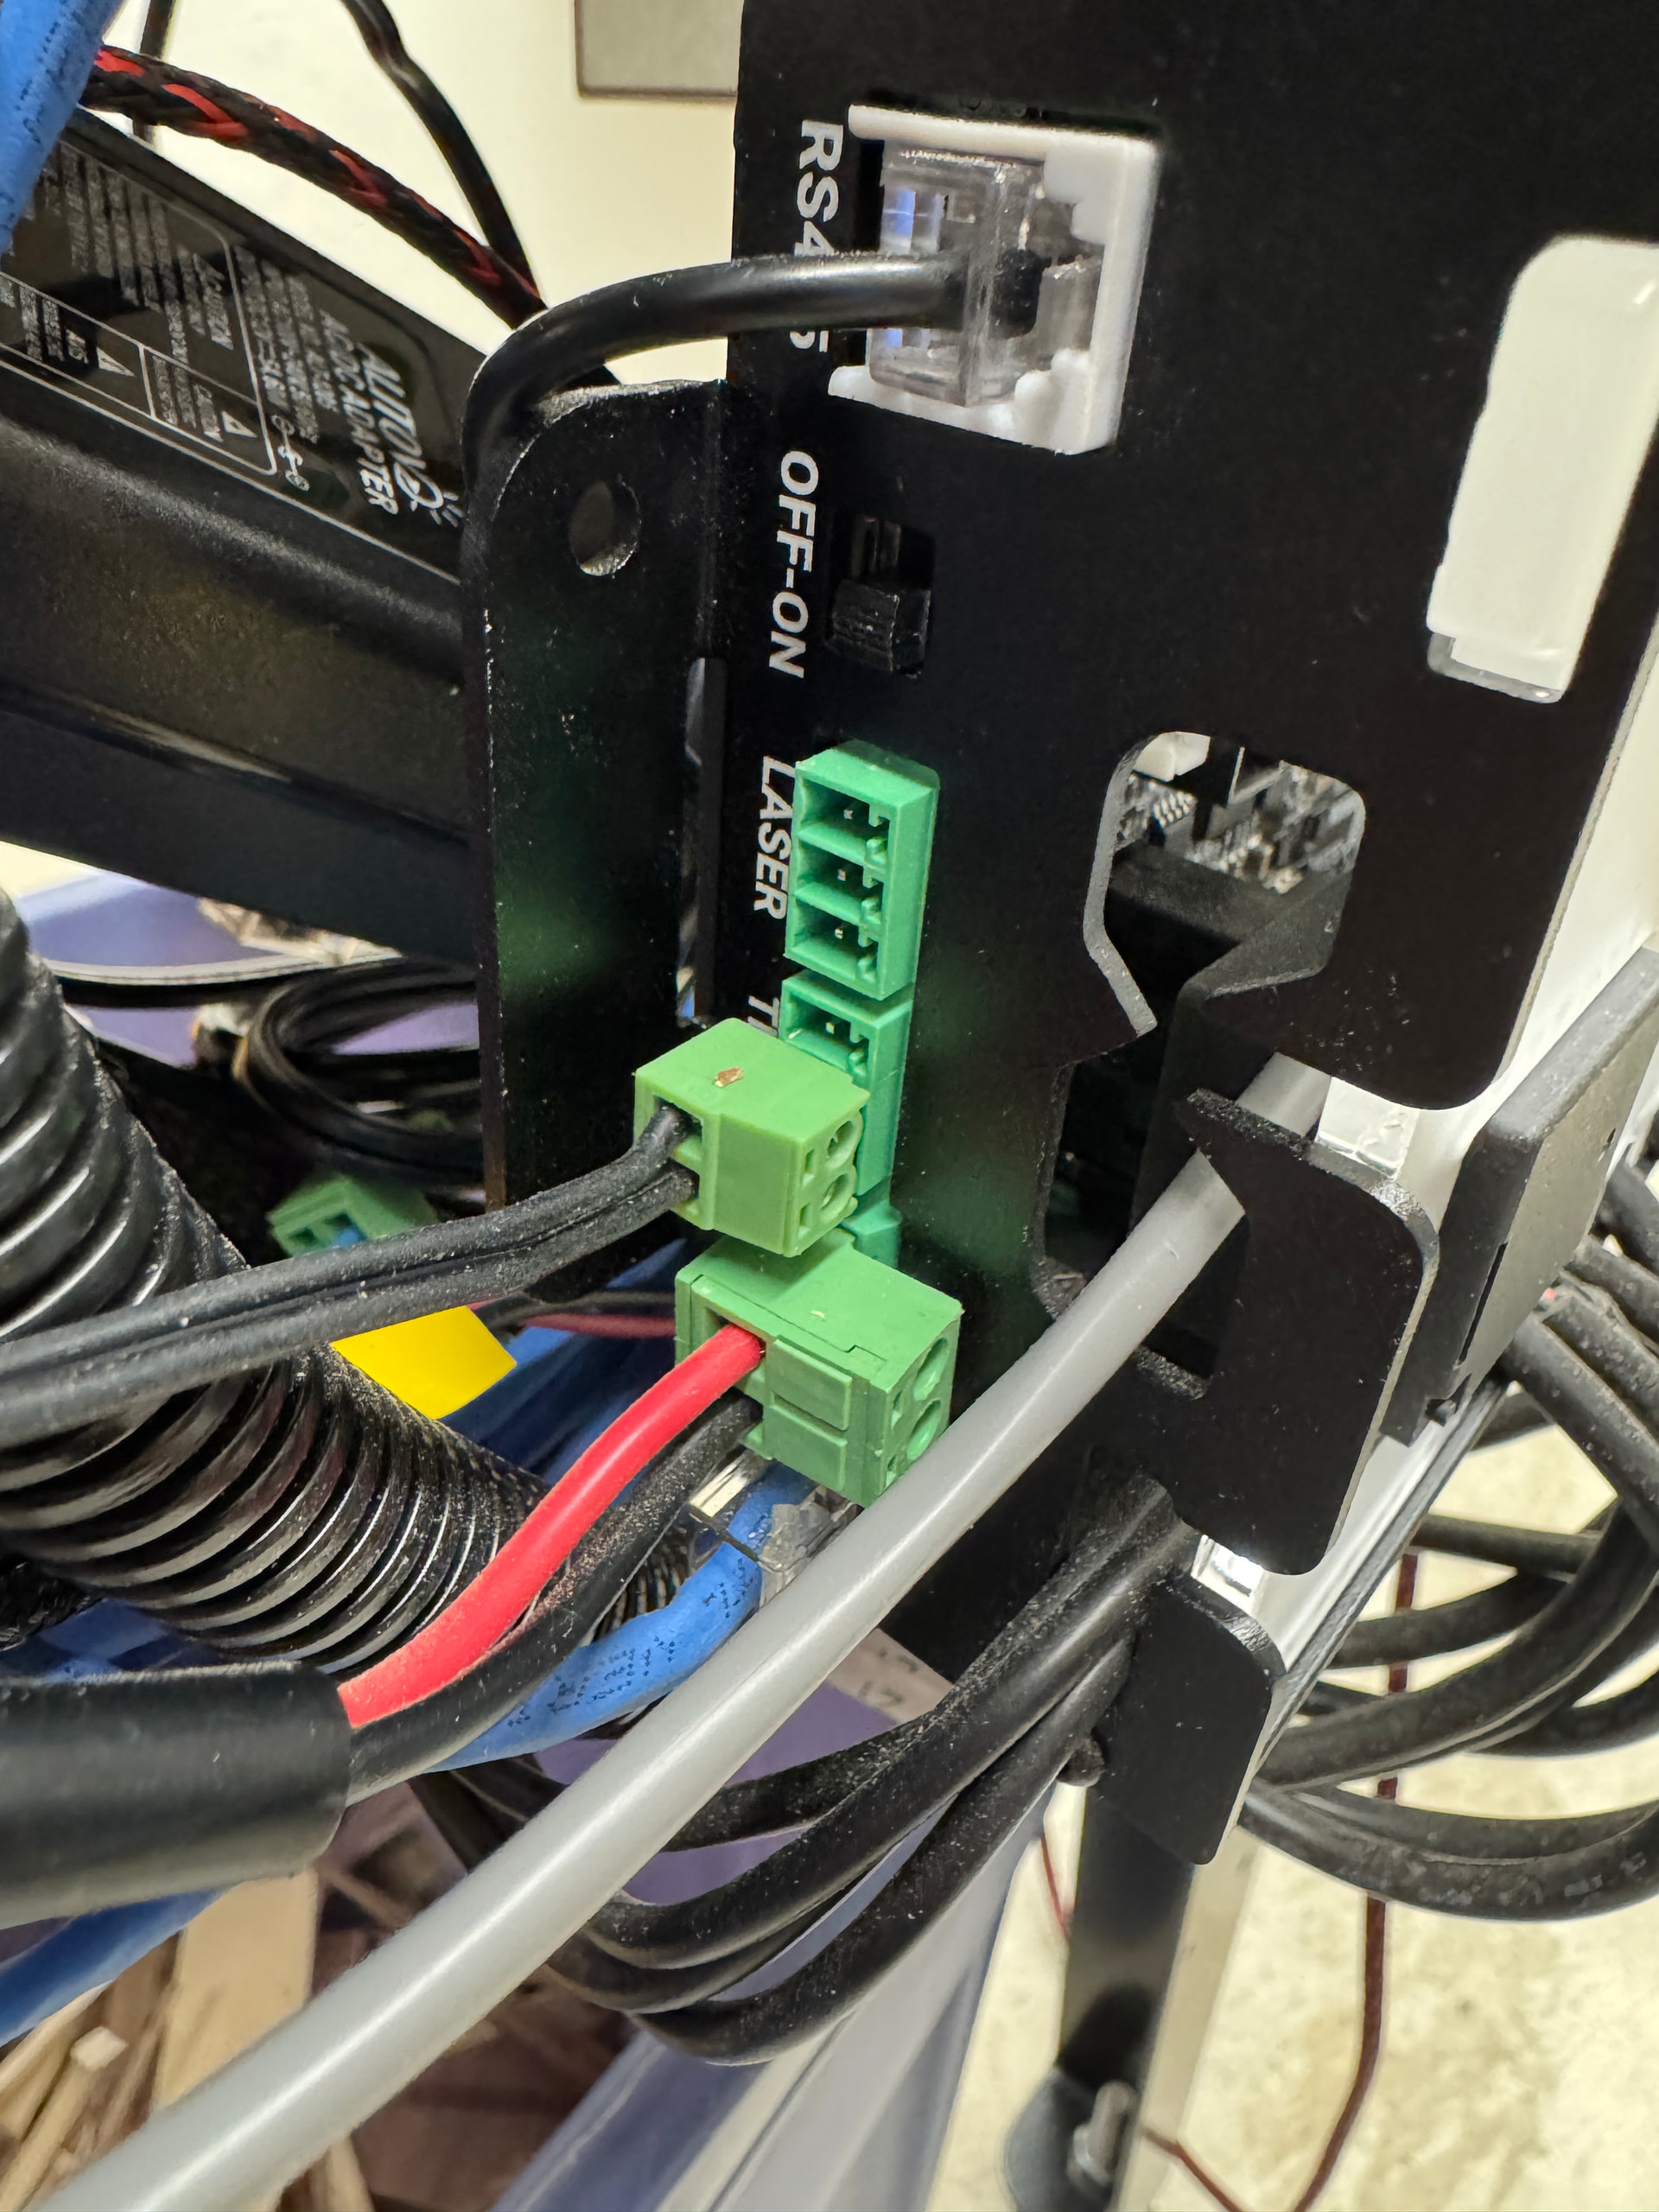
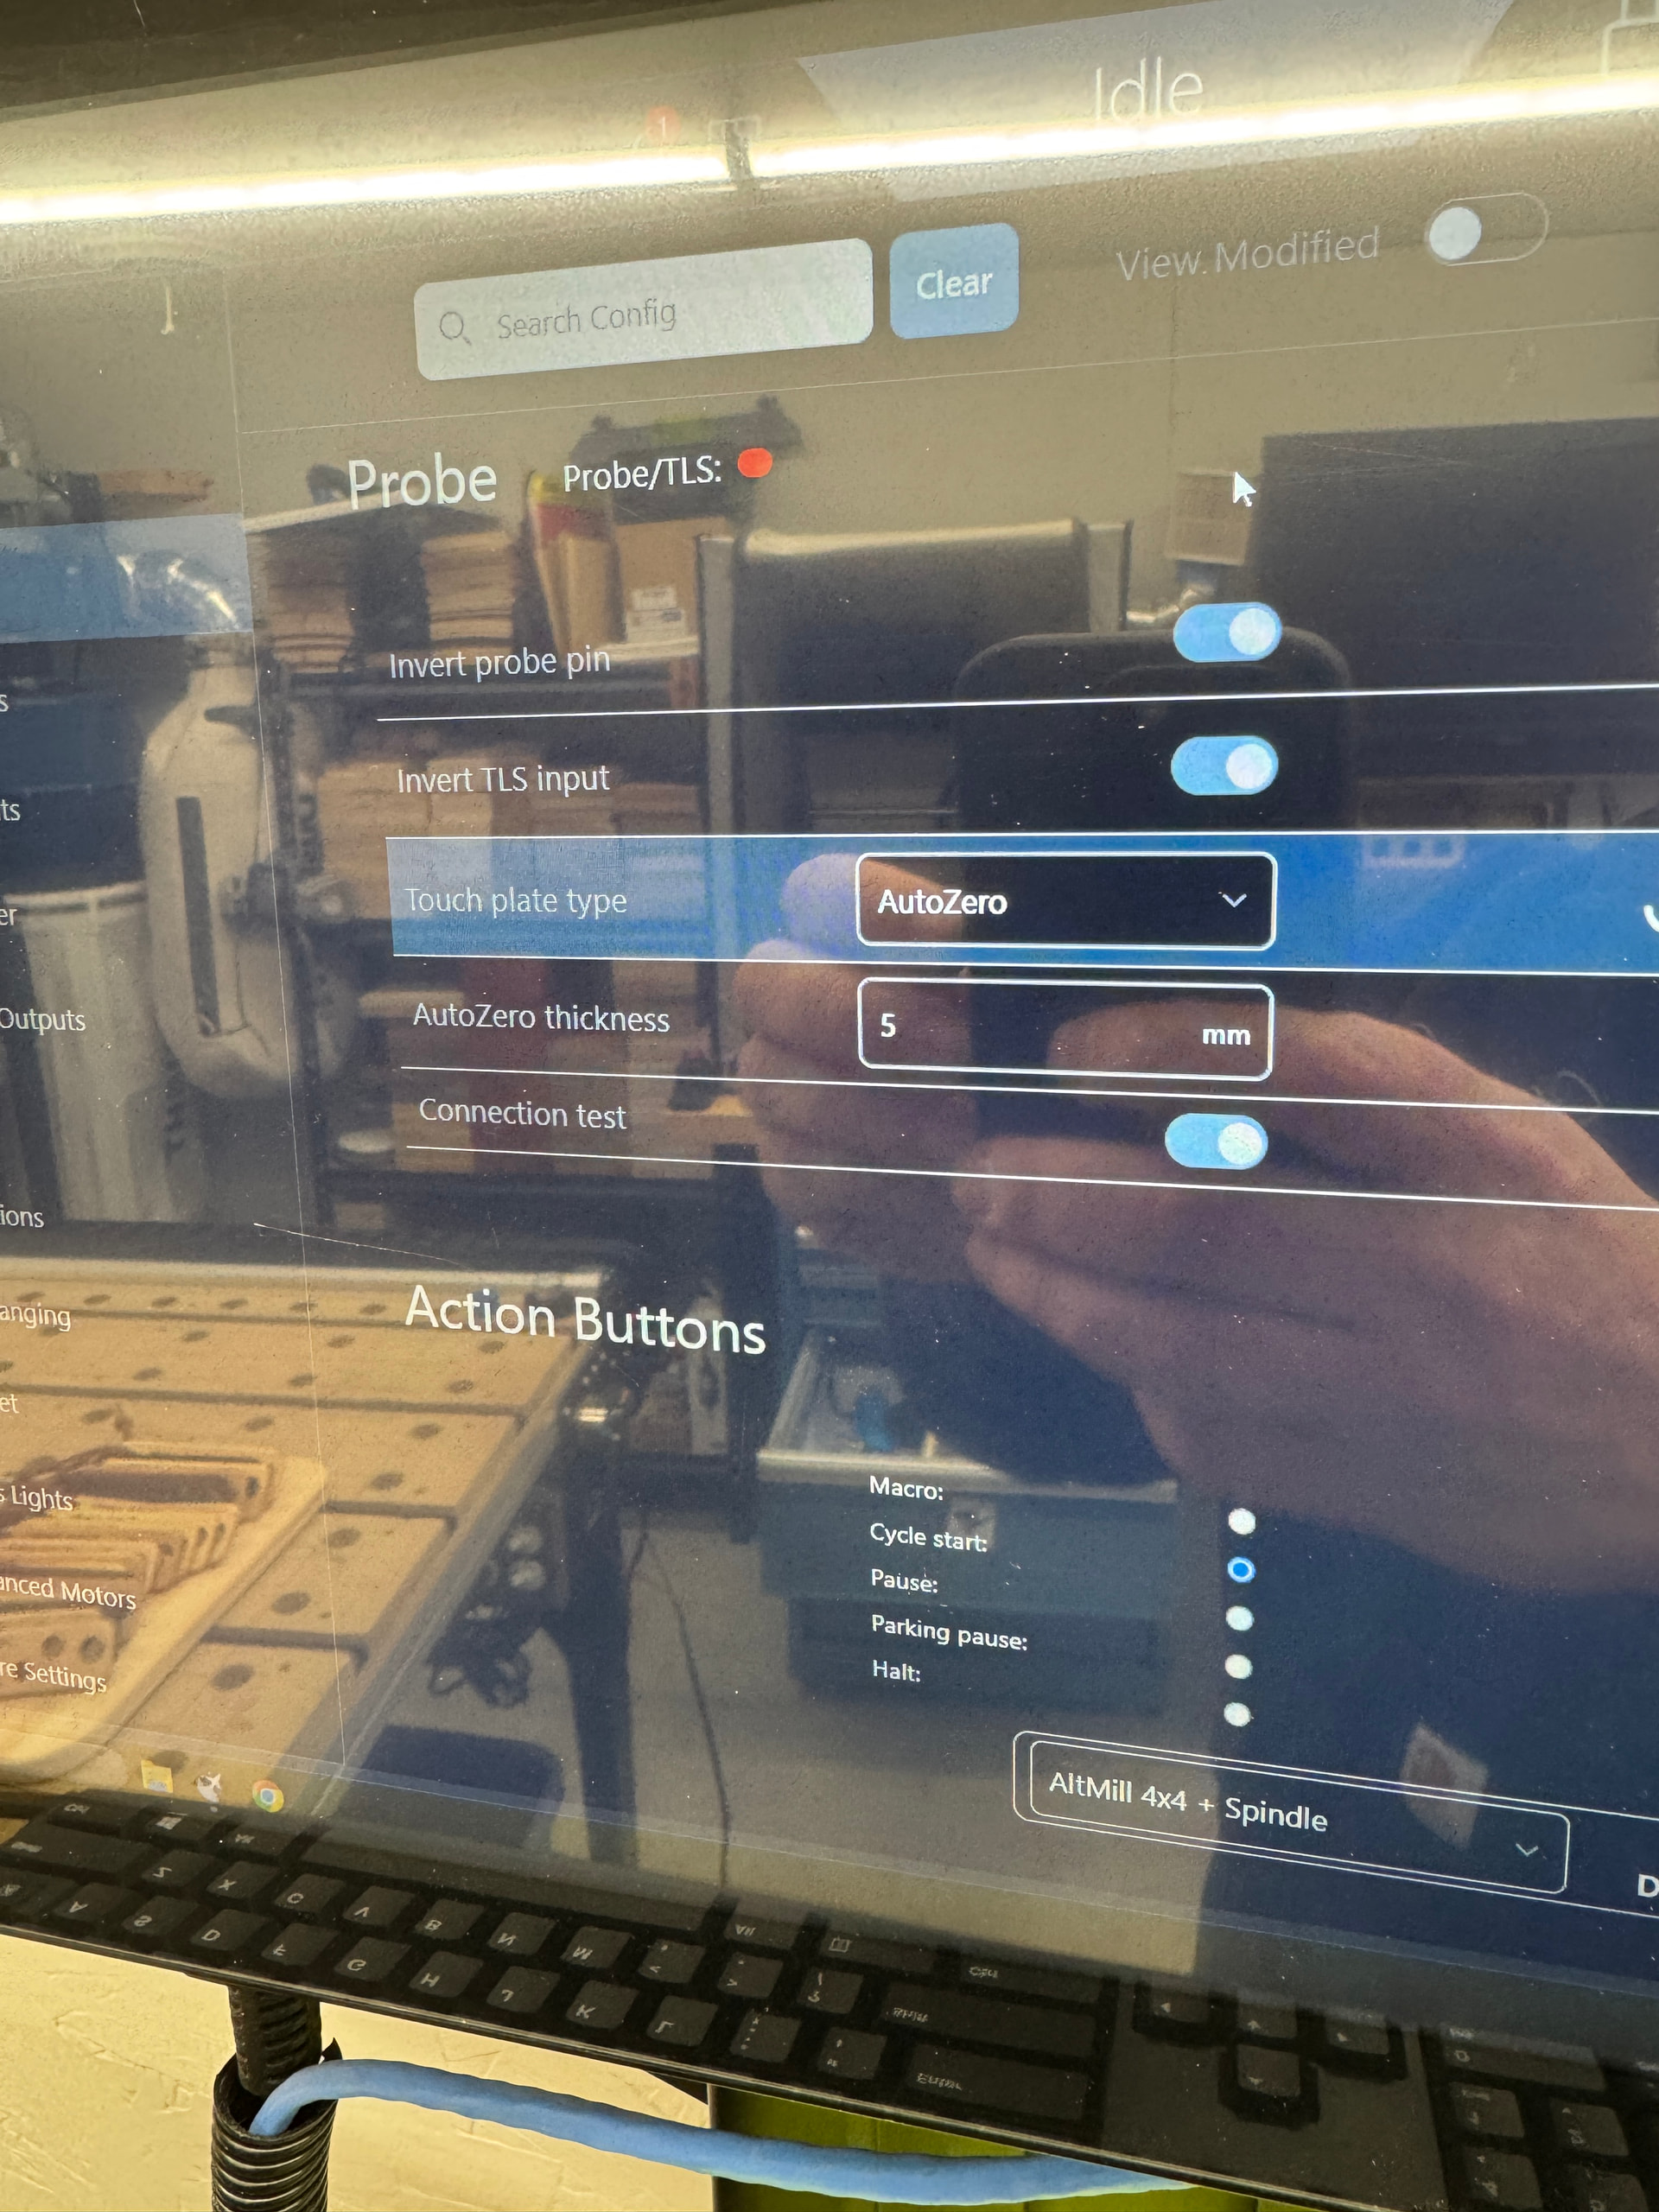
I’m using a Onefinity touch probe (which from what I’ve read is NC) and a NC tool length sensor (one of the orange, 4 wire tls from Amazon) I initially had the touch probe wired into the probe port, and wired the first switch on the tls (yellow and brown wires, blue and green are the over travel switch wires) to the signal and ground on the tls port. no combination of $6 and $668 would allow the 2 to work at the same time. at one point i had both showing in gSender, but both the probe and the tls were active and registering a touch when they shouldn’t be. if i inverted either the probe pin or the tls it would make one or both stop functioning depending on the $6 and $668 settings. seemed like both inverted would have made them work together. eventually i tried plugging the Tls into the probe port, and the probe into the tls port. with both wired this way and $6=0, $668=1, both the probe and the tls function correctly. not exactly sure why but I am just glad that I figured it out. Not a lot of information out about tool length sensors and the Super Longboard. Wanted to put this out there in case any one else is struggling with a similar probe/tls issue.
The Onefinety TLS is a NC contact. The Sienci labs Auto touch probe is a NO contact. Those are what I’m using for my set up and this is how my firmware is set up. I can not speak about the Onefinety touch probe as I do not own nor have I used one. The same goes for the Orange TLS you are referring to.
What @LWH was asking about was the Onefinety TLS. I hope he has made some progress on his set up. When I look into my $6 and $668 they are both set to invert and my system recognizes both individually when they are contacted. At an idle state the probe indicator is red. When I touch either my TLS or touch the magnet to my touch plate the indicator changes to green with either one respectively.
I know everyone’s applications could be different depending on the hardware they may end up using.
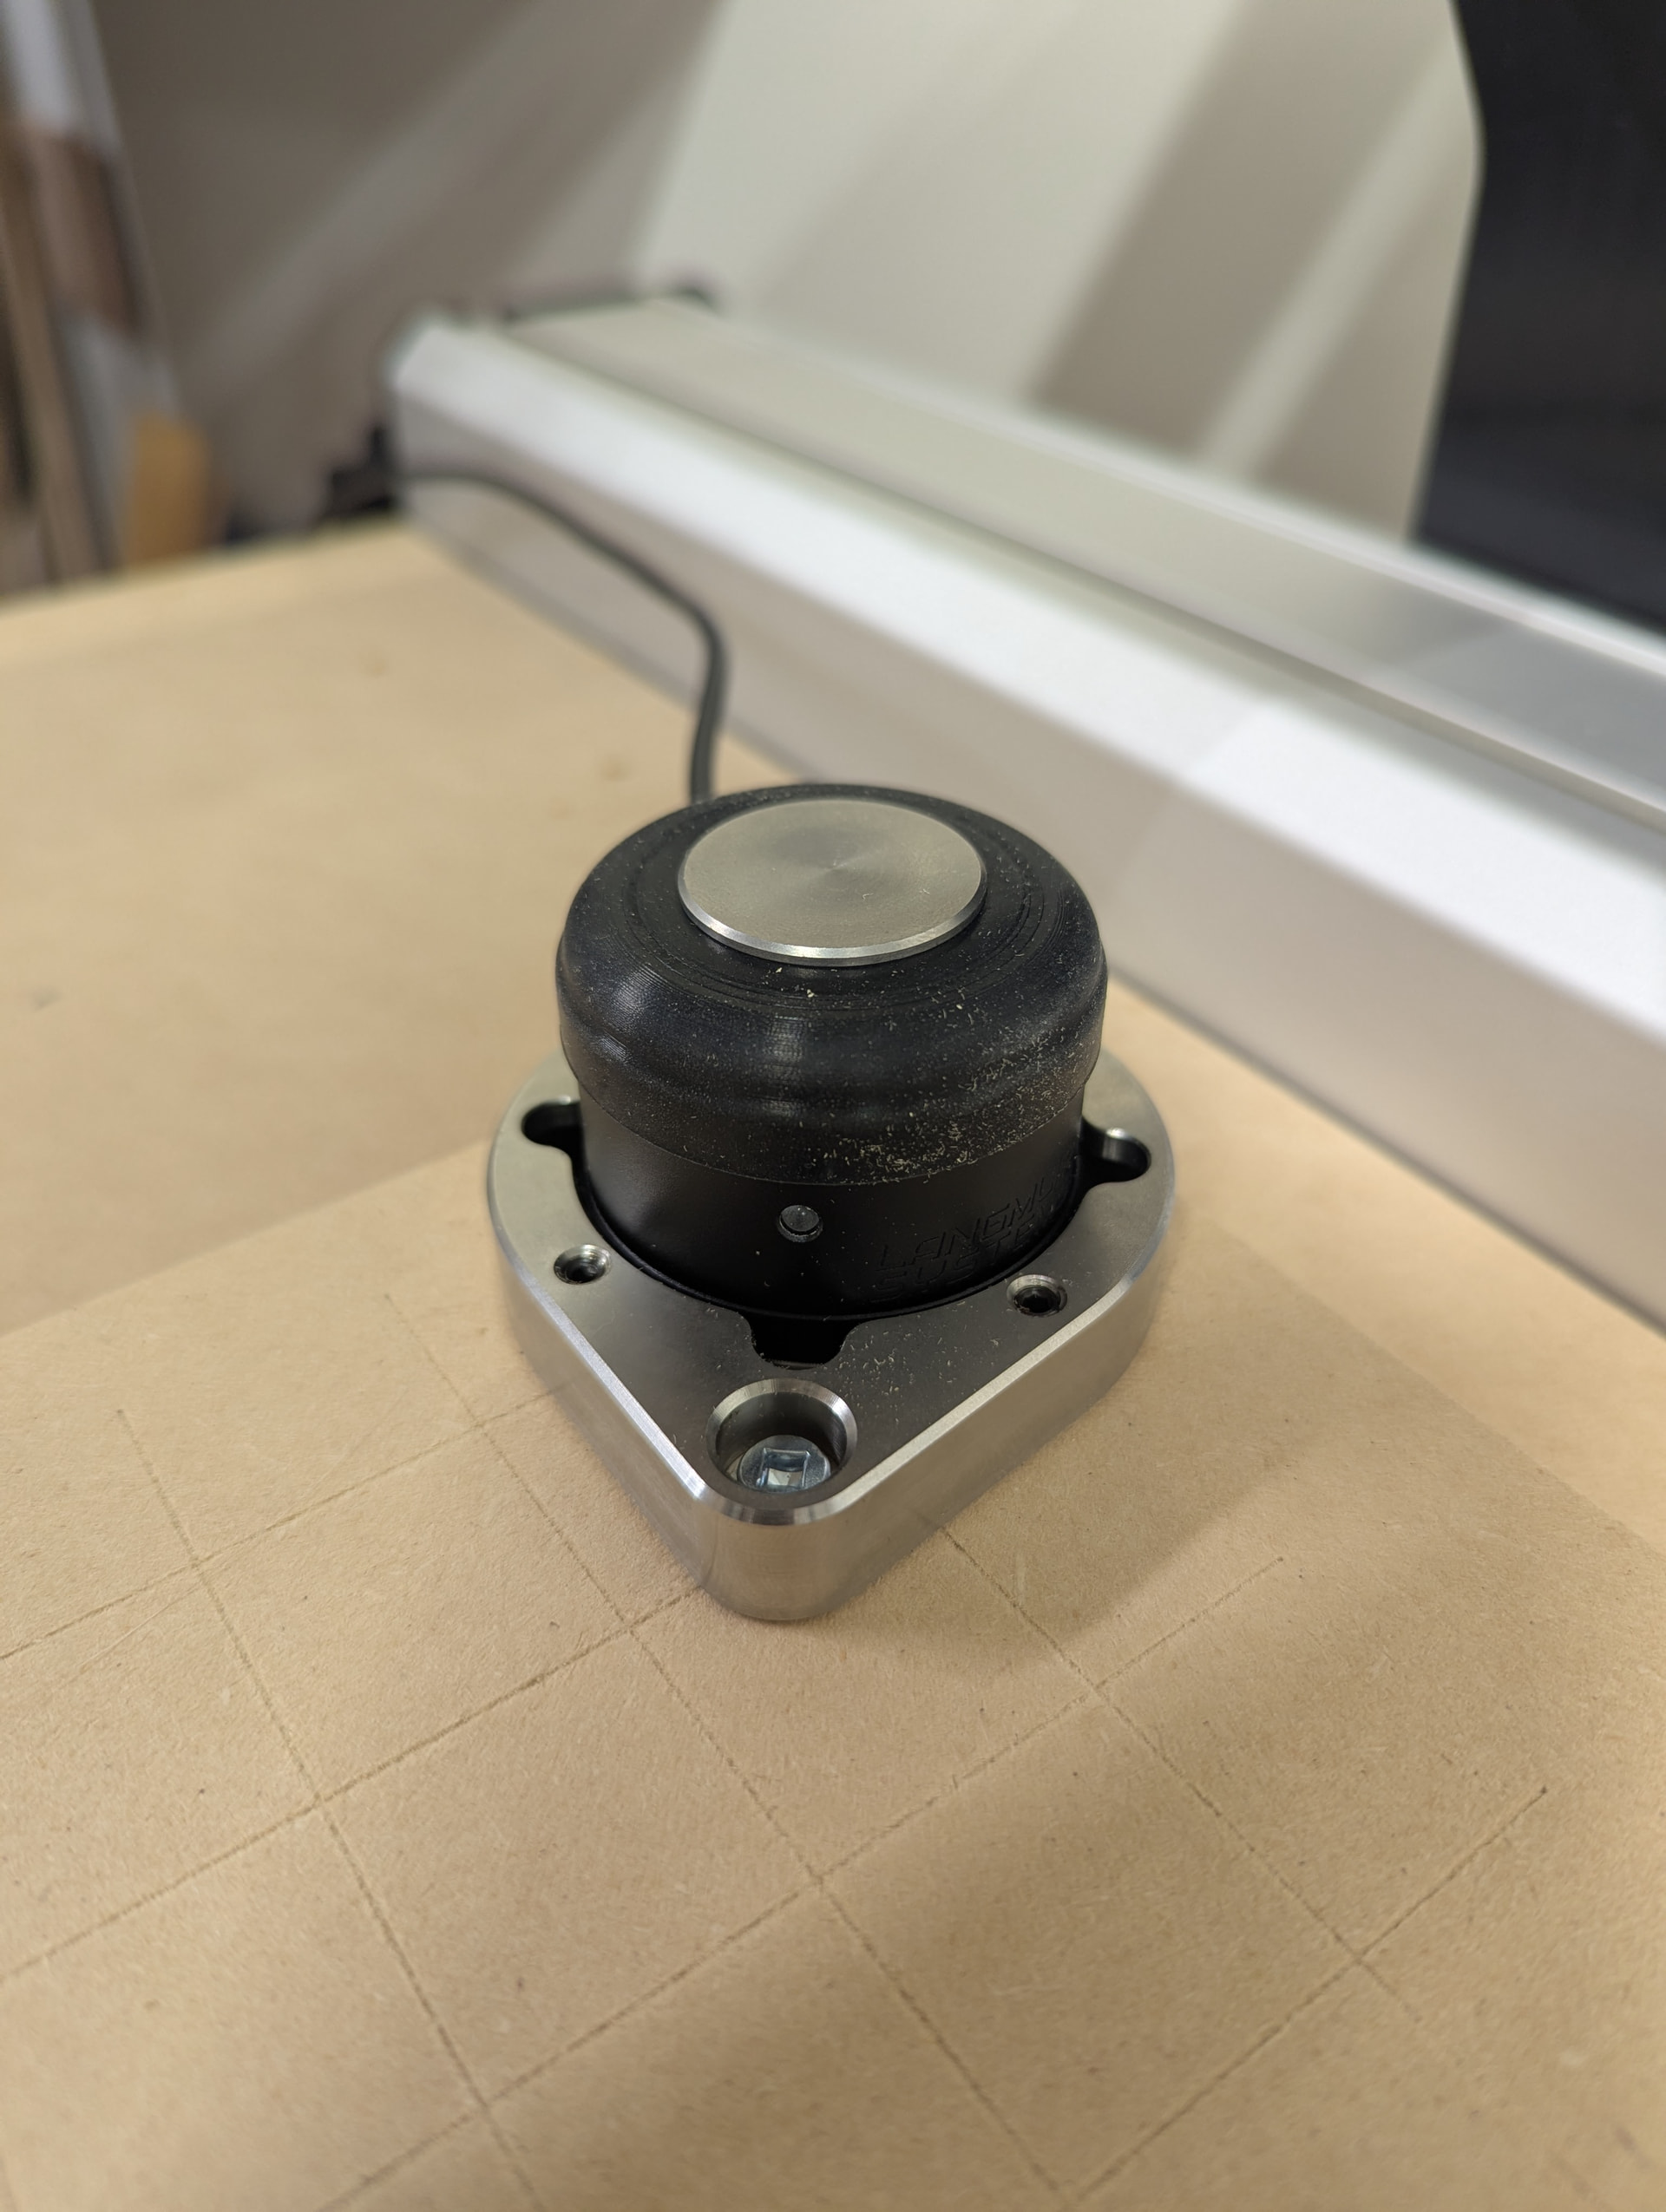
Just wanted to share that I have successfully setup and used the MR-1 Tool Setter by Langmuir systems. I ended up purchasing the kit with both the tool setter and 3D probe with the hopes that 3D heightmap leveling becomes a thing for gSender in the near future.
The MR-1 tool setter is a powered probe and does not function without 5V applied to it. I think it may be a magnetic switch instead of a mechanical switch. I read somewhere the repeatability of the tool setter is 0.0005”. Installation was fairly simple but I am still waiting on my 3.61mm connectors to arrive in the mail and when received I will replace the temporary connection I made to the SLB-EXT.
The MR-1 tool setter has leveling screws in the base so you can tram/align it to your tools so they always touch down flat on the plate. The actuation is very small and a fairly light touch will trigger the TLS light in gSender. There is no noticeable click or feel since I think it’s all magnetic contacts inside. The tool setter is waterproof and has LED indicators to show when contact has been made.
5 Likes
Am I to understand that you have this working? I am using the Onefinity TLS and the Sienci Labs Auto touch probe as well but am having trouble getting them to work. When I connect my TLS in one direction the green light stays lit. When reversed the light only come on when the switch is pressed. Regardless of how it is wired I don’t get the LED indication on the “probe” when the TLS is pressed. According to Sienci Labs they are a shared connection. Also my TLS is wired N.O. Thoughts?
Yes mine is working and my connection and firmware settings I posted. If the green led stays on then it is reversed polarity and you will need to switch the wires on the plug.