I’ve just recently had the opportunity to use the toe clamps that I made using the blog post from Sienci which can be found here.
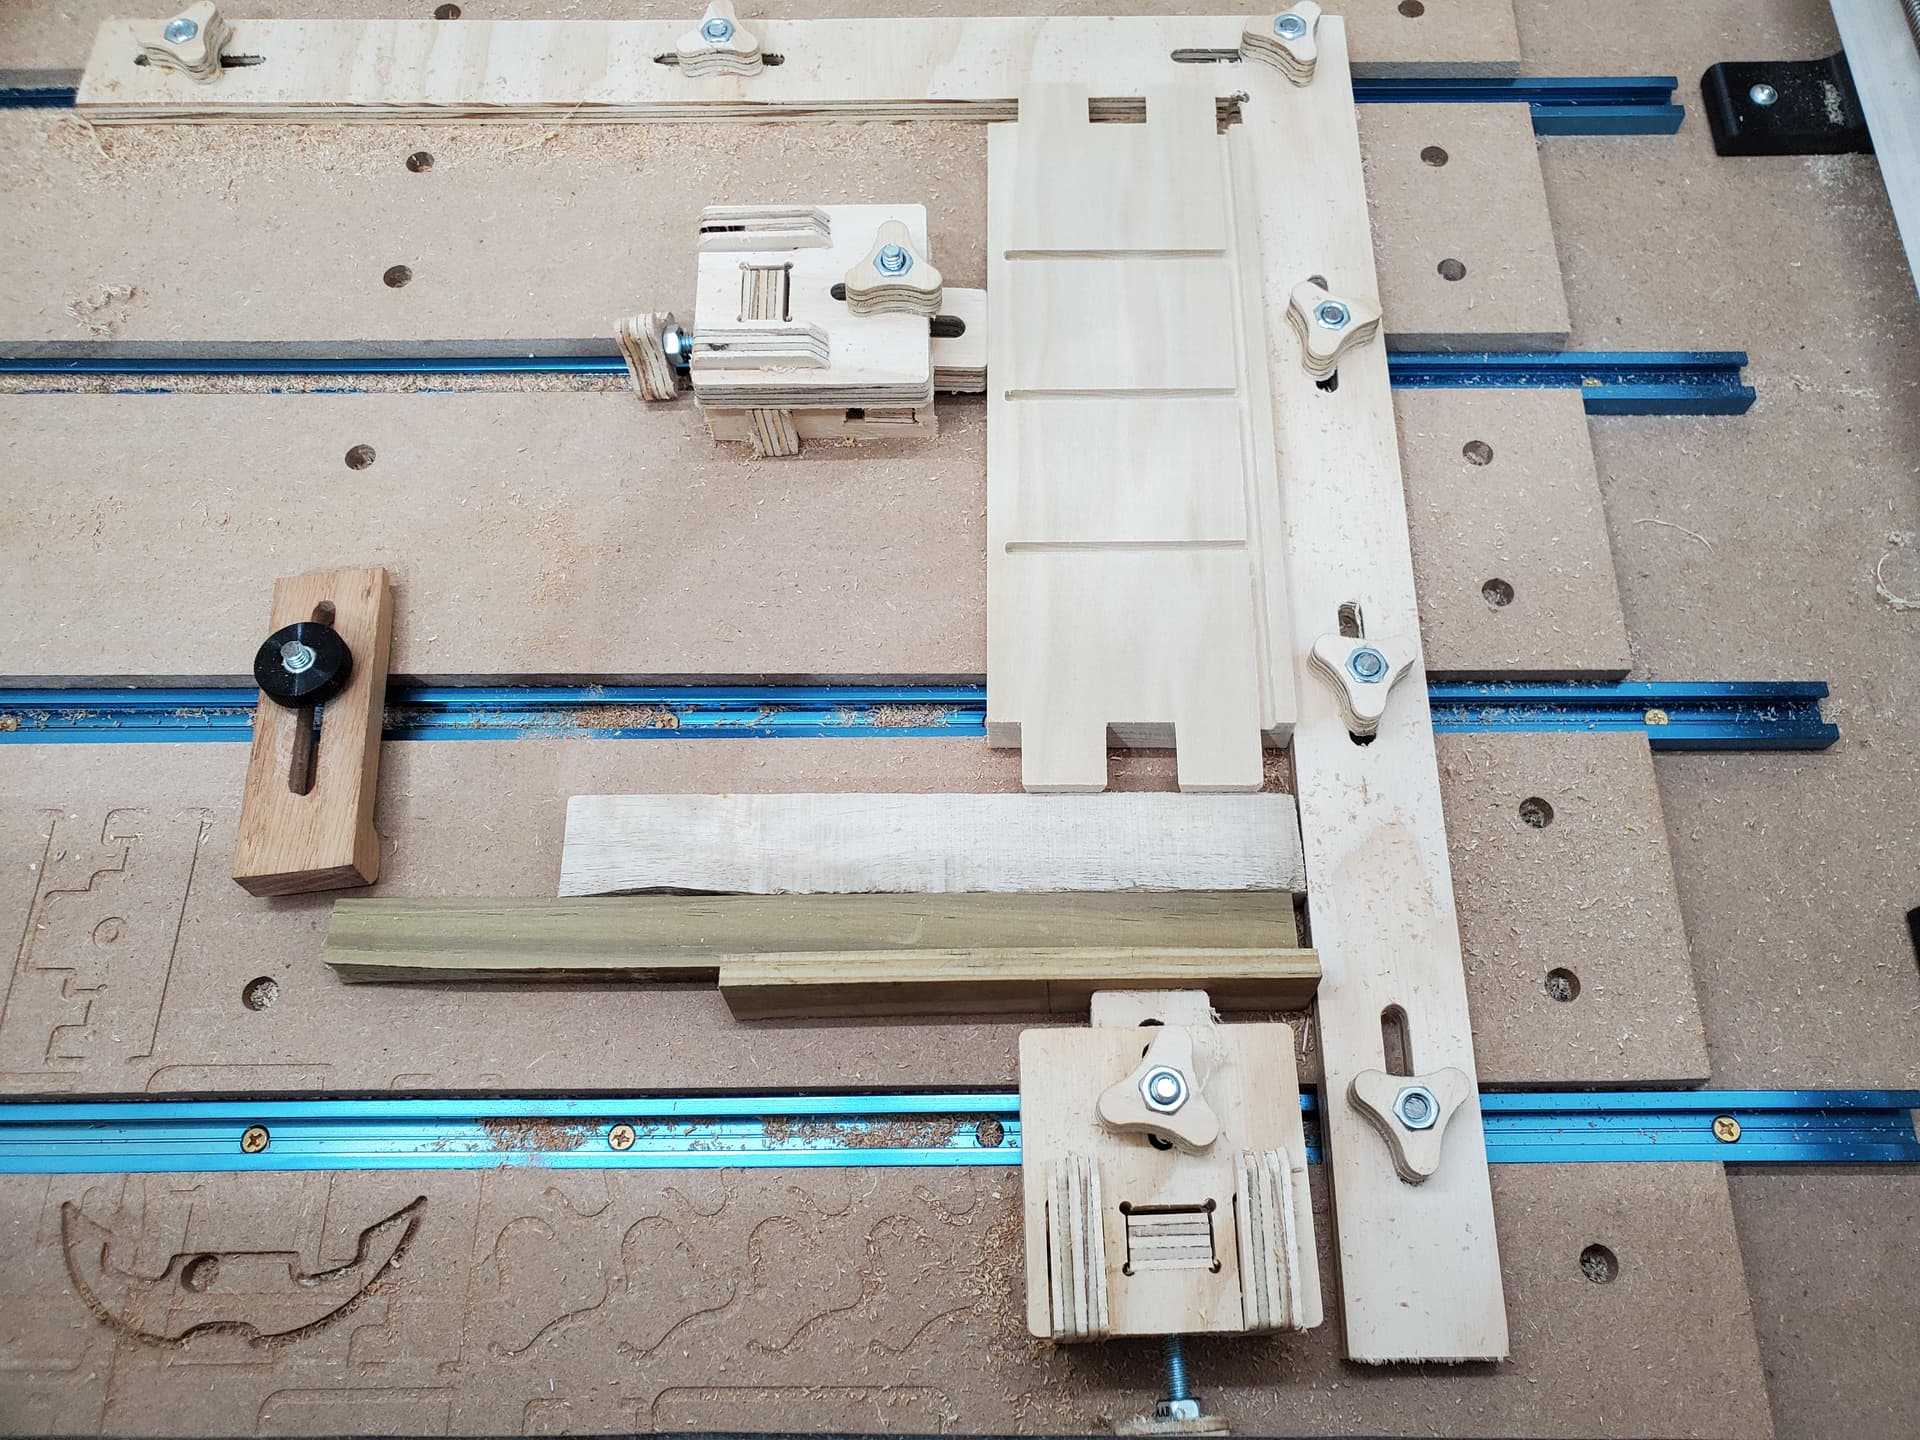
I made a couple of the toe clamps and a square for my machine. I mounted the square so it is against the back and right of the work piece so that the front left corner is available for the touch probe. The square is clamped to the t-tracks and a toe/push clamp on the left side and one on the front. Seems to work well so far. The toe clamps don’t have a lot of throw so you may need to use a spacer block between the clamp and the work piece.
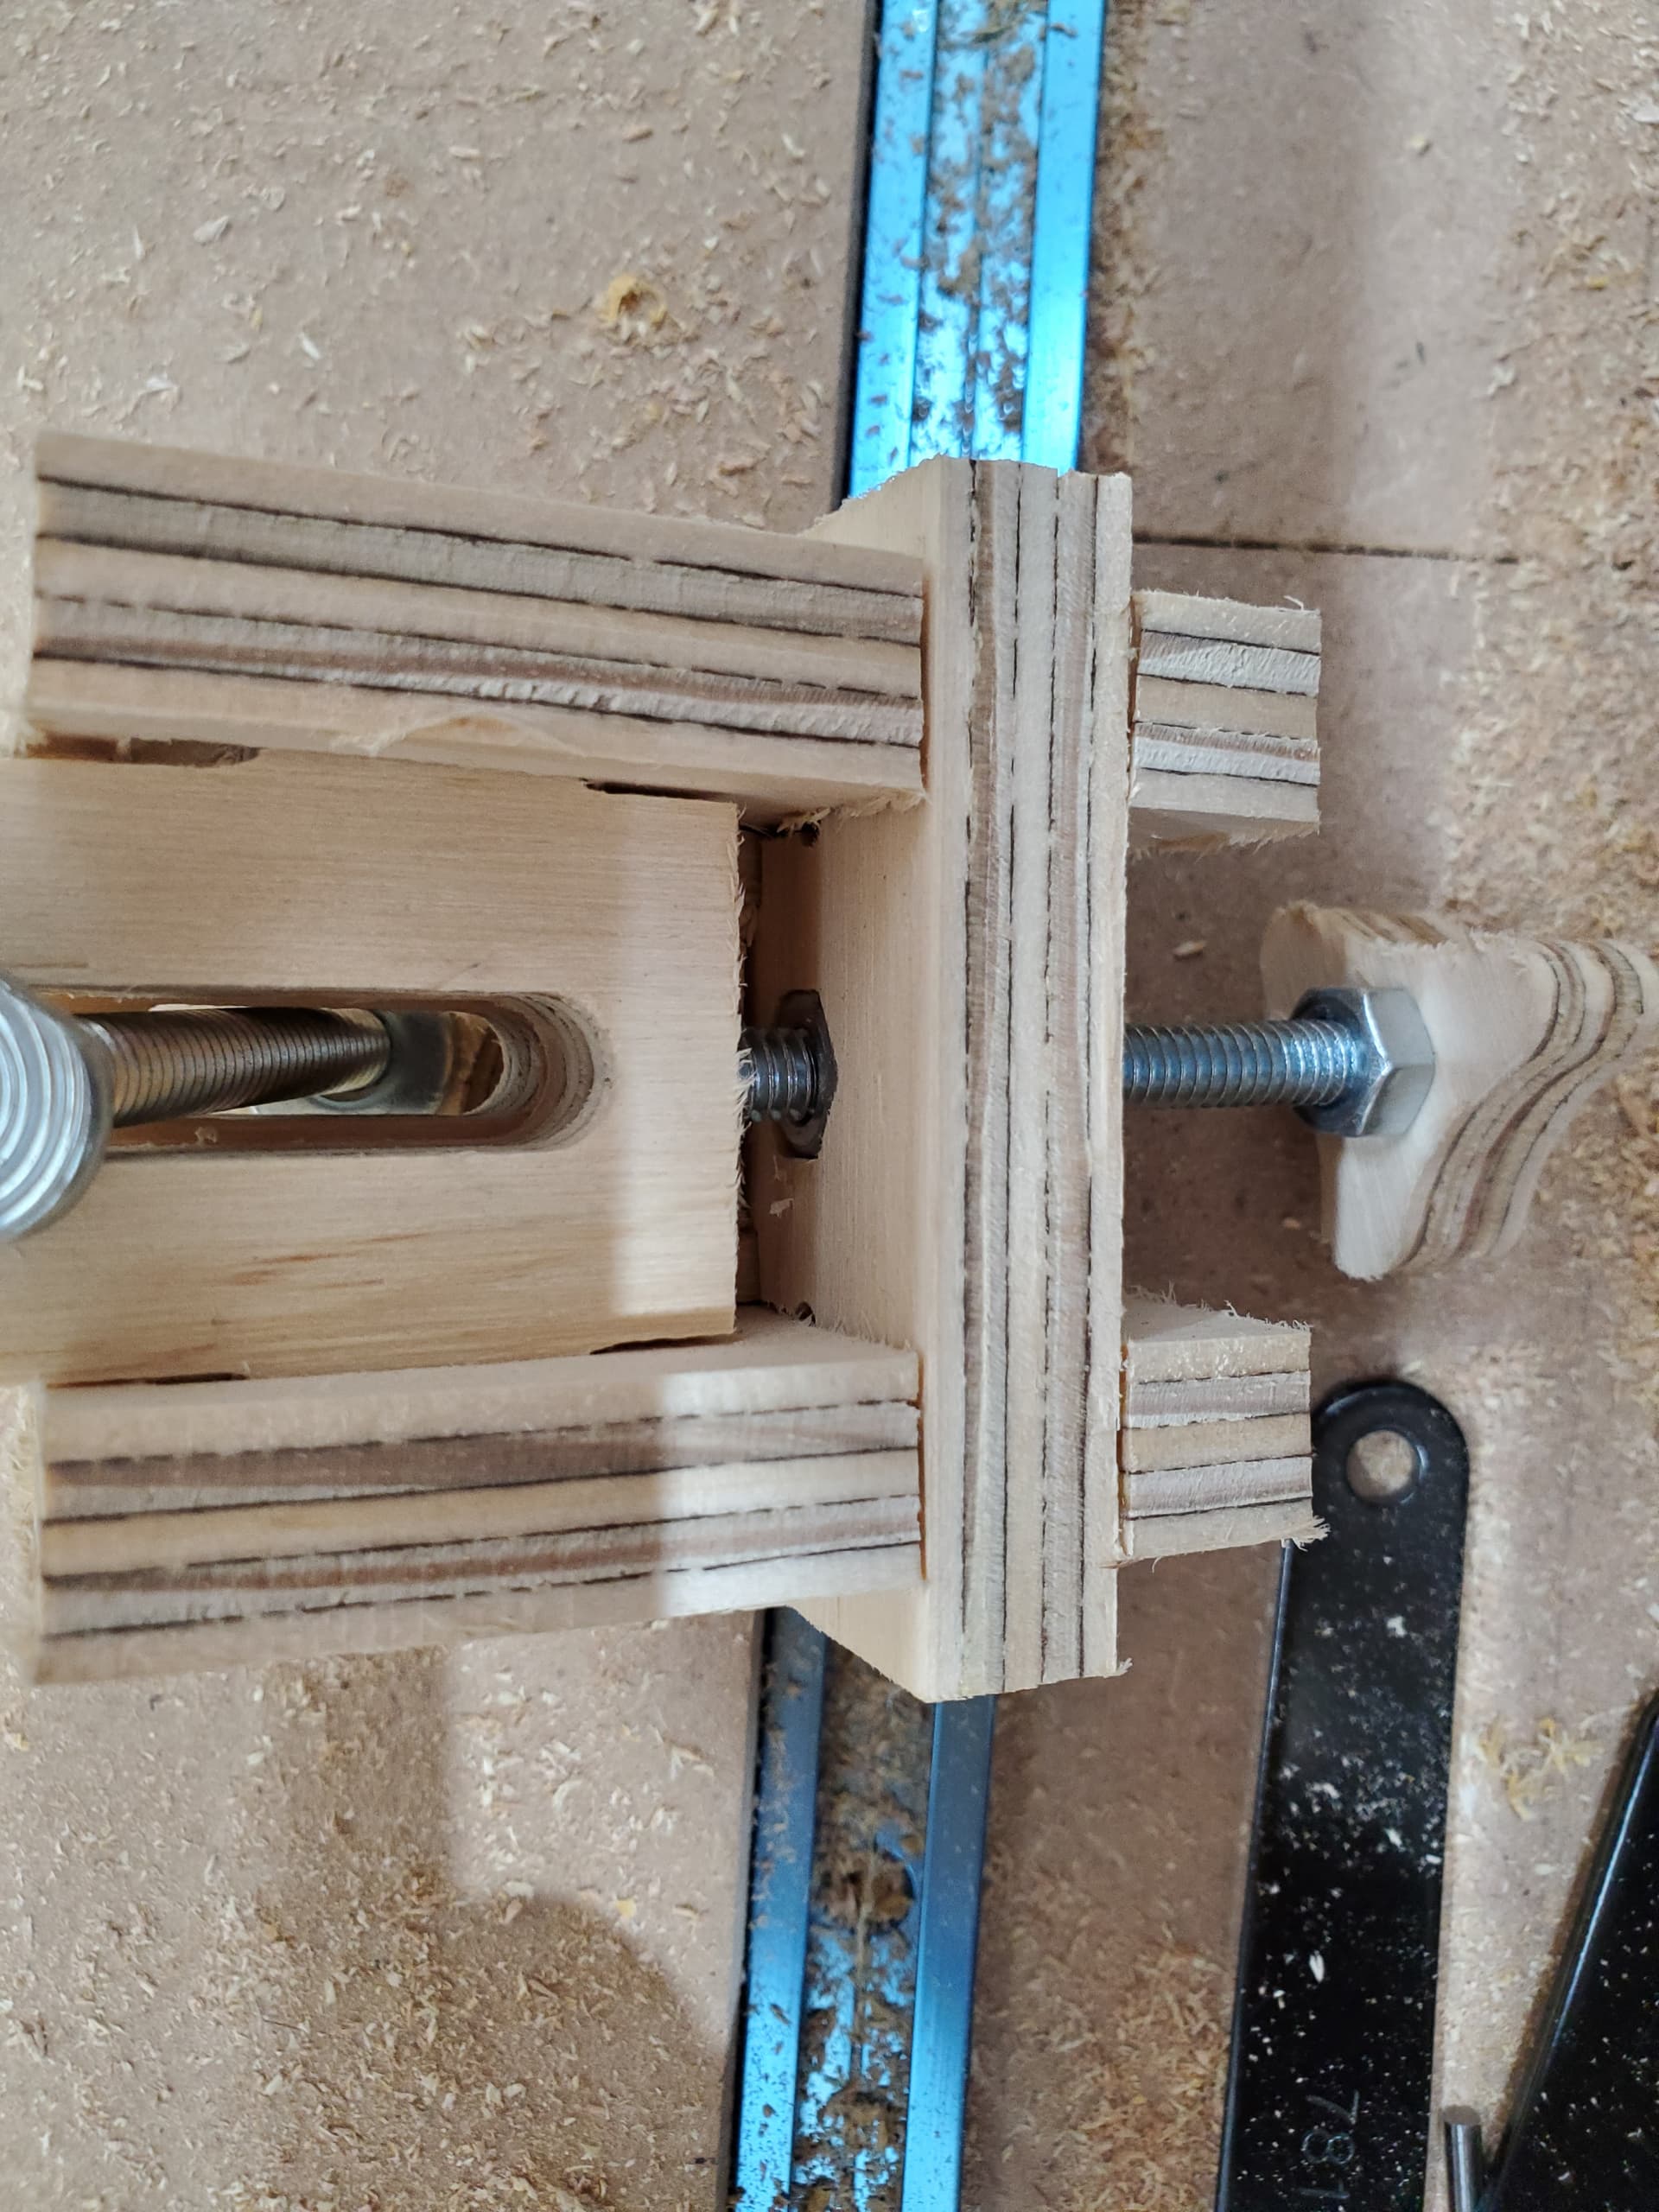
I can’t find where I posted it but if you are as cheap as me you can skip the threaded inserts and use a pocketed nut on the back side of where the insert goes. The appropriate sized hexagons for 1/4 20 nuts can be found in one of the files on the knobs used to hold down the square and the regular style clamps.
EDIT: A picture is worth a thousand words so here is a couple. The first shows how the toe clamps and square work together and the second shows the pocketed nut instead of threaded insert. Oh and on the toe clamps the knob that goes to the track needs to be tight but the other one that pushes doesn’t need to be cranked on very hard at all to secure the work piece.
EDIT2: Forgot to mention that when you do have to clamp from the top you may have better luck with one shaped like this image.

The “heel” on the back helps to keep the clamp more level and the notch on the front lets you restrain lateral and vertical motion. Kudos on using wooden clamps, it sure does help when you hit one!
Sorry for wall of text.
Hope some of it helps.