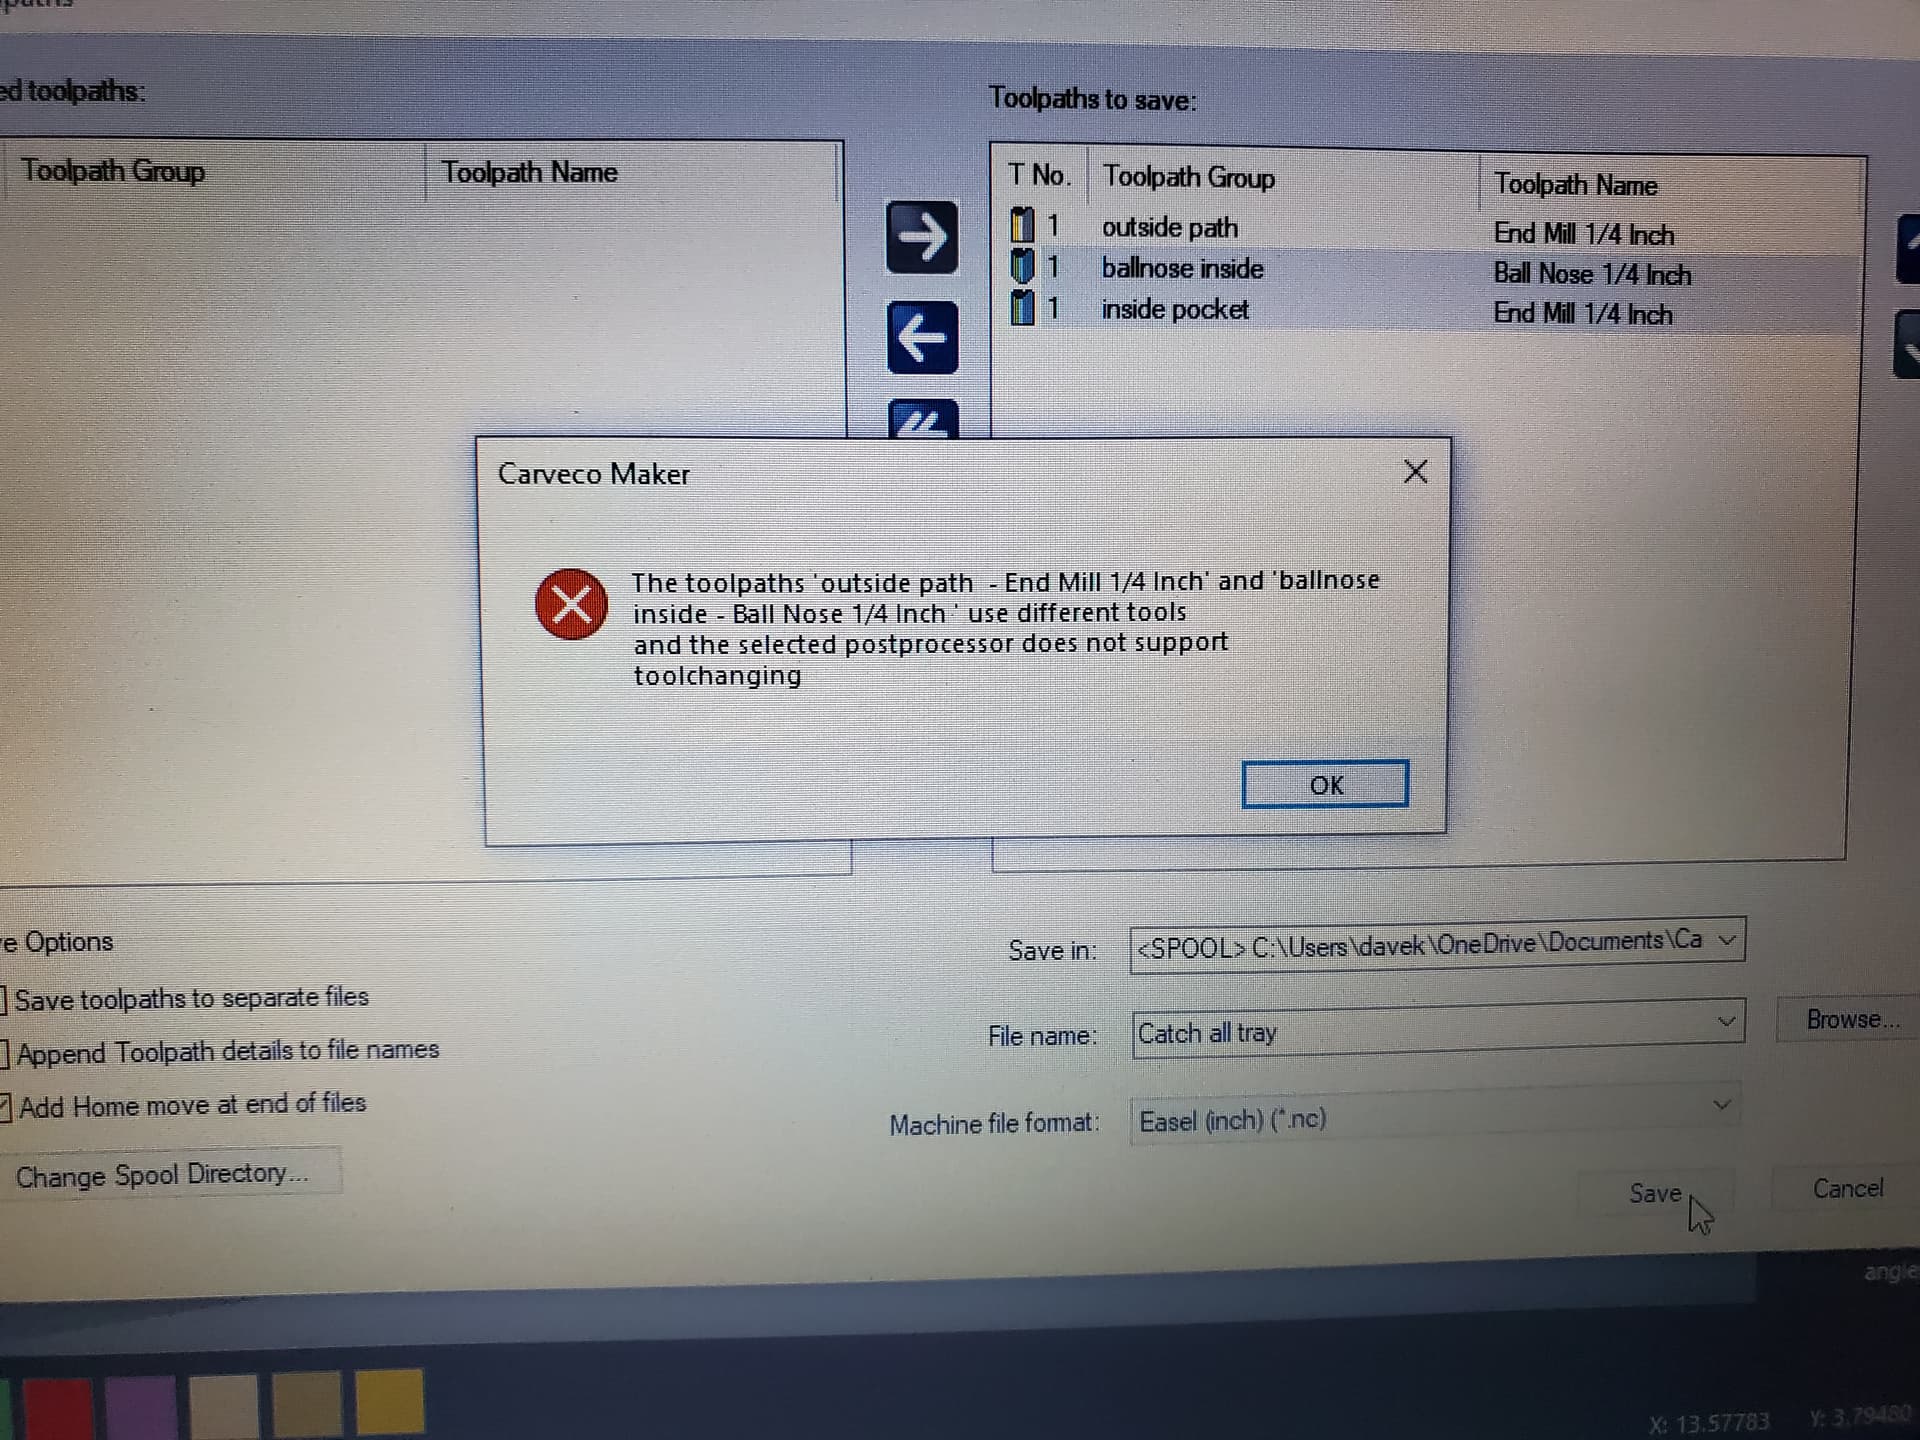
So I’m branching out and escaping the confines of easel. I subscribed to carveco maker which I just started messing with today. I have created a very basic catch all tray file. I have the tools set, paths done, simulations look good. Now I need to save the paths and get them to UGS to carve. And I hit a wall.
I saw and im trying to translate now lol. I posted here as I think I may not be the only one who has or will fave this. Thought sharing it here may be useful to more than just me
For any others interested, here is my reply to David’s PM
I’ve not used Carveco, but it is very similar to VCarvePro, the application that I use. Looking at the screenshots, I see a couple of things. The error message popped up because you are trying to create a single tool path from two operations using two different mills - one a ballnose and one a straight end mill. You can either do three separate tool paths, or you can do only two, by combining your inside pocket and the outside path, which are using the same 1/4" end mill. The ball nose inside will be a separate tool path.
The other issue is the post processor. It somewhat depends on what code sender you are going to use. Since you are now using Carveco as your CAD/CAM app, there is really no point in using Easel as your sender. Easel is more of a one size fits all application, as you likely know. If I were you, I would use gSender. You can use UGS, but gSender is much better, IMHO. Whichever of those two you choose, use either grbl inch or grbl mm as your post. If you have done your project in inches, use grbl inch.
I set 0 at the bottom left corner. Is it the same process as I used in easel? And im assuming that the two files will be loaded separately. Like doing a rough pass then detailed pass in easel. Yes I’m aware these may be very obvious steps but I want to ask even if it sounds like a dumb question. I’m also going to setup and use my probe. New programs so why not add in another thing to learn?! Go big or go home right? Lol
@Davek I’ve not used Easel, but I’m sure that the process is very similar. When you created your tool paths in Carveco, you will have set X0Y0 at a location - in your case, the bottom left corner. You will have set Z0 also. In VCP, for example, I have the choice to set Z0 at the top of the material or the top of the machine bed/spoil board. I imagine that Carveco is similar. If you use the touch plate to set X0Y0Z0 by placing the plate in the lower left corner of your material, it will set the three axes, with the Z0 being at the top of the material. Be sure to set the bit size that you are using in gSender and use that bit to set the axes.
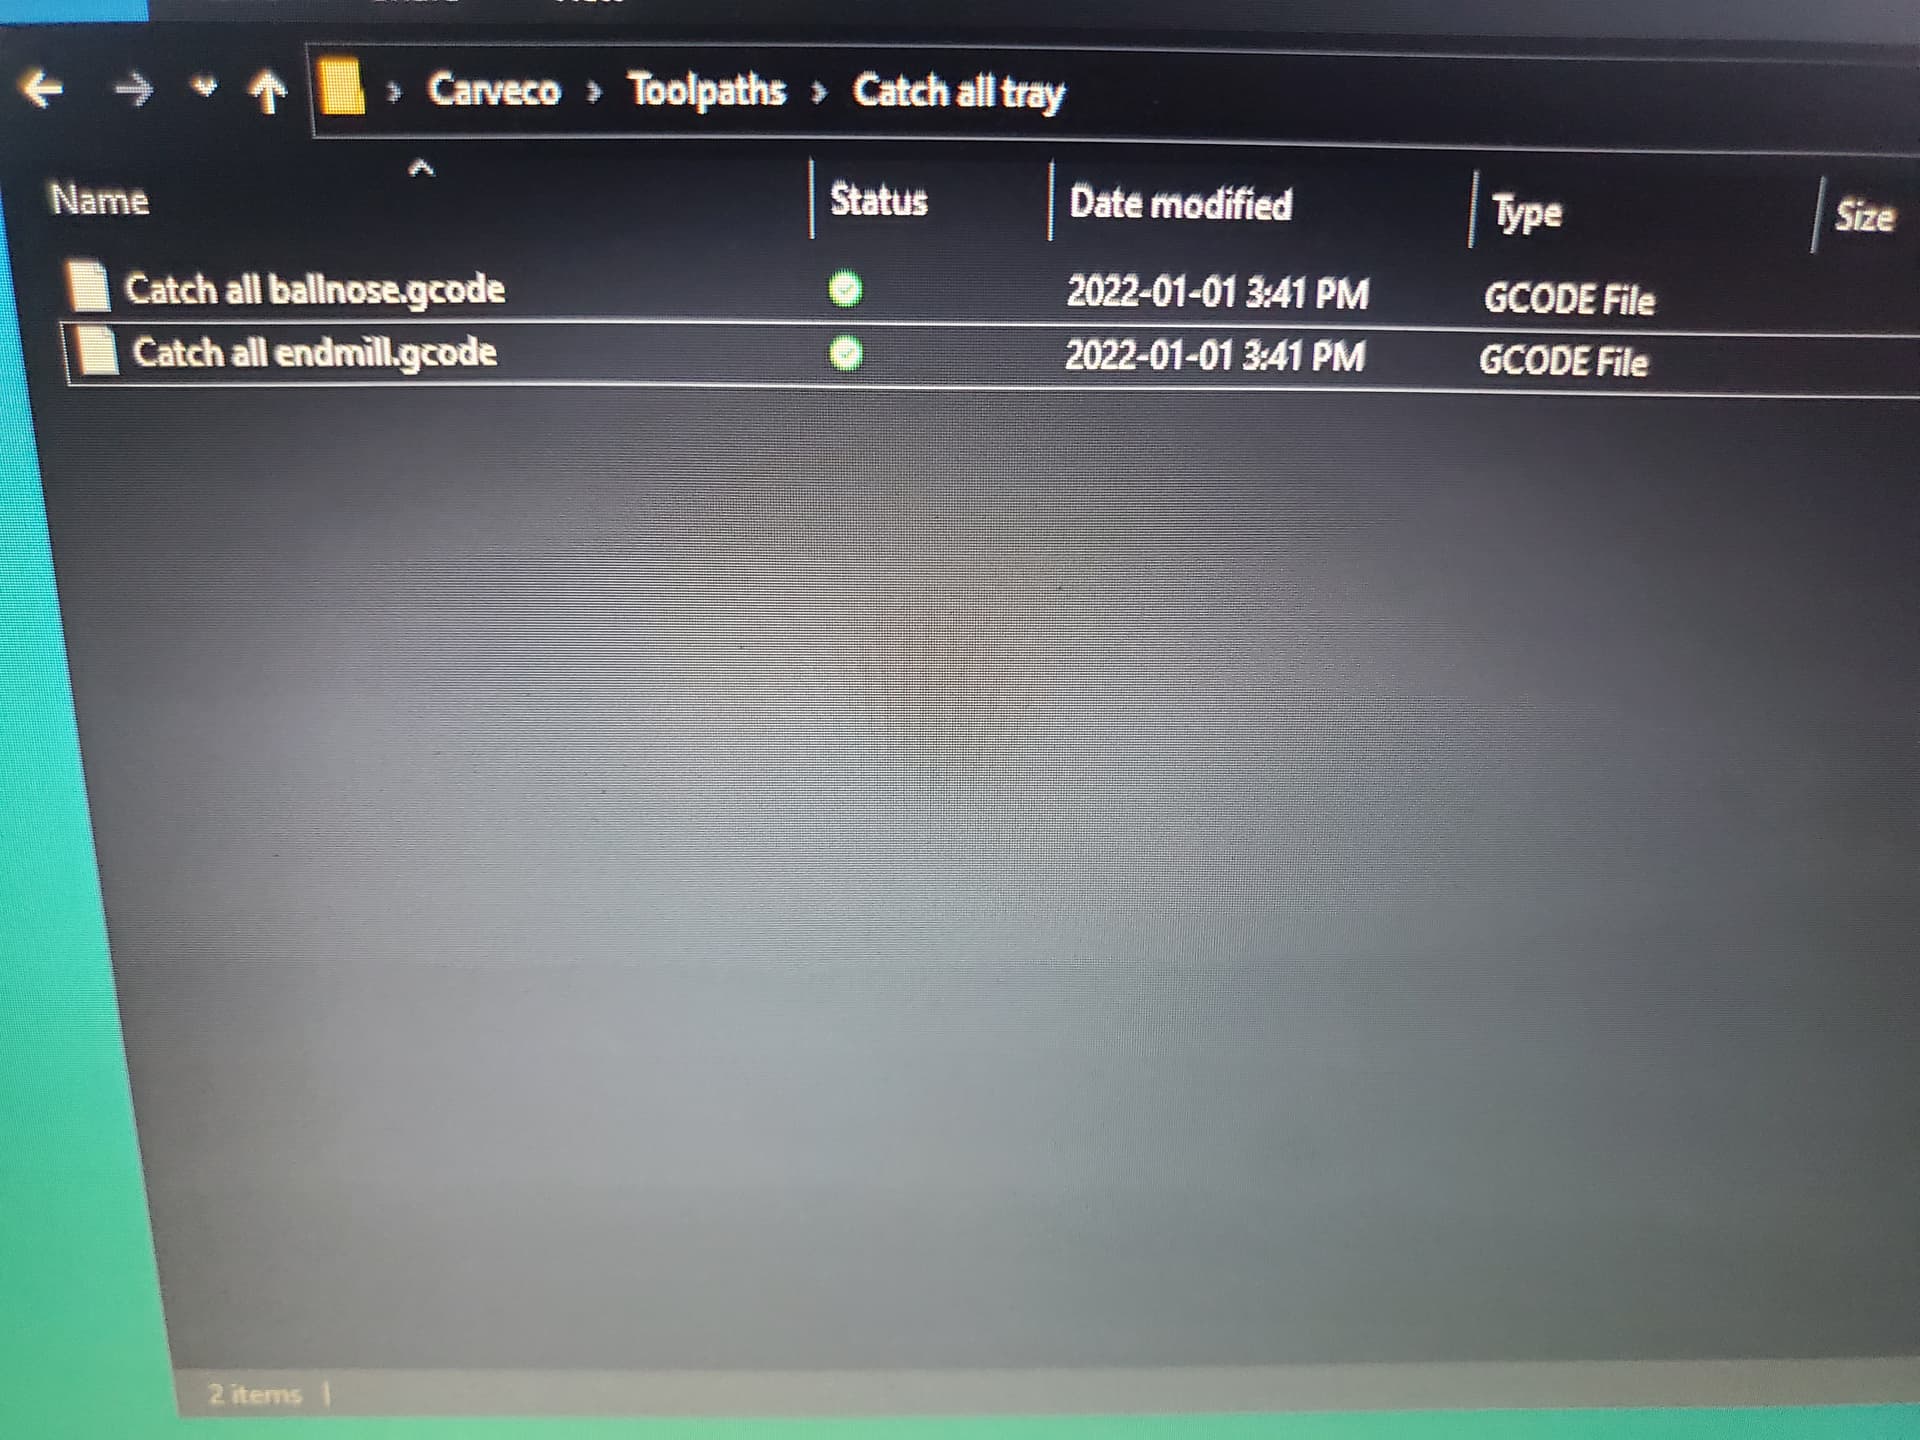
You are right that you will have 2 separate files in your case - one for your 1/4" end mill and one for the 1/4" ball nose. If you are using the 1/4" end mill to cut out your part when you are finished pocketing it, you will load the ball nose file first. Be sure to enter your ball nose bit into gSender, then set XYZ0 using that bit. Then, you will run the file. Then, without changing either X0 or Y0, you will set Z0 using the end mill. You can do that by placing the touch plate “upside down” on the surface of the material and probing only Z. Then you will run your second file.
Your questions are not “dumb” at all. We are all learning this as we go along. I hope this helps somewhat.
That all seems to make sense. Except the flipping the probe. I’m sure it will once I’m actually working through the process. I’m going to give this a go this morning at some point. I’m sure I’ll have a question or two as I do. Thank you for the help it is appreciated.
@Davek When you position the plate on the corner, it sits over the corner of the material. When you are only setting Z0, the plate would not sit flat on the material surface, so you flip it over.