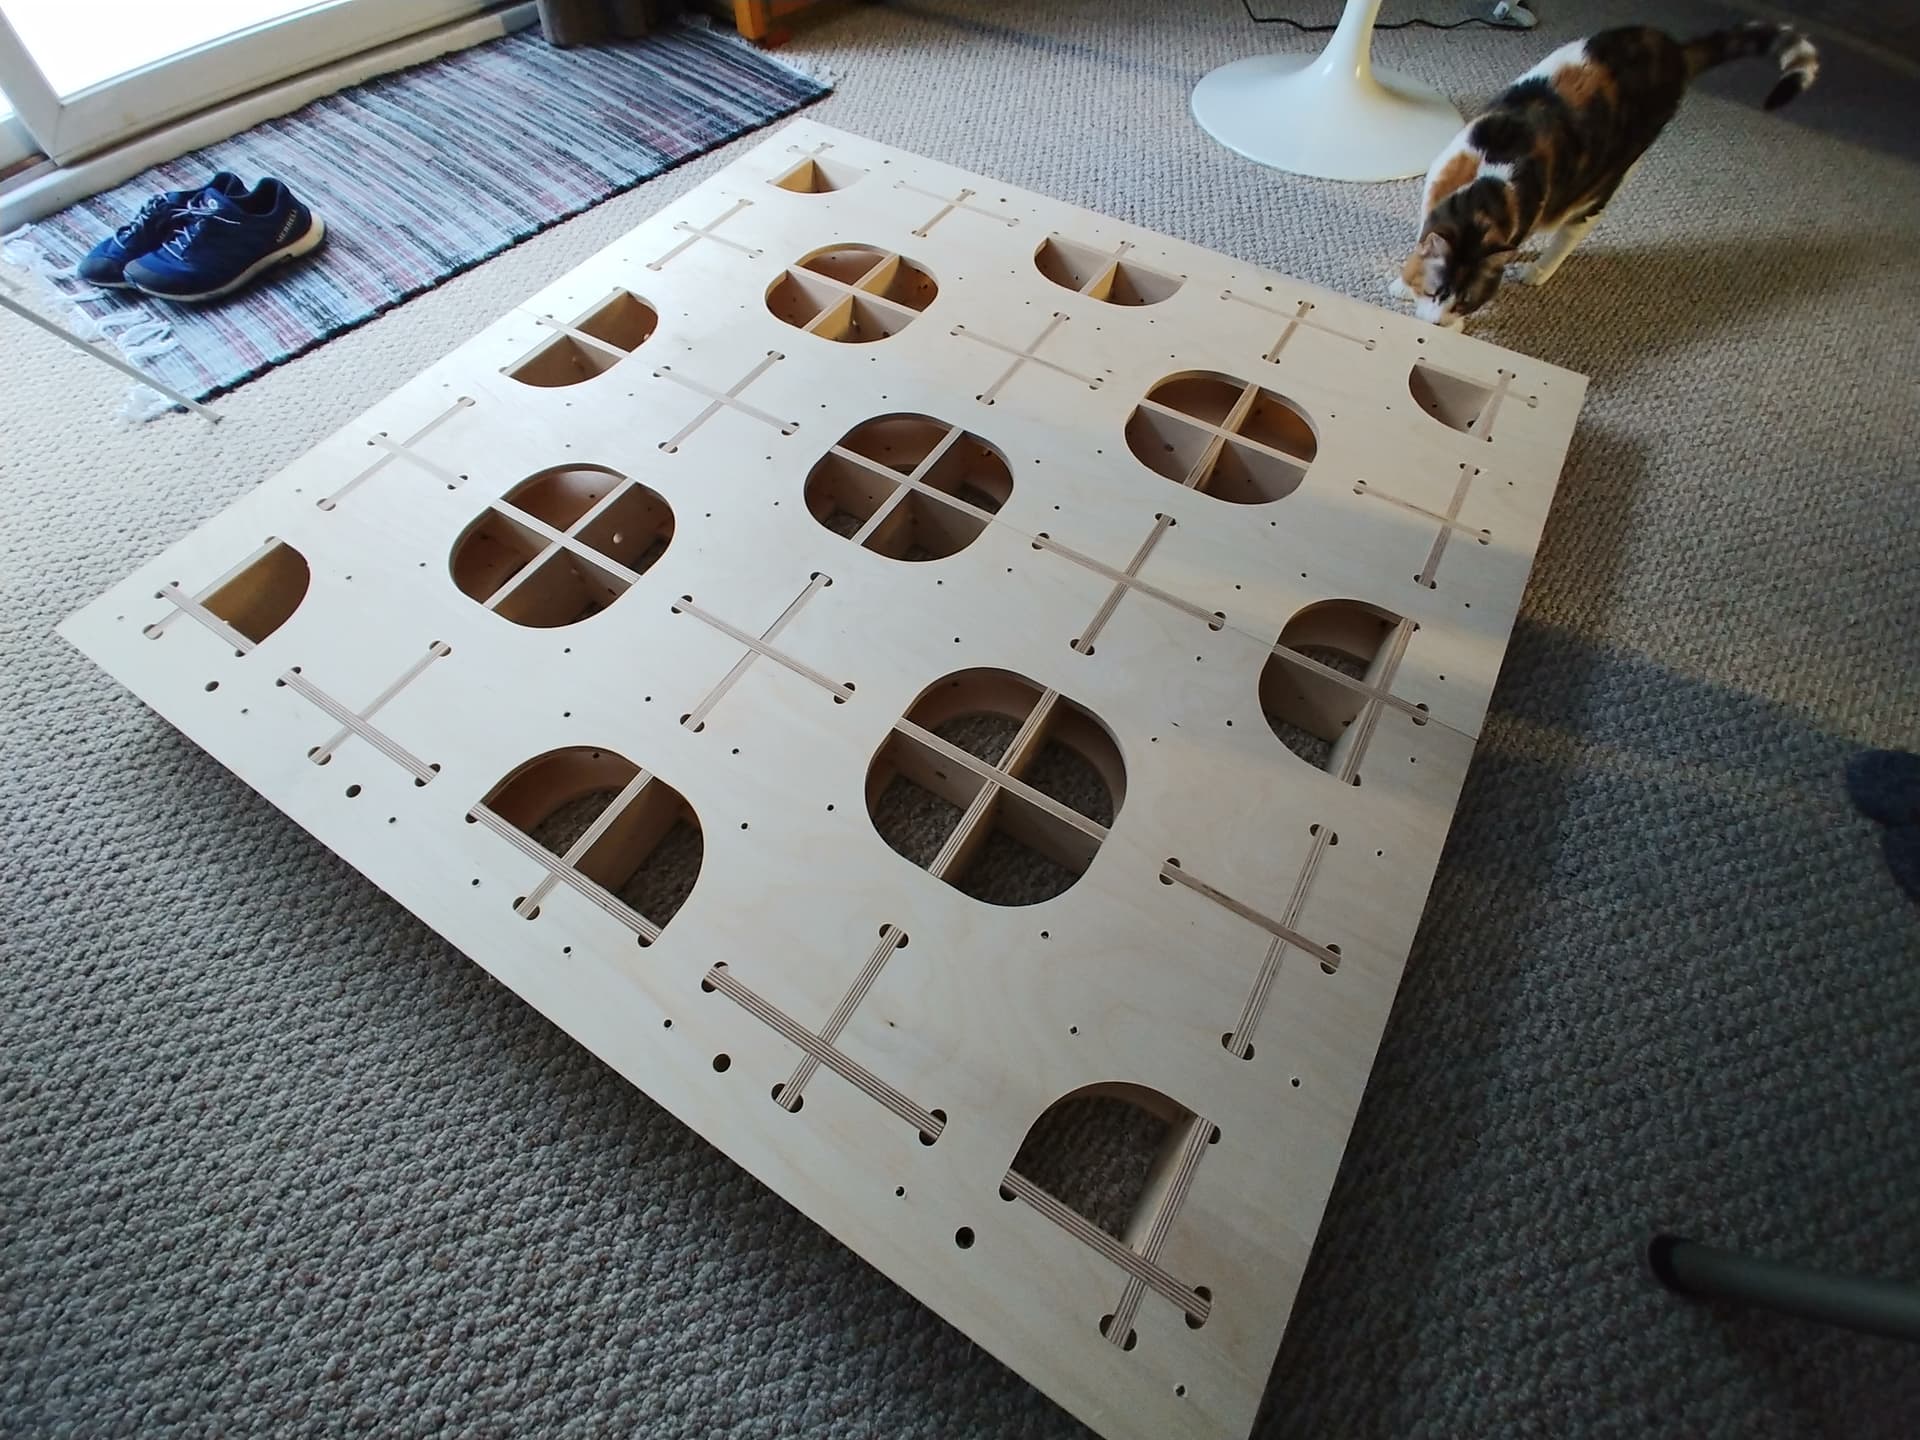
So, as a first project, I decided to take on a needlessly complicated torsion box as a foundation for my 30x30 LongMill MK2 (beta). Was a great project to put the machine through its paces and sorting out workflow.
Table in 1/2 inch Baltic Birch (top, beams, and bottom), tiled 48 inch long pieces, mallet fit. Holds together without fasteners. Probably weights about 75 pounds (oof) but solid as a rock.
I’m really impressed with you tackling such a complicated design for your first project (I’ll probably do something simple like making a sign!).
I, too made a torsion box, but mine was made while I was waiting for my Longmill to arrive.
It’s pretty obvious that you’re familiar with CAD software… which is something entirely new to me. I’m going to download the trial version of Vectric V-Carve Pro just to see how it will work, and if it does, than I’ll go ahead and purchase it. What software are you using?
Thank you for the kind words Swinly and ApexWoodworks!
I guess I did jump right in with my first project, but it was a great way to see just how far I could take things off the top. I still have some learning to do, but I’m happy with the foundation (both the torsion box, and my introduction to the machine and CNC) it gave me.
I had been using Fusion 360 to lay out a plan for our new kitchen - since I was already (somewhat) familiar with it, I decided to take it deeper. I had already used SketchUp extensively, but moved on from it when they changed the licensing.
I know I have been doing some things the wrong way (as I get deeper into its functionality, and learn more about how to use it, I see the easier and better ways to use it) but it has managed to do the job so far. I wouldn’t say I’m completely familiar with CAD, more that I’m stubborn and familiar with software.
To some extent, I also thought that a great way to learn was to dive right in… definitely was the case for me, when it comes to setups, work holding, repeatability, tiling, and mating parts.
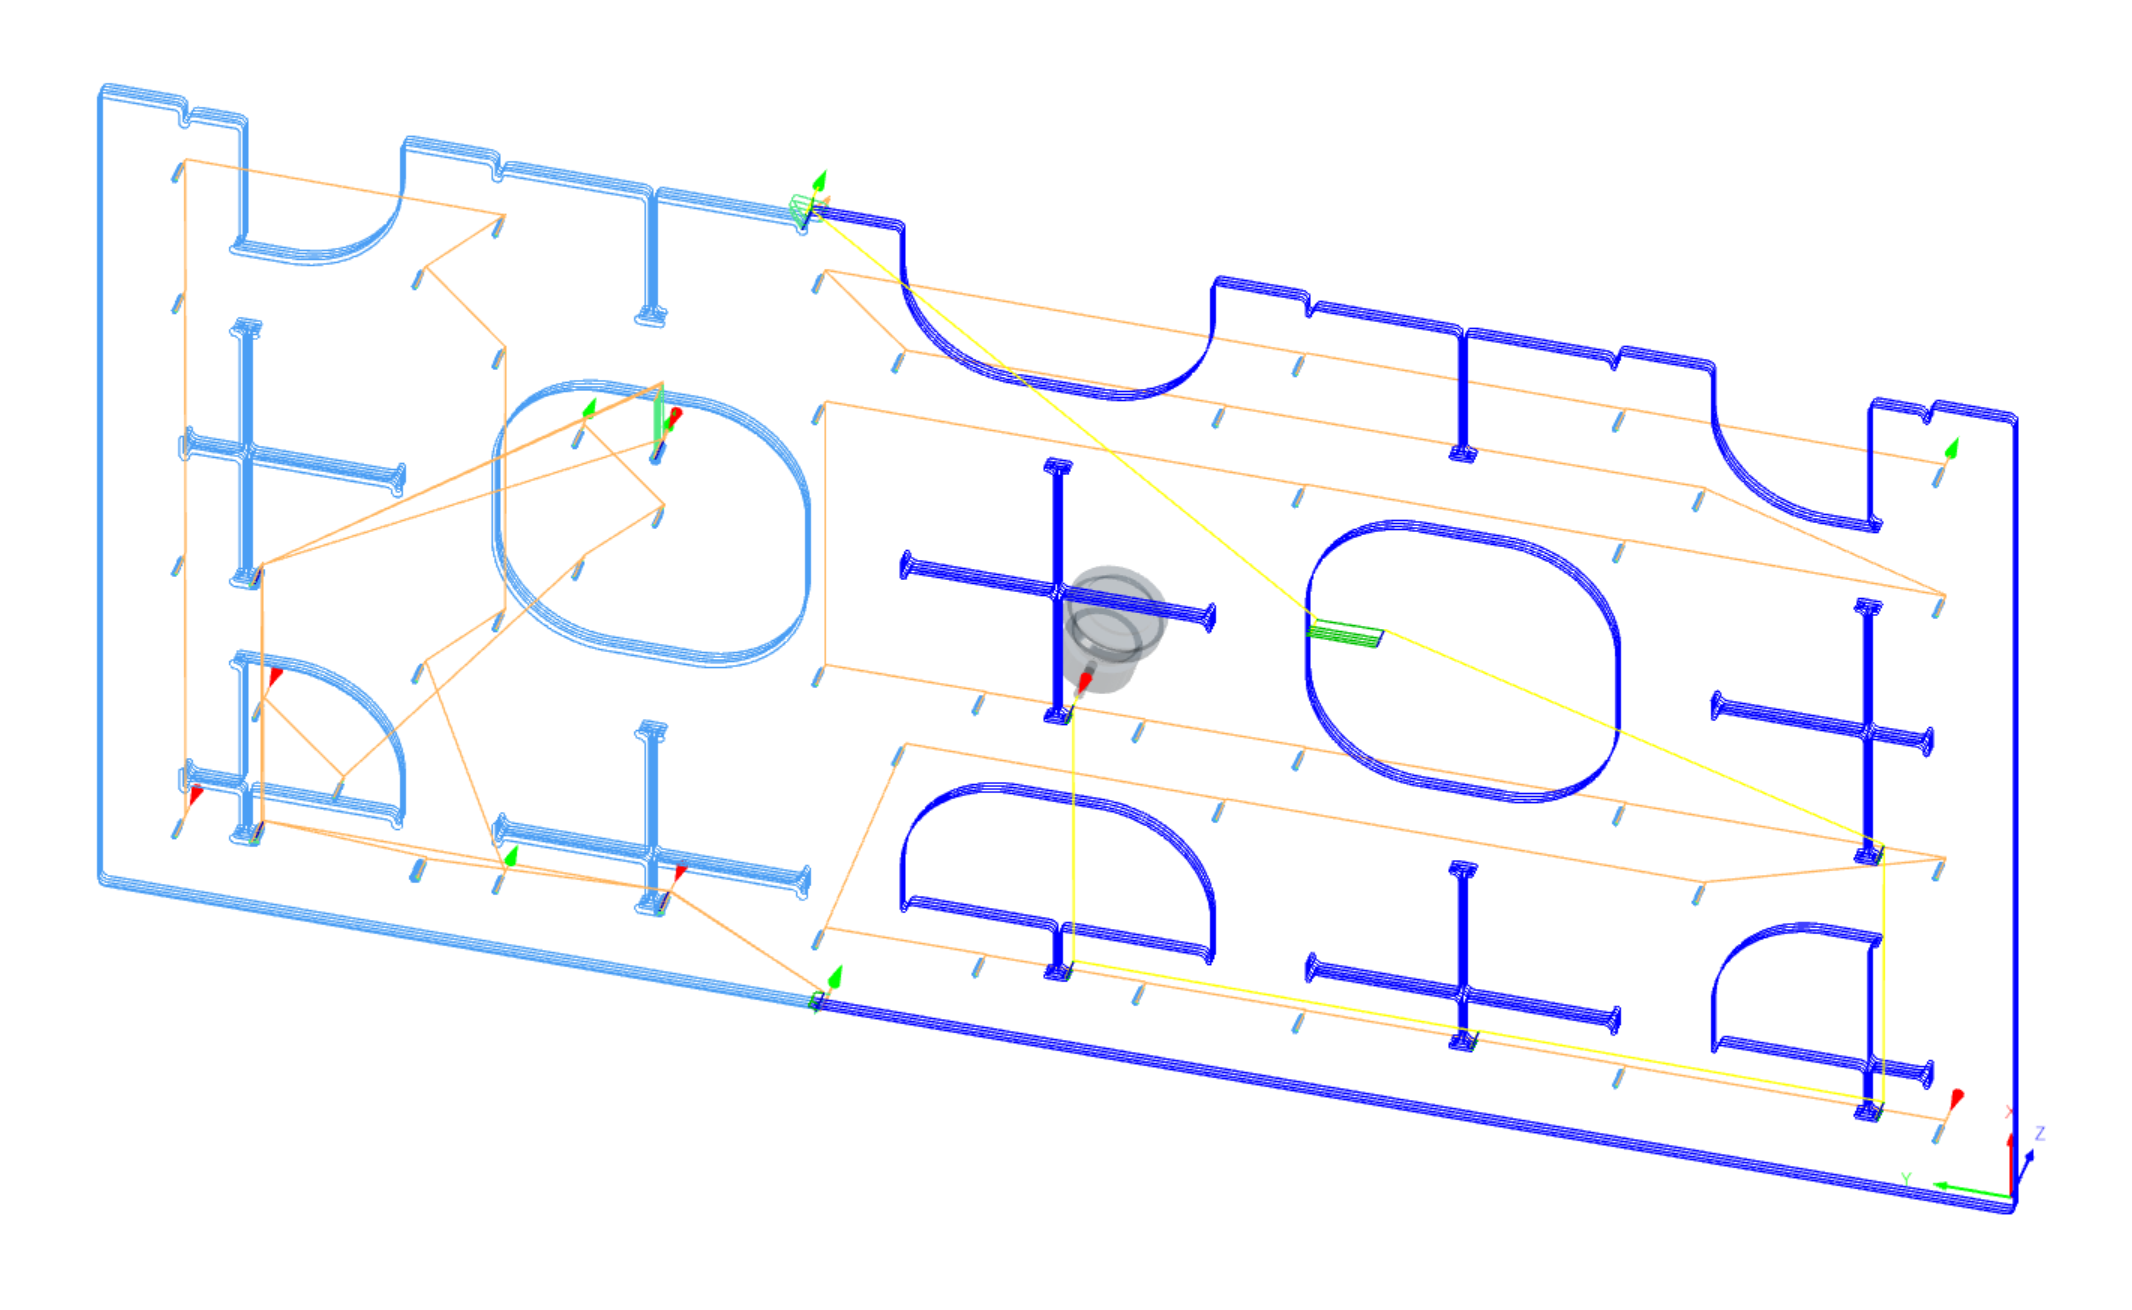
Pictured below is the set of toolpaths for one top piece, both tiles shown. I have pictures of the actual cutting as well, but I can only post one image per message.
@drounds67 sure - I will need to clean it up just a bit (it has a few extra experiments in it) and also write up a bit of a description of some of the mistakes I made. I will post it in this thread, probably some time this weekend.
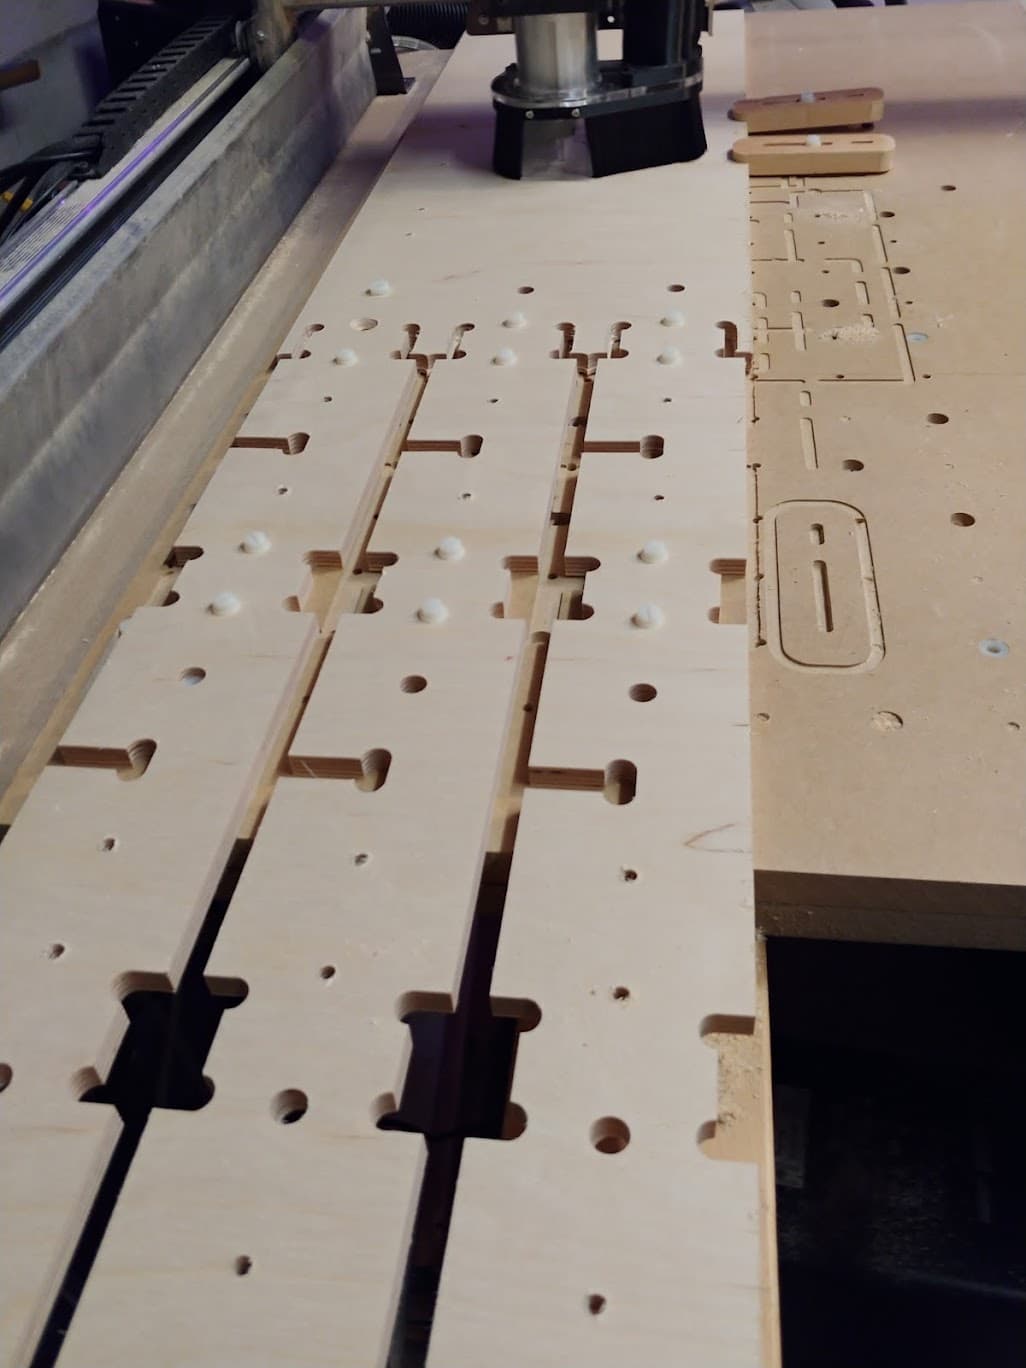
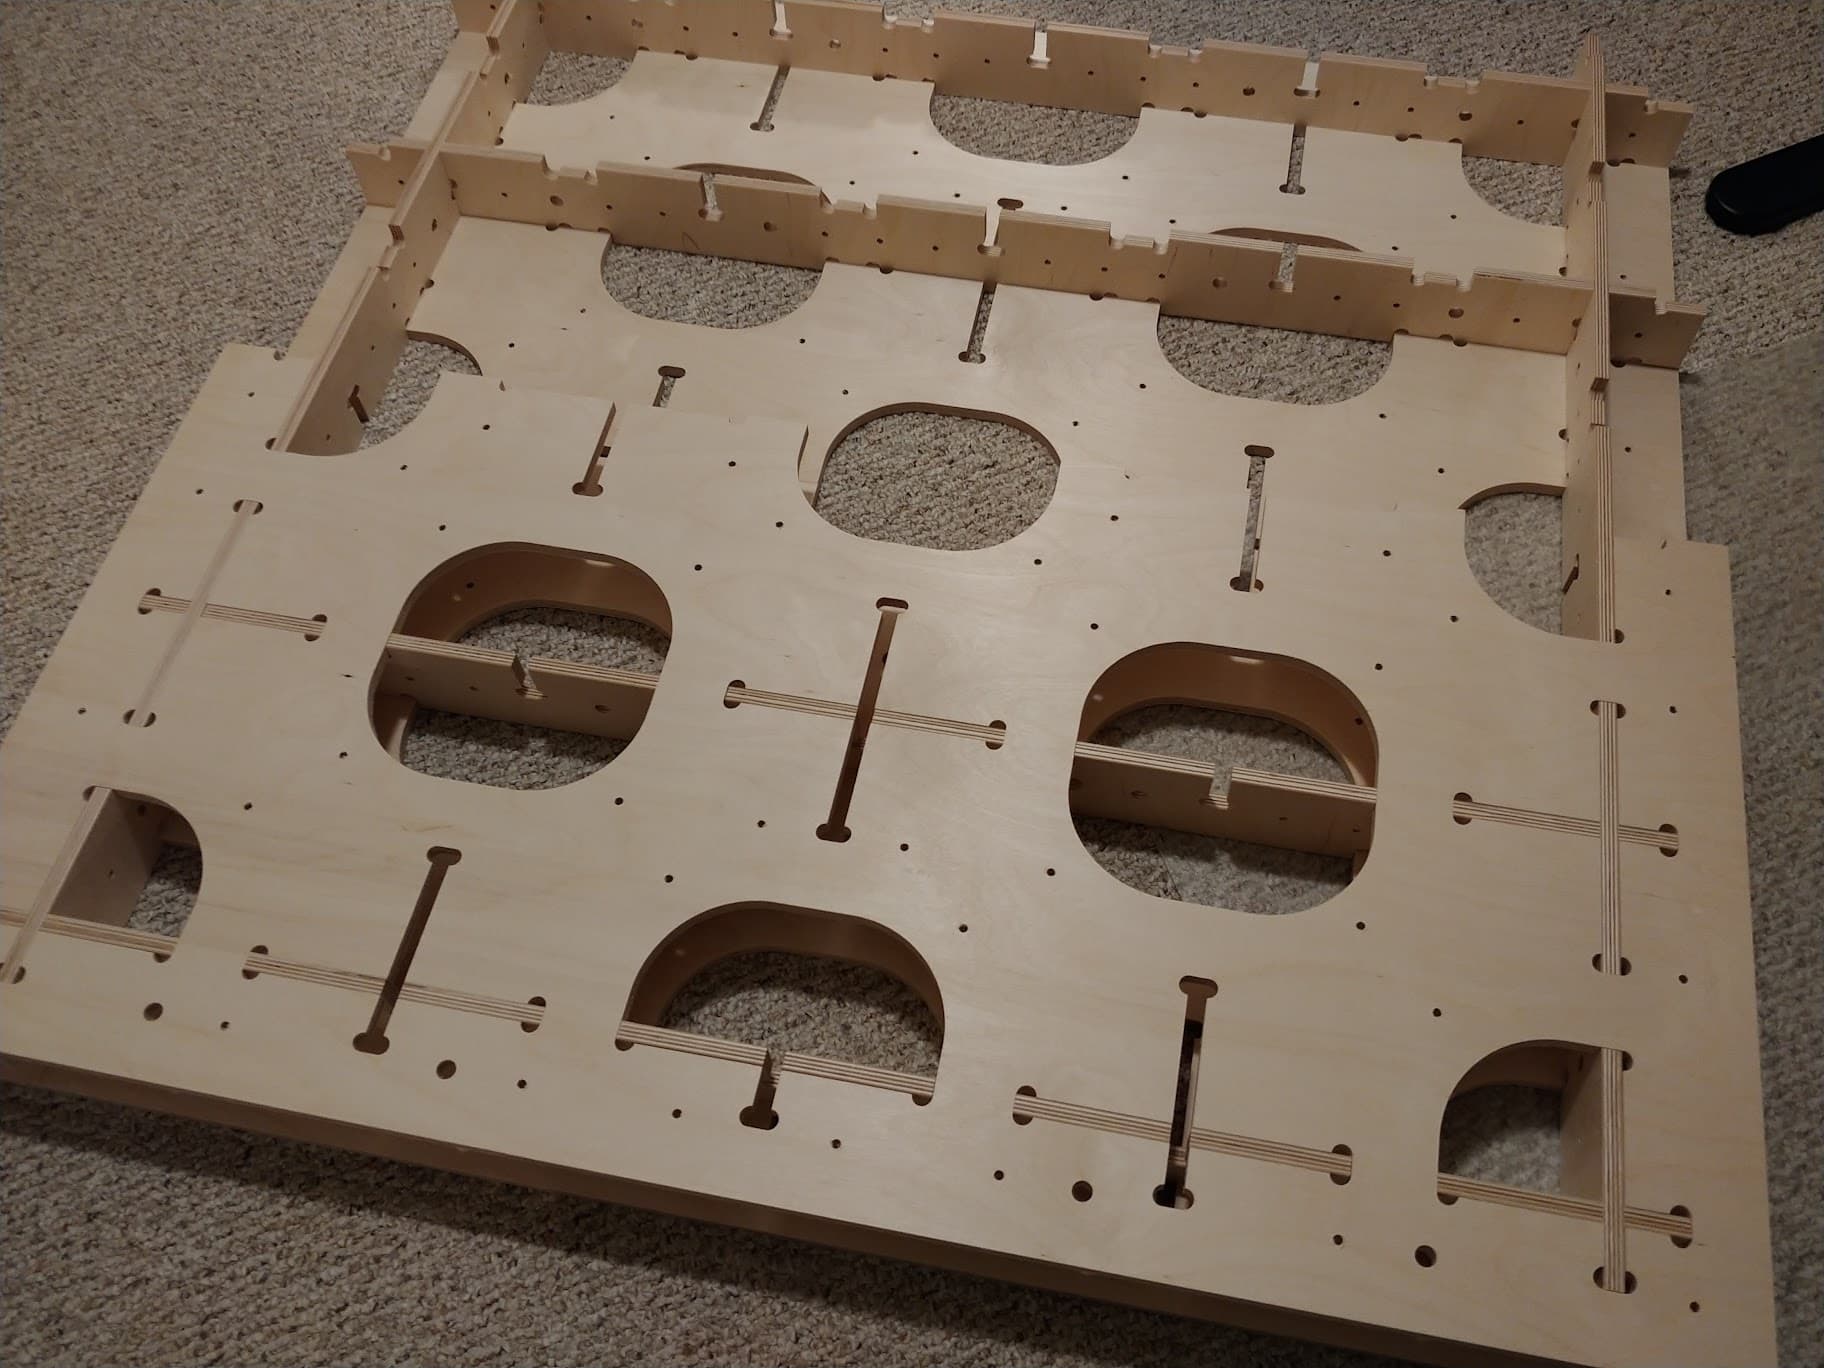
Looks like I can post more pictures now, so here are a few.
Cutting tile 2 of a set of 3 beams (I had the 5x5 plywood rough cut at the lumber yard to fit in my car and the machine):
OK so I can’t post the file since it is too big, but I can make it available online with a shared link: link to AutoDesk share
One caveat - be aware, I was learning, and there may be methods used in the design that are less than ideal.
Notes:
The design is mostly parametric, but some things may break if changed (such as the number of beams).
The hole patterns are all projected off of the hold-down holes I have in my waste board, this made tiling work
The beams are all identical to each other, the top tiles are also identical to each other, and symmetric
There is also a design for a frame that I haven’t made yet
For cutting tiles, I did it in two different ways - one was to change the cut origin to a point 16 inches up, another was to use a different work offset 16 inches down (off the machine). I have my waste board set up with a grid of registration holes, as well as a grid of hold down holes, all of which support tiling by 8 inch intervals. I much prefer moving the origin to using a work offset. (You will find my current waste board design copied into this design so that I could project its holes into the beams and top pieces).
Cutting:
First cut - 1/8 inch up cut, clamped from the sides, to drill hold down holes.
Next cut (top and bottom only) - 1/8 inch up cut to drill hold down holes for cutouts, so that they don’t break free after being cut.
Next step, use fasteners to anchor through hold down holes, remove side clamps
Second cut - 1/4 inch down cut, drill registration holes and entry points
Third cut - 1/4 inch down cut, rough contours
Final cut - 1/4 inch compression, final contours
I then moved the work piece down by 16 inches, aligned using nylon pegs in the larger registration holes, fastened to the waste board using hold down holes, and cut the second tile.
I cut the first six beams in sets of three, the final four individually, as they were cut from the leftovers from cutting the top and bottom tiles.
Mistakes:
At first, I didn’t precisely re-zero my machine to my hold down grid - while it was “close enough”, with how tightly I have things, it made for some issues with fit after tiling.
EVERYTHING got easier and faster when I purchased and installed limit switches, and started to properly use the touch plate.
I used negative “stock to leave” to deal with both material thickness adjustments and part to part fit. This wasn’t ideal, they are both better addressed with parameters.
I initially modeled everything using bodies, I should have used components.
I am still learning - I now have a much better sense of the deeper details of Fusion 360’s stock to leave, heights, passes and finishing. In future, I can (and will) do less damage to my waste board.
My shop vac filled up and it was a mess. Cyclone has been purchased.
Notes and thoughts:
I know this was complicating things - that was part of why I did it - to see just how all of this works together.
The registration and hold down holes were integrated into the design. They did not need to be - but I found it interesting and made for a neat look.
I didn’t really leave enough clearance between parts across the tiling break-point. I think my tiling was probably under 0.5mm off along the length, but that was enough to make the fit up really tight for a few pieces. If you think about it - 1/2 mm error long in one tile, 1/2 mm error short in another, and you have a poor fit when you are going for a friction fit. It was OK though, things did end up fitting with some gentle persuasion and some careful part matching.
Baltic Birch is awesome. If you are in Southwestern Ontario, I highly recommend BCW Lumber in Brantford.
Fun points:
I am super glad to be using nylon fasteners and wooden clamps. So far, one clamp has met its match, and more than a few of the screws and spacers.
My waste board is drilled and 1/4 20 threaded MDF - I really like it. I didn’t reinforce with CA glue, but will next time I build one. Un-reinforced, I did get at least 2 dozen cycles out of the most used holes, abusing them by tightening with a cordless drill.