So generally on my finishing passes on the 3d models, I have little to no sanding to do relatively speaking.
However, on this finishing pass… these frayed edges are abundant. Sometimes with frayed edges I can use a fuzz brush and they just wipe away, this is not the case.
I’m not sure if they is my bit, the cut, or the wood itself.
Its Acacia, cutting at a feed rate of 2540 mm/min and with 7% stepover. The bit is a 1/32 TBN.
Any ideas? Just wondering… like I said, this is the first time this has occurred like this. The attached picture is AFTER fuzz brushing and cleaning up a bit.
Well I attempted to slow down the router; didn’t change the fraying… so either it’s my bit…or its the wood. I have never cut with this acacia wood before, and the edge frayed with the roughing pass… just worse with the finishing pass.
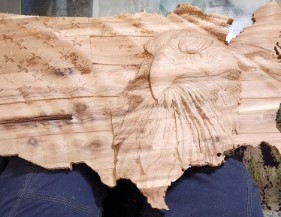
Here is a pic after the carve was complete.
When I saw the photo in the OP, I thought it looked liked feathers, fuzzy feathers but feathers none the less. The final piece looks great to me. I really like the design. Nice work!
@chapklc You may want to try setting a raster angle of 45° for your finishing pass. I’ve not done anything in acacia but in stringy wood, it frequently yields better results when not going with the grain on the finishing pass. Just a thought.
@chapklc The router will move in X and Y simultaneously to cut at any angle that you set. Think about what happens when you carve a circle, for example. The router must move in both X and Y simultaneously to carve a circle.
Preface, I’m with PreciseBits so while I try to only post general information take everything I say with the understanding that I have a bias.
There could be a lot of reasons for this but the first one that come to mind is that you don’t have an aggressive enough cut. If there’s not enough material in the chip being cut than you will "push or “rub” the material out of the way instead of cutting. In the case of woods this is complicated by the fact that they can compress and are more elastic than some other materials. This is made worse if the wood isn’t properly dried.
I can’t ell what your chipload is as I’d also need to know the RPM and number of flutes of the cutter. But, with a 7% stepover you are only actually cutting about half (51%) of your set chipload due to chip thinning.
Some other quick things that could help are increasing the material left for your finish pass (I’d start with your chipload or a bit more), as gwilki said change to a 45° from the original, and/or depending on final finish seal the wood before the final cut.
Another complication is that 5 genera are sold as Acacia. They don’t all cut even remotely the same. Did your supplier give you the genus or species? That might help narrow down some of the issues.
All that aside it came out looking quite good. Although I image it cost you a lot more labor than originally intended.
Let me know if there’s something I can expand on or help with.
@chapklc Kari: I’ve moved this from the introduction category - “hi” to machine support. I should have done that when you first posted, but did not pay enough attention to where it was.
Ok, i had actually worried that i had originally not left enough machine allowance on to cut on the finishing pass…so that is probably more of the problem than anything.
That being said…the wood i came by was “supposedly” acacia butcher block counter top that broke in transit.
But during the carve i actually had some rotted knots break out (that nice long divit to the left of the eagle head) that all ripped out…and at the top occassional it would look like a powder substance when cut…it made me go, “hmmmm” a lot…thinking “no wonder it broke.”
@TDA Welcome to the group, John. Thanks for declaring your bias. Your post certainly does not display any.
@chapklc Not to disagree with John, but I seldom leave any more than .020" to remove in the finishing toolpath and I also very seldom need to do any sanding.
I think in this particular project, you have some narly wood and you will need to play a bit to find the best approach. Regardless of the wood, I also almost never do the final pass with the grain. However YMMV.
No problem. Believe me I get it, my brain defaults to the units I learned with. It’s extra fun when we get people calling for support and don’t list them or for feeds if they’re in /m or /s (e.g. I’m cutting at 500).
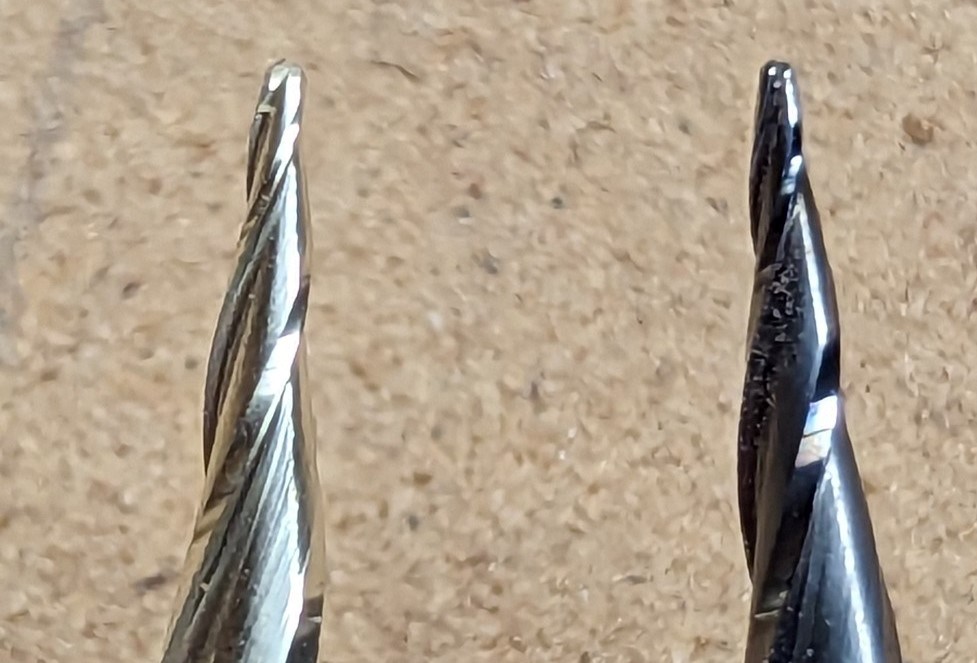
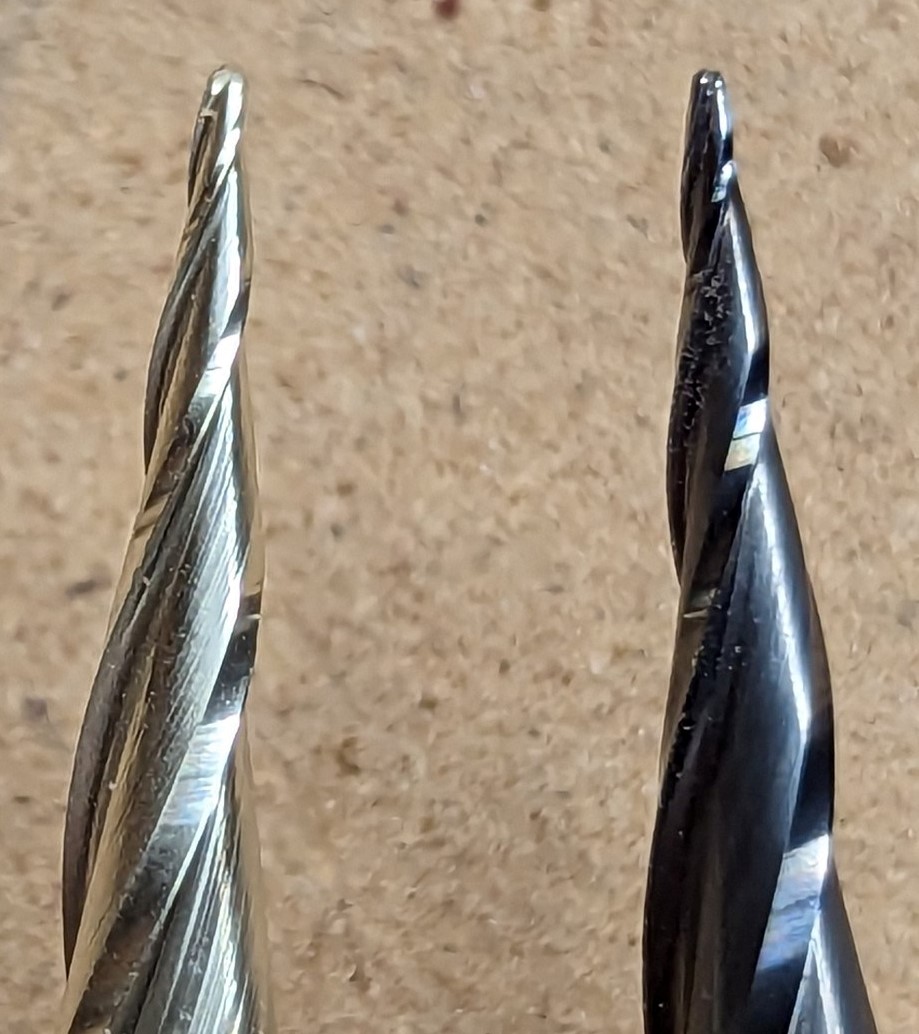
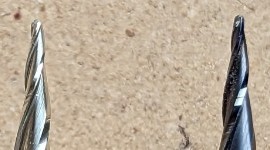
ok, so I finally broke down and switched the 1/32 carving bit… and man, i think that was the problem. So the carve is saved and it’s running well. What is really weird, is I recieved my new carving bit TODAY! lol
Here are a few pics of the two bits, new and the original one i was carving with. Both are Precisebits… (love your bits btw!) The old one is without zrn coating.
what is weird, … the new one feels rougher than the old one… assumingly the old one is worn down.
Anyway, TDA, if we have a bit that is in good shape, just worn down… can we send it back for sharpening? lol
thanks guys… with the new bit… it’s coming right along, and I don’t have to say I wasted another carve. :))
In general, regardless of the tool, as it wears it starts to loose rake (angle of attack) and the leading edge gets bigger. That makes it where you have to take more and more aggressive cuts to actually cut and not rub or grind. I’m guessing that’s what you were running into. Might also mean that you have some room to run the tool at a higher chipload and get some more life out of them.
Lol, didn’t know it was one of ours. Thanks for the business and I’m glad they are working well for you. If you ever run into issues feel free to give us a call or ping me on here.
Just to be clear the below is true for all tooling not just ours.
Be careful with coatings if you don’t need them (don’t know if you do or not). When you coat a tool you coat ALL of the tool. This means that you are adding material to the leading edge functionally slightly dulling the tool in trade for increased abrasion resistance and lubricity (depending on the type of coating). If you are cutting material where neither is the wear/failure mechanism you have just paid extra money for a slightly “dull” tool.
When carbide cutters are made they are ground using diamond wheels (diamond suspended in another media). They all have a “grit” and that gets transferred to the tool. As it wears the tool will get smoother from abrasion, heat, and material failure from impacts. As mentioned above though that comes at the cost of some of the geometry of the tool (rake, edge, diameter). There’s also the fact that the leading edge will be thinner and that will feel rougher as it’s sharper.
Wish we could but it takes so much labor and consumables to realign and regrind the geometry (properly) that it ends up being about as much as a new tool. There are places that will try to get in and grind the edge / inside of the flute. However, that doesn’t restore the rake or flute form of the tool so it won’t cut the same or for as long before dulling. The more complicated the geometry the harder it is. So a 0 helix (straight flute), straight wall, low rake, non-plunging tool will be easier and cheaper than an up/down cut, tapered, high rake, plunge tool.
There’s also the issue that even when you do regrind a tool the diameter can’t stay the same. This is why you’ll see worse tolerances on tooling the same diameter as shank size. It’s impossible to grind all the required tool features without reducing the diameter at least a little.
Glad things are working now (assuming that your other post’s issues are fixed). Let me know if there’s something I can help with or expand on.